We all love to scroll our Facebook feed, be it updates from our friends, funny cat videos, or informational content, we consume it all and like clockwork, we are regularly checking our phones in the hope of newer and better content.
However, not every time you are in a setting where you can turn on the sound for a video. Maybe you are traveling and you forgot your earphones, maybe you are on a quick 10-15 minutes of break, or you just cannot hear a word under the sound of munching those late-night snacks.
Whatever be your reason, having captions enabled always helps in the time of need. And the best part is enabling them is a pretty simple and straightforward process that can be achieved using any of your computer or handheld devices.
Enable Video Captions in Facebook Video Player
The easiest way to enable captions in a Facebook video is right from the video player control bar options.
In the Facebook app on your mobile, tap on the video present in your Home Feed to get access to video controls.

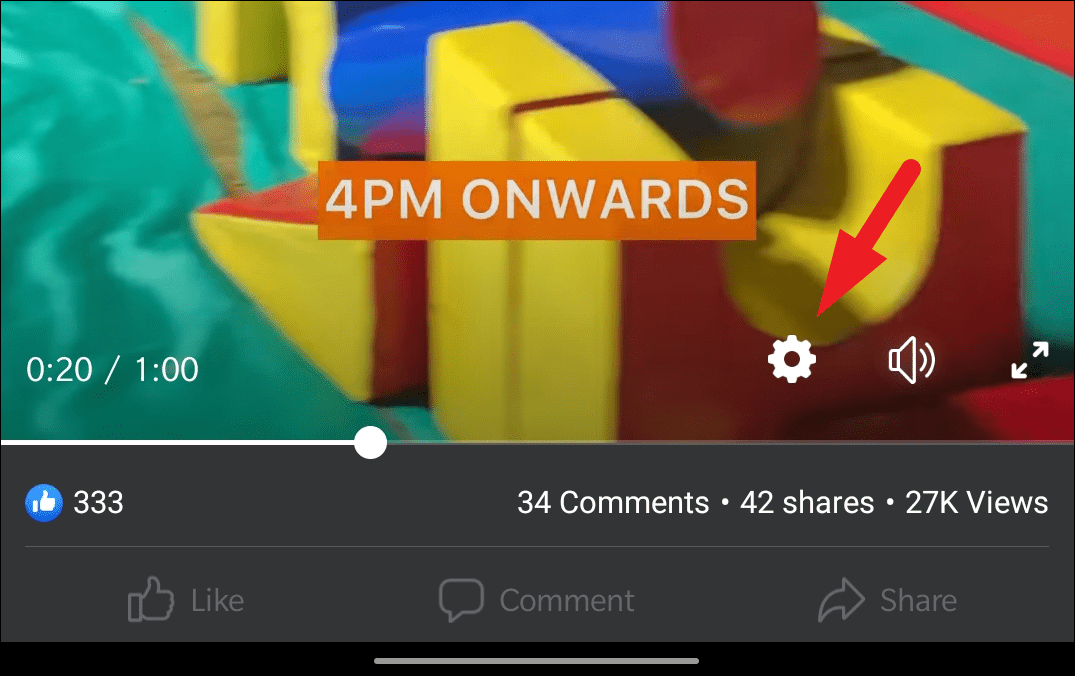
Next, click on the ‘Settings’ icon present at the bottom right corner of your screen. This will bring up an overflow menu on your screen.
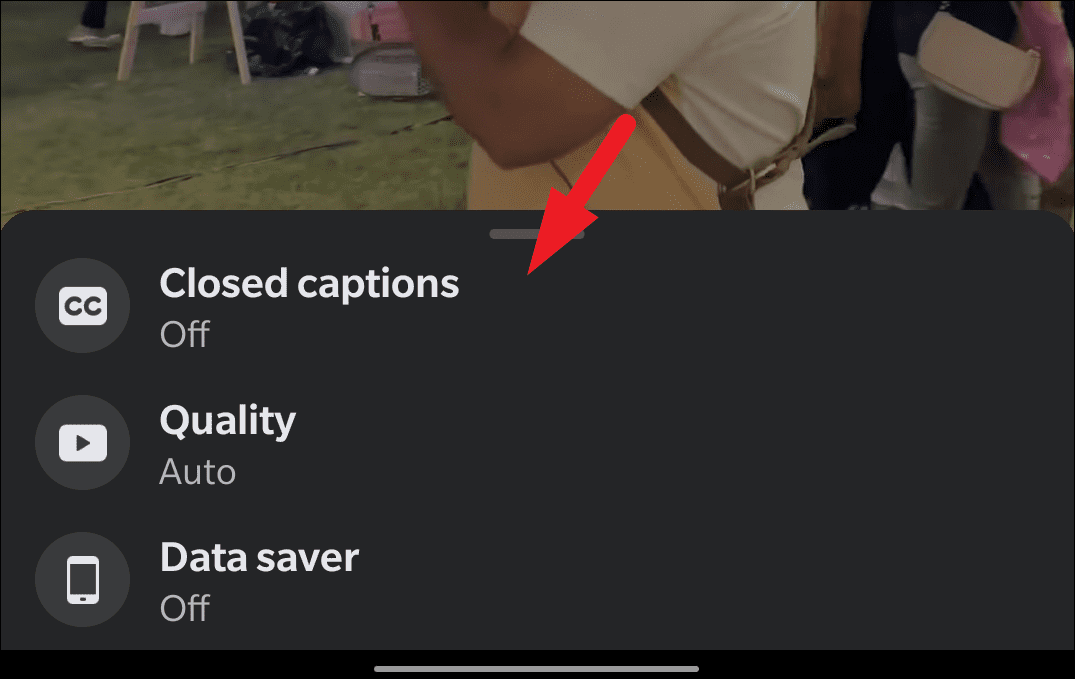
Then, tap on the ‘Closed Captions’ option from the list to proceed.
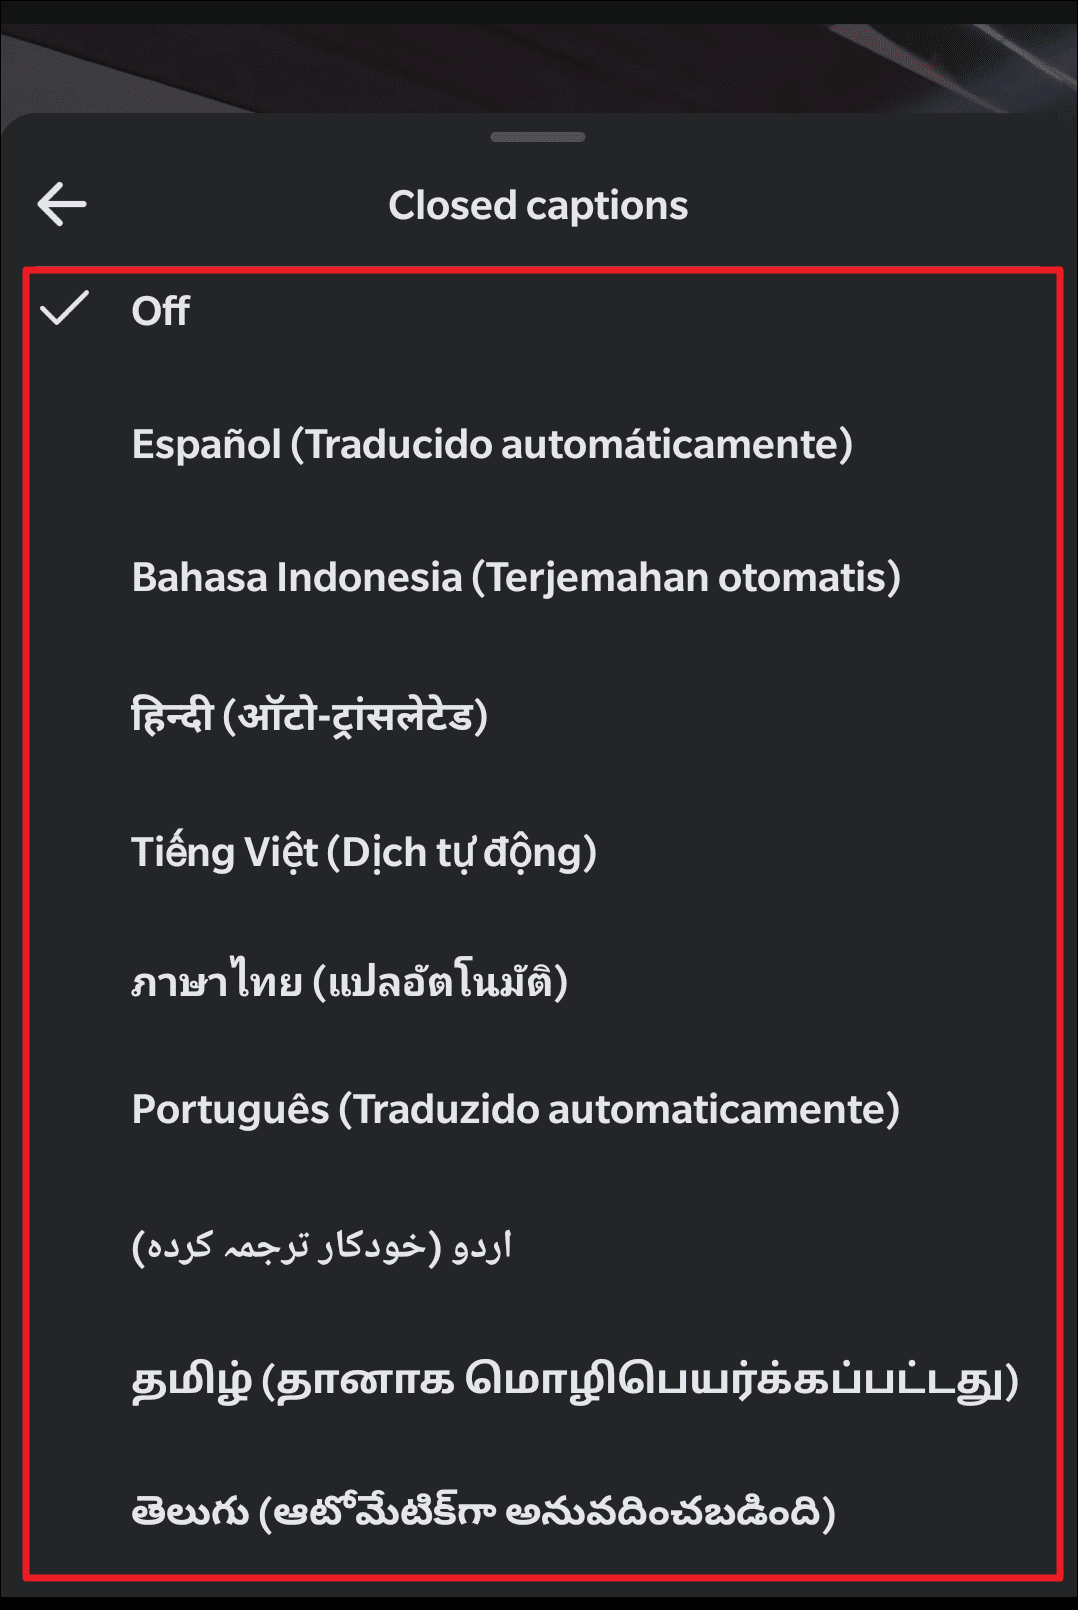
Now, select your preferred language from the list of available captions for the video.
Enabling Video Captions in Facebook on iOS Devices
Enabling Video captions in Facebook on iOS is a bit different relative to its Android counterpart. However, by no means does that translate to being difficult at all.
To enable video captions in iOS, open the ‘Settings’ app from the home screen or the app library.
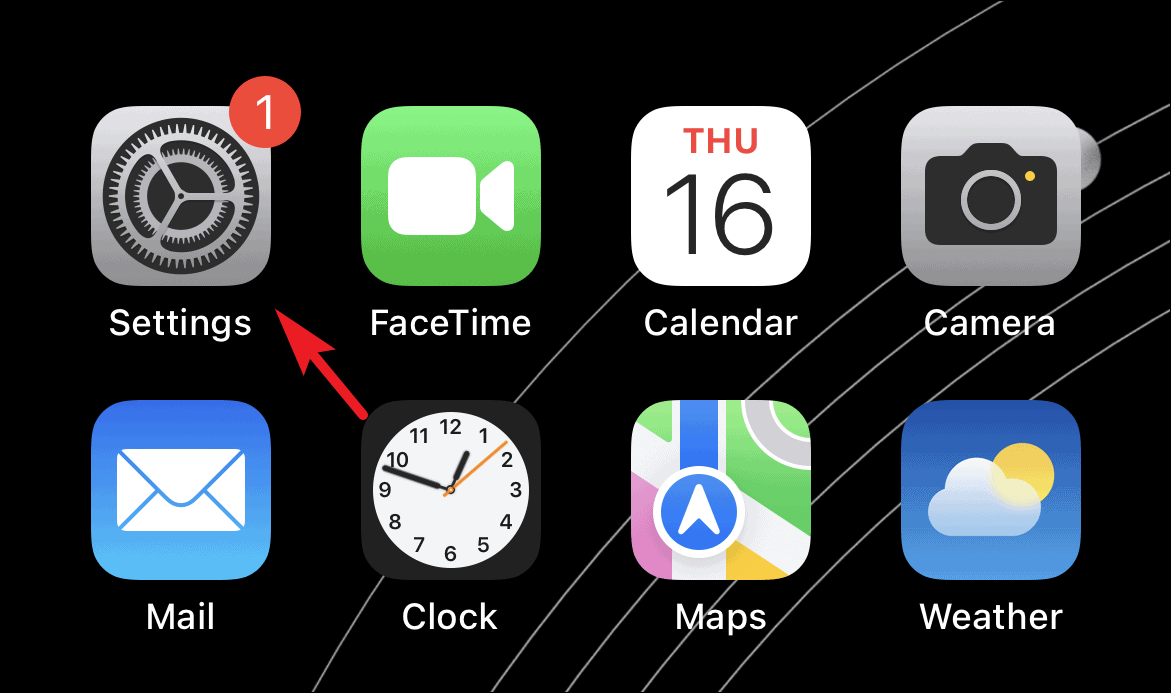
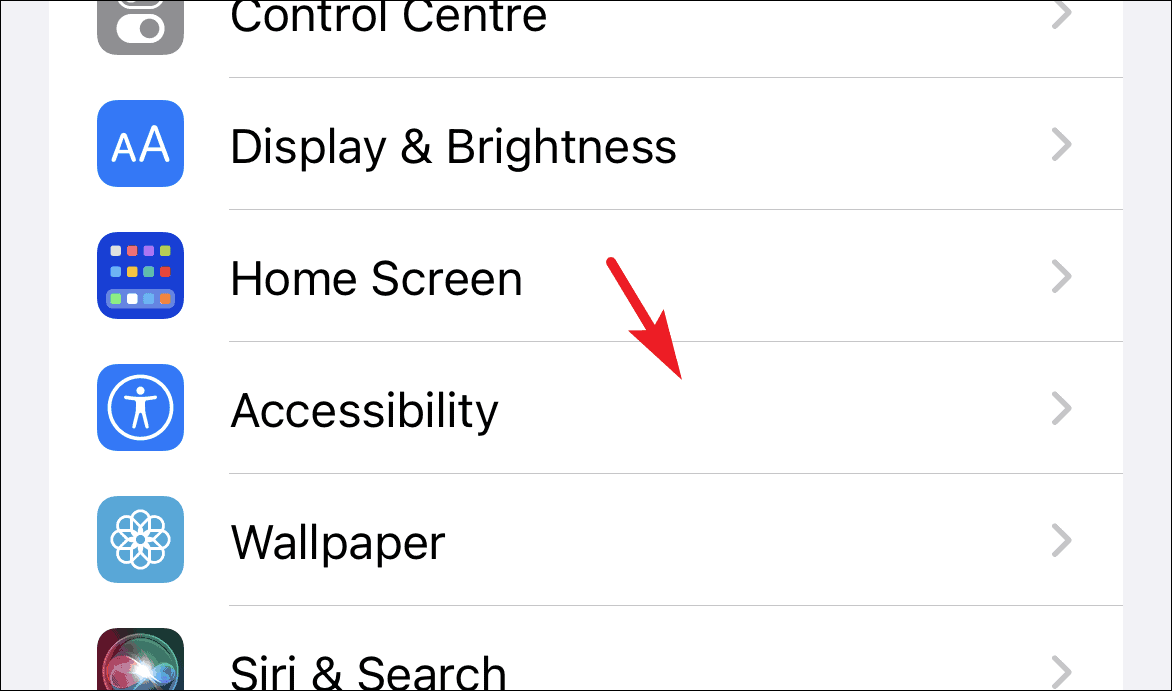
Then, tap on the ‘Accessibility’ tab present on the ‘Settings’ screen.
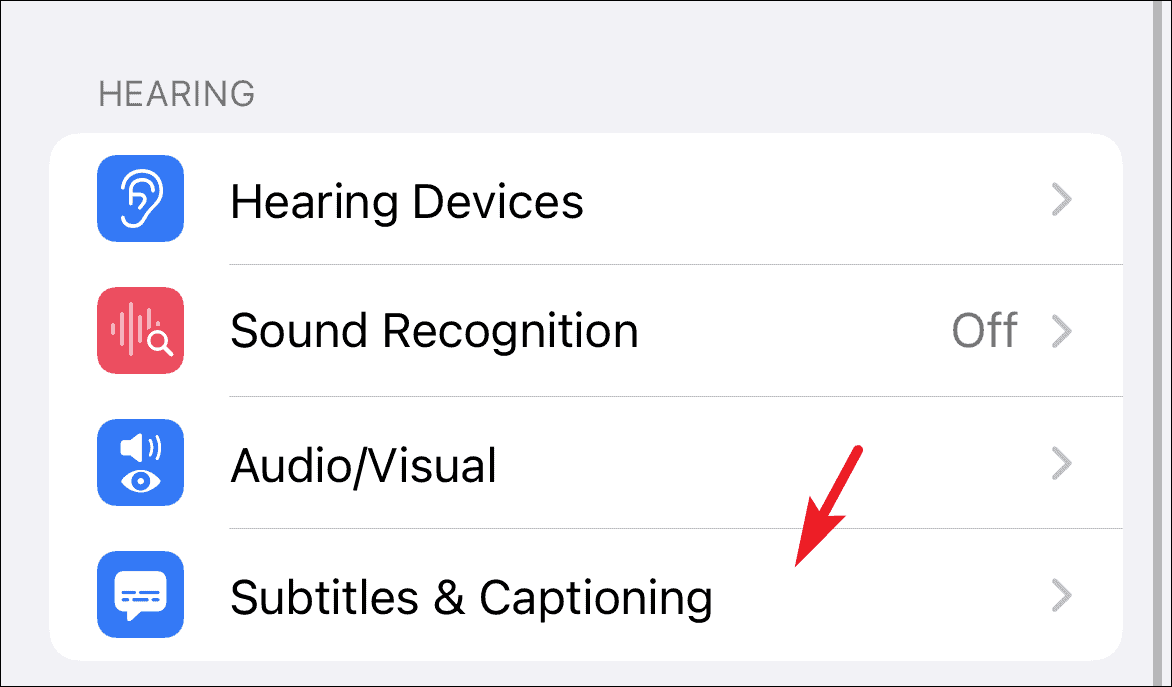
After that, on the ‘Accessibility’ screen, scroll down to locate the ‘Hearing’ section. Then, tap on the ‘Subtitles & Captioning’ tab present under it to continue.
Next, locate the ‘Close Captions + SDH’ option and tap on the switch following the option to bring it to the ‘On’ position.
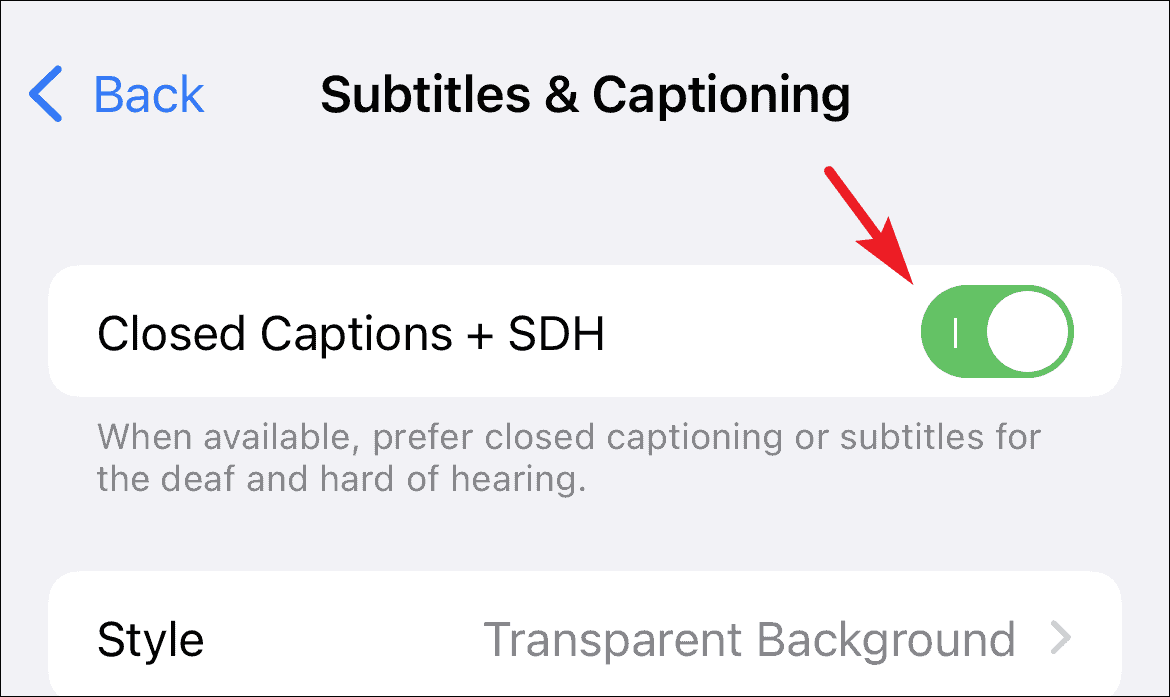
And that’s it, you have now enabled captions for videos on your iOS device.
Enable Video Captions in Facebook on Desktop
If you are usually browsing Facebook on your computer, you can enable the captions right from there as well. As a matter of fact, it is much simpler relative to its mobile counterpart.
To take this route, head to facebook.com using your preferred browser on your computer.
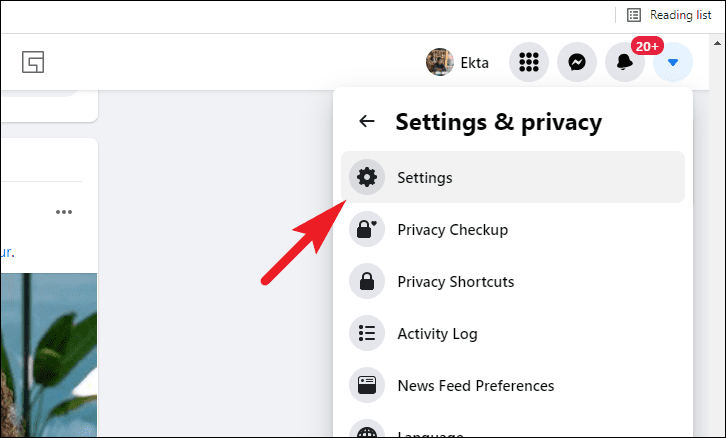
Next, click on the chevron (downward arrow) present in the top right corner of the webpage. Then, select the ‘Settings & privacy’ option from the overflow menu.
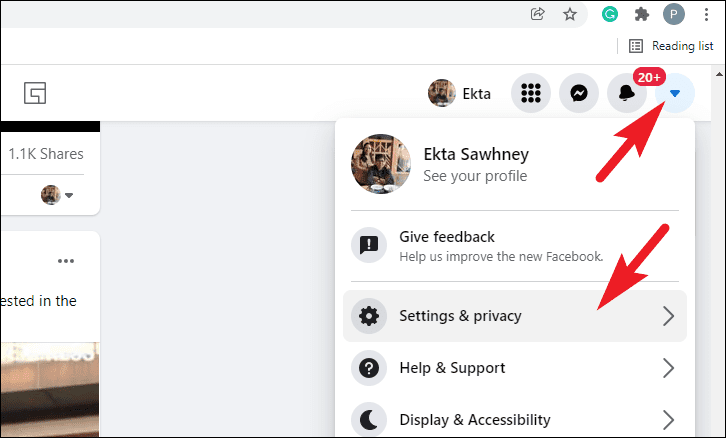
Then, under the ‘Settings & privacy’ menu again click on the ‘Settings’ option to proceed. This will redirect you to the ‘Settings’ webpage.
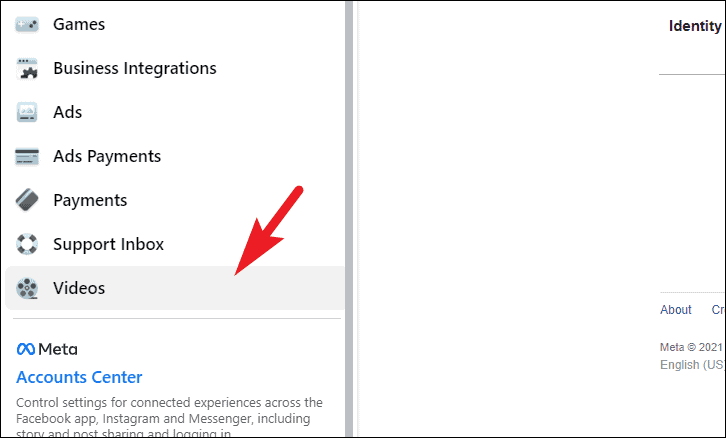
Now, on the ‘Settings’ webpage, scroll down to locate the ‘Videos’ option on the left sidebar and click on it to open video settings.
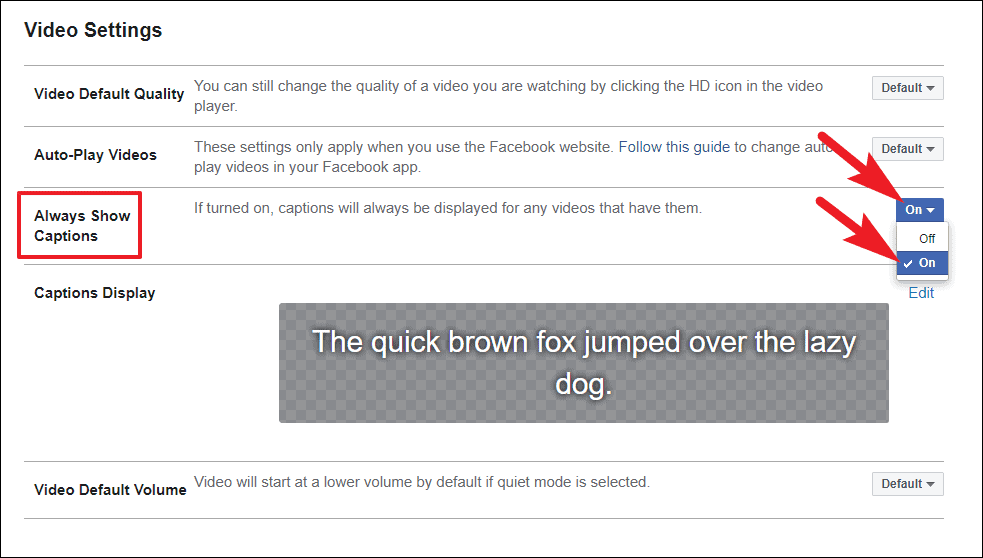
Next, on the ‘Video Settings’ screen, locate the ‘Always Show Captions’ option and click on the drop-down present at the far right edge of the tile and select the ‘On’ option.
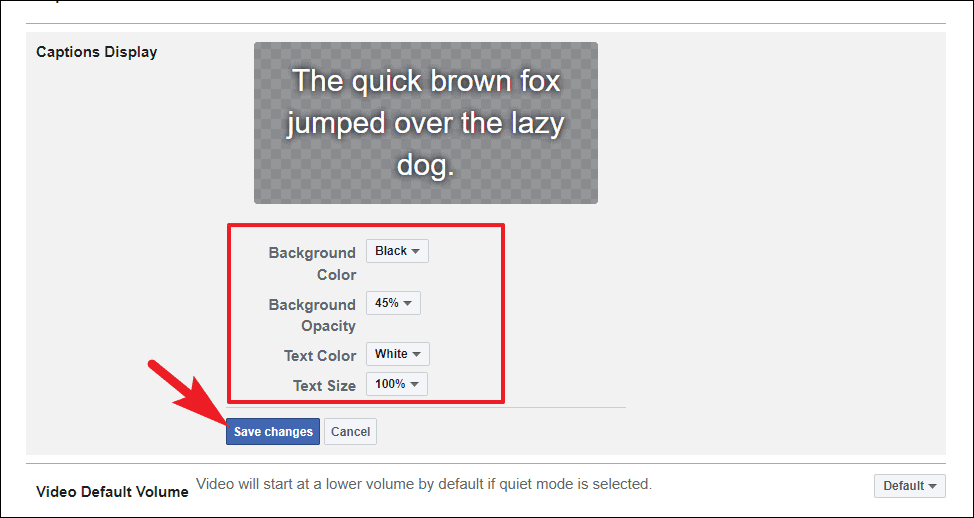
To edit the caption style, locate the ‘Captions Display’ section on the webpage and click on the ‘Edit’ button present on the far right edge of it.
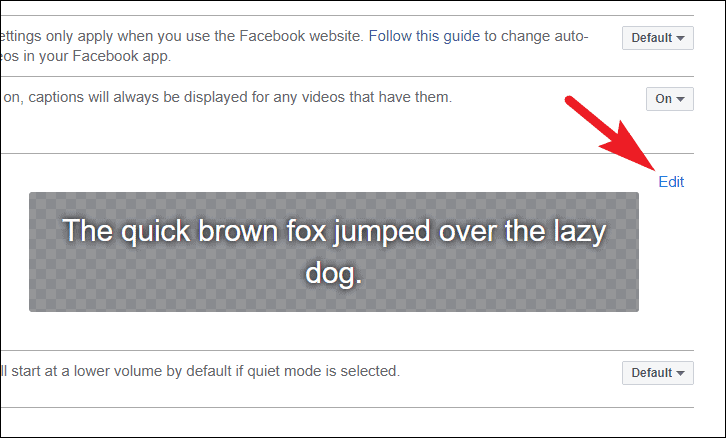
You can then change the text size, background color, text color, text size, and even the background opacity to your liking. Once set as per your preferences, click on the ‘Save changes’ button to apply the changes made.
And that’s it, you have now enabled captions for Facebook videos.
There you go folks, these are all the ways you can see your currently blocked senders list and also unblock them if they earned their way back.


