Microsoft Teams is a comprehensive tool for communication within an organization, be it an office or school. Apart from video meetings, users can also chat with other people within the organization.
Many organizations sometimes disable the chat function on Teams to restrict unmonitored communication amongst employees or students. For instance, a school may disable chat to limit students from talking to each other on the platform.
There are instances when an organization disables this feature but are unable to revert the changes. Maybe a new employee is tasked with chat regulation and is unable to turn on chat. Enabling chat on Teams is very simple, but make sure you have administrator access to make the necessary changes in settings.
Enable Chat in Microsoft Teams
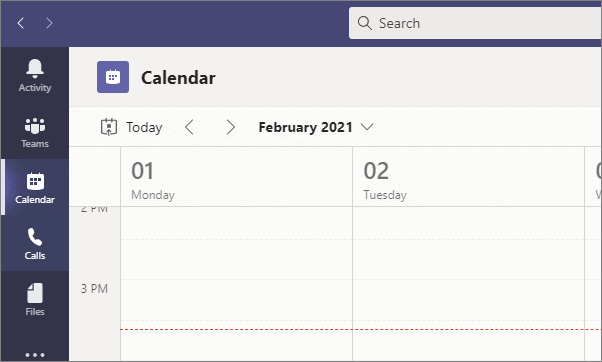
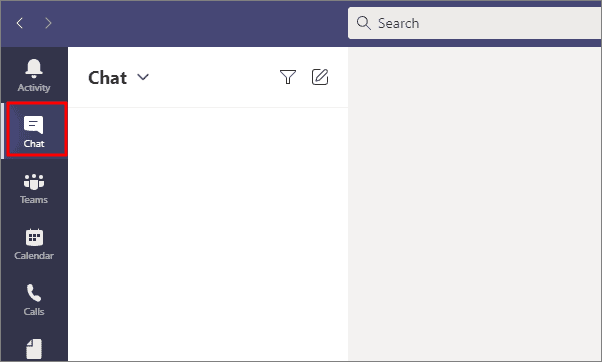
If the chat is disabled for your organization by the admin, you will not see the ‘Chat’ tab in the Teams app.
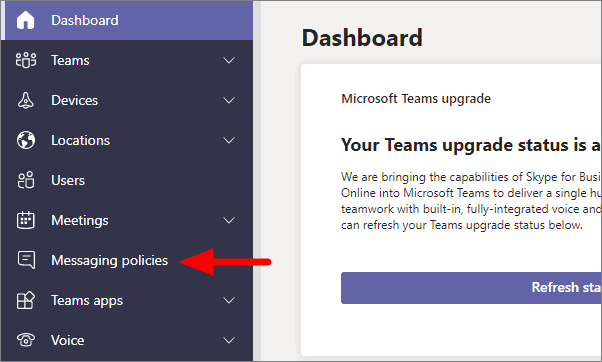
To enable chat, go to admin.teams.microsoft.com and login with your admin account. Then, in the dashboard, select ‘Messaging policies’ from the Navigation Menu.
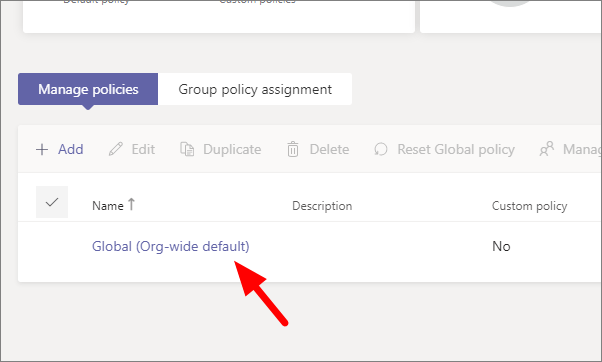
To enable chat for everyone in the organization, click on ‘Global (Org-wide default)’ under Manage policies.
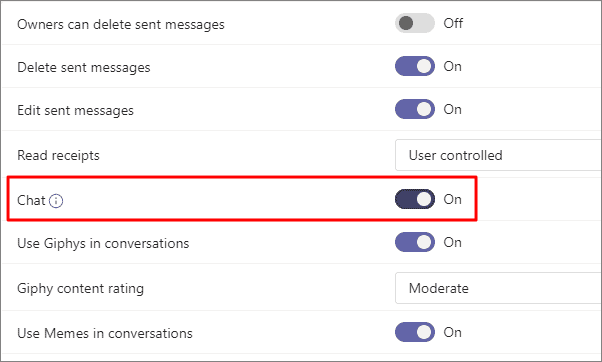
You will see a toggle next to ‘Chat’. If it’s in the off state, click on it to turn it on.
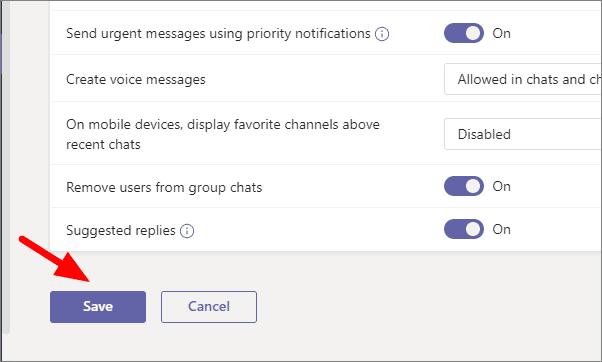
Now scroll to the bottom of the window and click on ‘Save’ to apply the changes.
It may take some time, ranging from a couple of minutes to a few hours, for the change to visible to the users. Once the change is in effect, you and everyone in the organization will see the ‘Chat’ tab below the ‘Activity’ tab in Microsoft Teams app.
The chat has now been enabled for users in Microsoft Teams. You can disable it whenever you want by turning on the toggle. Once the chat is enabled, inform users of the change, so they can start using it right away.
💡 Tip:
If the Chat option doesn’t appear in the Teams app even after enabling it in the admin center, then fully close and clear the Teams app cache and then login again to get the Chat option.