
Mail and Calendar apps are the two apps majority of people use, be it a working professional who uses it to schedule meetings, or even a college student who wants to keep track of their assignment and not miss any deadline on the submissions.
Since both are integrated and accessible from within each other, you can turn on the dark mode from any one of them and the other will follow the suit. However, for your convenience, we are showing both the ways to turn on the dark mode on both of these apps.
Enable Dark Mode in Windows 11 Mail App
Enabling dark mode in the Windows 11 mail app is fairly straightforward and only requires a couple of clicks from your side.
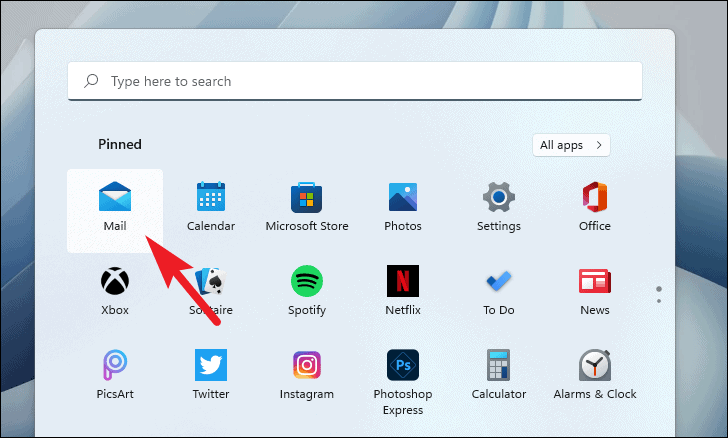
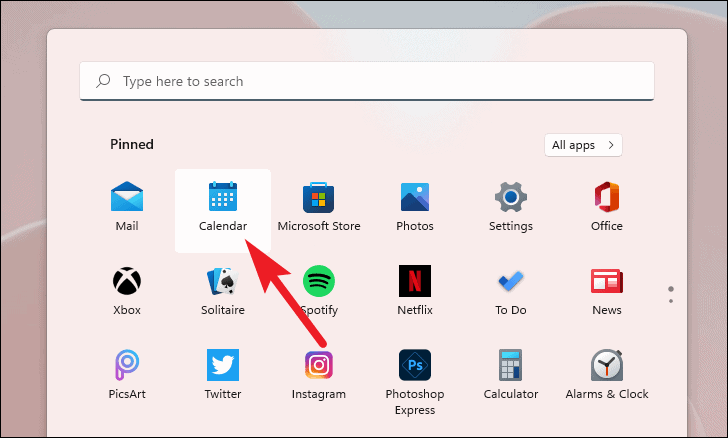
First, click on the ‘Start Menu’ icon present in your taskbar. Then locate and click to launch the Windows ‘Mail’ app on your computer.
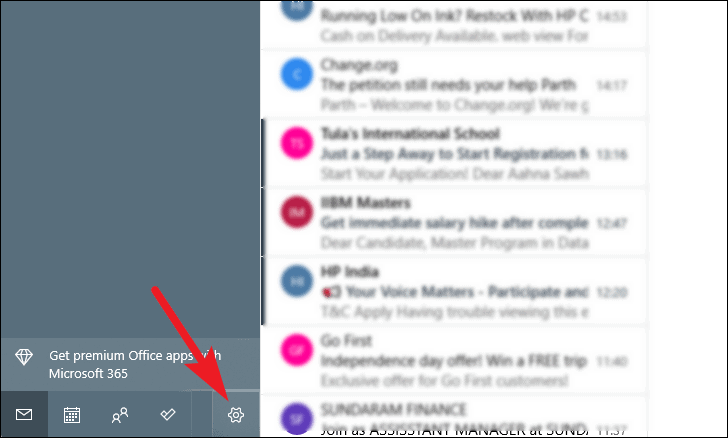
After that, click on the ‘gear’ icon present on the bottom right corner of the left sidebar. This will open an overlay ‘Settings’ pane on the right side of the ‘Mail’ app.
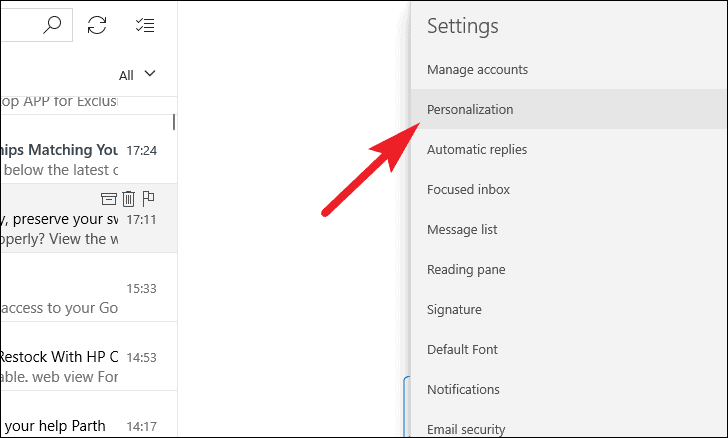
Next, click on the ‘Personalization’ option present on the overlay ‘Settings’ pane.
After that, locate the ‘Dark Mode’ option on the overlay pane and click on the radio button preceding the said option to switch to the dark theme. You will see the changes instantly as you select the option.
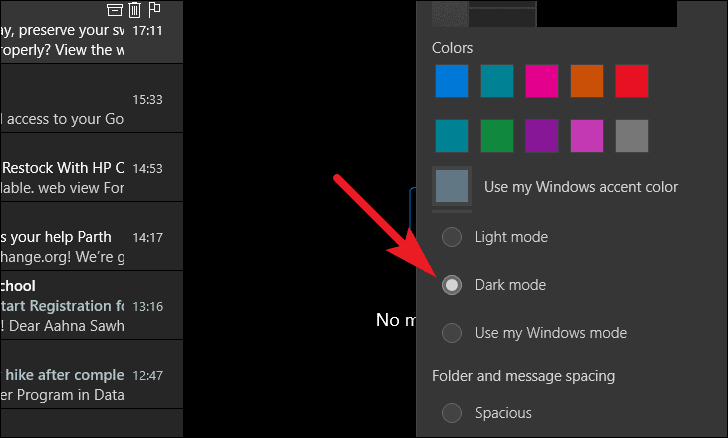
Note: All further screenshots are in ‘Light mode’ for your better viewability.
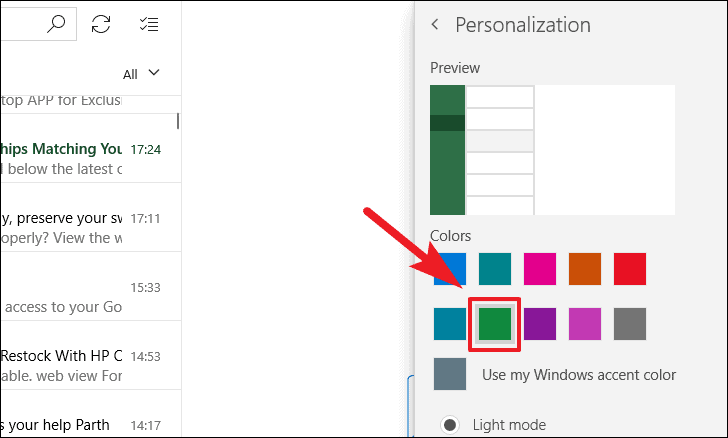
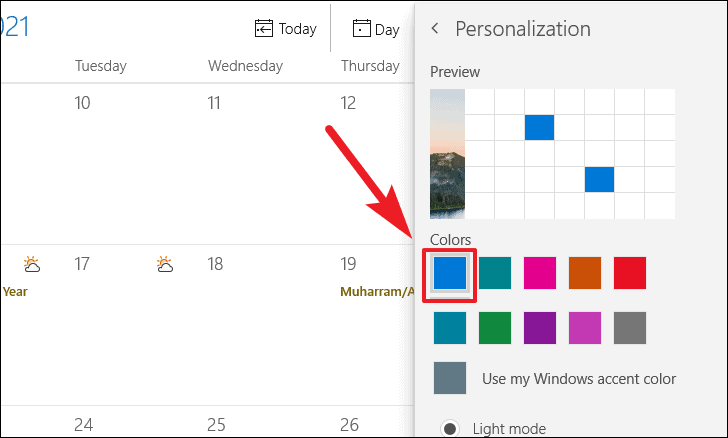
Now, you can also change accent colors in your mail app. To do so, locate the ‘Colors’ section on the overlay ‘Personalization’ pane and then click on the color block from the grid of options.
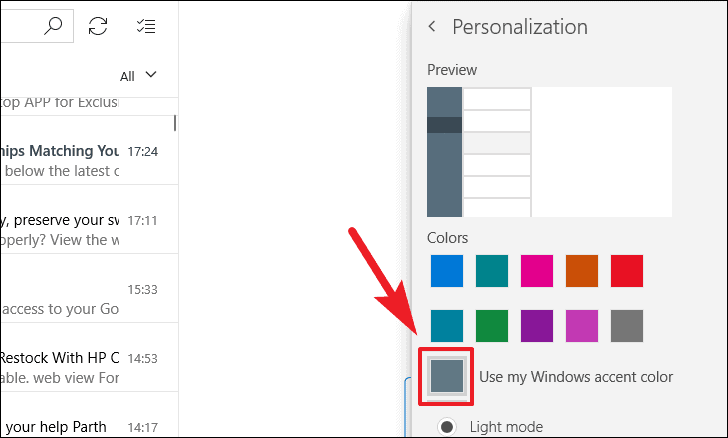
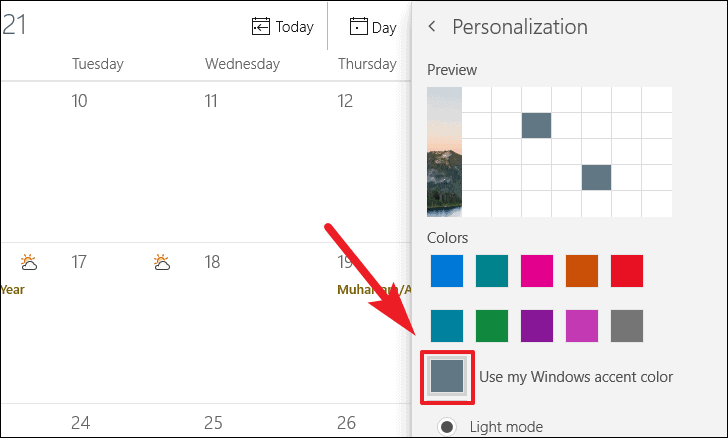
Alternatively, to use system-wide accent color, click on the color block preceding the ‘Use my Windows accent color’ option.
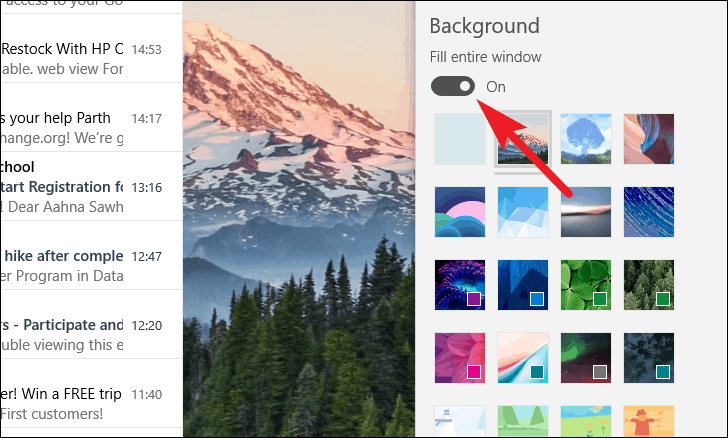
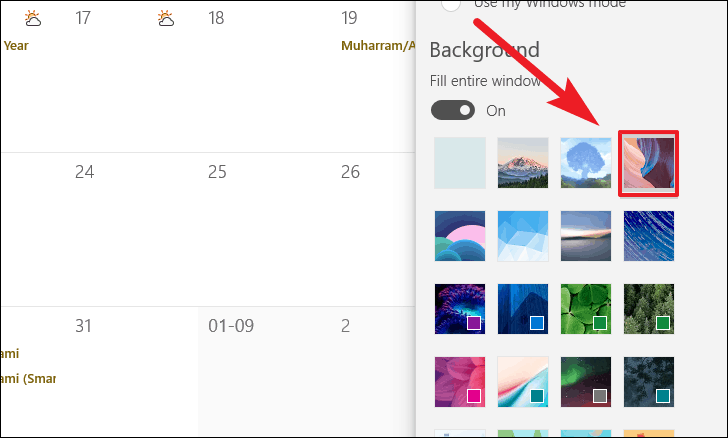
Now, if you wish to change the background on your Windows ‘Mail’ app; you can do so by locating the ‘Background’ section and clicking on one of the picture thumbnails present under it.
Note: Since the Mail app and Calendar app is integrated with each other, whichever background image you will choose in the Windows ‘Mail’ app or ‘Calendar’ app will be automatically applied to the other as well.
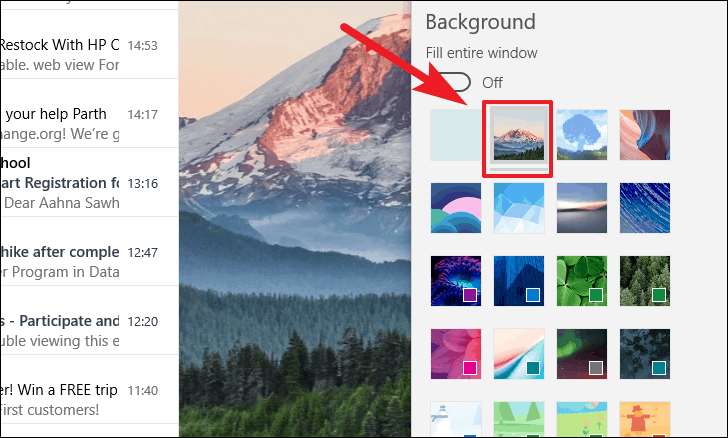
Next, to fill in the background picture on the ‘Mail’ app window toggle the switch present under the ‘Fille entire window’ field to the ‘On’ position. This will extend the background picture to the left sidebar as well.
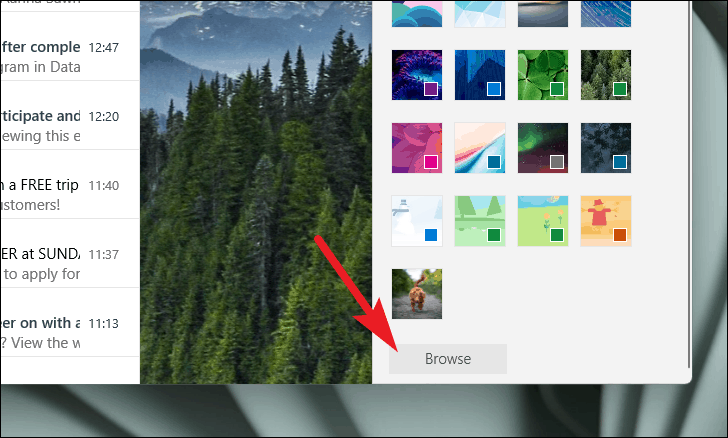
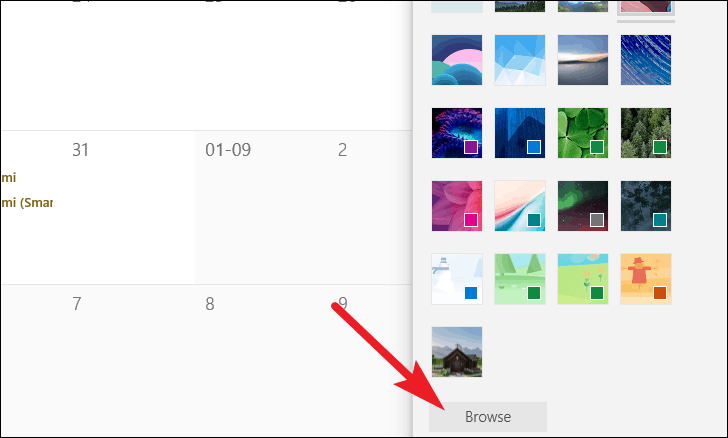
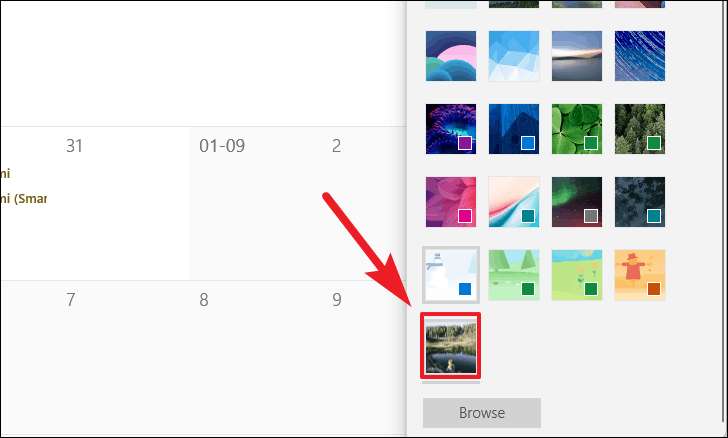
Moreover, you can also import a picture and use it as a background that is stored on your local storage by clicking on the ‘Browse’ button and then locating the supported image file using the file explorer.
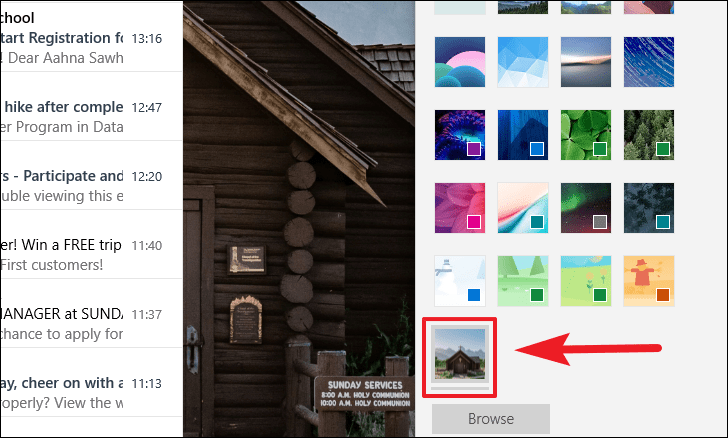
Once imported, click on the picture thumbnail to set it as background on your Windows Mail app.
Enable Dark Mode in Windows 11 Calendar App
Switching to dark mode is as straightforward as it gets. Moreover, there are a couple of more customization settings on the Mail app to make it feel more personal to you.
First, click on the ‘Start Menu’ present on the taskbar of your Windows 11 PC. Then, locate and click on the ‘Mail’ app situated in the Start Menu.
Alternatively, you can also jump to the Calendar app by clicking on the ‘Calendar’ icon present on the left sidebar of the Windows ‘Mail’ app.
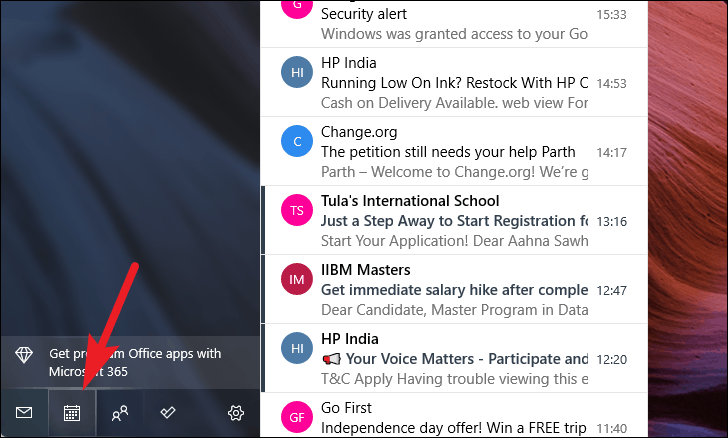
Next, click on the ‘Gear’ icon present on the bottom right corner of the left sidebar on the Calendar app window.
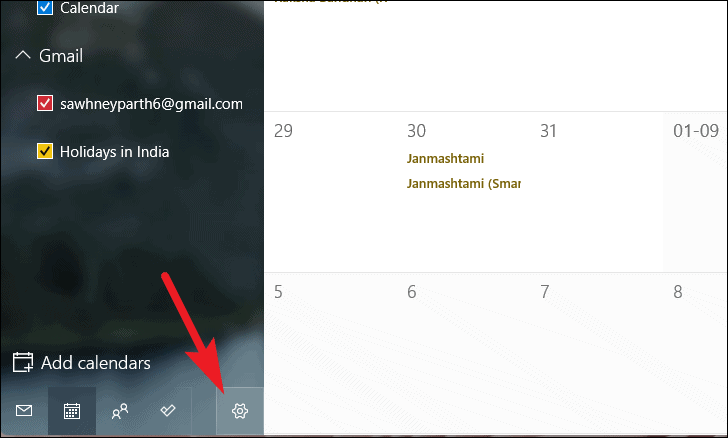
This action will reveal an overlay settings pane on the right side of the Calendar window.
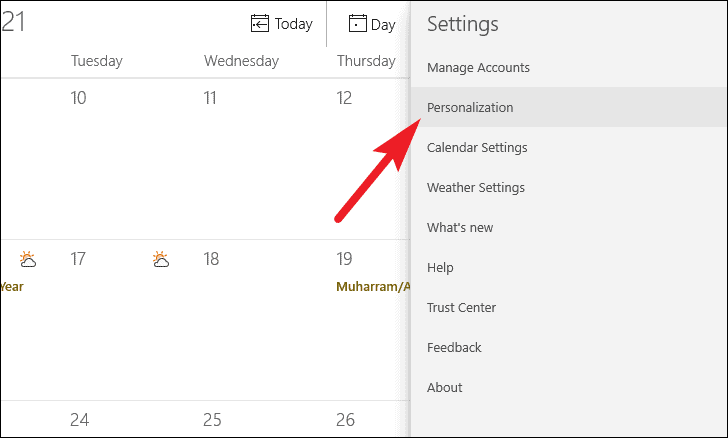
Now, click on the ‘Personalization’ option from the overlay ‘Settings’ pane.
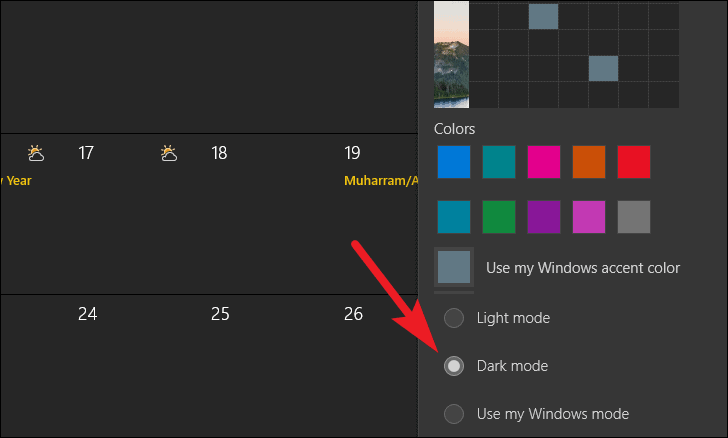
Next, locate the ‘Dark Mode’ option on the overlay pane and click on the radio button preceding the option to switch to the dark mode in the Calendar app. You will see the change instantaneously.
Note: All further screenshots are in ‘Light mode’ for your better viewability.
Now, you can also change the accent colors in the Calendar app as well.
To do so, locate the ‘Colors’ section on the overlay ‘Persnolization’ pane. Then, click on your preferred color from the grid of options.
Alternatively, you can also click on the color option preceding the ‘Use my Windows accent color’ to follow the system-wide accent color in your Calendar app as well.
After that, you can also choose to set a background in your Calendar app.
To do that, scroll down and locate the ‘Background’ section on the overlay ‘Personalization’ window. After that, tap on your preferred background from the grid of options to set one.
Note: Here the ‘Fill entire window’ will be turned on by default since you will only be able to see your background picture on the left sidebar.
Alternatively, you can also choose a picture from your local storage to use as a background by clicking on the ‘Browse’ button and then locating the picture from the explorer to import it in the Calendar app.
Next, click on the imported picture thumbnail present under the ‘Background’ section to set it as a background.
There you go folks, turn on the dark mode and save your eyes from the excessive eye strain.


Member discussion