
Memory compression in Windows 11 enhances your system’s performance by efficiently managing the data stored in your RAM. By compressing unused or infrequently accessed data, it allows more applications and processes to reside in the physical memory, reducing the need to swap data to and from the hard drive. However, since compressing and decompressing data can consume CPU resources, you might want to enable or disable this feature depending on your system’s performance. This guide will show you how to check if memory compression is enabled and how to turn it on or off.
Check the current status of memory compression
Using the Terminal application
You can use the Terminal app to quickly check whether memory compression is enabled on your system. Follow these steps:
- Open the
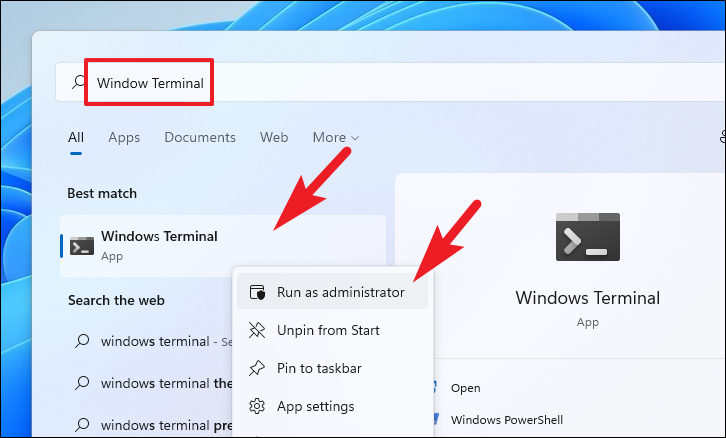
Start Menuand typeTerminalin the search bar.

- Right-click on the Terminal app in the search results and select Run as administrator.
- In the Terminal window, type the following command and press
Enter:
Get-MMAgent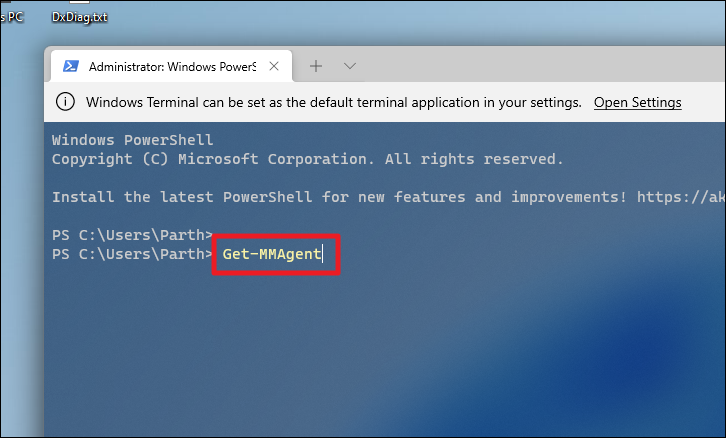
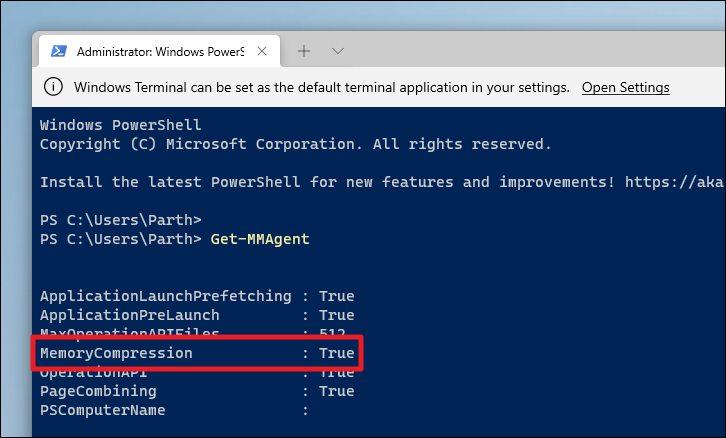
- Look for the MemoryCompression line in the output. If it displays
True, memory compression is enabled. If it displaysFalse, it is disabled.
Using Task Manager
You can also check the status of memory compression through the Task Manager. Here’s how:
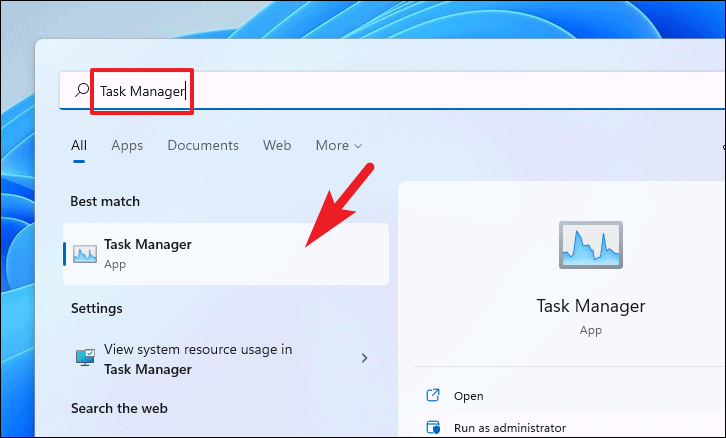
- Open the
Start Menuand typeTask Manager. Then, click on the Task Manager app in the search results.
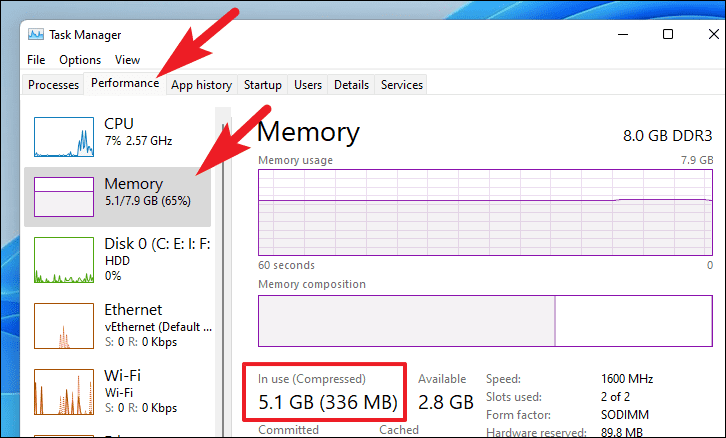
- In the Task Manager window, click on the Performance tab.
- Select Memory from the left sidebar.
- Check the In use (Compressed) line. If you see a value for compressed memory, it indicates that memory compression is enabled.
Now that you know the current status of memory compression on your system, you can enable or disable it as needed.
Enable or disable memory compression using the Terminal application
You can enable or disable memory compression by executing a simple command in the Terminal app.
- Open the
Start Menuand typeTerminal. Then, right-click on the Terminal app in the search results and select Run as administrator.
To enable memory compression, type the following command in the Terminal window and press Enter:
Enable-MMAgent -mc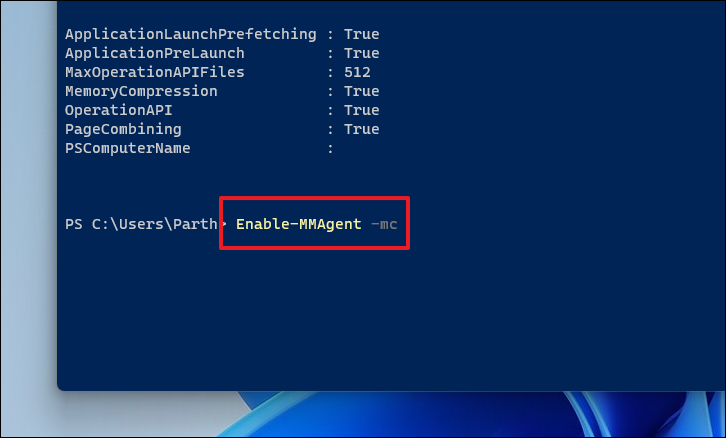
After executing the command, restart your computer to apply the changes.

To disable memory compression, enter the following command in the Terminal window and press Enter:
Disable-MMAgent -mc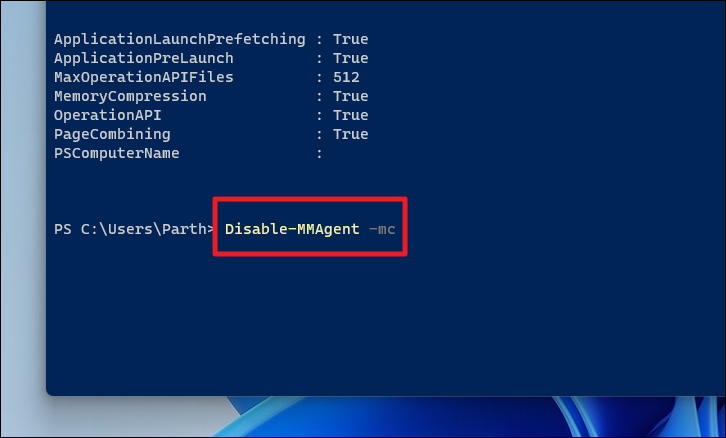
Then, restart your computer to apply the changes.

Memory compression can improve your system’s performance by making better use of your RAM. However, if your CPU usage is consistently high, disabling memory compression might help reduce CPU load. Adjust this setting based on your system’s performance needs.


