The Group Policy Editor is a valuable tool for managing system settings and configurations in Windows. While it's typically unavailable in the Home edition of Windows 11, there are ways to access its functionalities without upgrading to the Pro or Enterprise editions. In this guide, we'll explore how to enable the Group Policy Editor on Windows 11 Home Edition.
Download Policy Plus – an alternative to Group Policy Editor
If you're unable to install the traditional Group Policy Editor or prefer a user-friendly alternative, Policy Plus is a free and open-source application that provides similar functionalities.
To download Policy Plus:
- Visit the official GitHub repository at github.com/Fleex255/PolicyPlus.
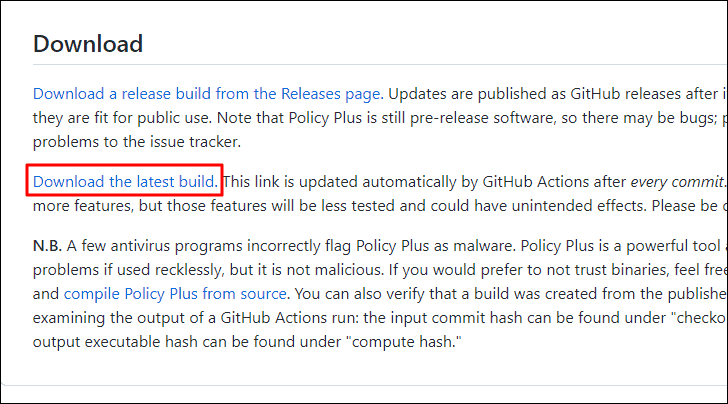
- Scroll down to the 'Download' section and click on 'Download the latest build'.
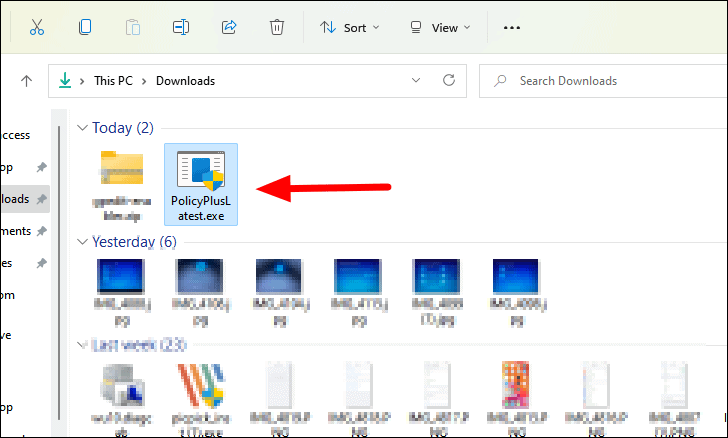
- Navigate to the folder where the file was downloaded and double-click on it to run.
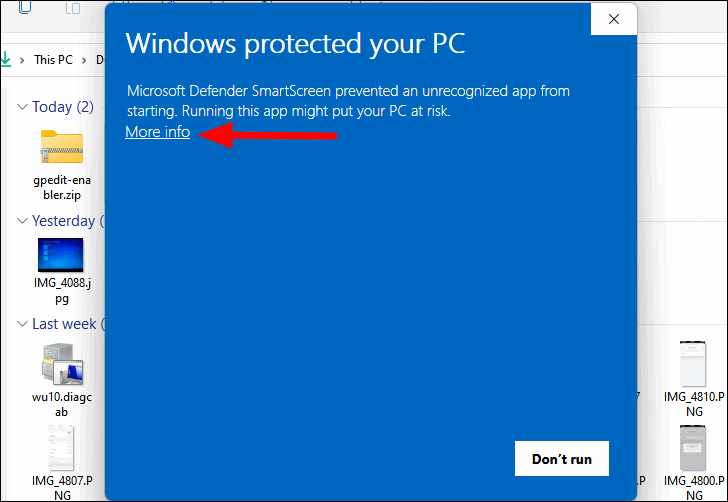
- If you see a 'Windows protected your PC' message, click on 'More info'.
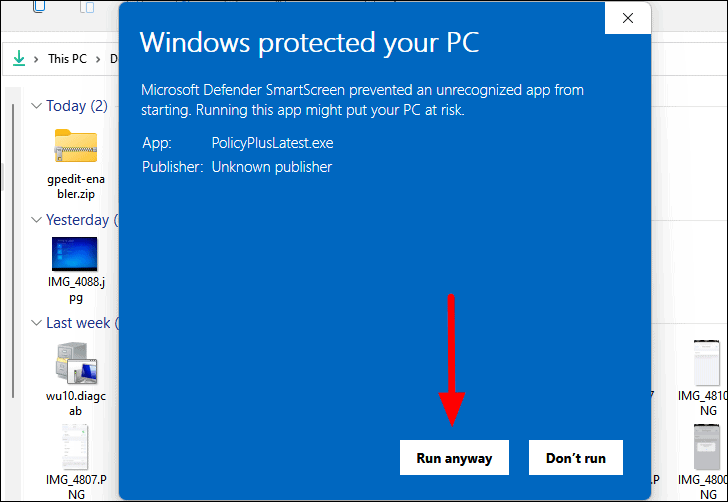
- Click on 'Run anyway' to proceed. Confirm any User Account Control prompts that appear.
Policy Plus will now launch, providing an interface similar to the Group Policy Editor with an organized navigation panel on the left. Spend some time familiarizing yourself with the tool to effectively manage your system policies.
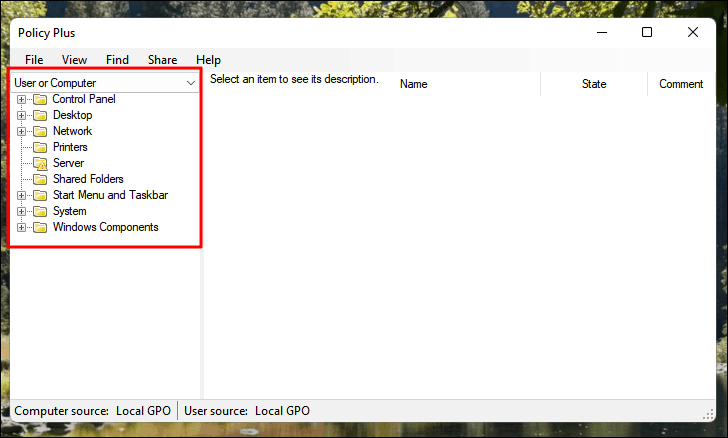
Install Group Policy Editor from a batch file
If you prefer to enable the built-in Group Policy Editor, you can do so by running a batch file that executes specific commands to install it.
Here’s how to create and run a batch file to install the Group Policy Editor:
- Press
WINDOWS+Sto open the search menu. Type 'Notepad' and click on it to open.
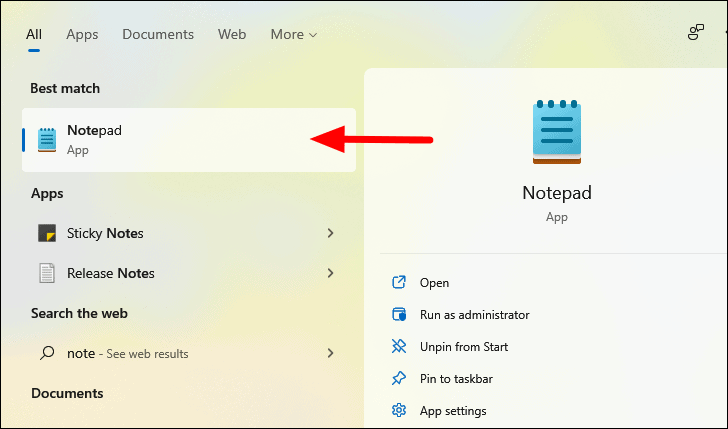
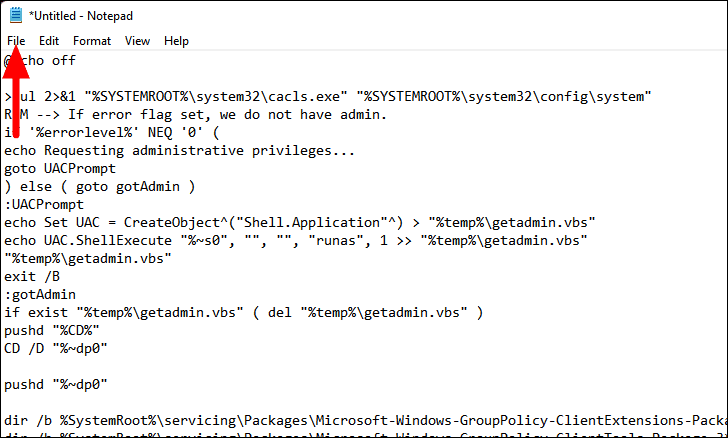
- Copy and paste the following commands into the Notepad window:
@echo off

>nul 2>&1 "%SYSTEMROOT%\system32\cacls.exe" "%SYSTEMROOT%\system32\config\system"
REM --> If error flag set, we do not have admin.
if '%errorlevel%' NEQ '0' (
echo Requesting administrative privileges...
goto UACPrompt
) else ( goto gotAdmin )
:UACPrompt
echo Set UAC = CreateObject^("Shell.Application"^) > "%temp%\getadmin.vbs"
echo UAC.ShellExecute "%~s0", "", "", "runas", 1 >> "%temp%\getadmin.vbs"
"%temp%\getadmin.vbs"
exit /B
:gotAdmin
if exist "%temp%\getadmin.vbs" ( del "%temp%\getadmin.vbs" )
pushd "%CD%"
CD /D "%~dp0"

pushd "%~dp0"

dir /b %SystemRoot%\servicing\Packages\Microsoft-Windows-GroupPolicy-ClientExtensions-Package~3*.mum >List.txt
dir /b %SystemRoot%\servicing\Packages\Microsoft-Windows-GroupPolicy-ClientTools-Package~3*.mum >>List.txt

for /f %%i in ('findstr /i . List.txt 2^>nul') do dism /online /norestart /add-package:"%SystemRoot%\servicing\Packages\%%i"
pause- Click on the 'File' menu at the top-left corner and select 'Save'.
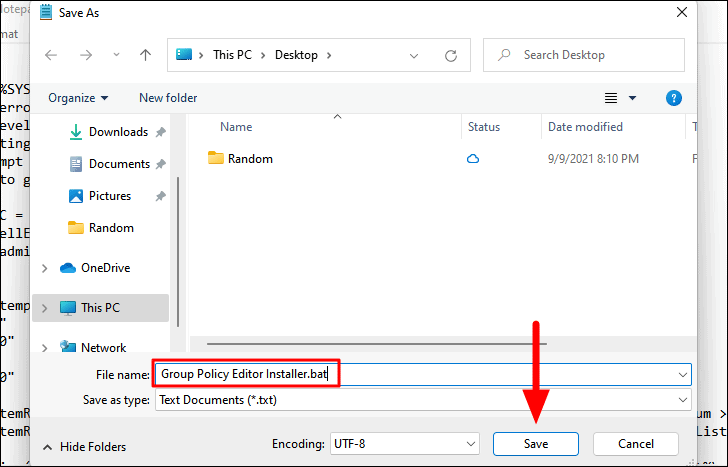
- In the 'Save as' dialog, navigate to the Desktop. Enter 'Group Policy Editor Installer.bat' as the file name and click 'Save'.
- On the Desktop, right-click the 'Group Policy Editor Installer.bat' file and select 'Run as administrator'. Confirm any User Account Control prompts.
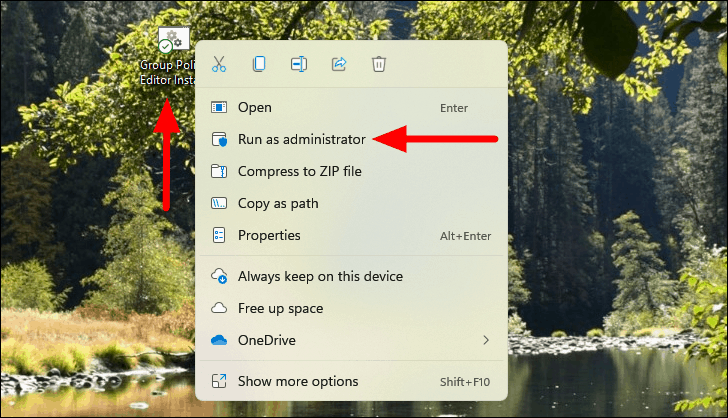
- A Command Prompt window will open, displaying the installation progress. Wait for the process to complete, indicated by the message 'The operation completed successfully.'
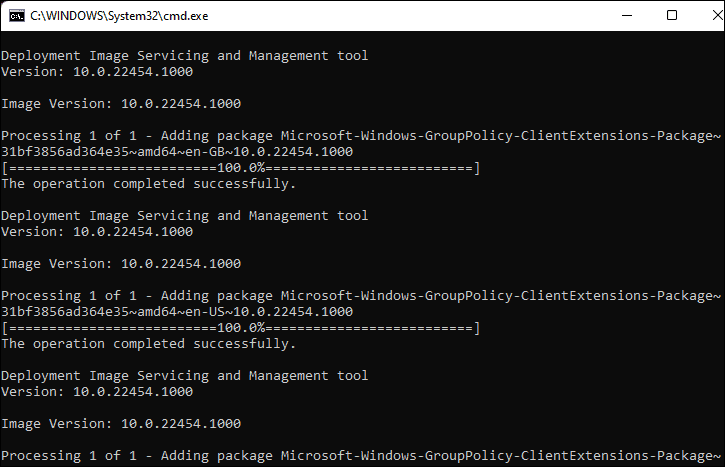
- Restart your computer to apply the changes.
Now, you can access the Group Policy Editor by pressing WINDOWS + R, typing 'gpedit.msc', and pressing ENTER.
Verify if your PC has the Group Policy Editor
Before attempting installation, it's advisable to check if the Group Policy Editor is already present on your system.
To verify:
- Press
WINDOWS+Rto open the Run dialog. - Type 'gpedit.msc' into the text field and click 'OK' or press
ENTER.
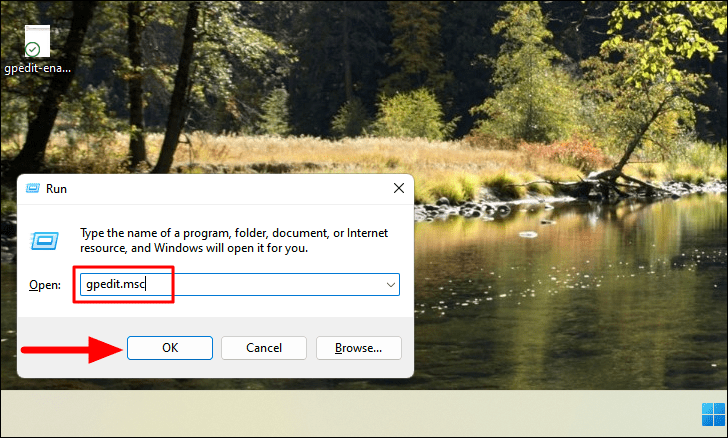
If you receive an error message stating that Windows cannot find 'gpedit.msc', it indicates that the Group Policy Editor is not installed.
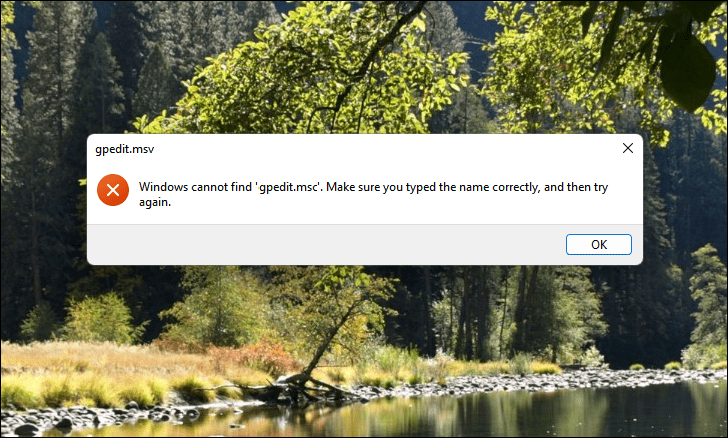
In that case, you can proceed with one of the installation methods described above.
With these methods, you can effectively enable the Group Policy Editor on your Windows 11 Home Edition, allowing you to manage system settings without upgrading to a different version of Windows.

