
With all offices and schools around the world temporarily shut amid the Corona-virus crisis, the video chatting platform Zoom has seen huge growth. But many users are looking for Zoom alternatives because of the growing concern over Zoom’s security measures.
Unlike other popular video conferencing platforms like Google Meet and Microsoft Teams, Zoom has thus far lacked basic account security measures like Two-Factor authentication.
Thankfully, that changes with the release of two-factor authentication for both free and licensed Zoom users. You can now set up a second layer of authentication for your Zoom account using your favorite authenticator app, or you could also use the SMS-based OTP received on your registered mobile number.
What is Zoom Two-Factor Authentication
To simply put, two-factor authentication for your Zoom account means a second password for your account. One that is randomly generated and expires in a few seconds/minutes. This magic is done by an authentication app like the Google Authenticator.
Zoom 2FA also supports an SMS-based setup, where you get an OTP (One Time Password) on your registered mobile number.
Two-factor authentication is an easy escape to the growing concerns over username and passwords being stolen, compromised, and dumped publicly for misuse, misconduct, and many unimaginable things.
With Zoom 2FA, businesses and educational institutes can now enforce two-factor authentication on all user accounts to ensure better security within their respective organizations.
How to Enable Zoom 2FA for All Users within an Organization
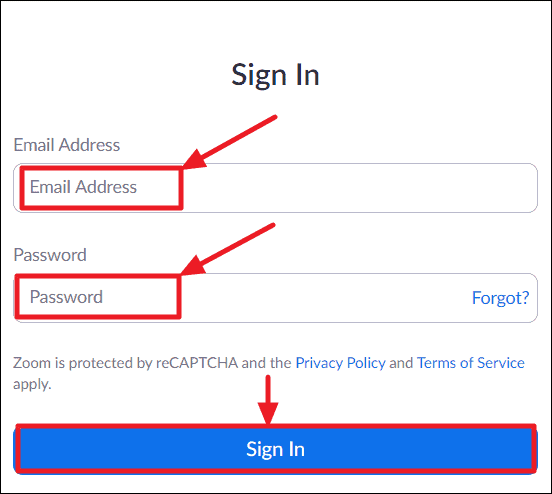
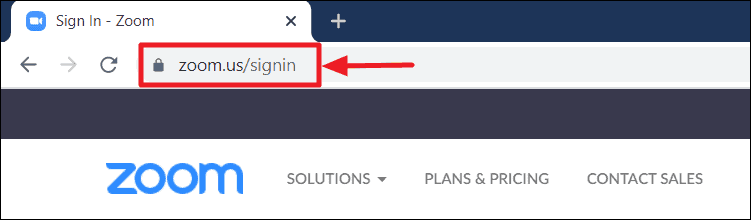
If you’re an admin within an organization and looking to enable Zoom 2FA for all users, go to zoom.us/signin and login with admin account credentials.
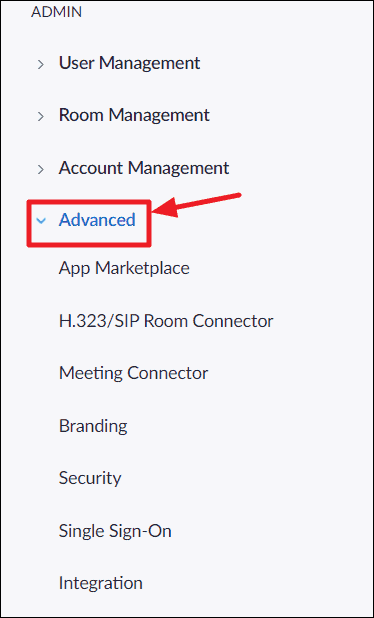
After logging in, click the ‘Advanced’ option in the navigation panel on the left to expand and view all advanced settings available for your Zoom account.
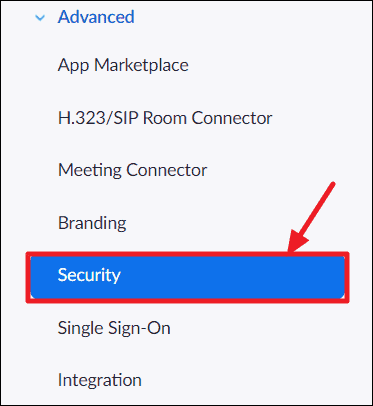
Under the ‘Advanced’ section, select on the ‘Security’ option. This will open up a page that consists of all the settings related to the privacy & security measures of your account.
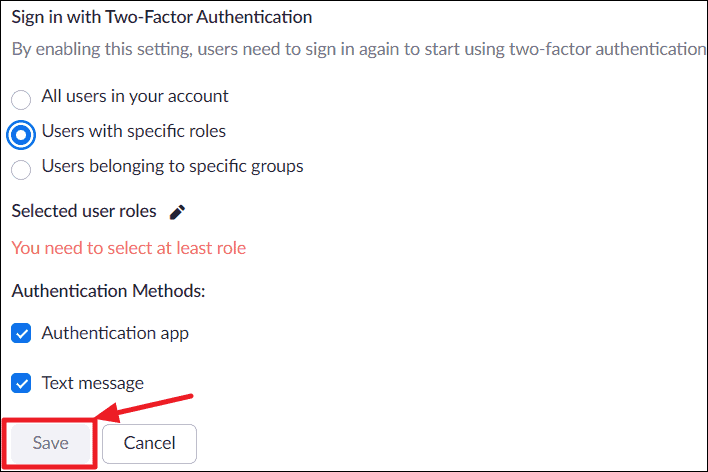
Scroll-down on the security settings page and look for the “Sign in with Two-factor Authentication” option. Enable the option and select one of the settings provided below.
All users in your account: This setting enables mandatory 2FA for all the user accounts in the organization.

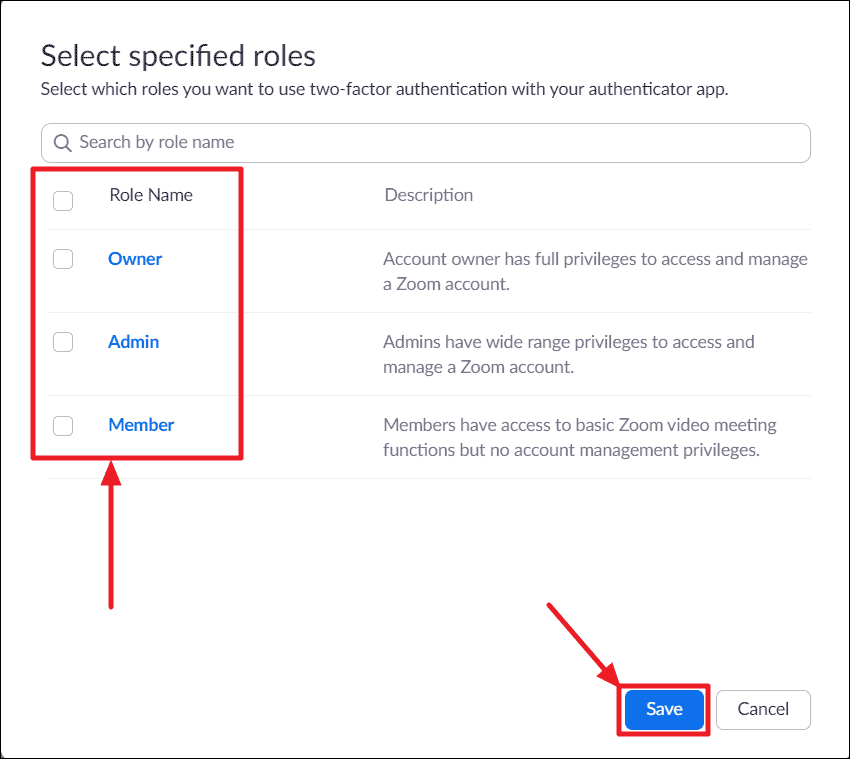
Users with specific roles: This setting enables 2FA for only the users with some specified roles. Click on the pencil icon beside “Selected user roles”, choose the roles, then click Save.
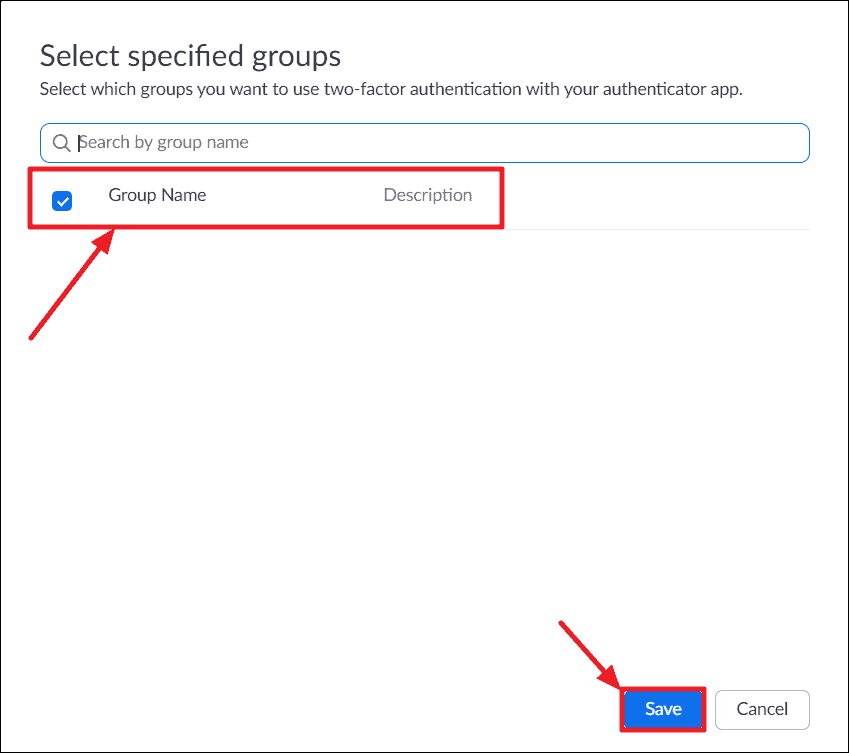
Users belonging to specific groups: This enables 2FA for users that are in the specified groups. Click the pencil icon, choose the groups, and click save.
Finally, to confirm your two-factor authentication settings, click the ‘Save’ button.
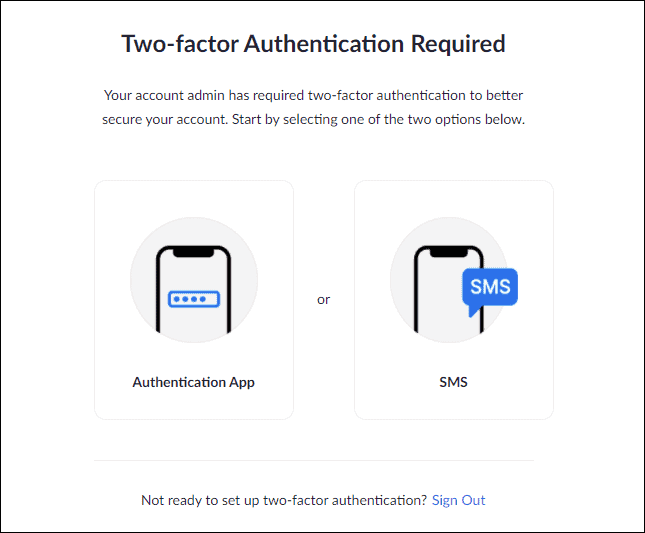
The next time your organizations’ users will login to their Zoom account, they will see a “Two-Factor Authentication Required” screen with options to set up an authentication method of their choice (that’s if you enabled both “Authentication app” and “Text message (SMS)” authentication methods.
How to Enable Zoom 2FA on Individual Accounts
Setting up two-factor authentication on individual accounts is different than setting it up on admin accounts. Zoom users who are not a part of an organization or have a ‘Member’ role within an organization account won’t see the option to enable two-factor authentication in Zoom Advanced » Security settings.
On individual Zoom accounts, two-factor authentication can be enabled from the Profile settings page.
First, go to zoom.us/signin and login with your Zoom account.
Once you have signed in, the default ‘Meetings’ page will appear on the screen.
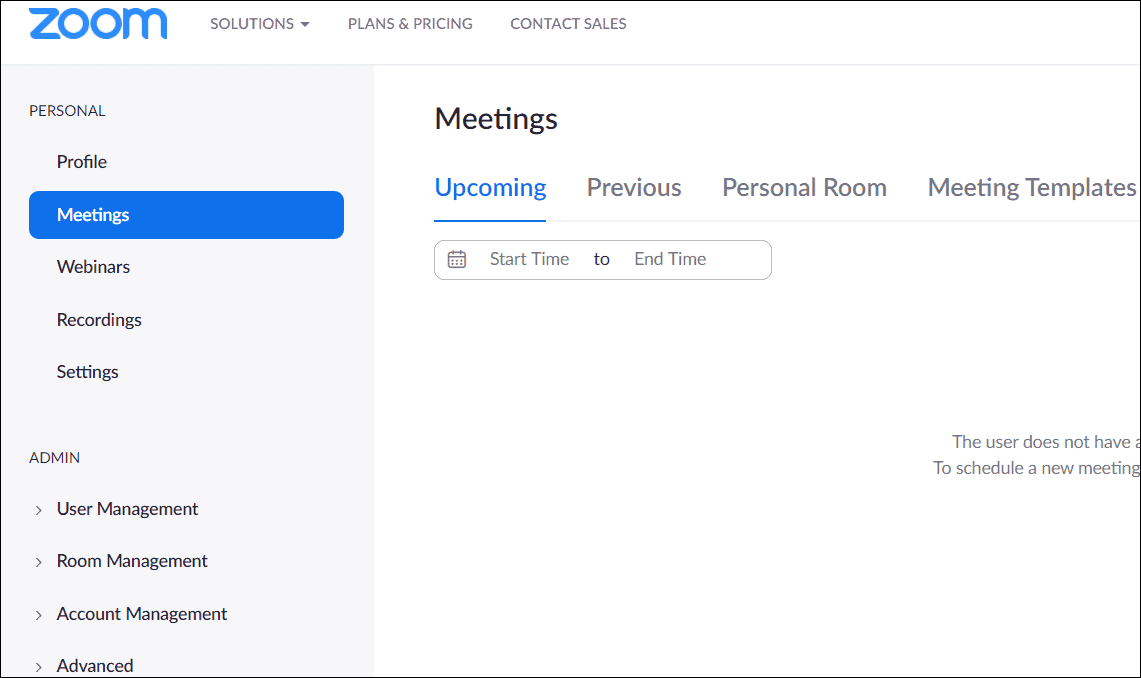
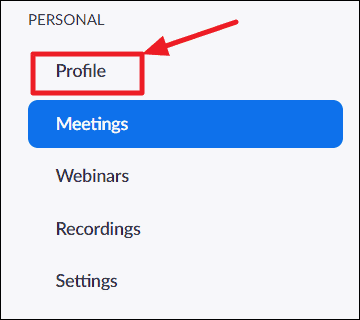
In the navigation panel on the left, click on the ‘Profile’ option. This will open settings related to your profile which includes changing your Name, Password, and a few others.
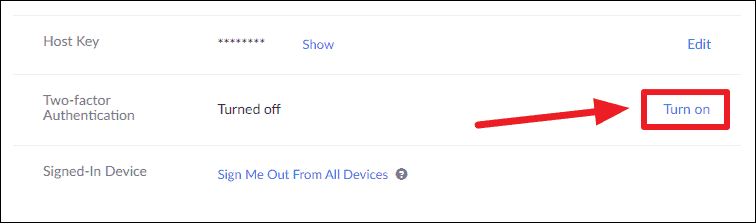
Scroll down on the Profile settings page until you see the “Two-factor Authentication” option. It should be in the ‘Turned off’ state by default. Click on the ‘Turn On’ option on the right side of the screen to enable and set up 2FA on your Zoom account.
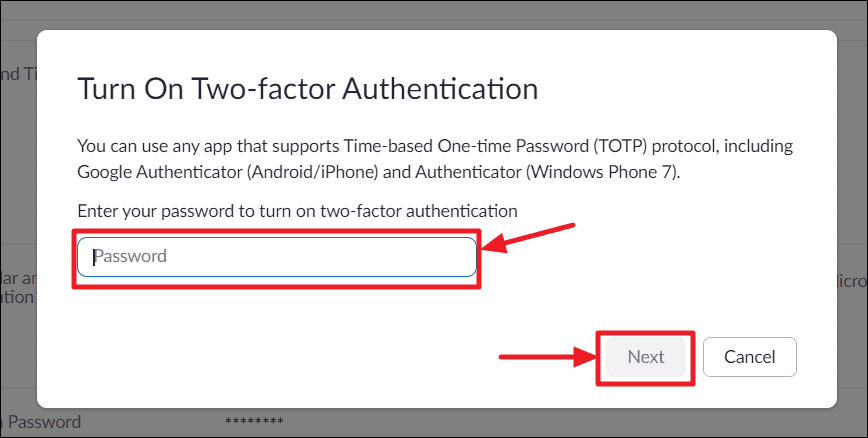
You will be asked to enter your Zoom password to turn on two-factor authentication, enter your password and click the next button.
Once Two-Factor Authentication is enabled on your Zoom account, you’ll see options to set up 2FA with either an ‘Authentication App’ like Google Authenticator or SMS or both the methods.
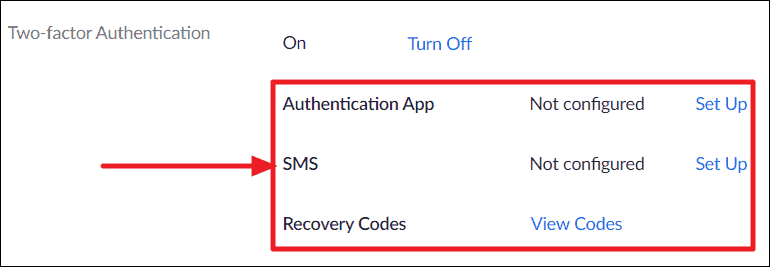
In this guide, we will be using the ‘SMS’ method, but you’re free to set up with any authentication app of your choice as well.
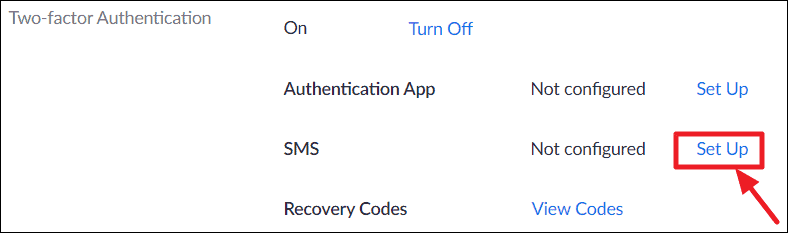
Click on the ‘Set Up’ option present on the right to the SMS option.
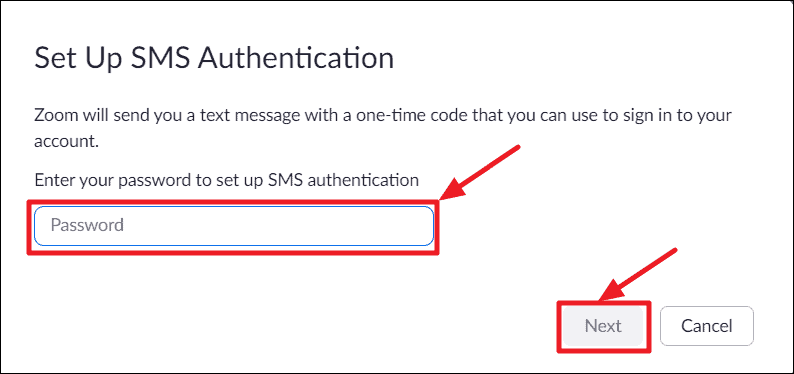
You’ll be asked to verify account ownership again for setting up a 2FA authentication method. Enter your ‘Password’ and click on the ‘Next’ button.
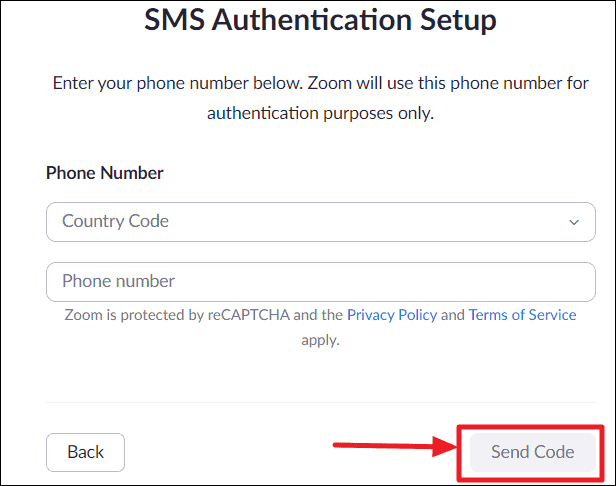
The ‘SMS Authentication Setup’ page will open. Here, configure the phone number on which you’d like to receive authentication codes via SMS by first selecting your country code and then entering your Phone number in the respective fields.
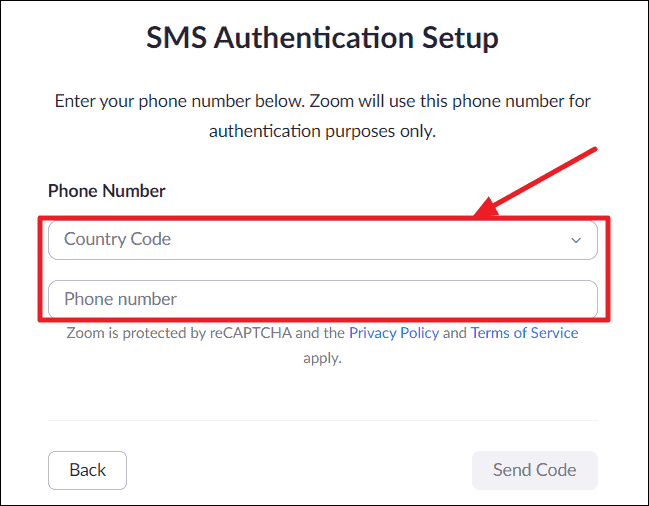
After inserting your phone number, click on the ‘Send Code’ button on the bottom right.
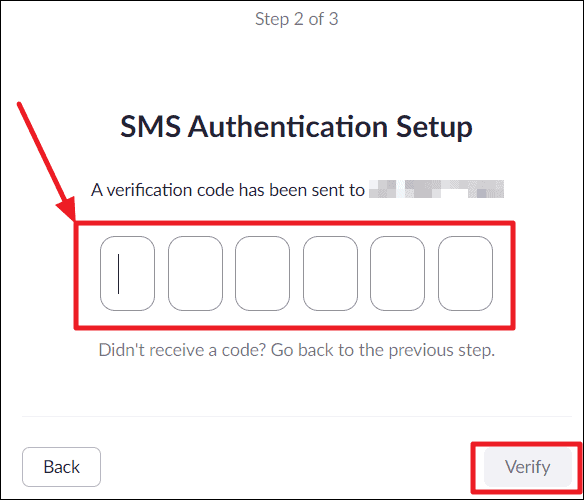
Check text messages inbox on your phone and look for a six-digit verification code sent by Zoom. Enter the code in the dialogue box shown on the screen and hit the ‘Verify’ button.
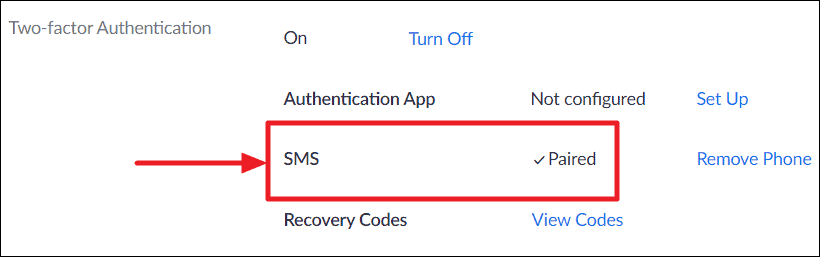
After successful verification, you will be redirected to the Profile settings page of your Zoom account, and you’ll see a ‘Paired’ status for the SMS authentication method under the ‘Two-Factor Authentication’ settings.
You’ll now receive an OTP (One Time Password) on your registered phone number every time you log in to your Zoom account. Mostly when signing in on a new or an unknown device.
Enabling Zoom Two-Factor Authentication provides an additional layer of security since an additional password is now required to sign-in to your Zoom account.