Over time, your Windows 11 PC may experience issues like reduced performance, driver errors, or system glitches that affect your productivity. When standard troubleshooting steps don’t resolve these problems, performing a factory reset can restore your computer to its original condition. This is also essential if you’re planning to give away or sell your PC, as it ensures all your personal data is completely removed. Below, we’ll guide you through two methods to factory reset your Windows 11 device: using the Settings app and the Windows Recovery Environment (WinRE).
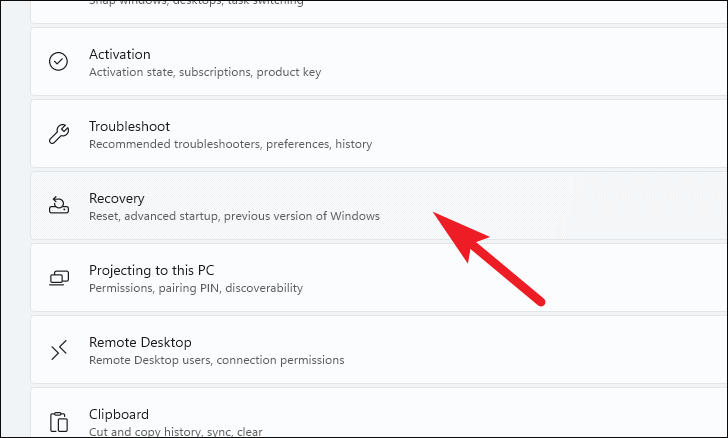
Factory reset Windows 11 from Settings
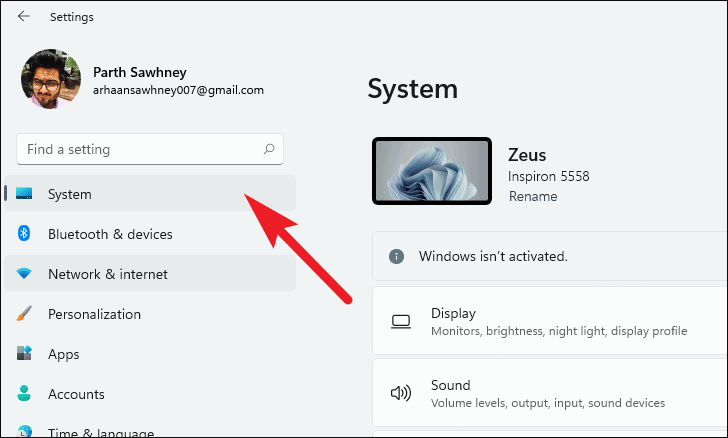
Windows + I on your keyboard.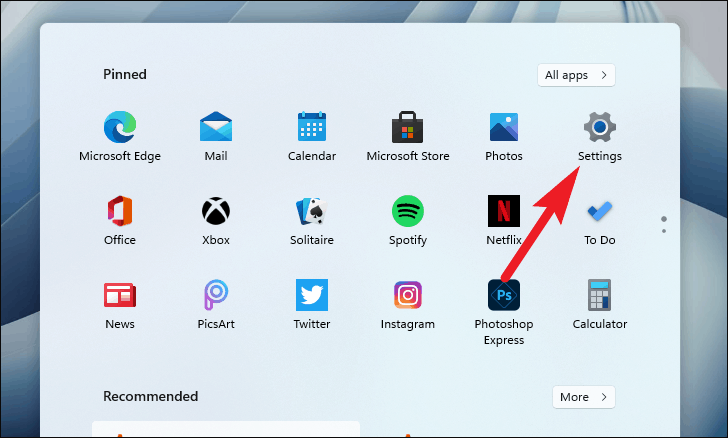
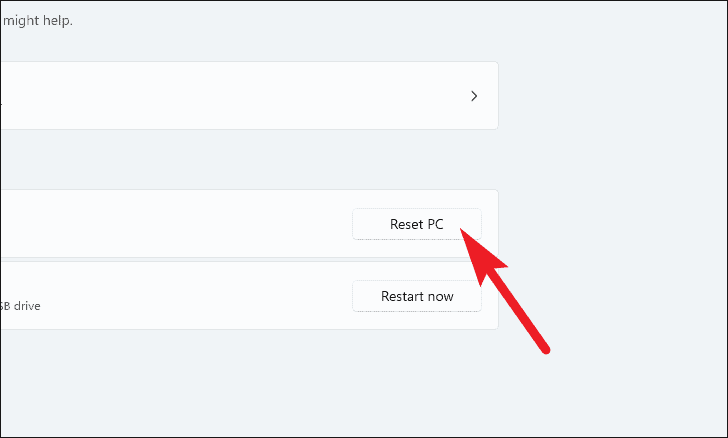
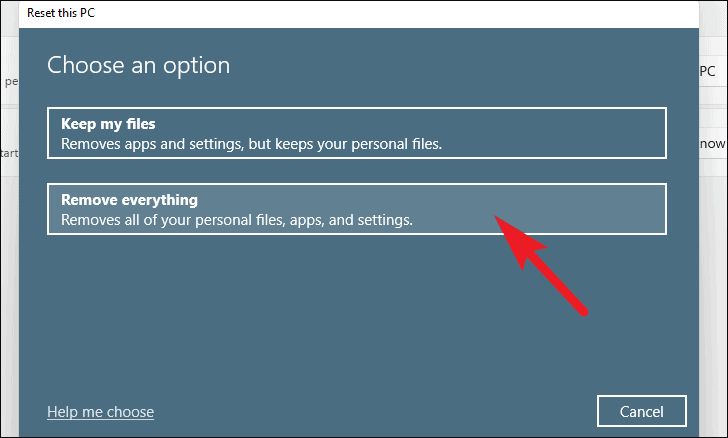
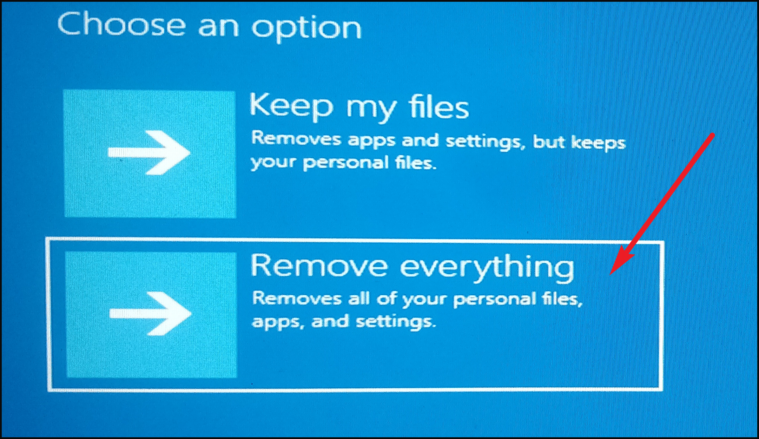
After clicking the Reset PC button, a new window will appear with two options:
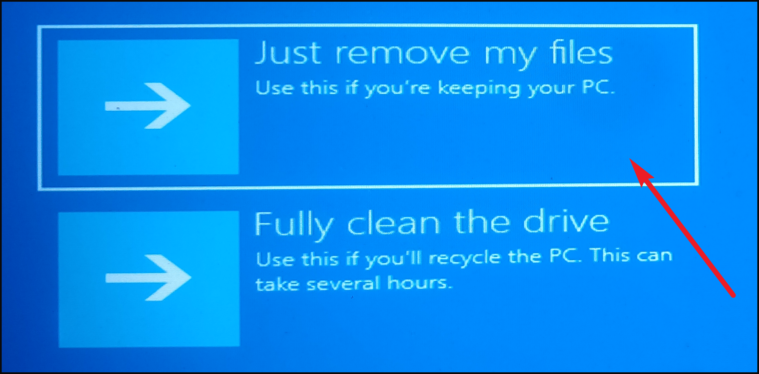
- Keep my files: This option reinstalls Windows and keeps your personal files, but removes apps and settings.
- Remove everything: This option removes all personal files, apps, and settings, restoring your PC to a completely clean state.
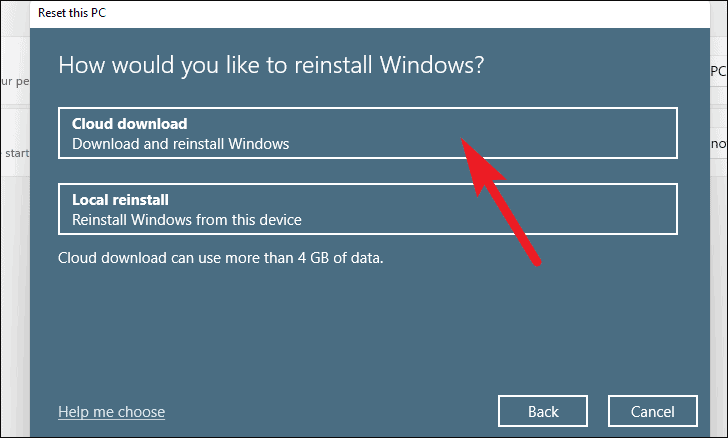
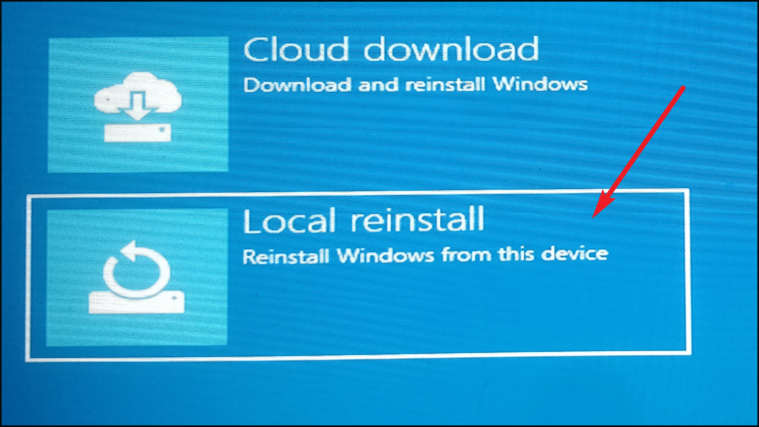
Note: Both options do not require any external installation media.
For this example, we’ll select Cloud download.
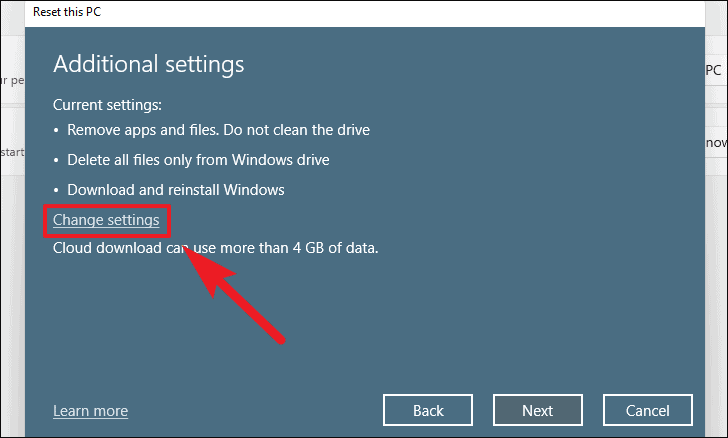
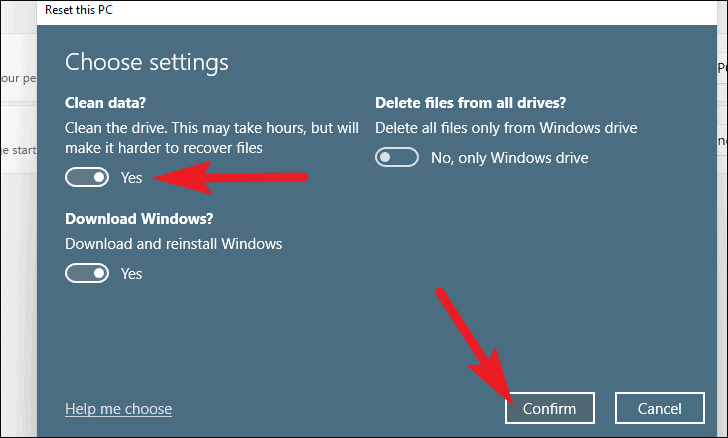
- Clean data? Toggle this to Yes if you want to thoroughly erase your files, making them harder to recover (recommended if you’re giving away your PC).
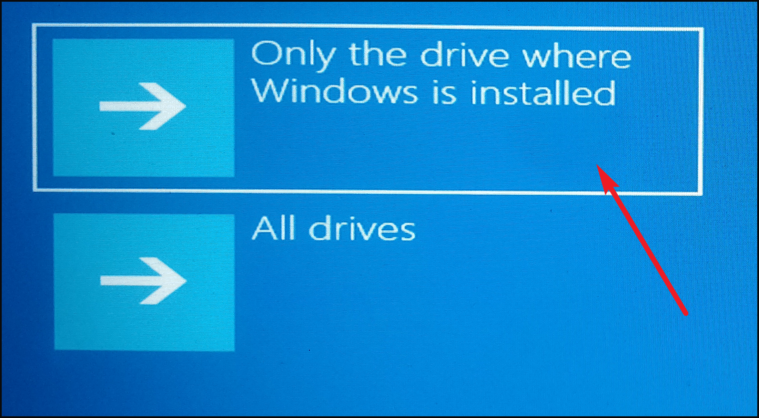
- Delete files from all drives? Switch this to Yes to remove files from all drives, not just the one where Windows is installed.
- Download Windows? Change this if you want to switch between Cloud download and Local reinstall.
Adjust the settings as needed. In this example, we’ll enable Clean data?.

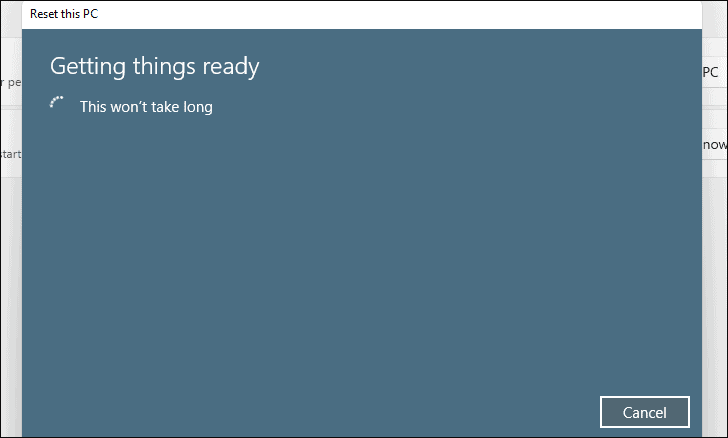
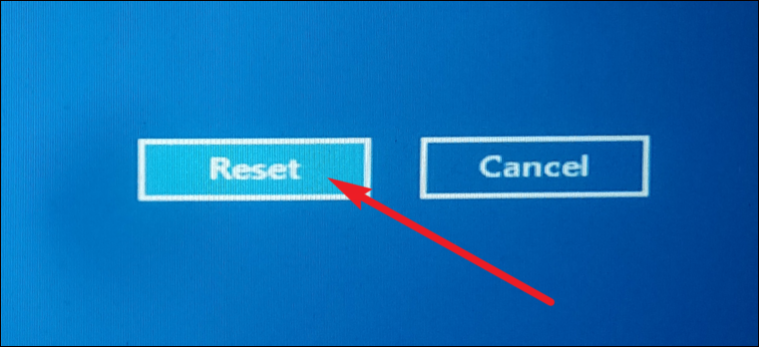
Please wait while Windows prepares to reset your PC. This might take a few moments.
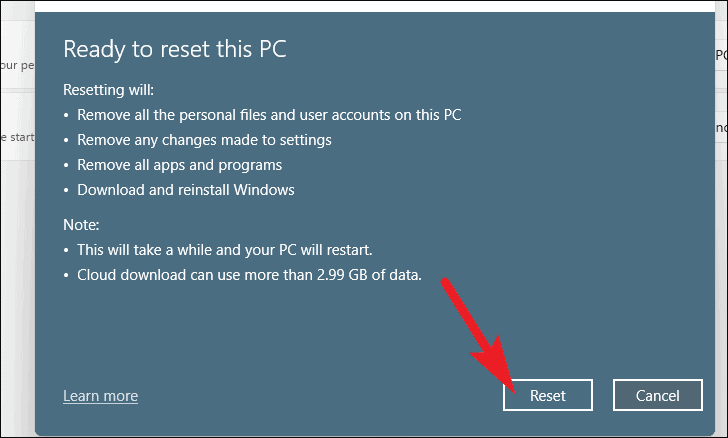
Your computer will restart and begin the reset process. This may take several hours depending on your system and the options you’ve selected. Your PC may restart multiple times during this process, which is normal.
Factory reset Windows 11 from Recovery Mode
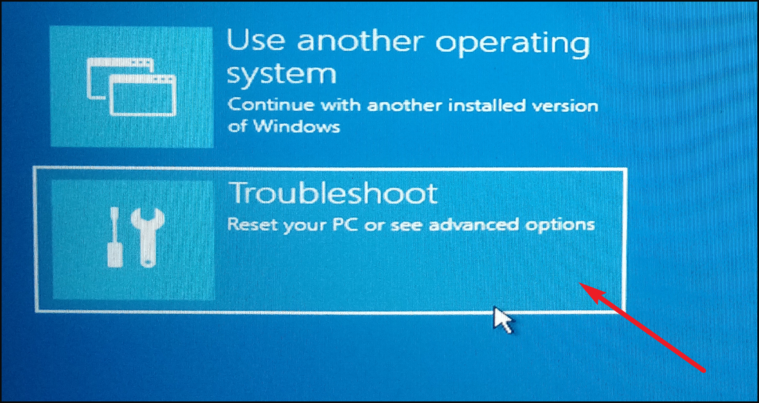
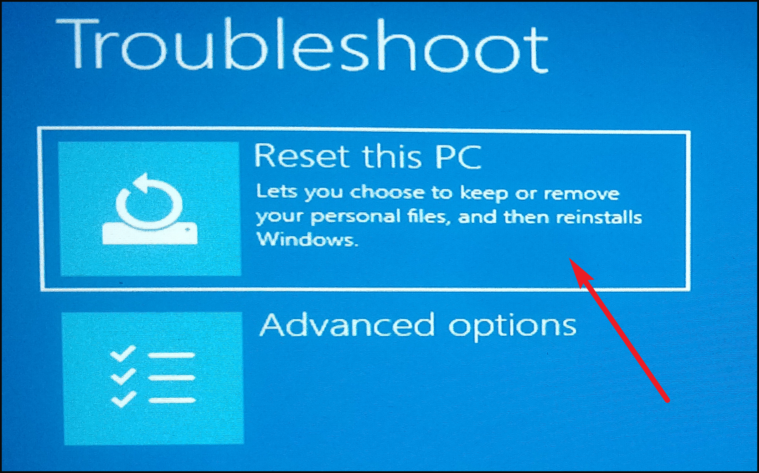
If you’re unable to access the Settings app due to severe system issues, you can reset your PC using the Windows Recovery Environment (WinRE).
Your PC will restart and boot into the Windows Recovery Environment.
Note: No external installation media is required for either option.
Please wait while Windows prepares to reset your PC.

Your PC will start the reset process, which may take some time. The computer will restart several times during this process.
Performing a factory reset can resolve persistent system issues and ensure your personal data is erased when disposing of your PC. By following these methods, you can restore your Windows 11 device to its original state.