How to Fix Blue Screen Error “ntkrnlmp.exe” in Windows 11
6 easy and simple-to-follow methods that can resolve the ntkrnlmp.exe BSOD error on your Windows 11 computer.
6 easy and simple-to-follow methods that can resolve the ntkrnlmp.exe BSOD error on your Windows 11 computer.
by Parth Sawhney
The ntkrnlmp.exe Blue Screen of Death (BSOD) error in Windows 11 is a critical issue that can disrupt your computing experience. This error is often linked to problems with your system’s graphics driver or corrupted system files. While the ntkrnlmp.exe file itself is a crucial component of the Windows operating system, the error indicates that something has caused it to malfunction. Below are several methods to help you diagnose and fix this error on your Windows 11 PC.
1. Repair Corrupted or Damaged System Files
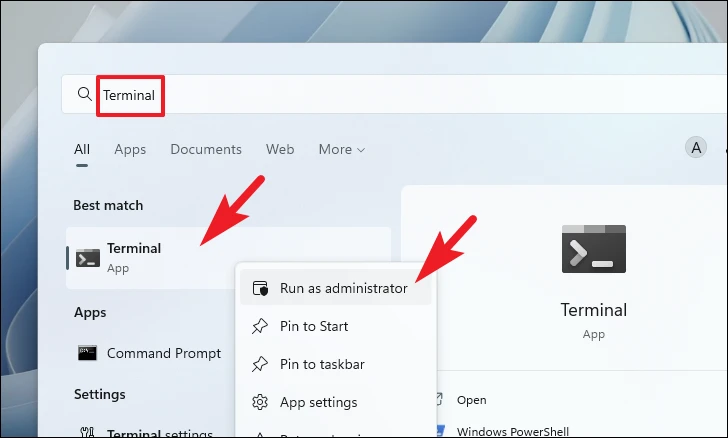
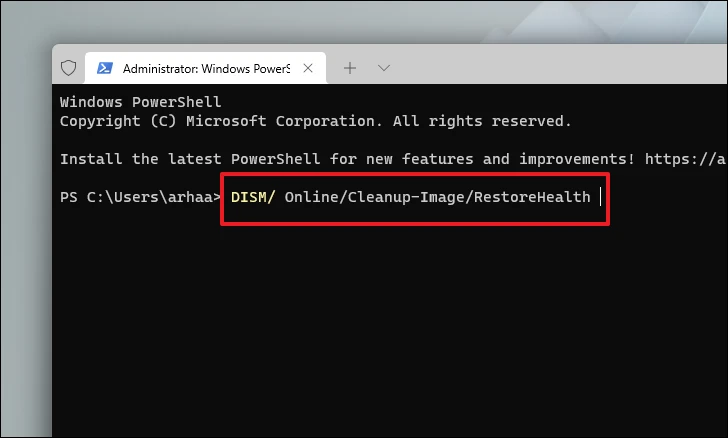
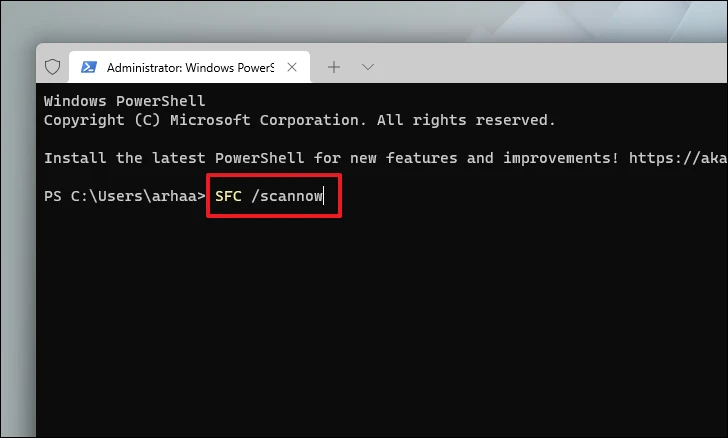
Corrupted or damaged system files can often lead to the ntkrnlmp.exe BSOD error. You can use the built-in DISM and SFC tools to repair your system files.
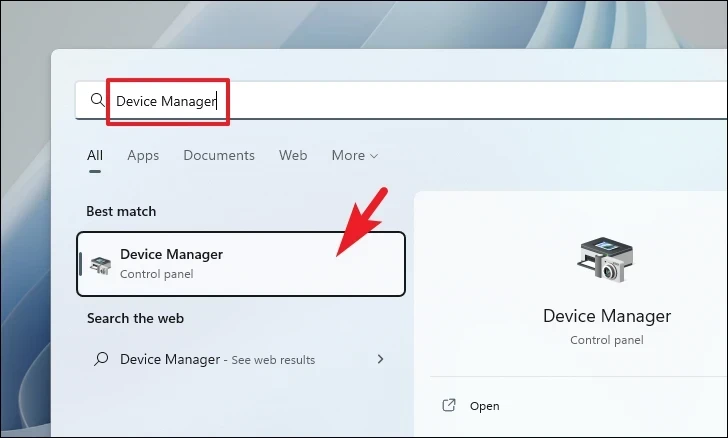
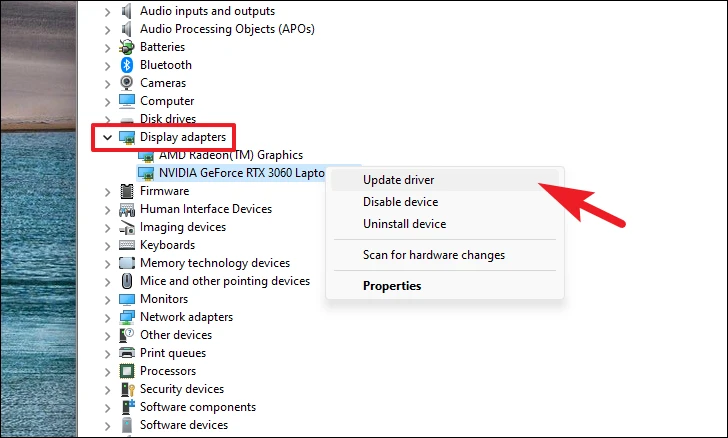
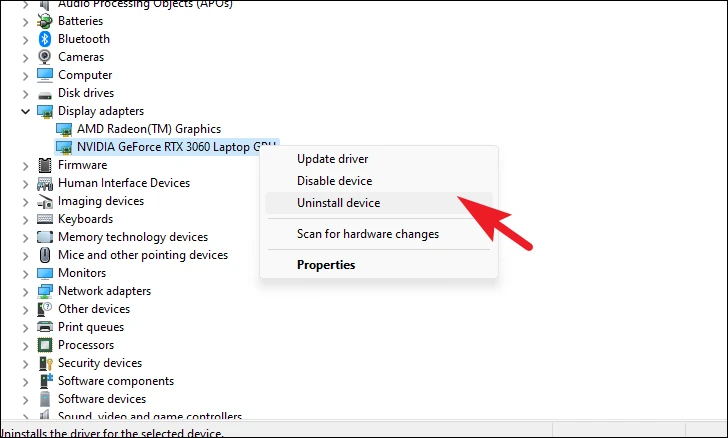
If updating doesn’t fix the issue, you can uninstall and reinstall the driver. Right-click the graphics card in Device Manager and select Uninstall device.
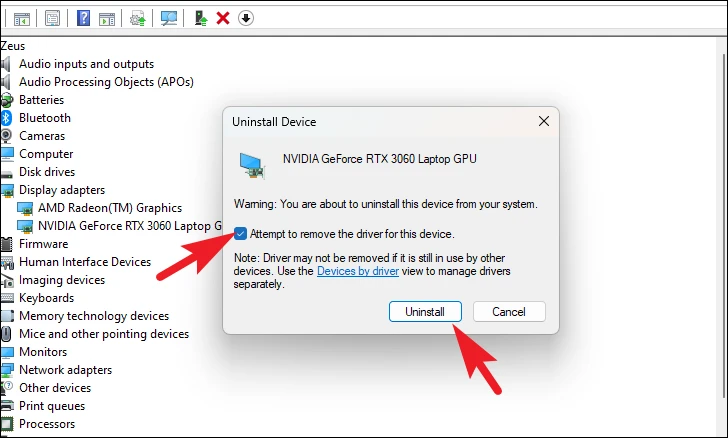
Check the box for Attempt to remove the driver for this device and click Uninstall. Restart your PC and reinstall the driver via Windows Update or the manufacturer’s website.
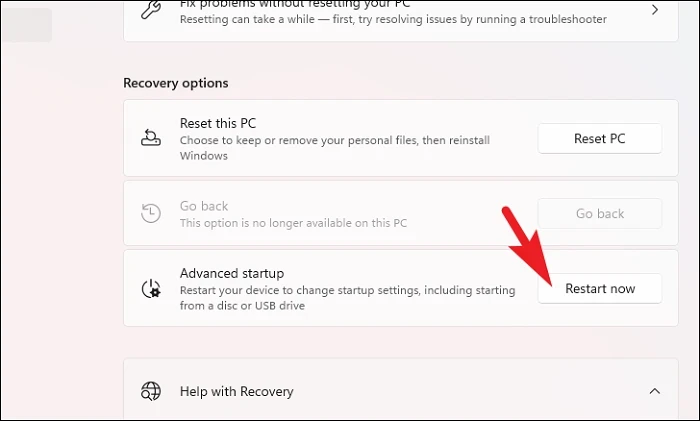
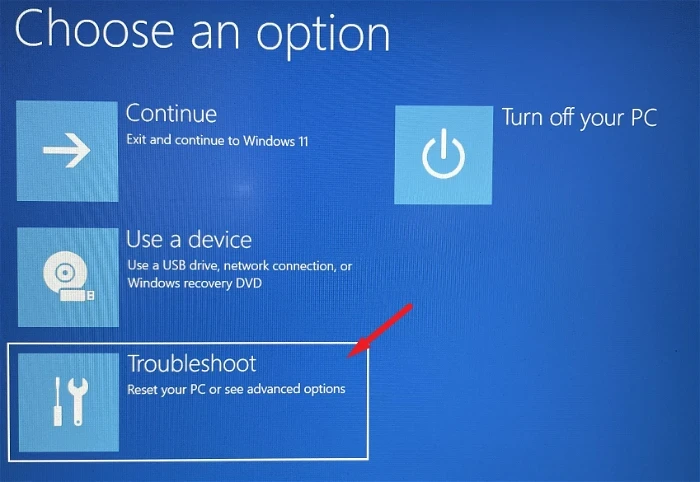
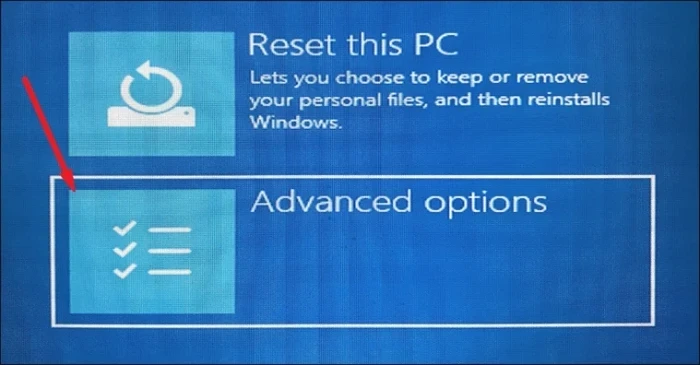
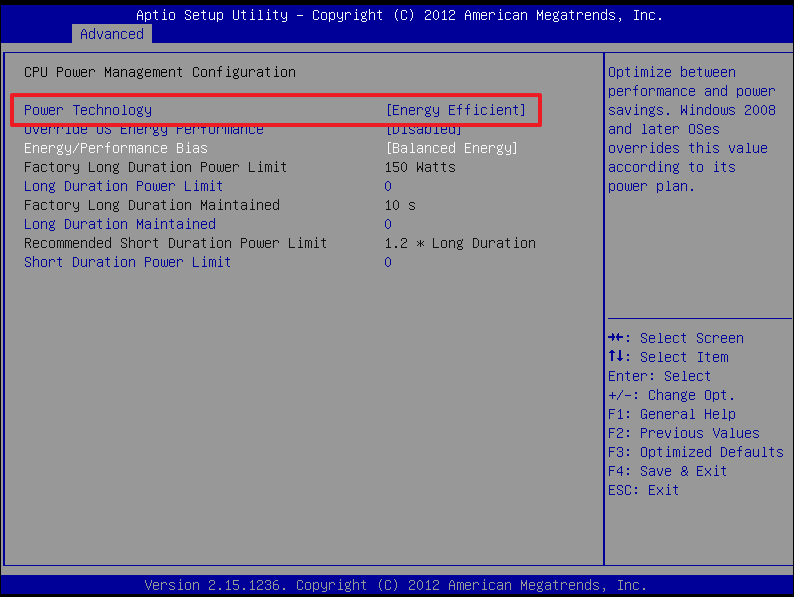
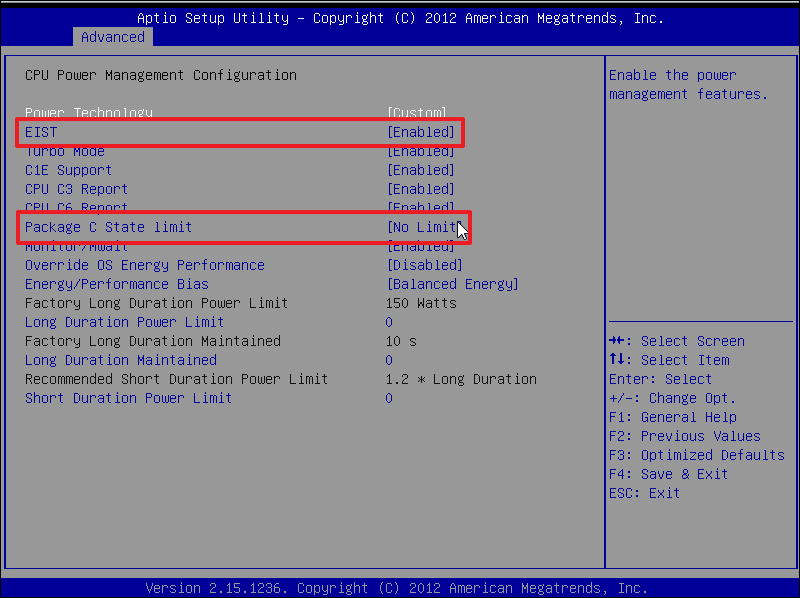
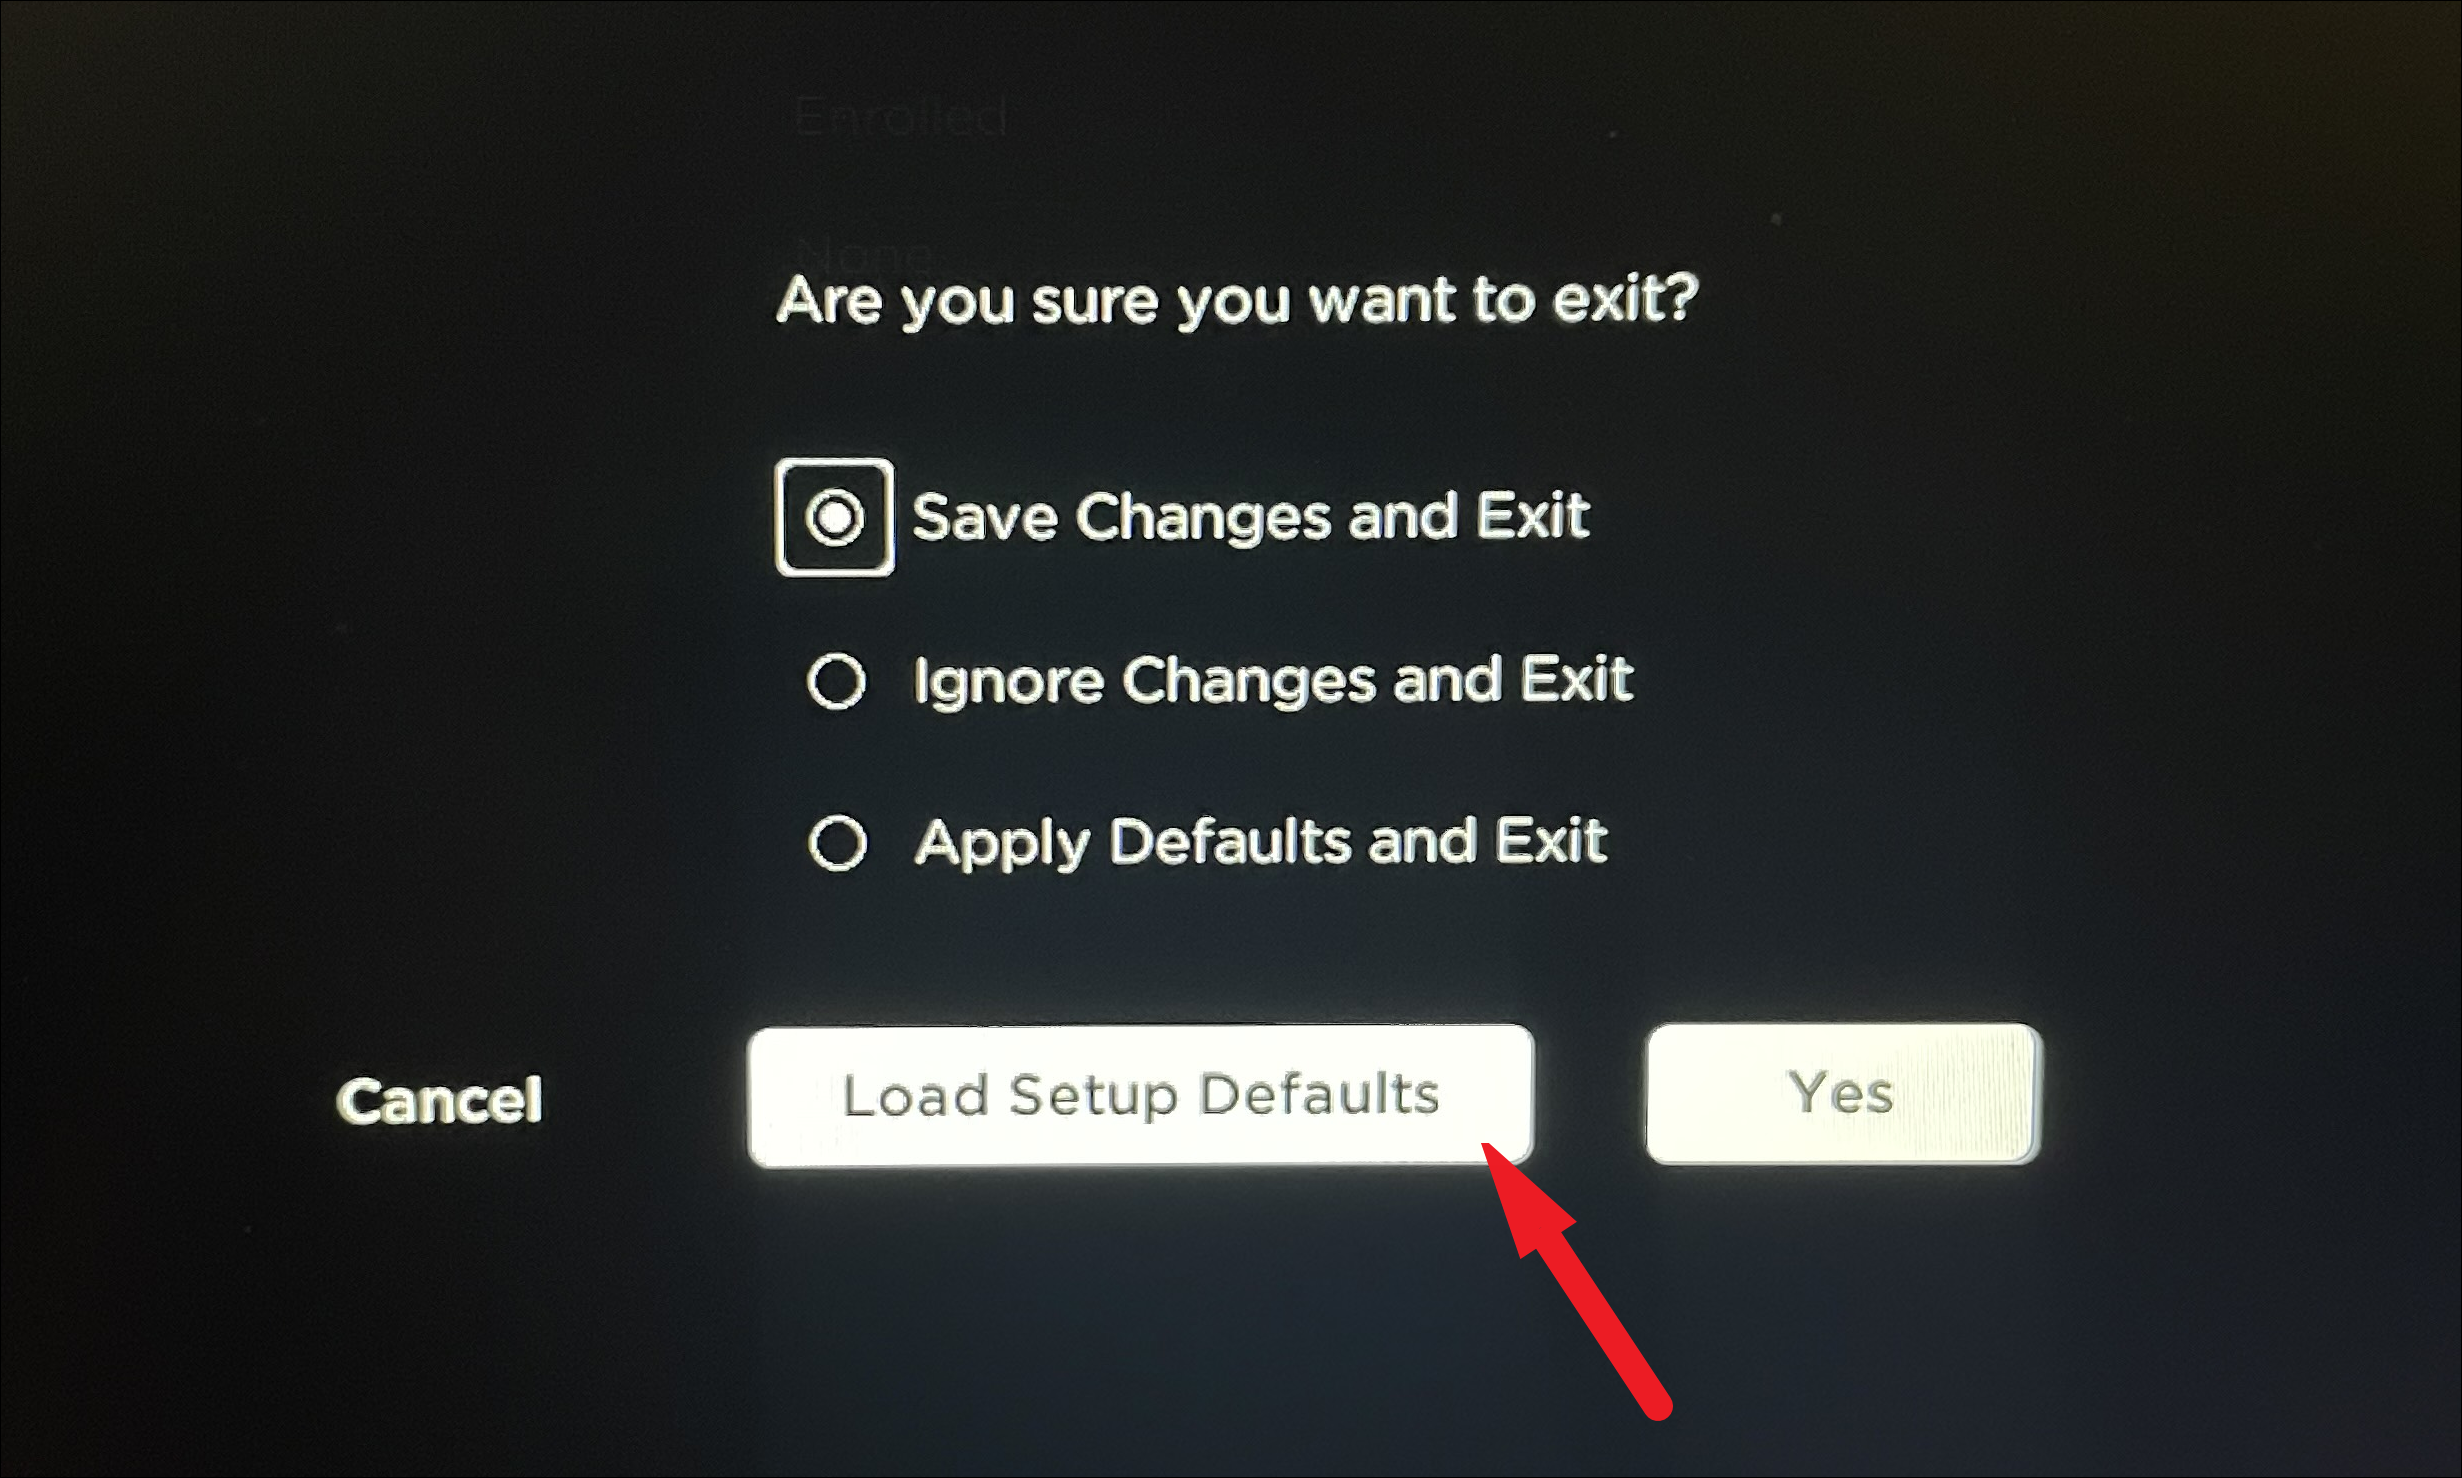
3. Disable EIST and C-State in BIOS
Enabling EIST (Enhanced Intel SpeedStep Technology) and C-State in your BIOS can sometimes cause voltage issues, leading to the ntkrnlmp.exe error. Disabling these settings might resolve the problem.