How to Fix PIN Isn’t Available Error Code 0x80090027 in Windows 11
6 methods to resolve the 0x80090027 error code on your Windows 11 system and get back to logging in without any hassle.
6 methods to resolve the 0x80090027 error code on your Windows 11 system and get back to logging in without any hassle.
by Parth Sawhney
Facing issues logging into Windows 11 using your PIN or Windows Hello can be frustrating. The error code 0x80090027 often prevents users from utilizing these quick sign-in options, forcing them to use their Microsoft Account password instead. This can be inconvenient, especially if you prefer the speed and simplicity of a PIN or biometric authentication. Fortunately, there are several methods to resolve this issue and restore your preferred sign-in option.
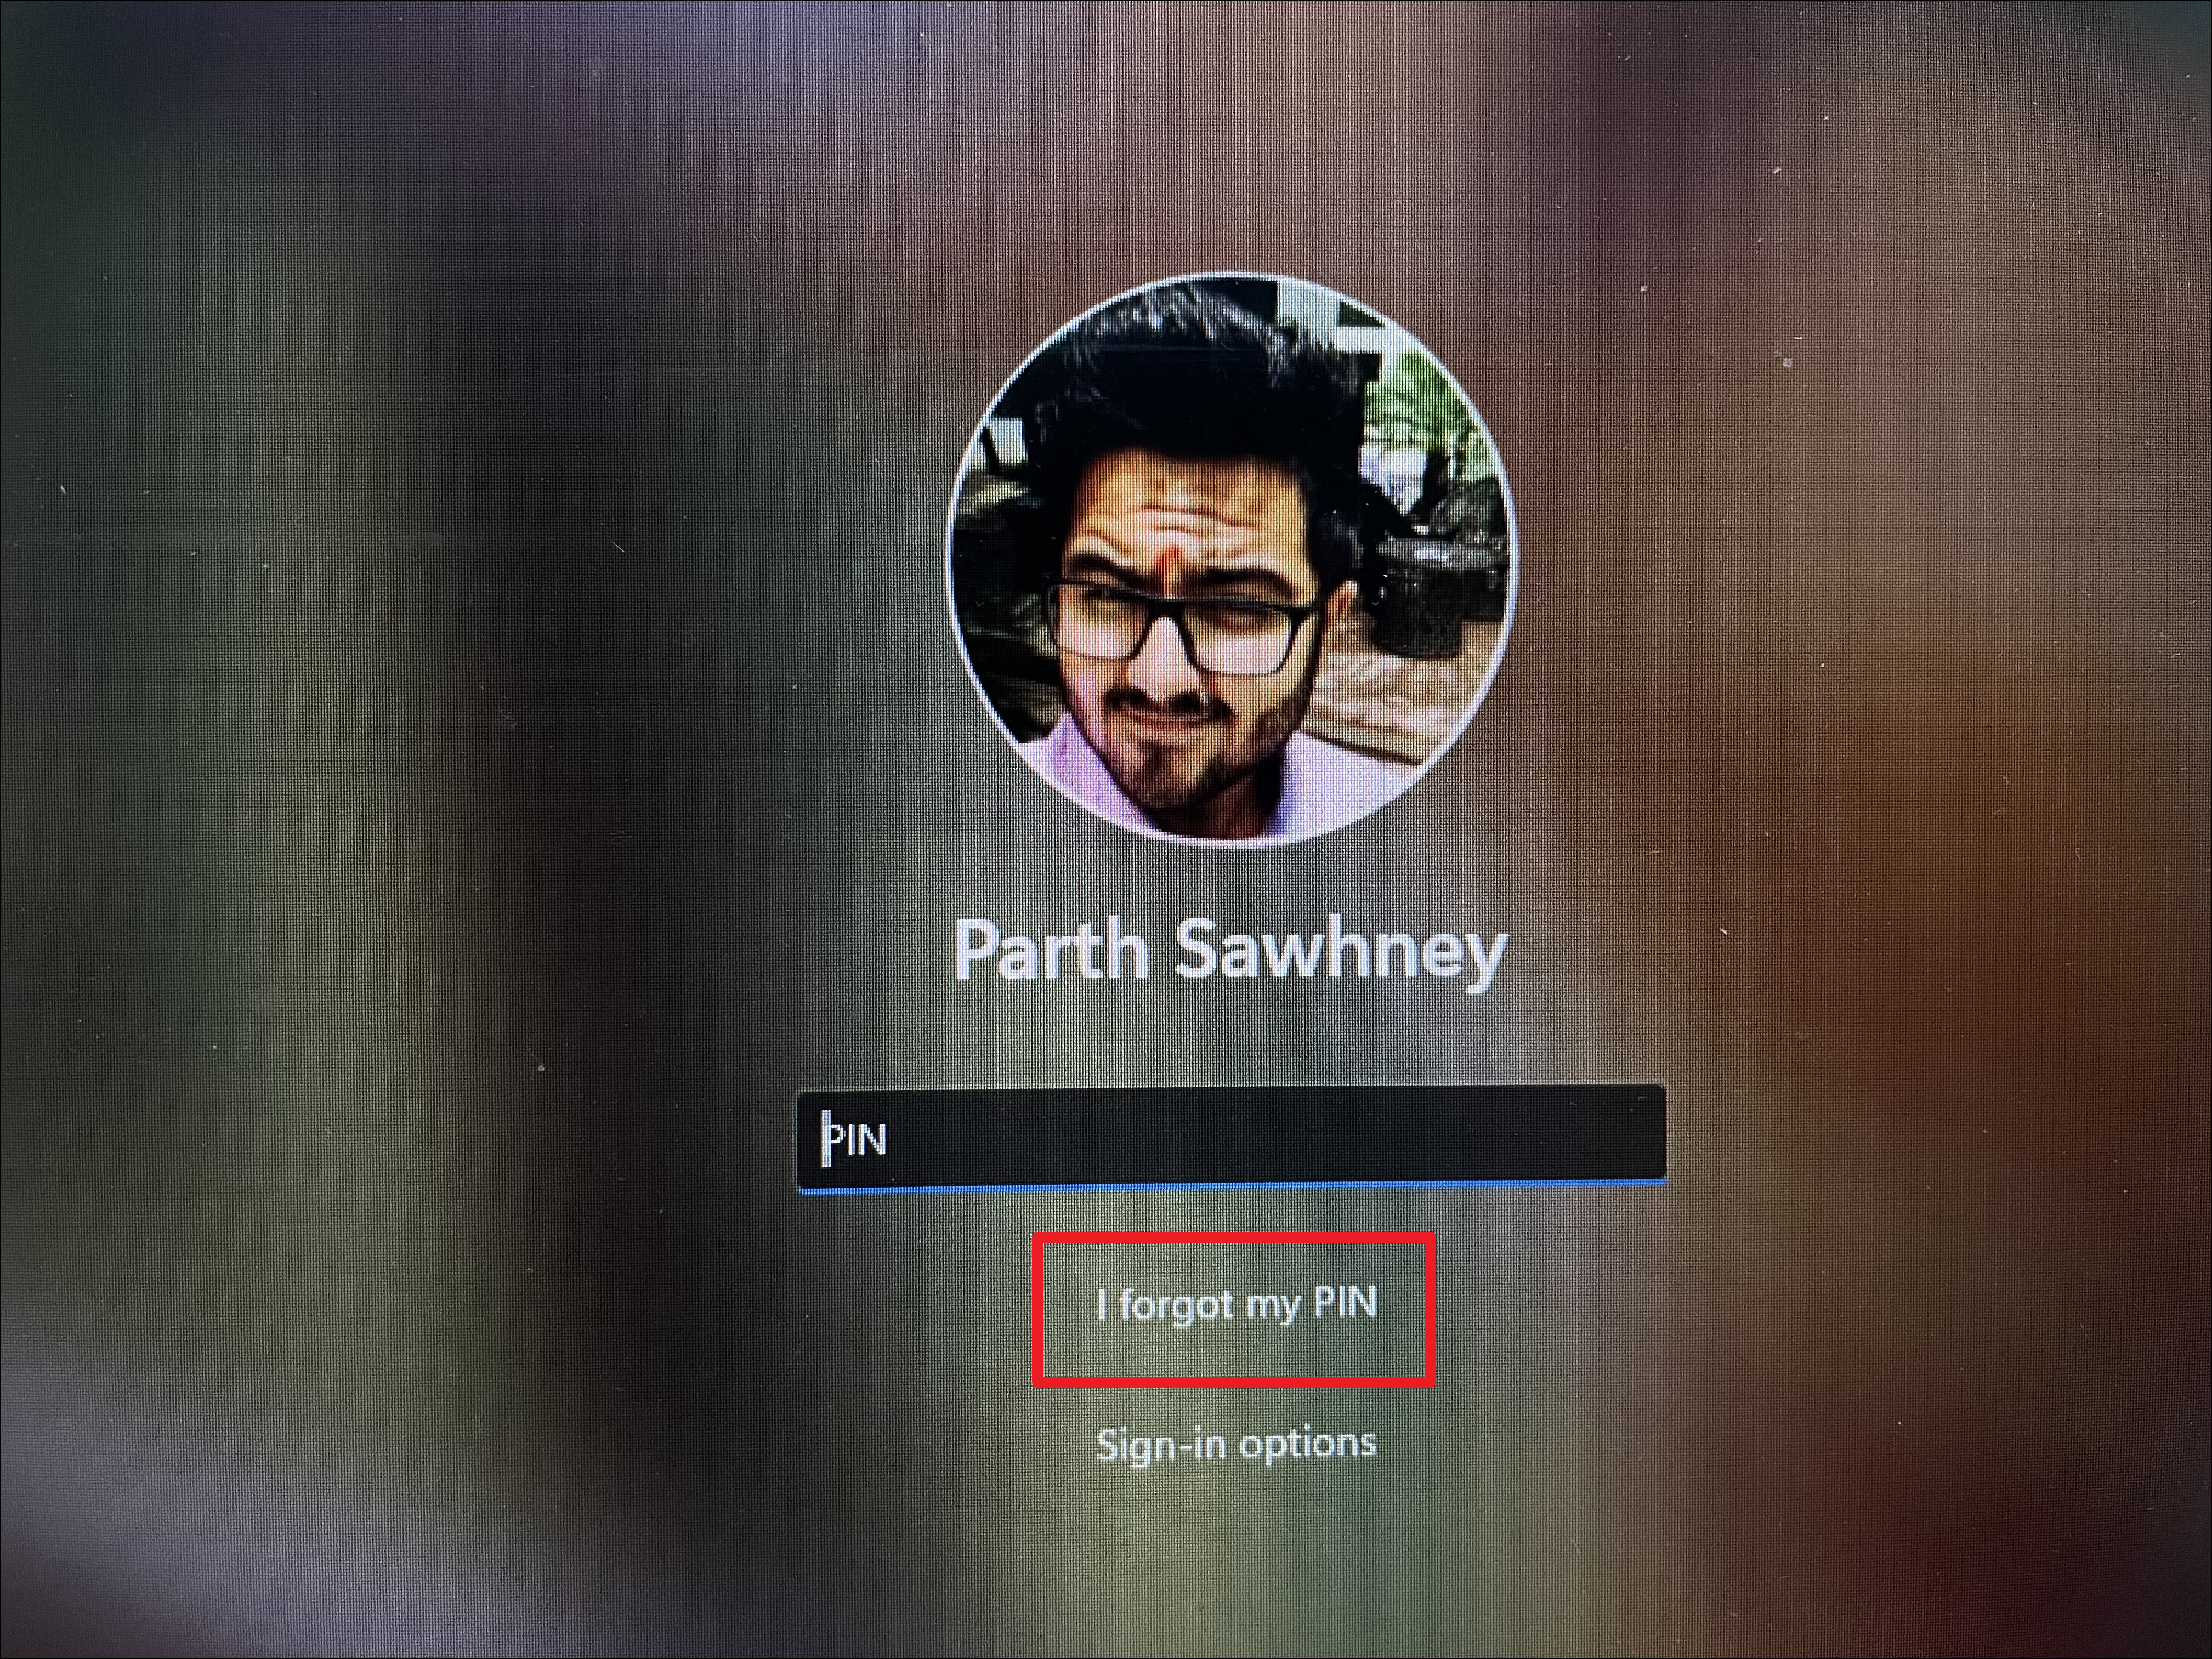
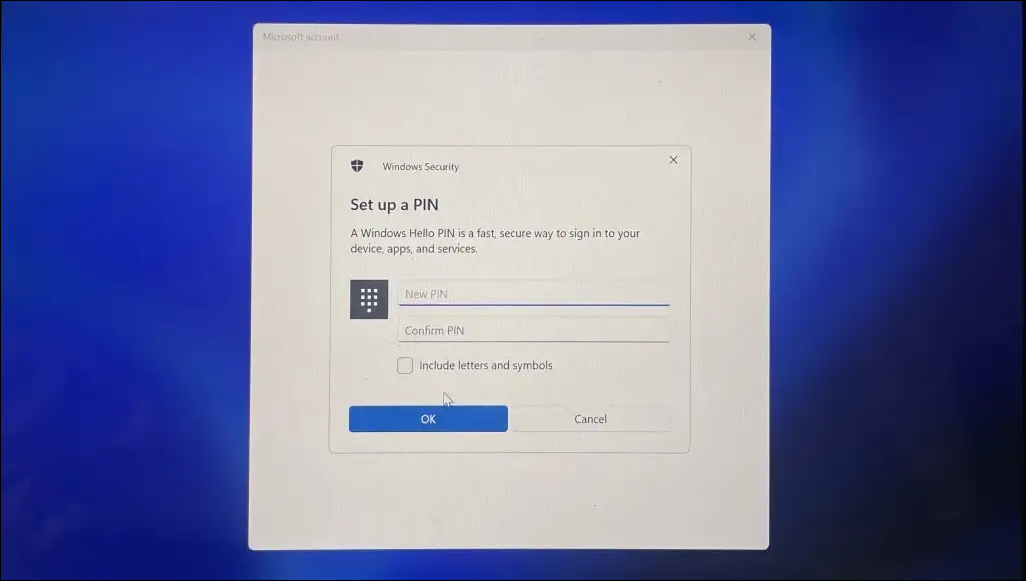
1. Reset Your PIN
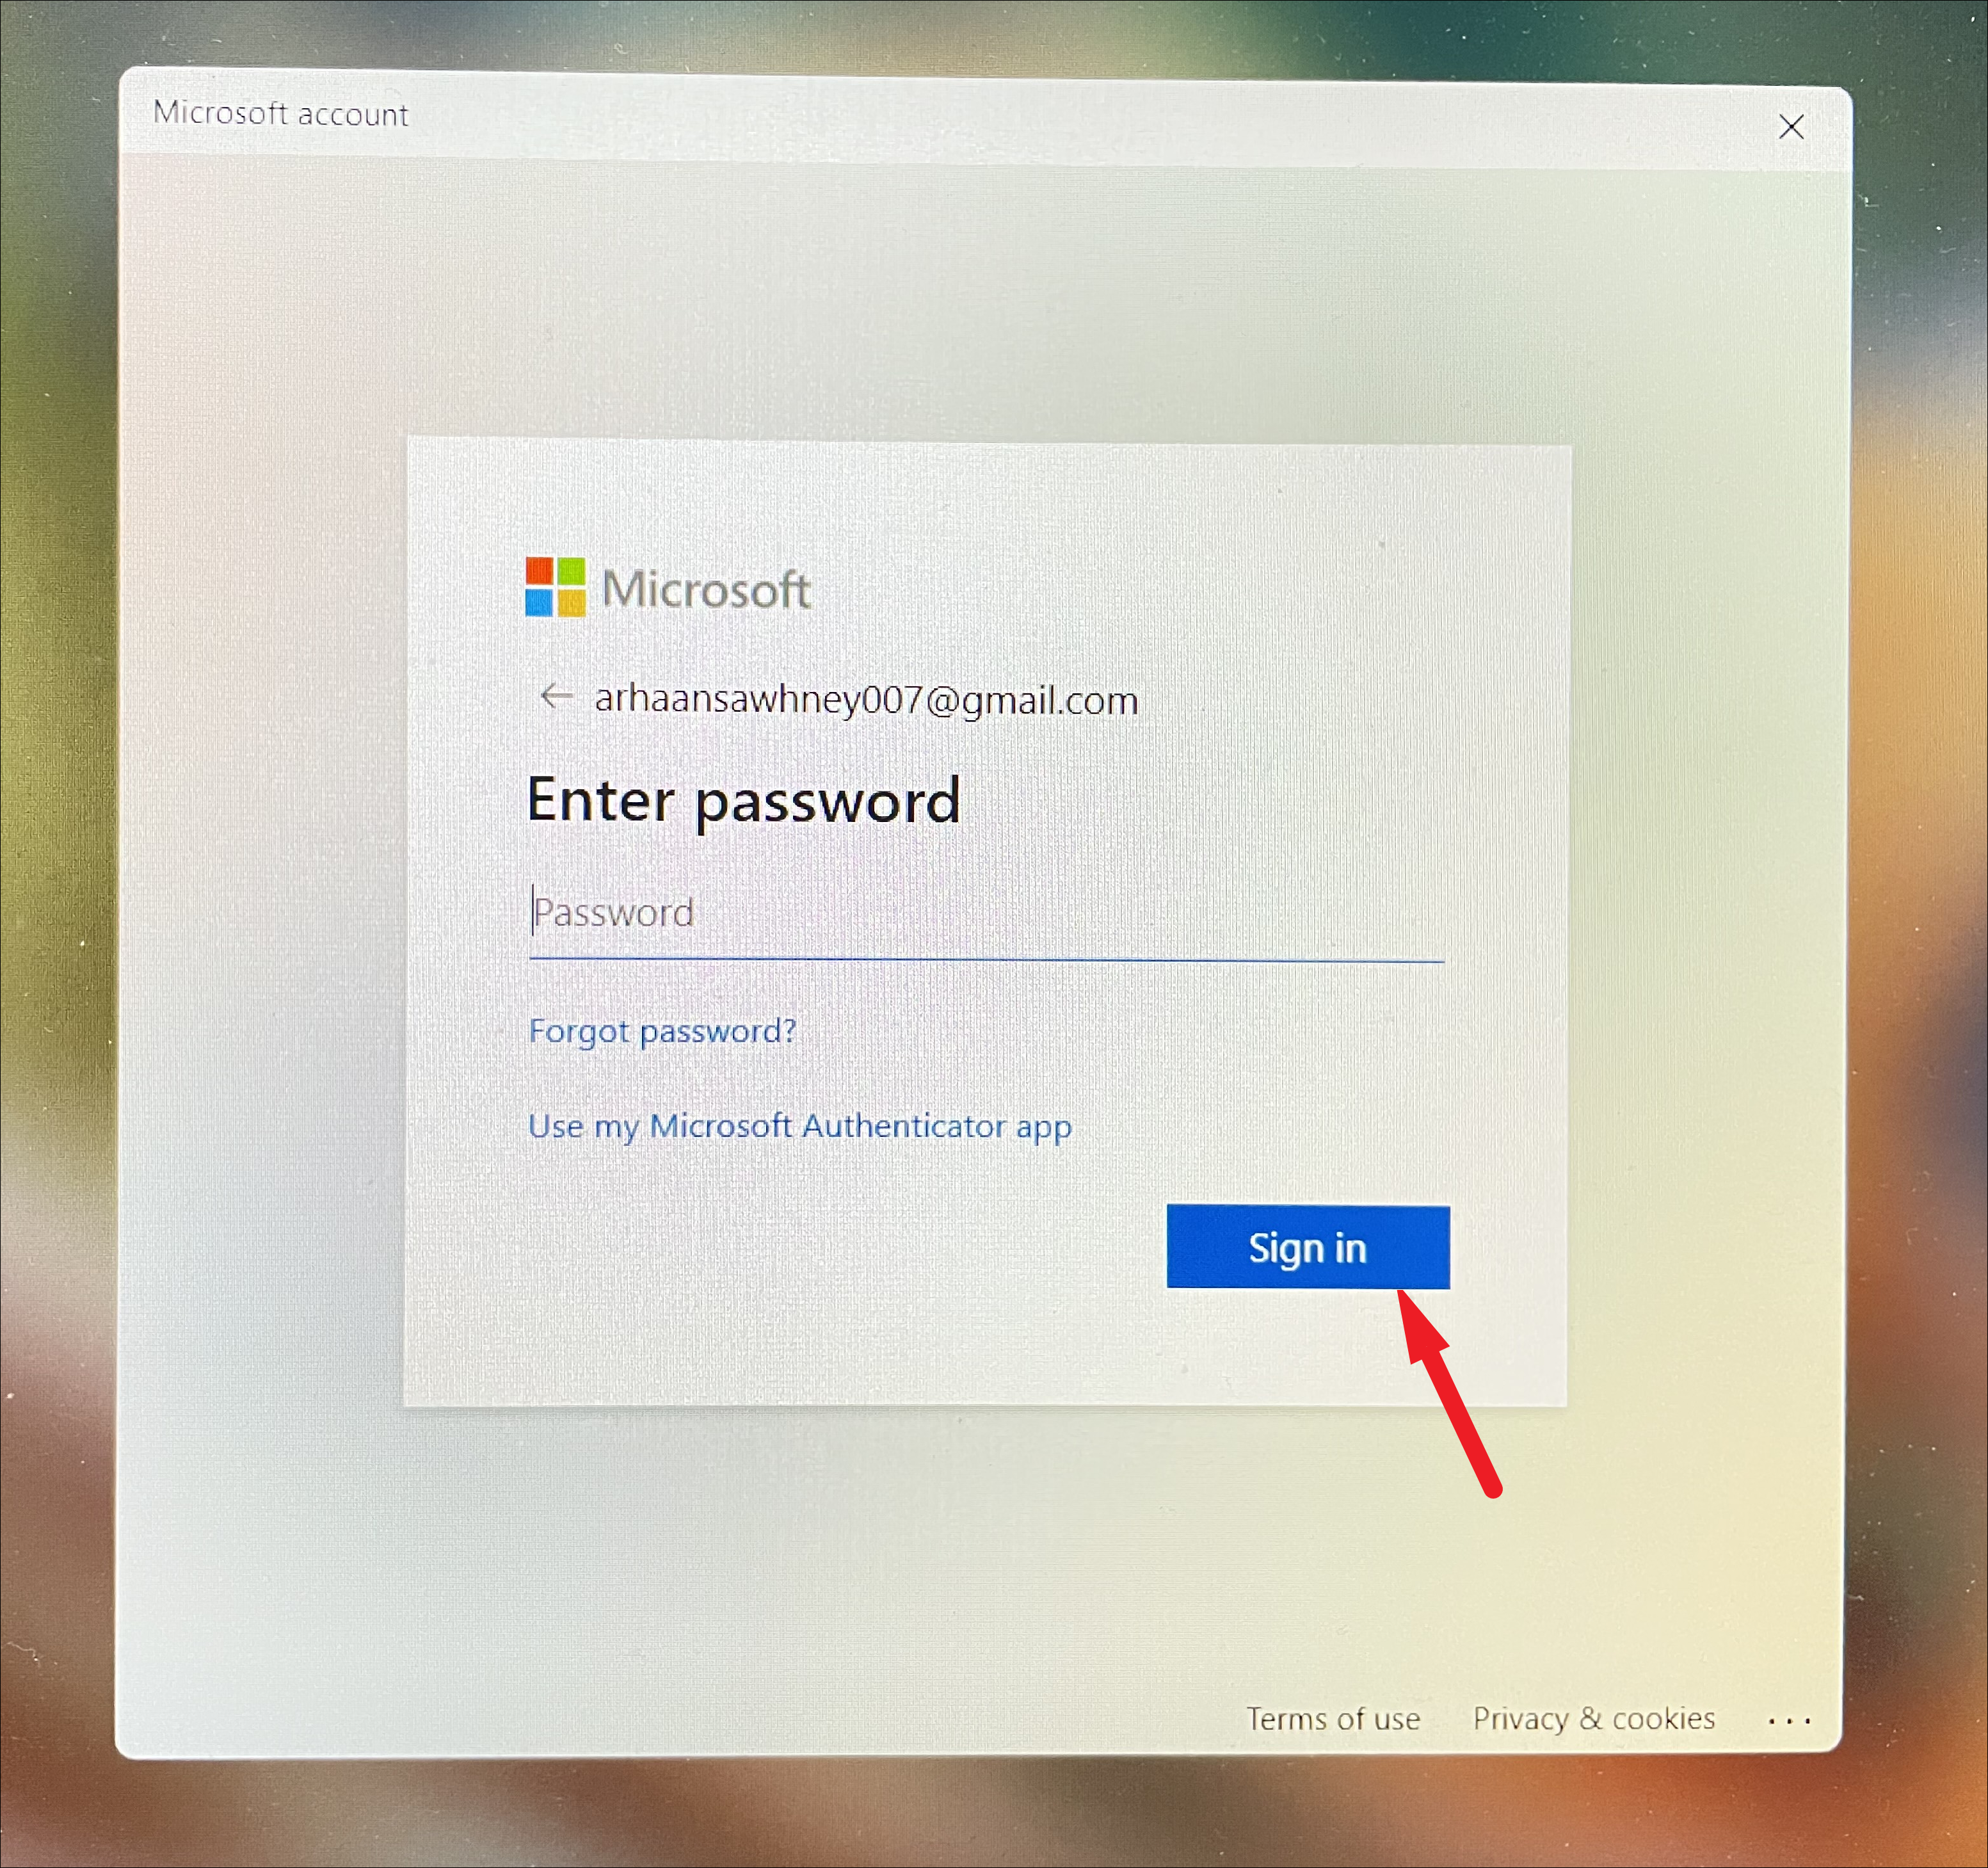
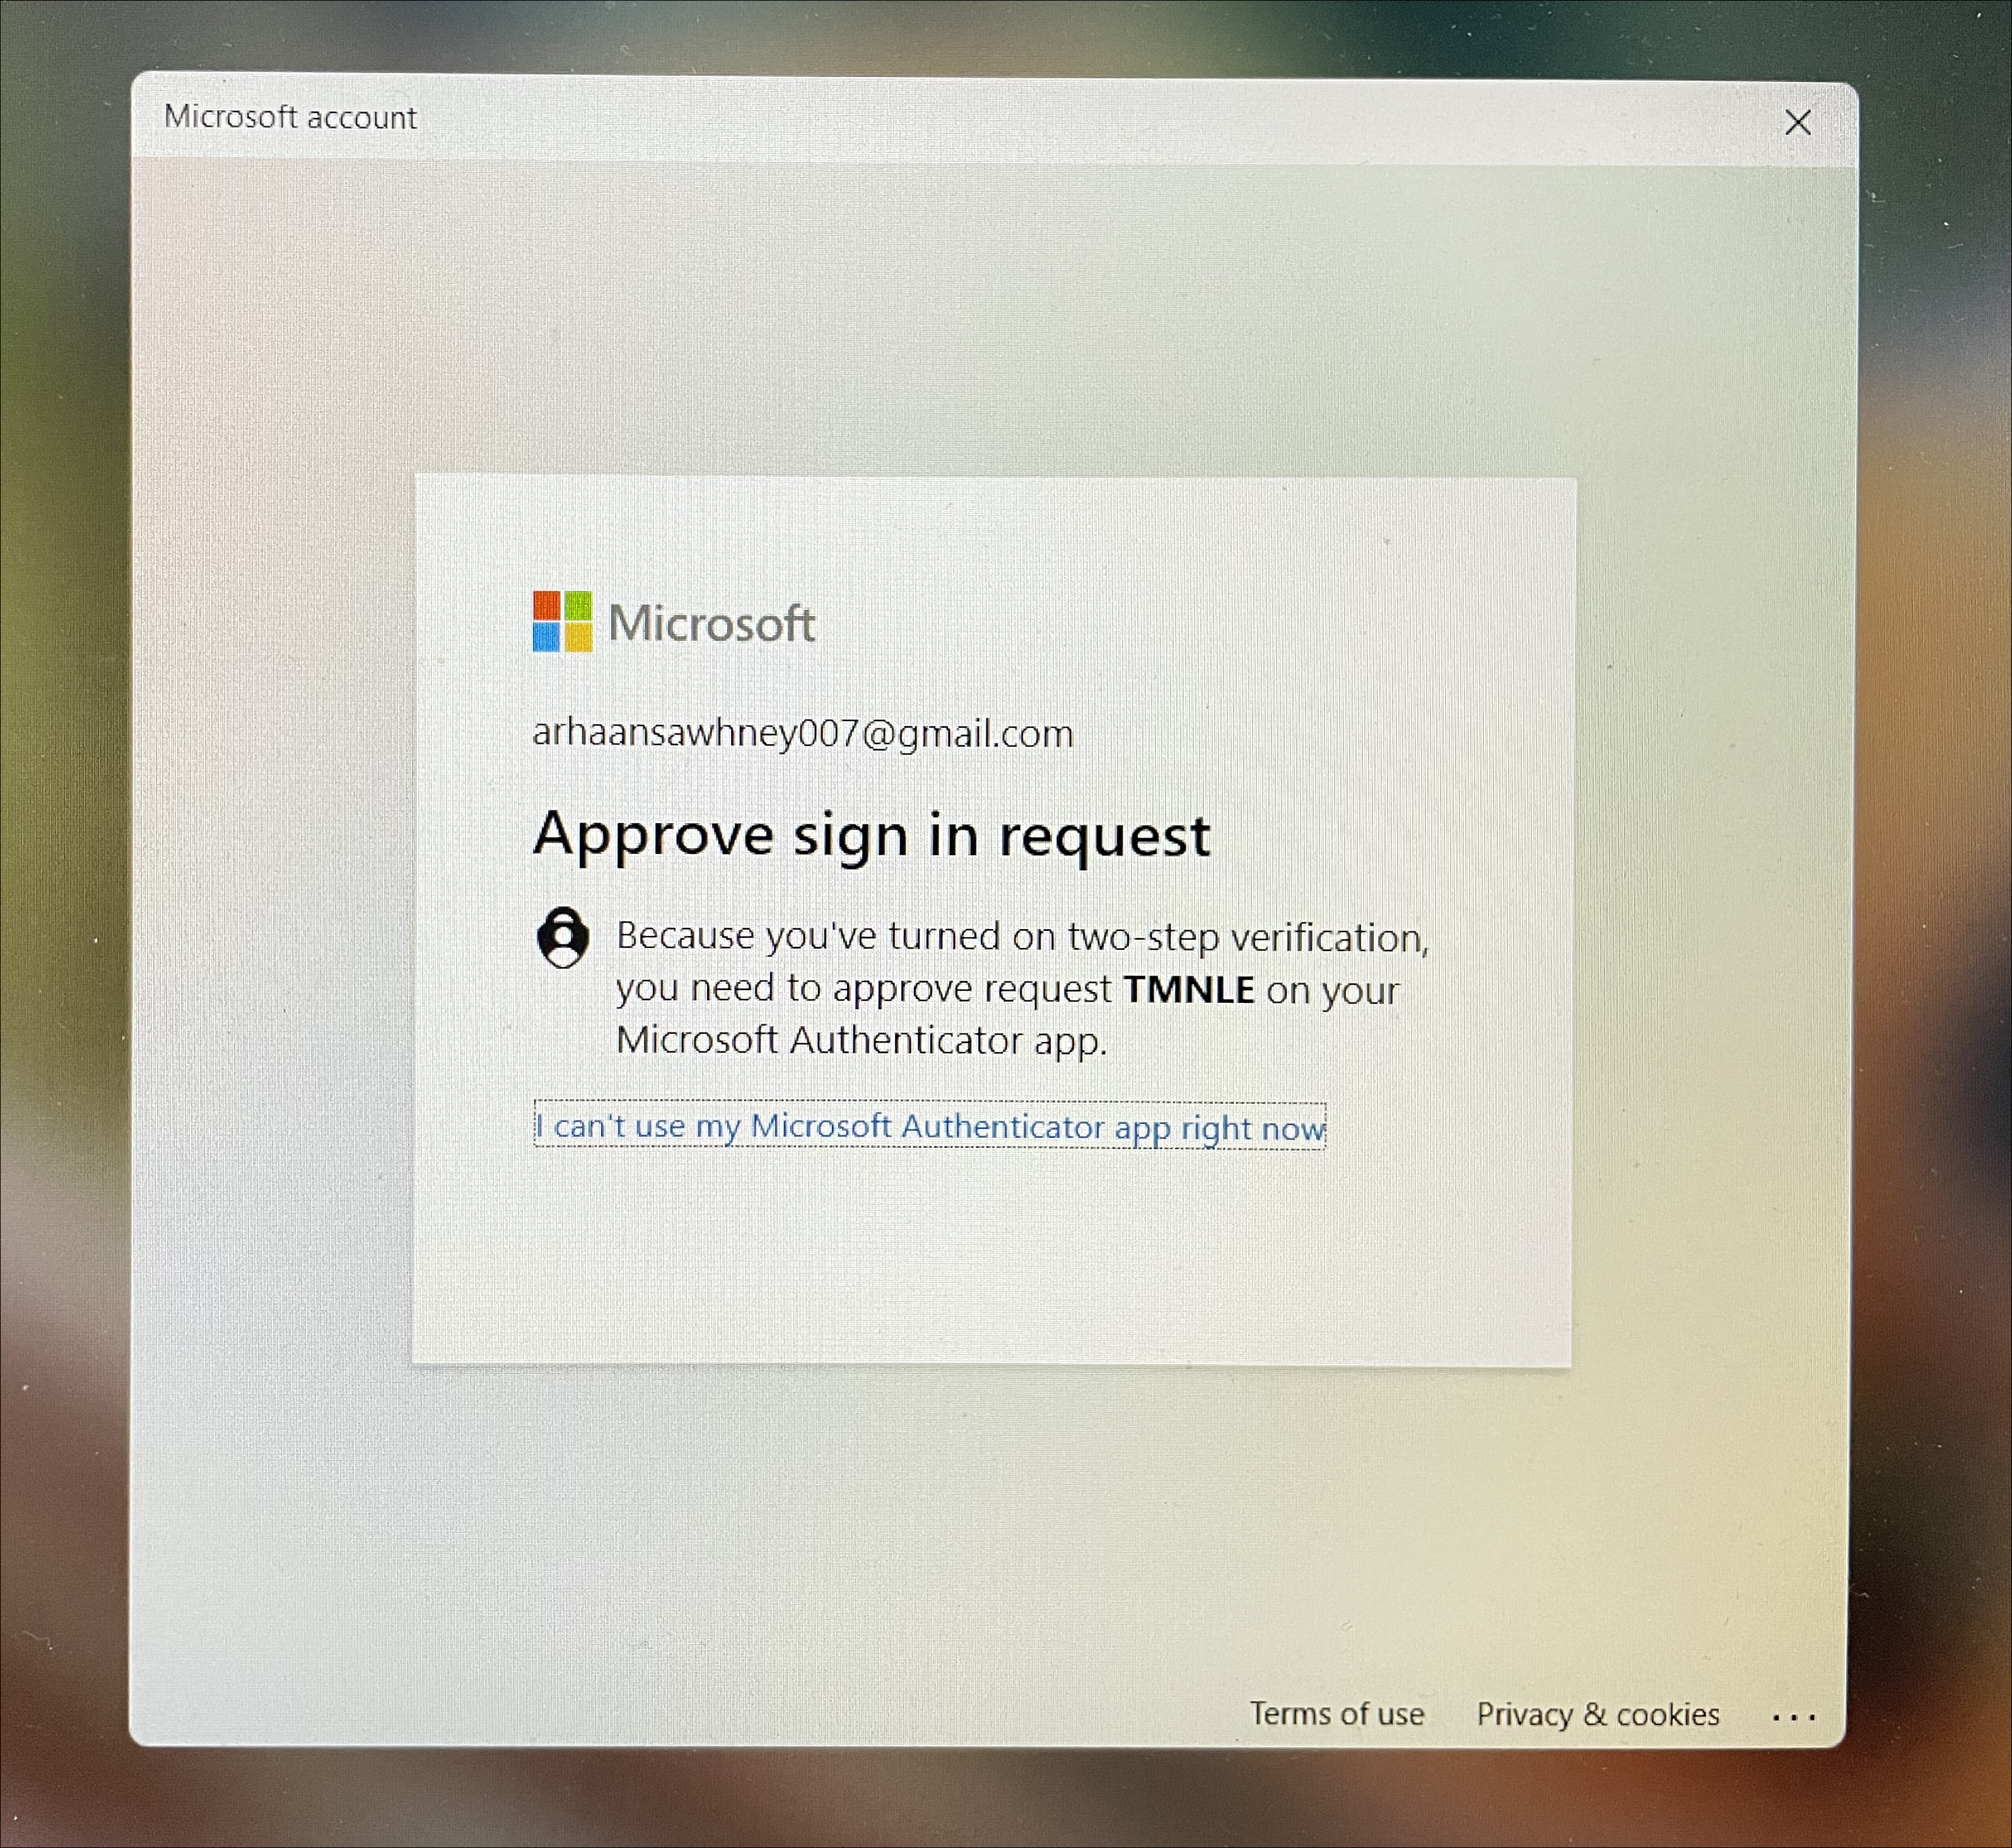
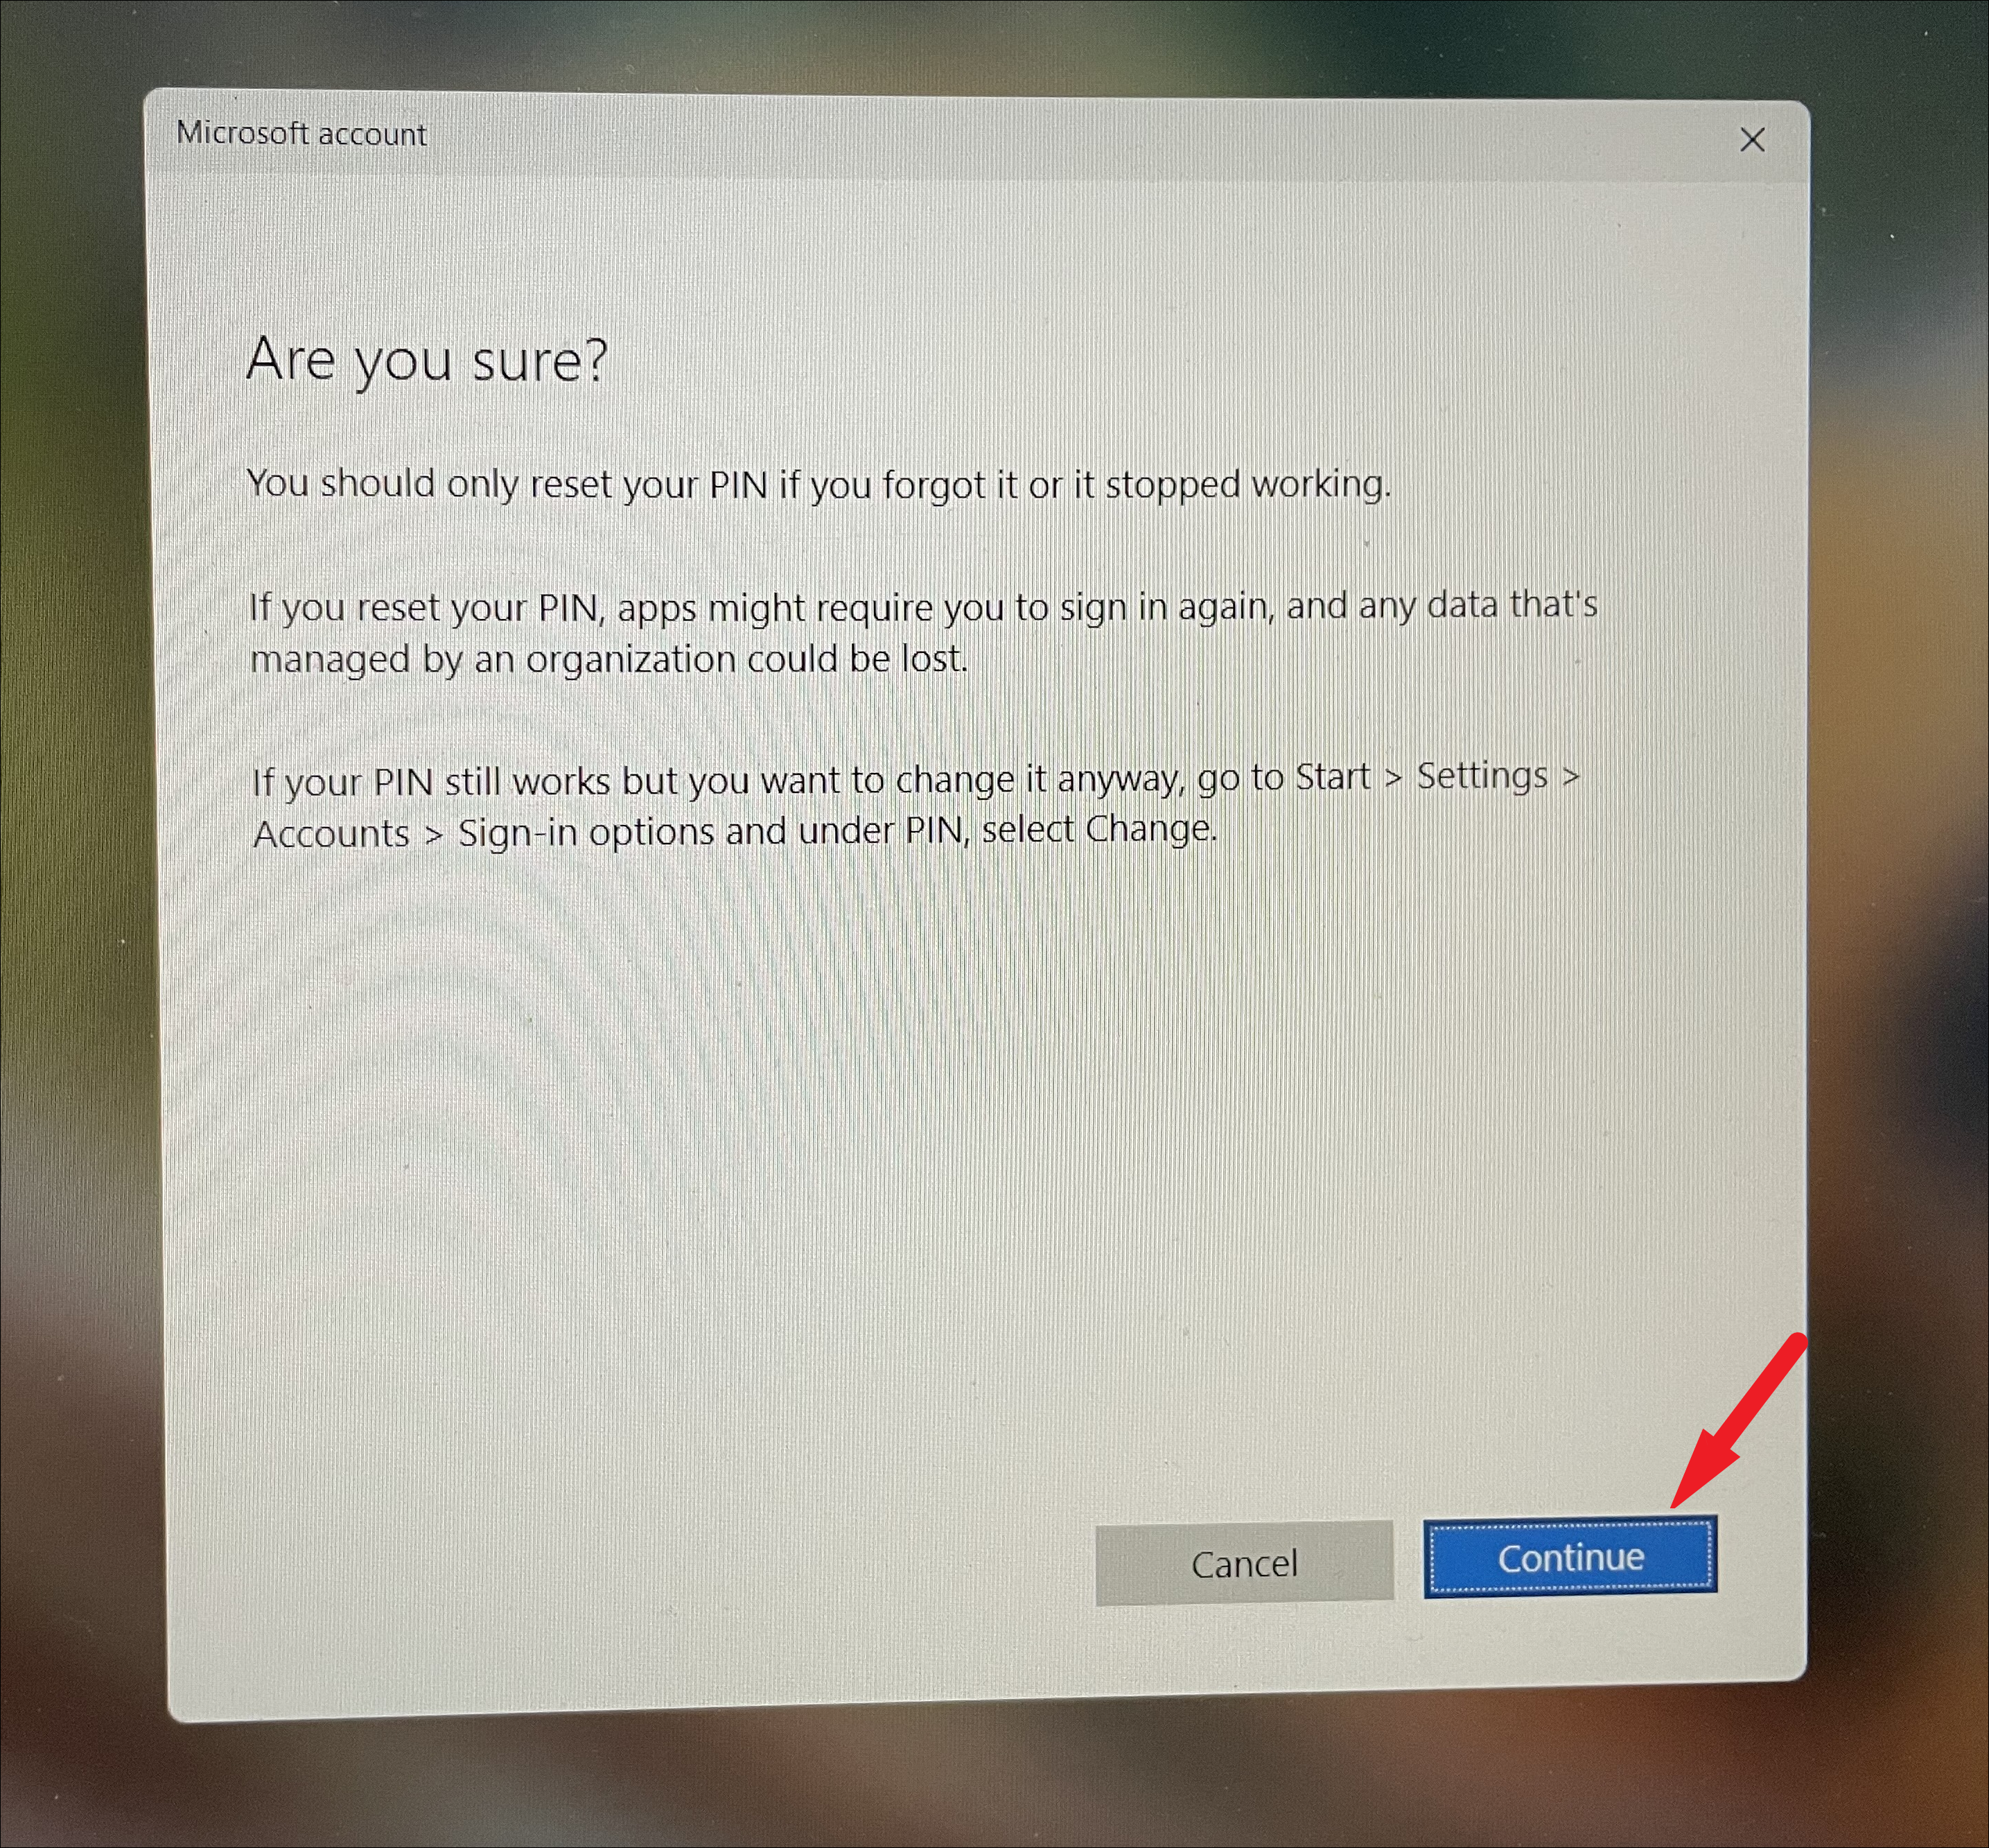
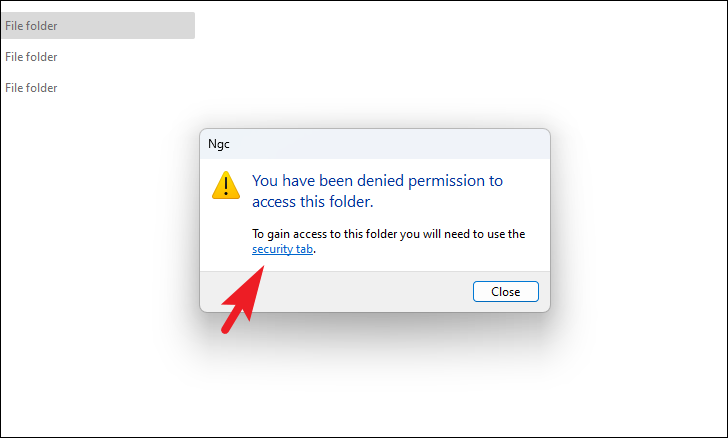
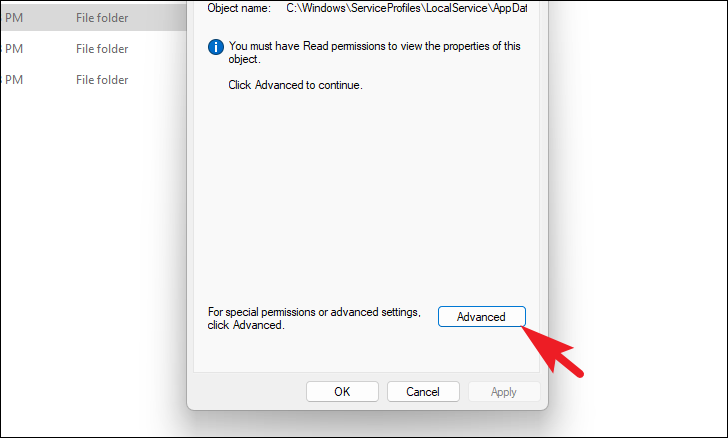
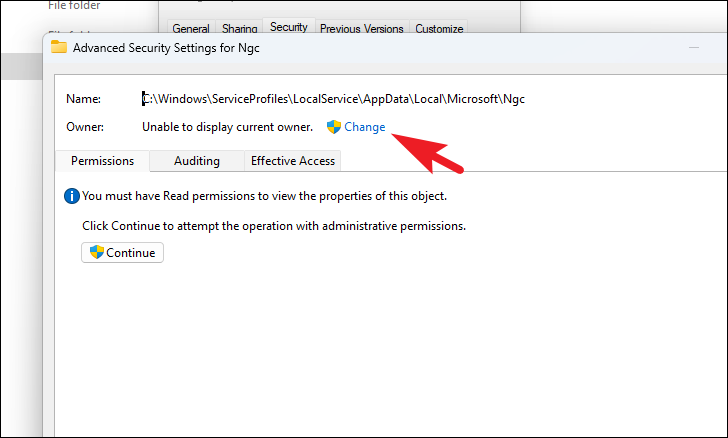
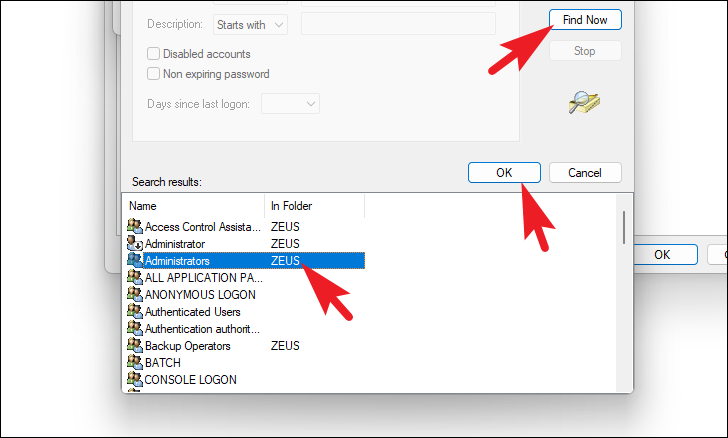
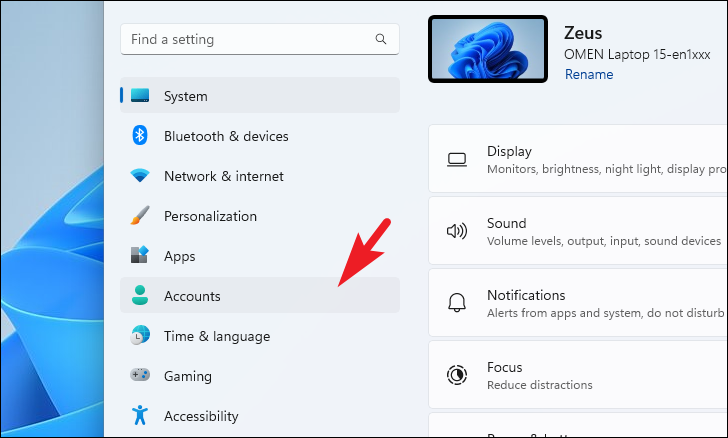
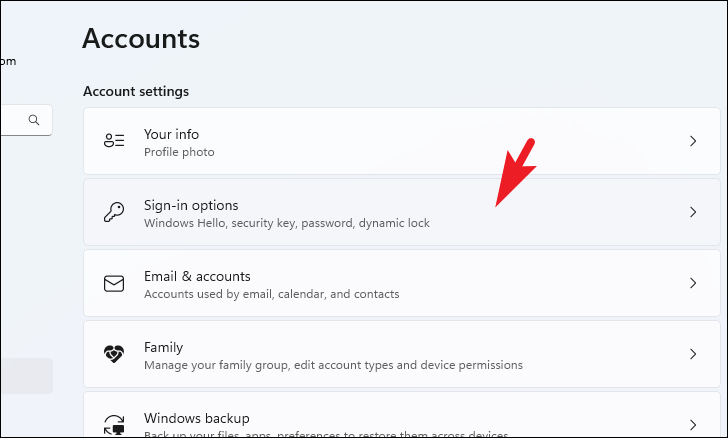
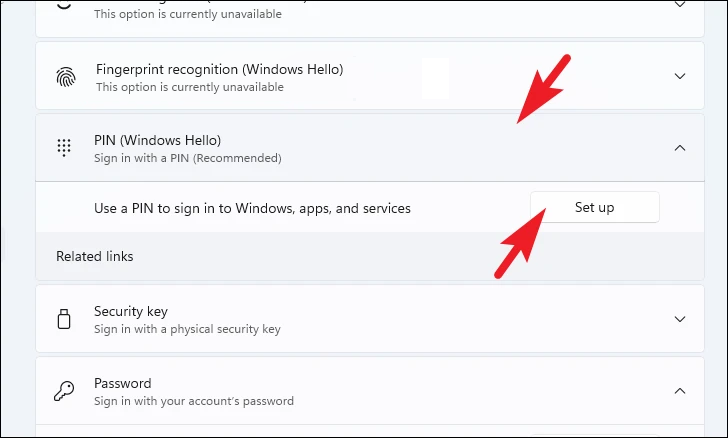
If you’re unable to sign in using your PIN or Windows Hello, resetting your PIN directly from the login screen can often fix the problem.
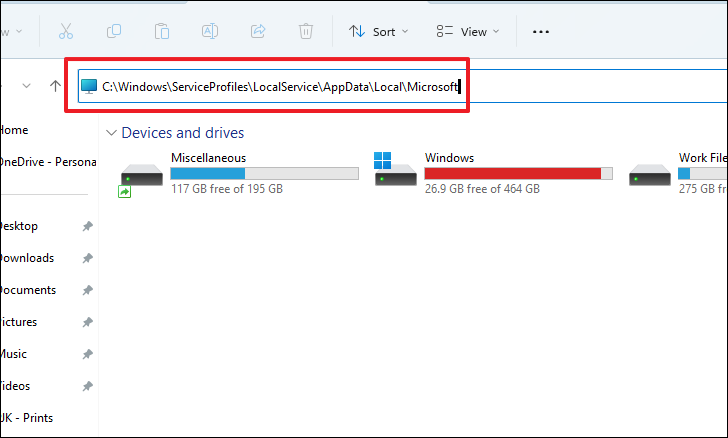
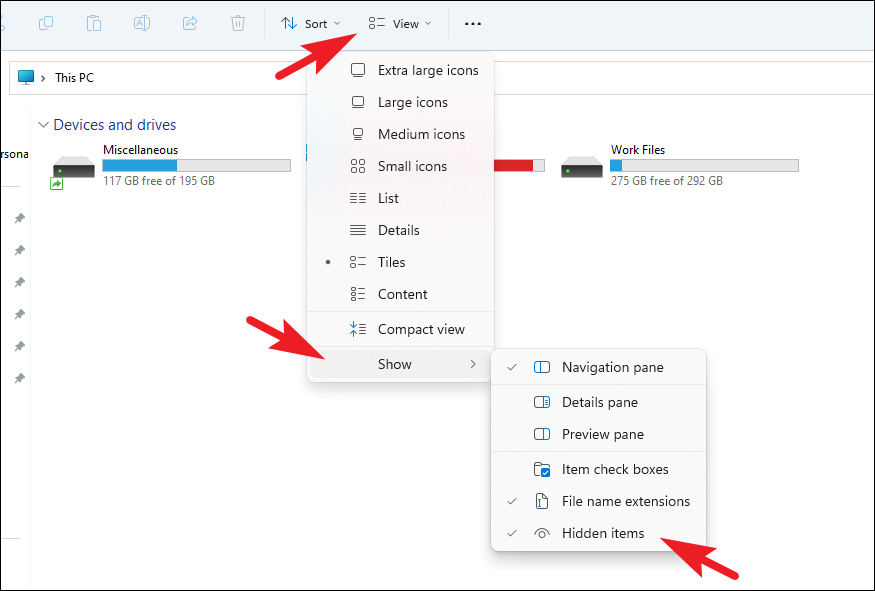
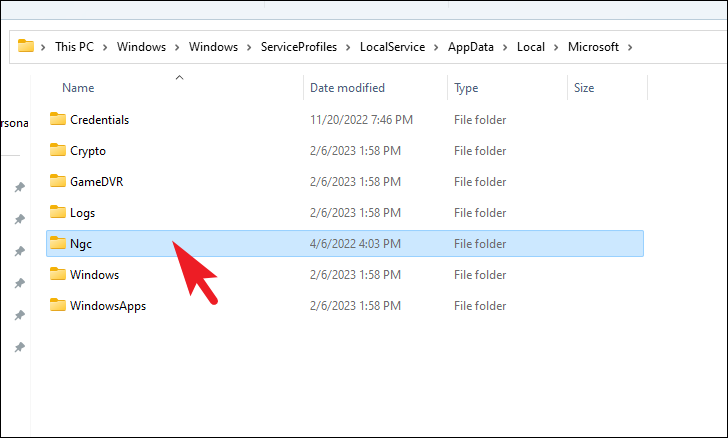
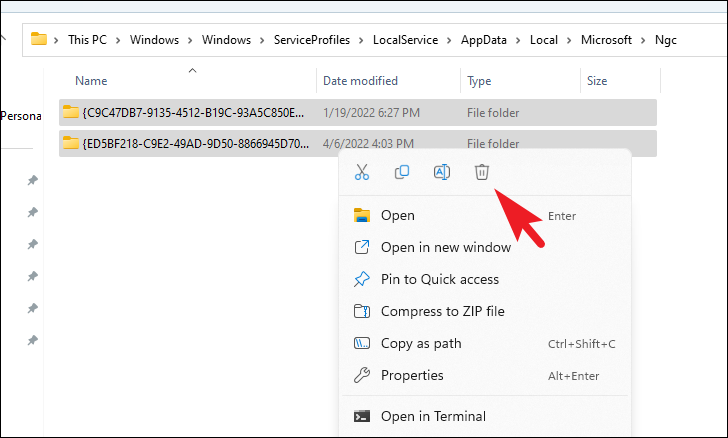
Note: If you cannot see the AppData folder, you may need to enable hidden files. Click on the “View” tab in the ribbon, hover over “Show”, and select “Hidden items”.
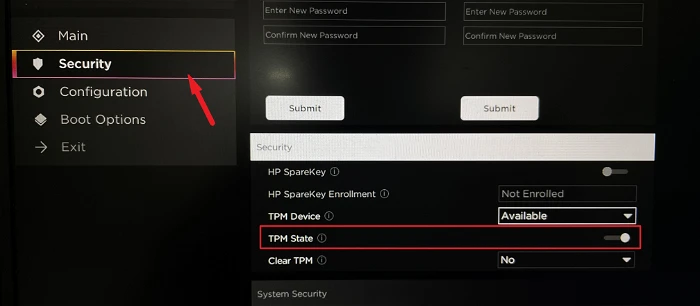
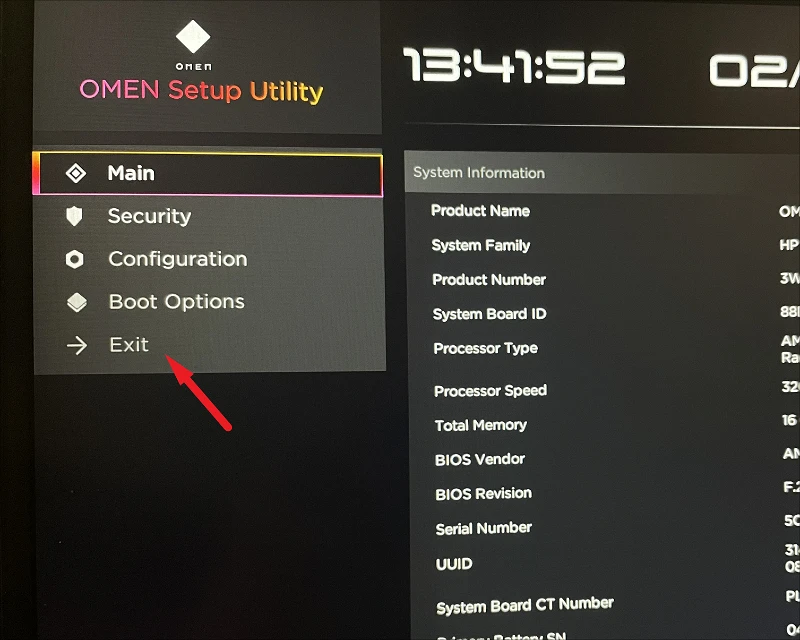
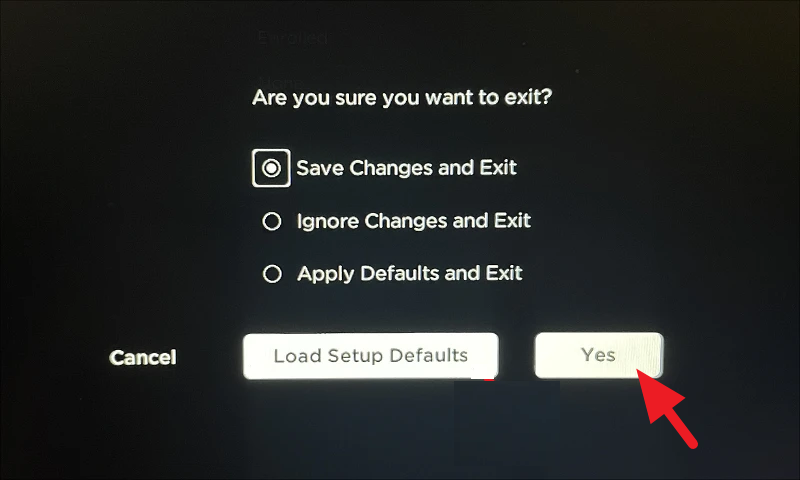
Save changes and exit the BIOS. Select “Save Changes and Exit” and confirm by clicking “Yes”. Your PC will restart.
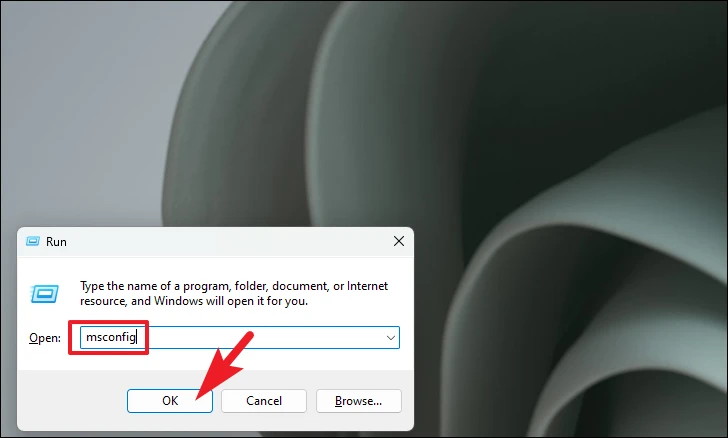
4. Clean Boot Your Computer
If you’ve recently installed a third-party application or service that might be interfering with Windows Hello, performing a clean boot can help identify and resolve the conflict.
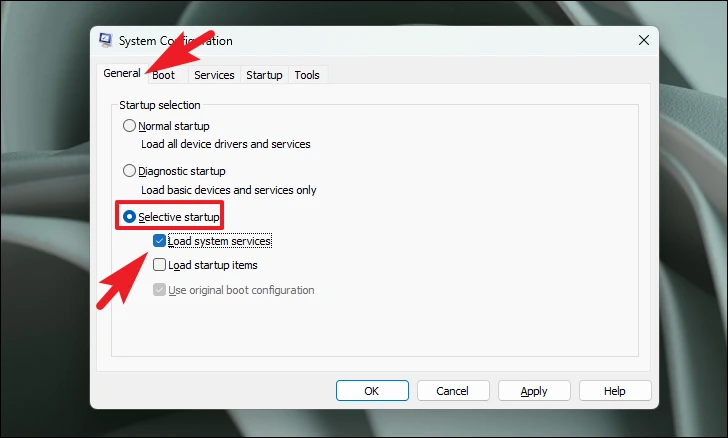
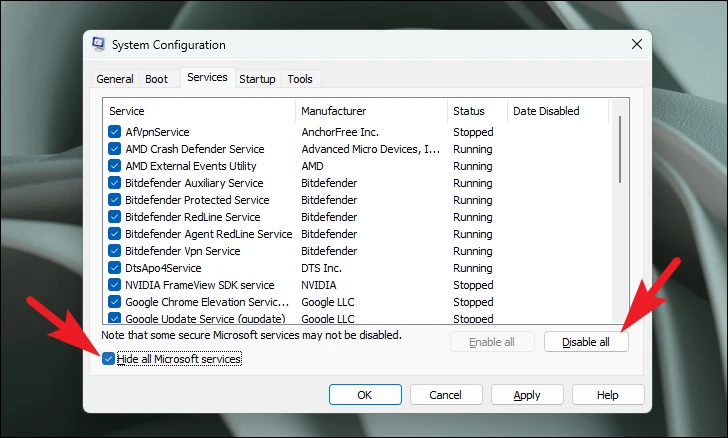
Navigate to the “Services” tab. Check the box for “Hide all Microsoft services” to prevent disabling essential services. Then click on “Disable all” to disable all remaining services.
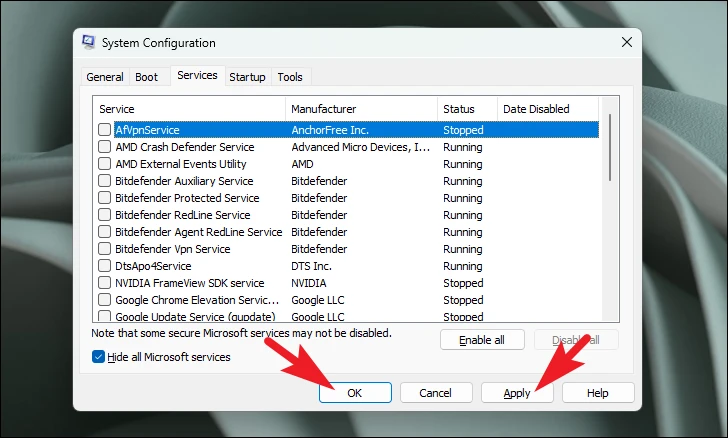
Restart your computer. After rebooting, check if you can log in using your PIN or Windows Hello. If successful, a third-party service was likely causing the issue. Consider uninstalling any recently added applications or services.
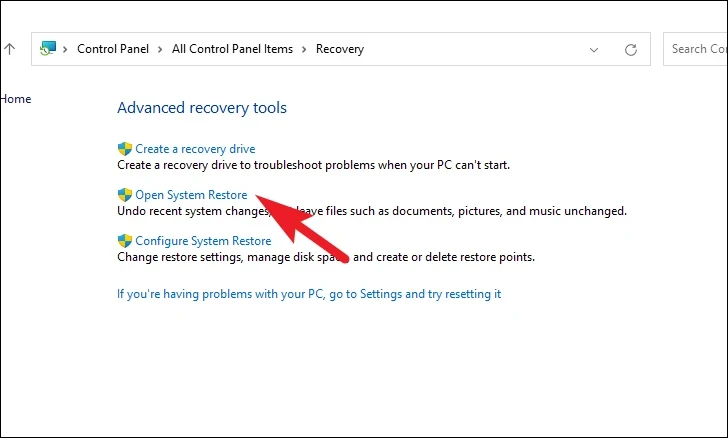
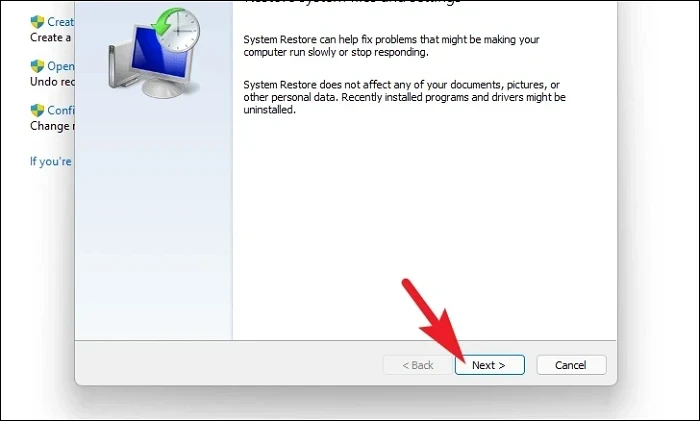
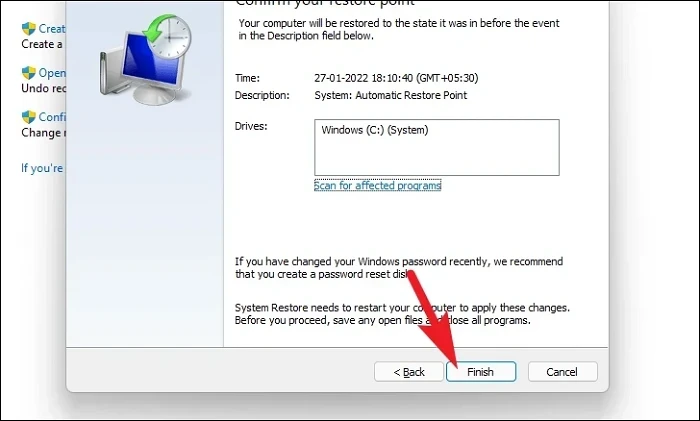
5. Perform a System Restore
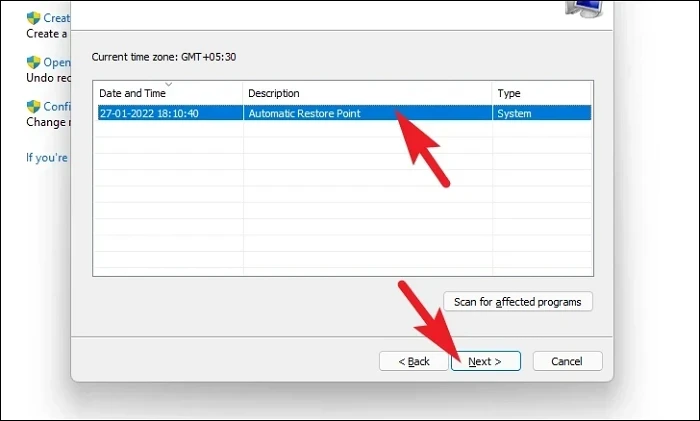
If the problem started recently and you have a system restore point from before the issue occurred, you can revert your system to that state.
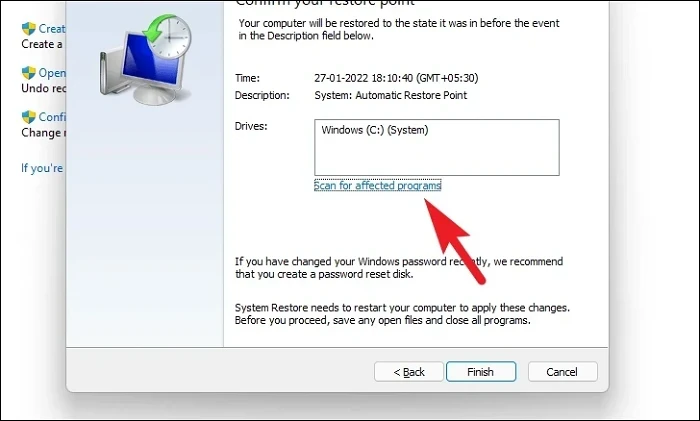
Click “Finish” to start the system restore process. Your computer will restart, and the system will be restored to the selected point.
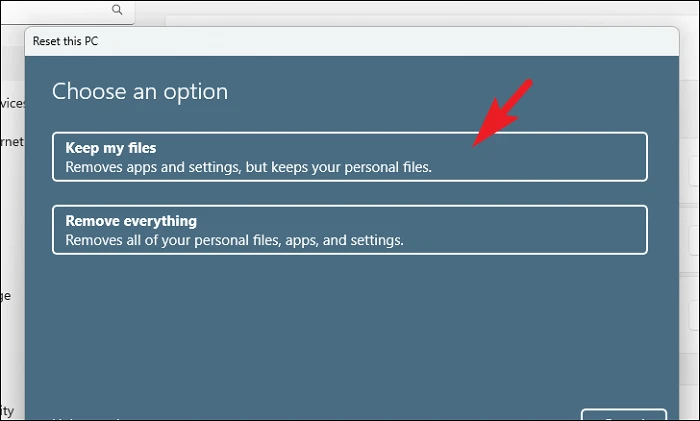
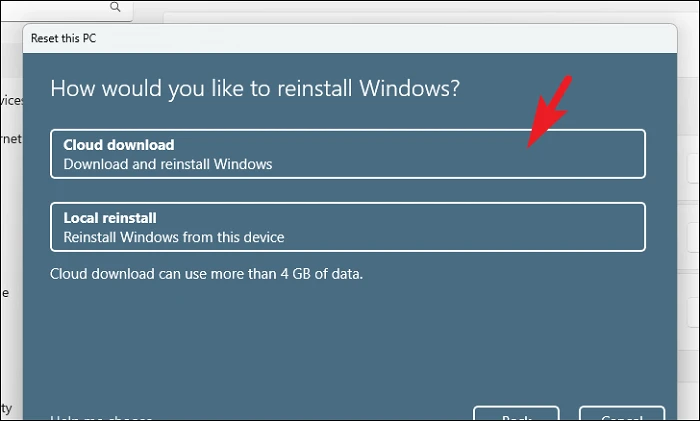
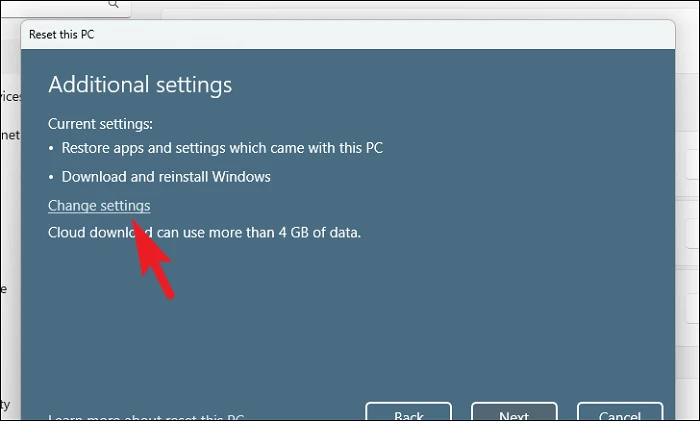
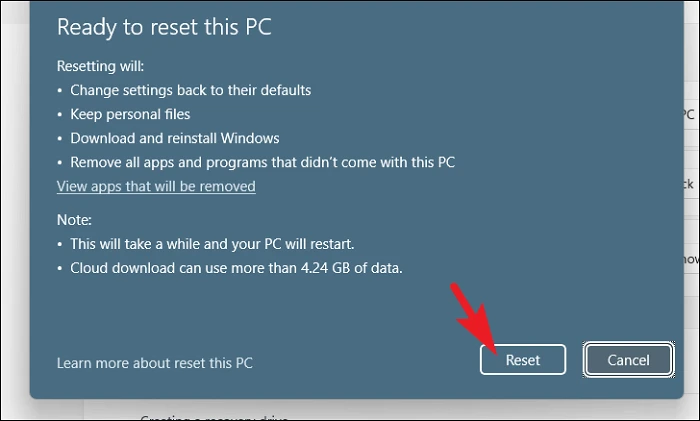
6. Reset Your PC
If none of the above methods work, resetting your PC may be the last resort. You can choose to keep your personal files while resetting the system to its default state. Note that installed applications will be removed, and settings will return to their defaults.
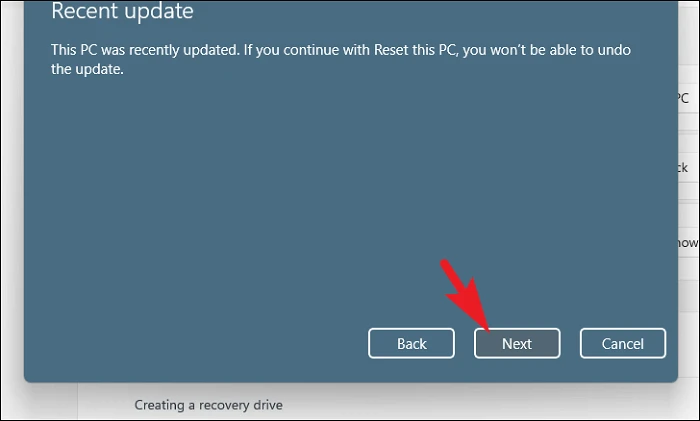
Finally, click “Reset” to begin the process. Your PC will restart and begin resetting Windows. This may take some time, and your computer may restart multiple times.
Encountering error code 0x80090027 can disrupt your workflow, but following these steps should help you restore your preferred sign-in methods on Windows 11.