
Netwtw06.sys or Netwtw10.sys errors frequently trigger a Blue Screen of Death (BSOD) after installing a WiFi card on Windows 11, causing repeated crashes and network disconnections. These issues often stem from driver conflicts, hardware incompatibility, or recent system changes. Addressing the problem requires a methodical approach to drivers, updates, and hardware configuration to restore stable connectivity and system reliability.
Update or Change Your WiFi Driver
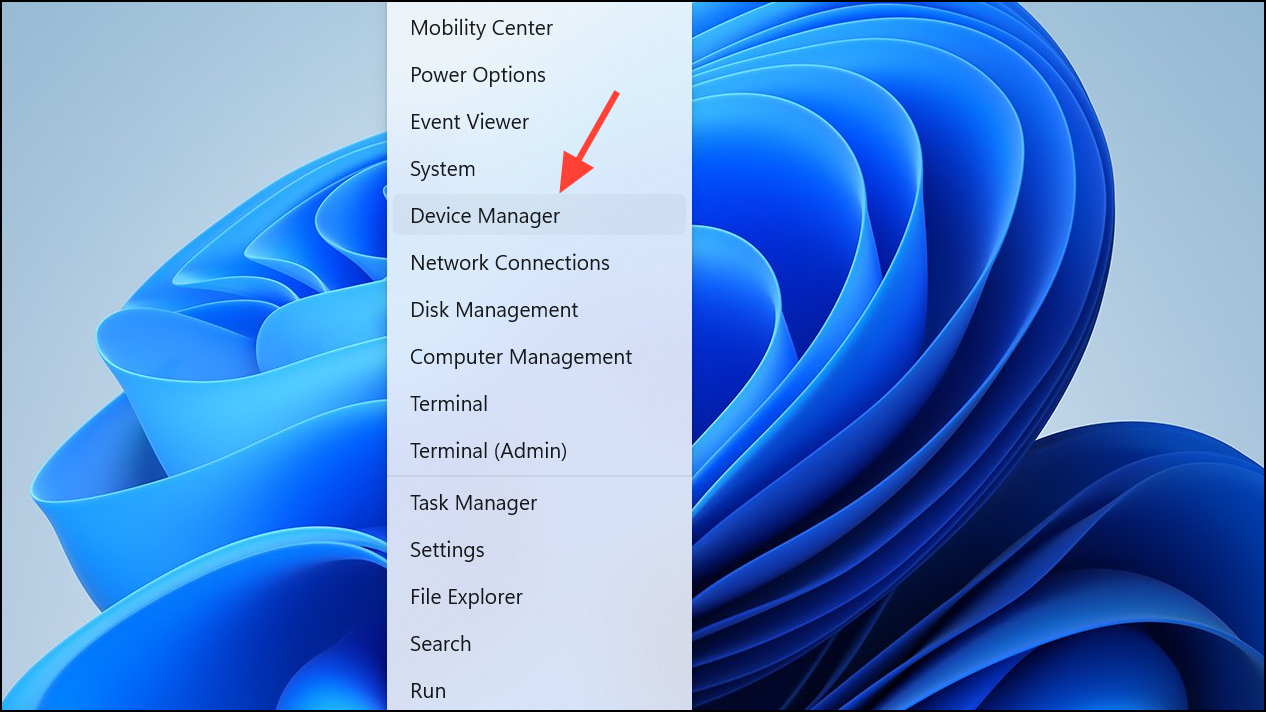
Step 1: Right-click the Start button and select Device Manager from the menu to view all hardware components.
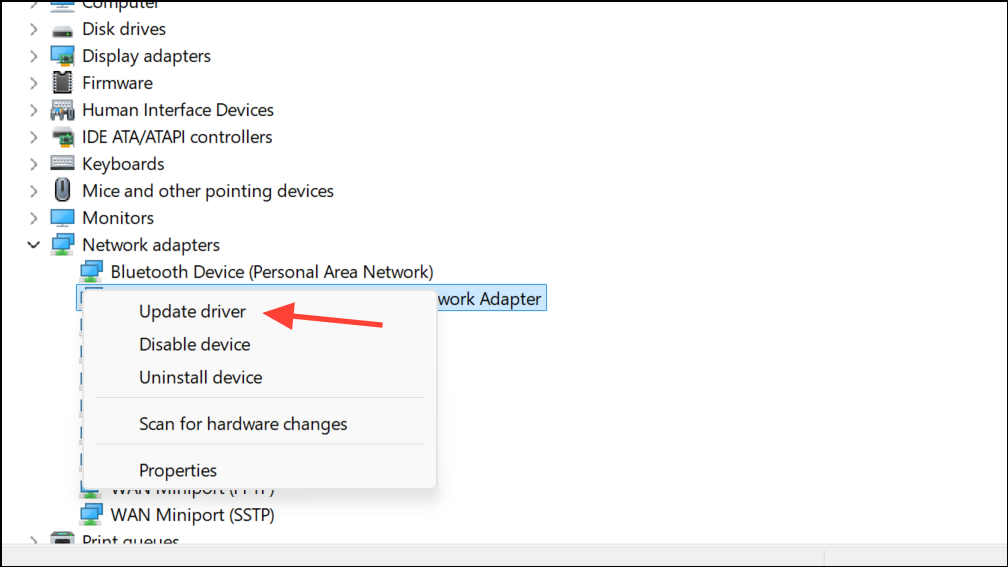
Step 2: Expand the Network adapters section. Right-click your WiFi adapter and select Update driver.
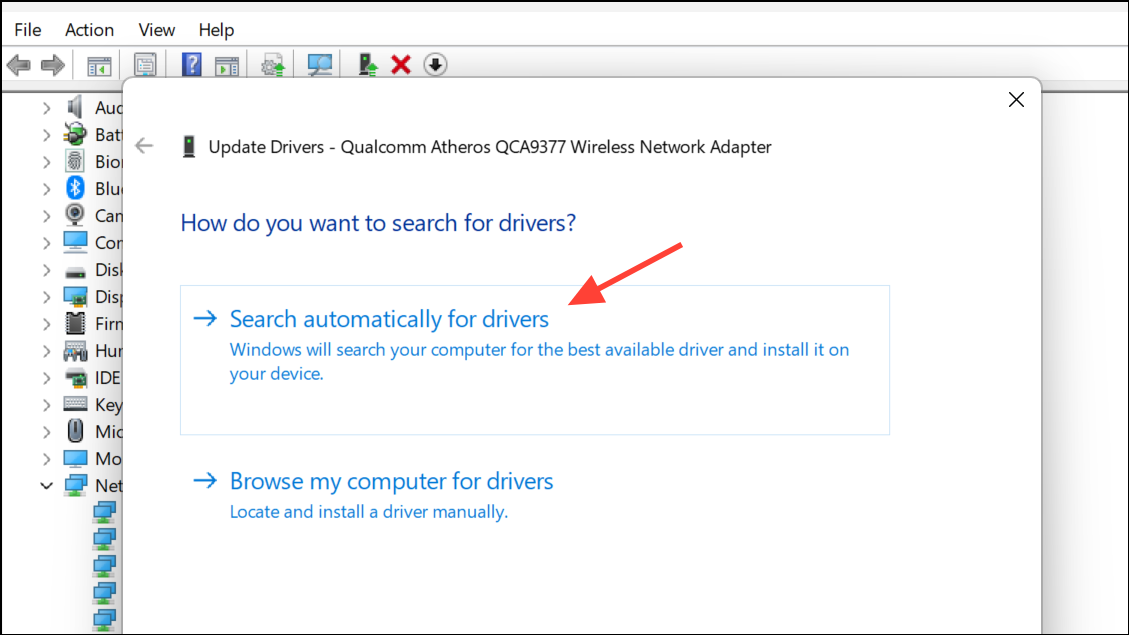
Step 3: Choose Search automatically for drivers. Windows will look for the latest compatible driver. Follow the prompts to complete the installation. Restart your PC to apply changes.
Step 4: If the problem persists, try manually installing a driver from your laptop or motherboard manufacturer's website. Sometimes, drivers provided by Microsoft or Intel may be incompatible with specific hardware. Download the recommended driver, uninstall the current WiFi driver from Device Manager, restart your PC, and then install the downloaded driver package.
Step 5: If multiple drivers are available, test both the Intel and Microsoft-provided drivers. Some users report greater stability with the Microsoft generic driver, especially when the Intel driver repeatedly causes BSODs.
Roll Back or Uninstall Recent Updates
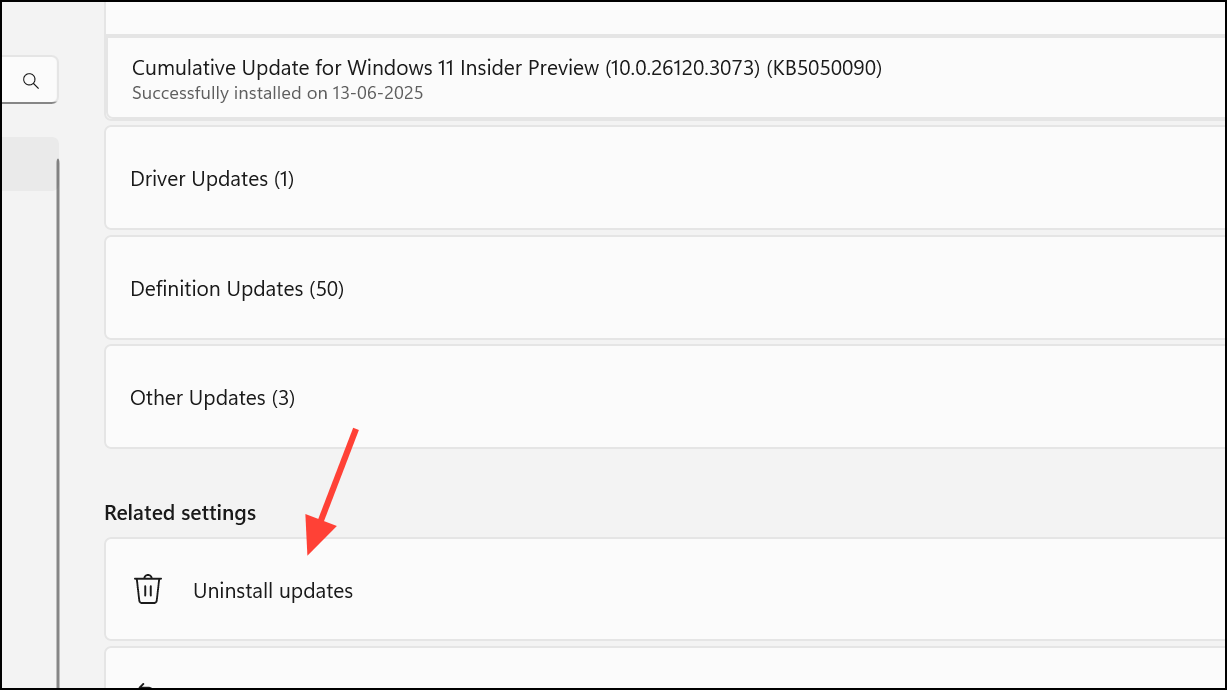
Step 1: Press Win + I to open Settings. Navigate to Update & Security > Windows Update > View update history > Uninstall updates.
Step 2: In the list of updates, locate any recent updates related to drivers or Windows itself. Right-click and select Uninstall for each update you suspect may have triggered the BSOD.
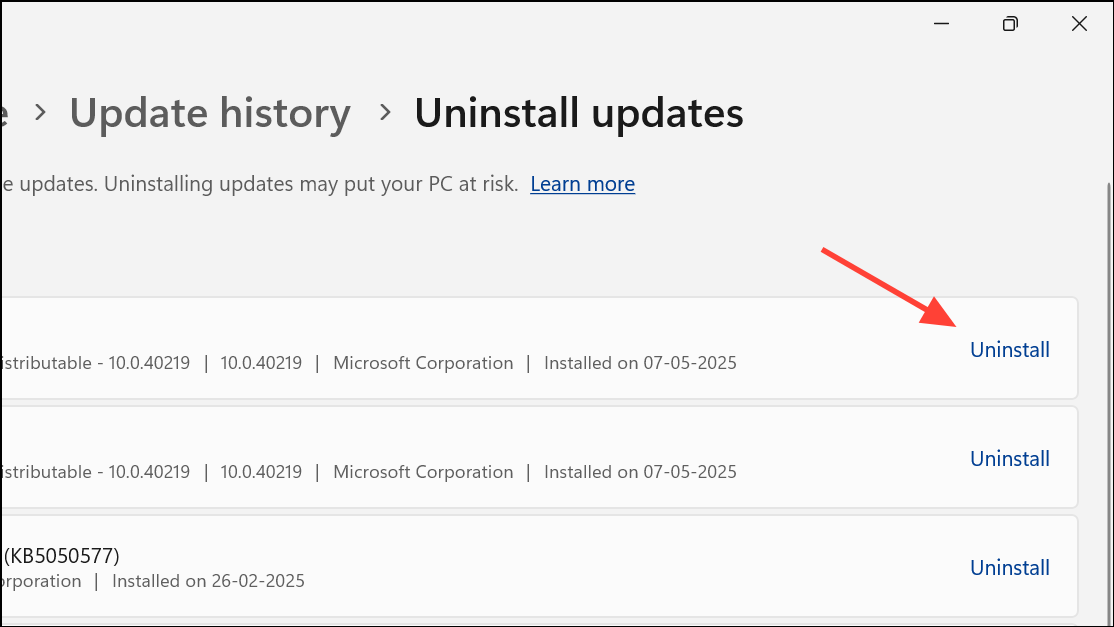
Step 3: Reboot your system and check if the blue screen error is resolved. Uninstalling problematic updates reverts your system to a state before the crash began, often restoring stability.
Perform a System Restore
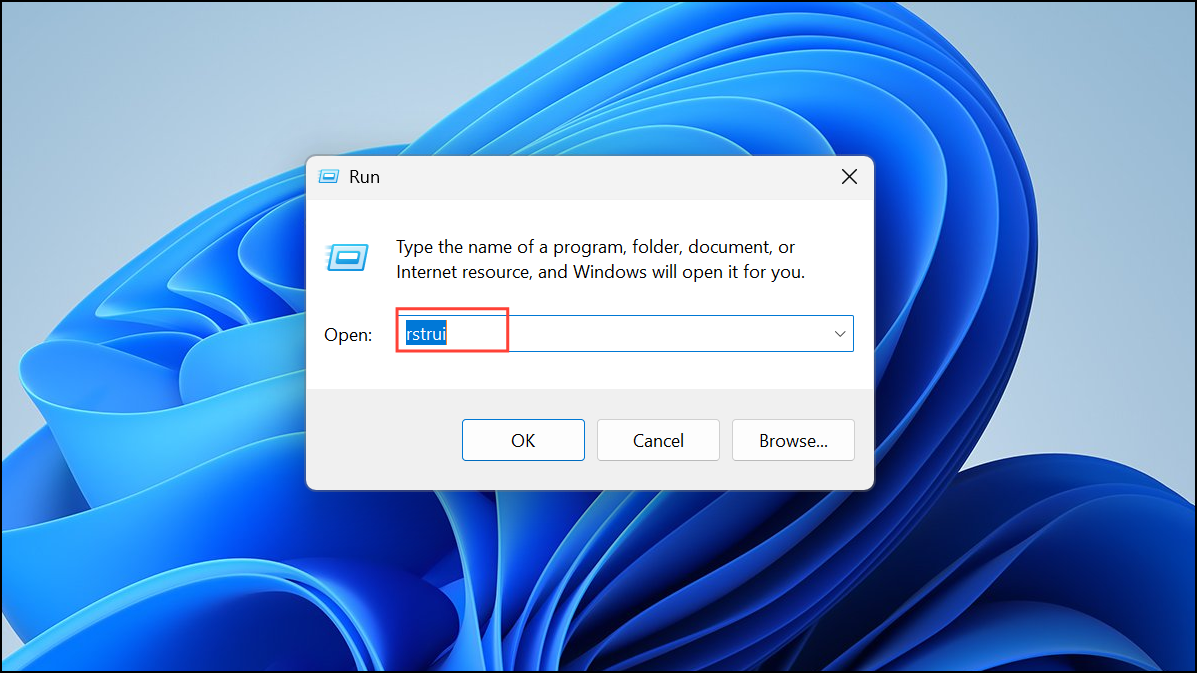
Step 1: Press Win + R and enter rstrui to open the System Restore wizard.
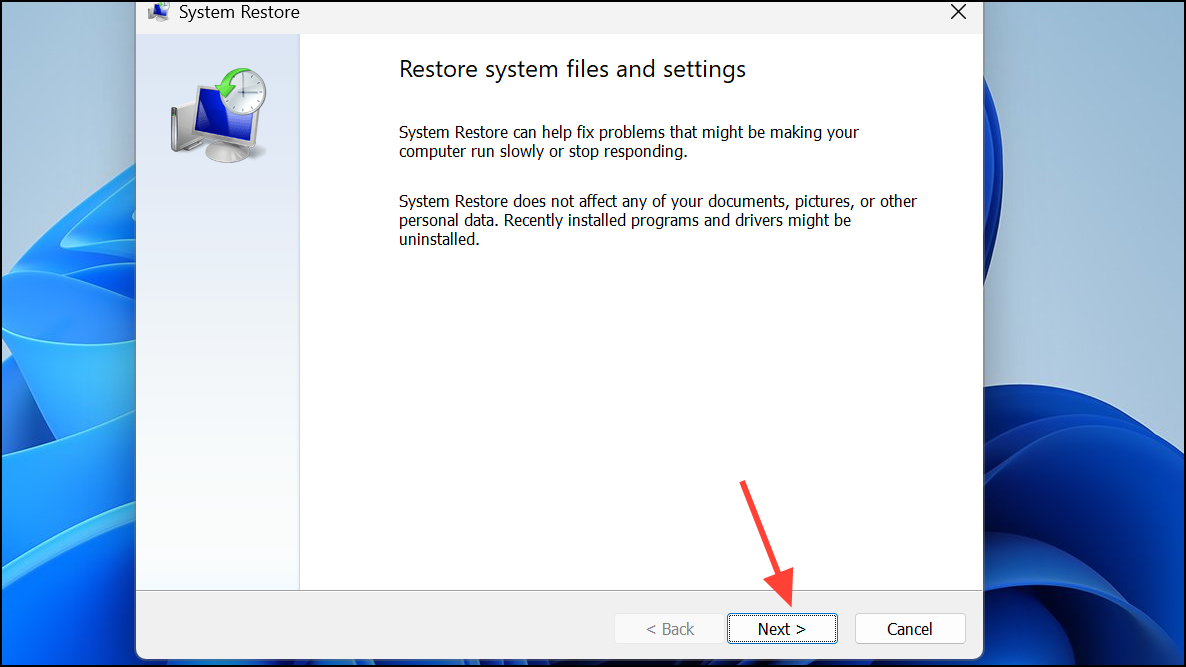
Step 2: Click Next, then check Show more restore points to see all available options.
Step 3: Select a restore point dated before the WiFi card installation or system crashes began. Click Next and then Finish to start the restoration process.
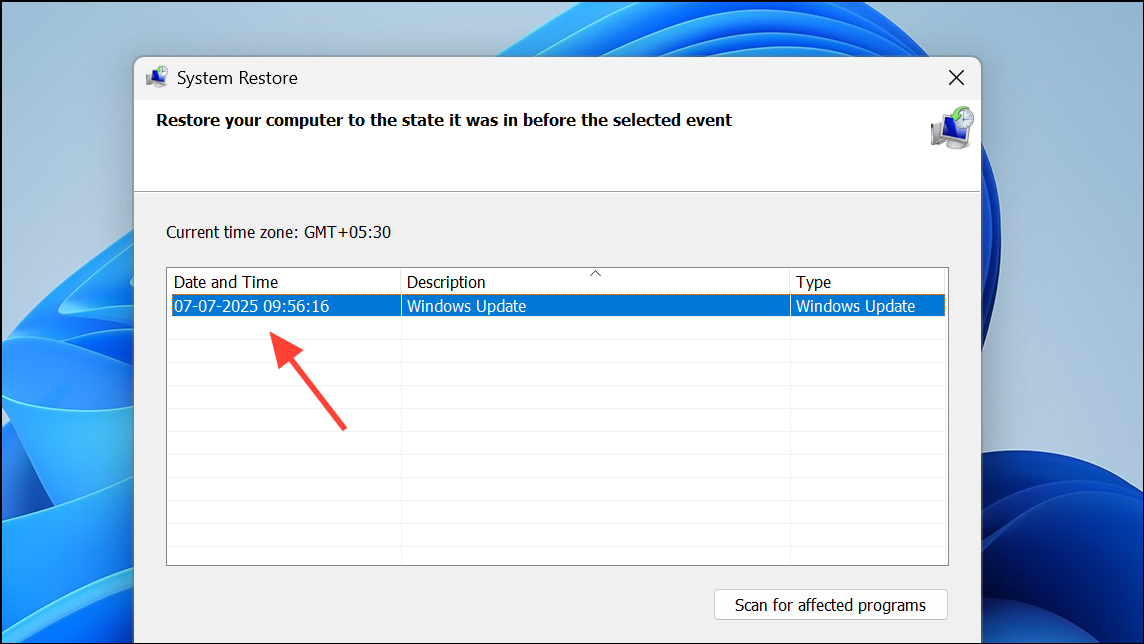
System Restore rolls back system files and drivers, undoing recent changes that may have caused instability. This step requires that you previously enabled System Restore and have restore points available.
Check Hardware Compatibility and Conflicts
Step 1: Remove the WiFi card and boot your system. If Windows starts without a BSOD, the issue likely relates to the card or its driver.
Step 2: If you have another compatible WiFi card or a USB WiFi dongle, install it and test for stability. Consistent crashes with only one card point to a hardware defect or incompatibility.
Step 3: For desktop systems, ensure you do not have two active WiFi adapters (e.g., onboard WiFi and a new PCIe card). Use Device Manager to disable the unused adapter, as Windows 11 can crash when multiple wireless interfaces are active simultaneously.
Step 4: If your laptop or motherboard manufacturer has released a BIOS update addressing hardware compatibility, follow their instructions to update the BIOS. This can resolve underlying communication issues between the system and the WiFi card.
Undo Recent System or BIOS Changes
Step 1: If you recently changed BIOS settings or enabled/disabled hardware features, revert these changes. Boot into BIOS/UEFI (usually by pressing Del or F2 during startup), and use the option to reset BIOS to default settings.
Step 2: Save and exit BIOS, then restart your computer. Sometimes, improper BIOS configuration can cause hardware initialization errors leading to BSODs.
Consider a Clean Windows Installation as a Last Resort
If all previous steps fail and the system cannot boot even in Safe Mode, a clean installation of Windows 11 may be necessary. Back up important data first. Download the latest Windows 11 ISO from Microsoft, create a bootable USB using the Media Creation Tool, and reinstall the operating system. This process removes any residual driver conflicts or corrupted system files that could be causing persistent BSODs.
Resolving BSODs after installing a WiFi card on Windows 11 often comes down to careful driver management and checking for hardware conflicts. If one method doesn’t work, try another, and always keep backups of important data before making major changes.