Windows Update error 0xC1900208 occurs when the installation process detects incompatible software or drivers on your system. This issue prevents Windows 11 from upgrading to the latest version, leaving you stuck with repeated failed update attempts. Resolving this issue involves identifying and removing the problematic apps or drivers or resetting the Windows Update components.
Method 1: Identify and Remove Incompatible Apps
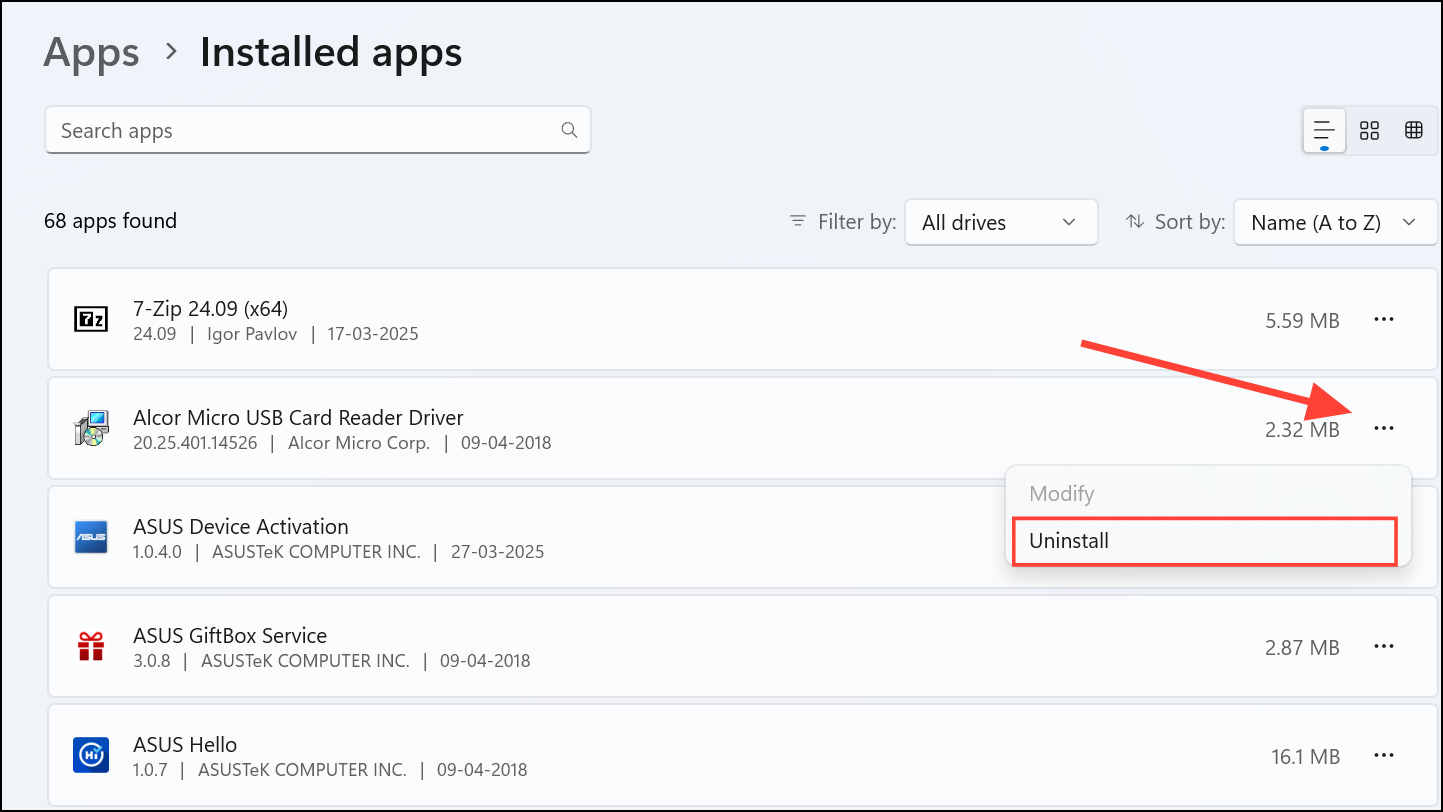
The most common cause of the 0xC1900208 error is incompatible software installed on your PC. Windows provides a compatibility report that lists problematic apps. Here’s how to identify and remove the incompatible apps:
Windows + E. In the address bar, paste the following path and hit Enter: C:\Windows\Panther.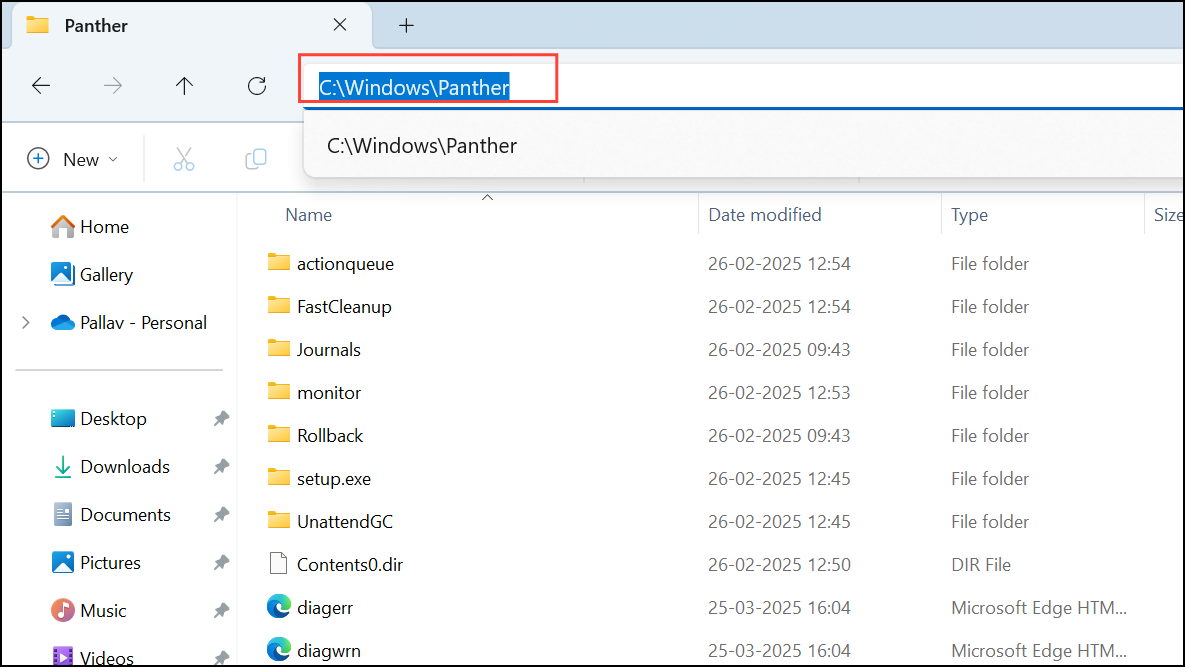
Compat*.xml with the most recent timestamp. Open this file with a text editor like Notepad.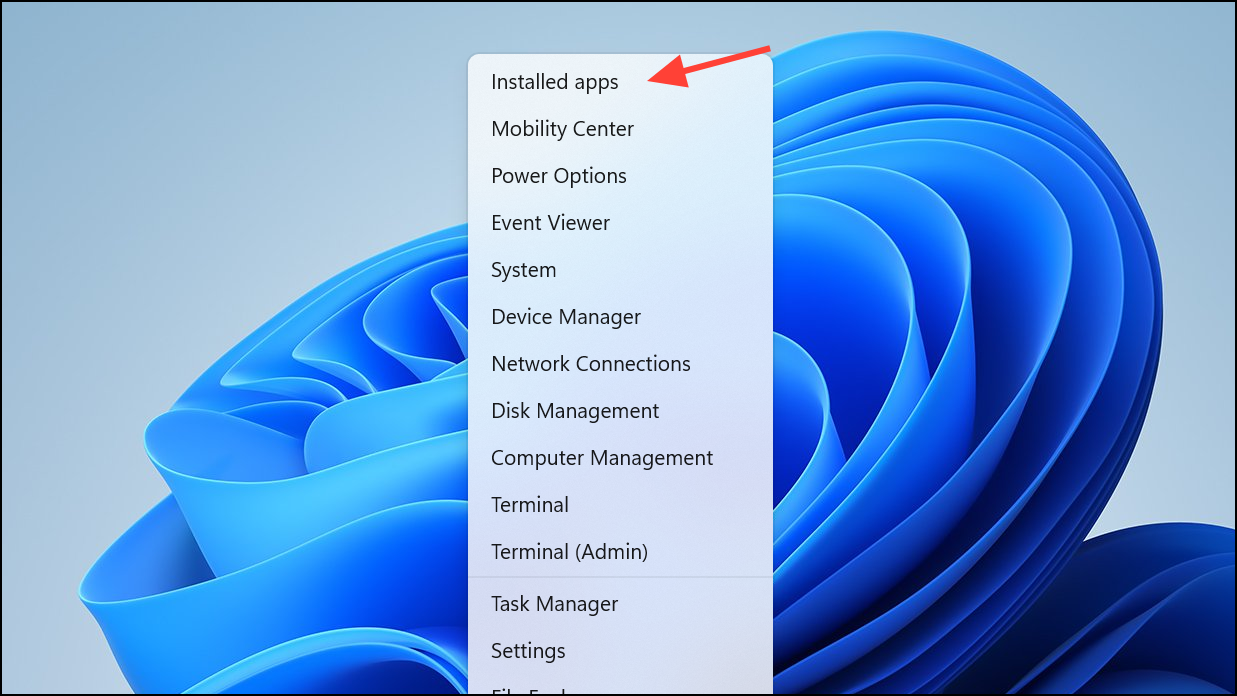
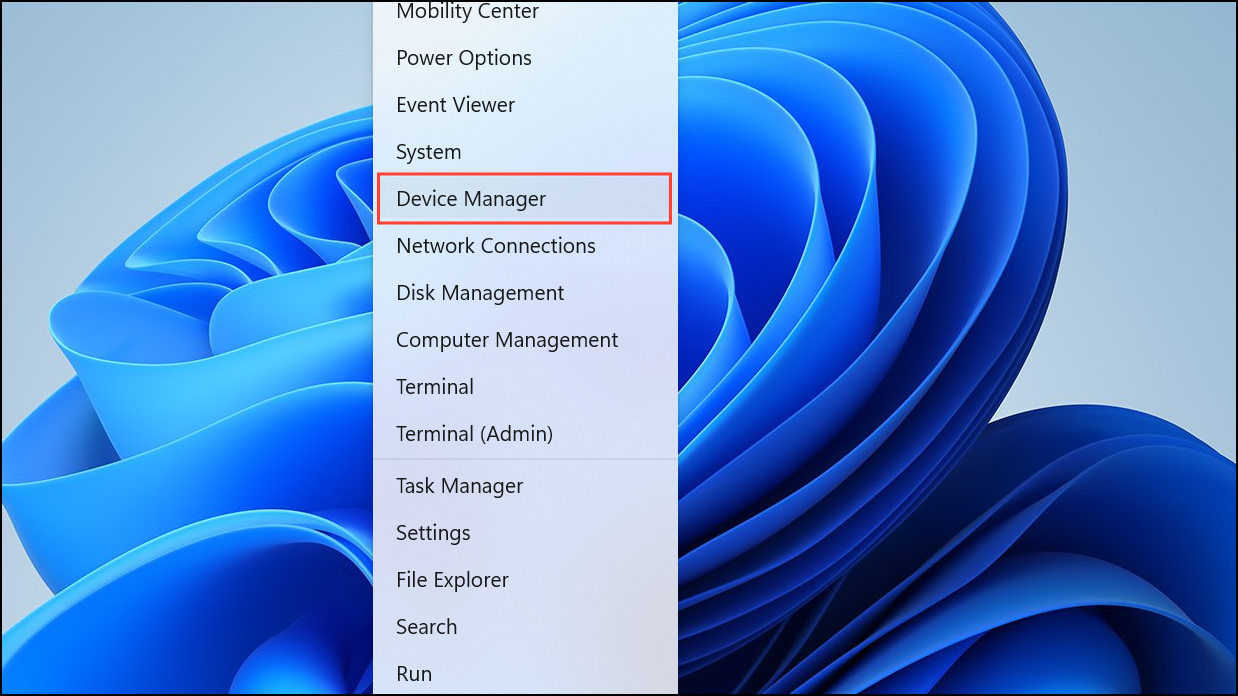
Method 2: Remove Problematic Drivers
Sometimes, incompatible drivers can trigger the 0xC1900208 error. Here’s how to locate and remove problematic drivers:
C:\$WINDOWS.~BT\Sources\Panther\CompatData. Open the most recent CompatData.xml file.C:\Windows\INF and locate the noted INF files. Open these INF files in Notepad to verify their function and confirm they are safe to remove.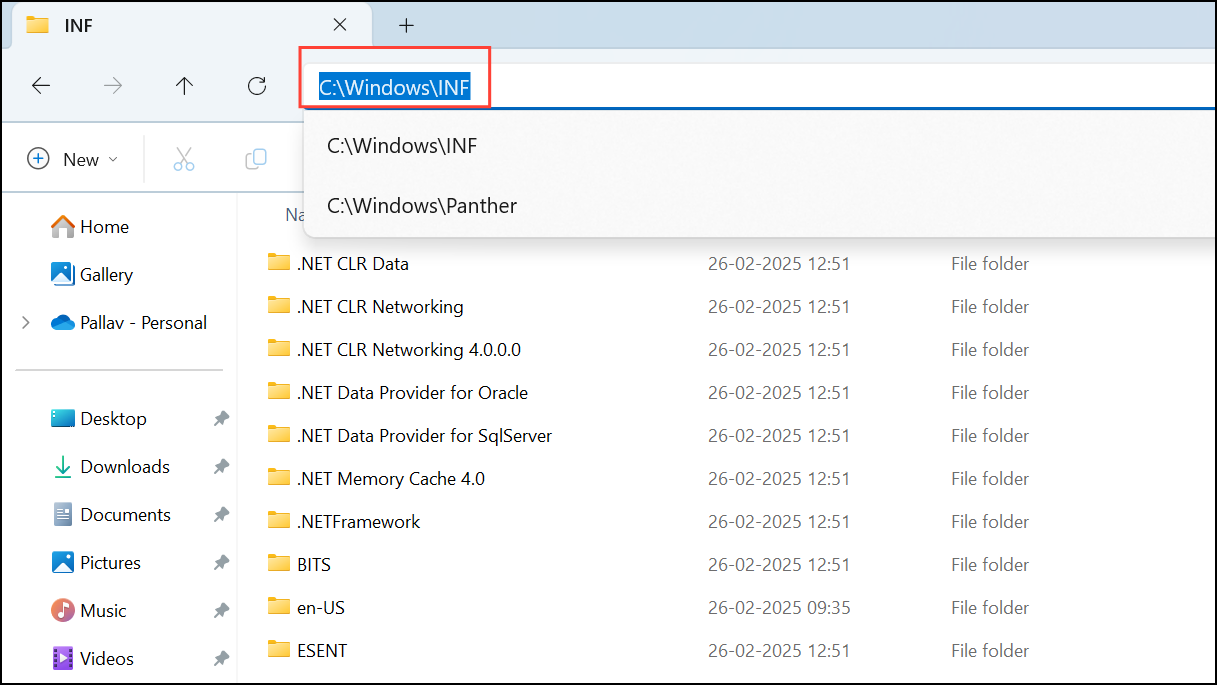

Restart your system and retry the Windows 11 update.
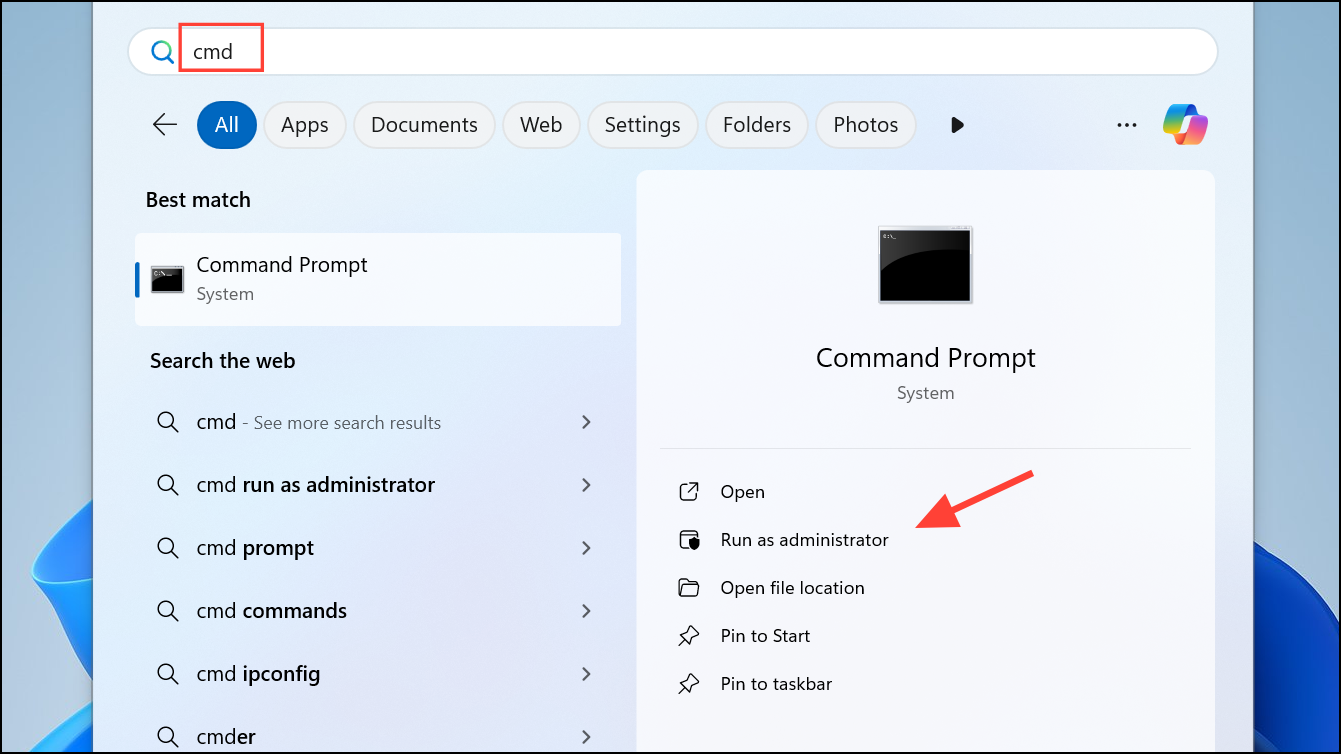
Method 3: Reset Windows Update Components
If removing apps or drivers doesn’t resolve the issue, resetting the Windows Update components often fixes persistent update errors. Follow these steps:
net stop bits
net stop wuauserv
net stop appidsvc
net stop cryptsvc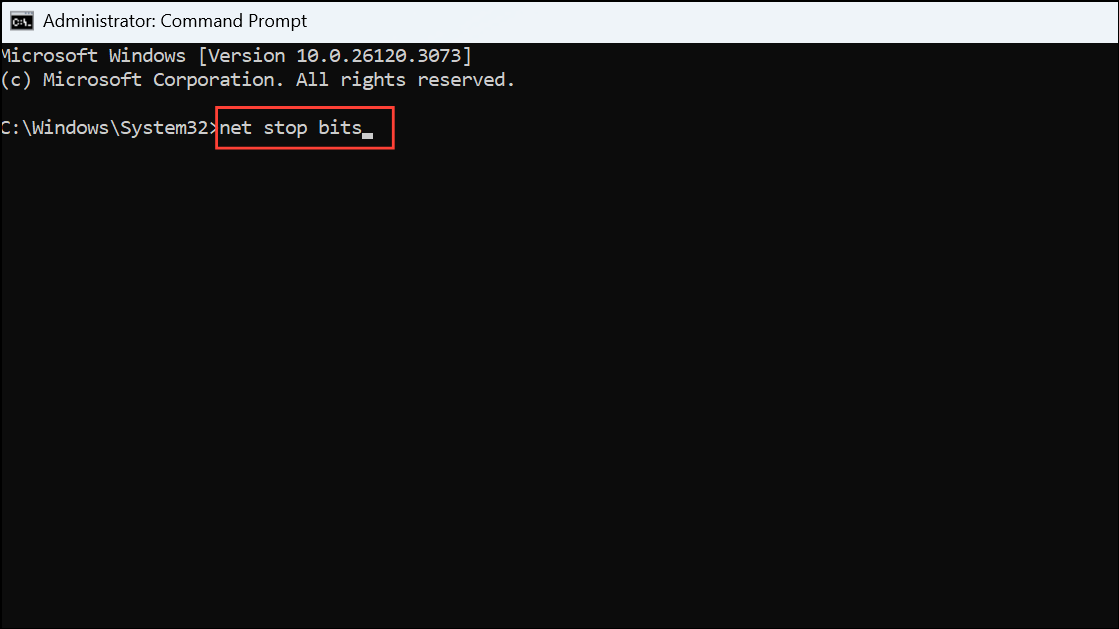
ren C:\Windows\SoftwareDistribution SoftwareDistribution.old
ren C:\Windows\System32\catroot2 Catroot2.old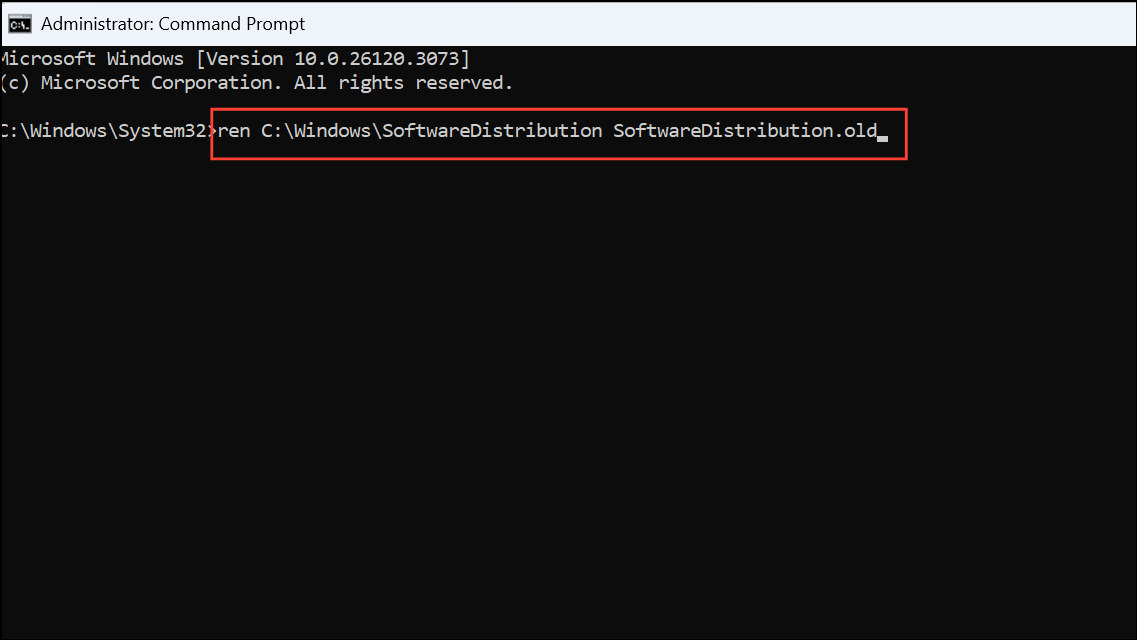
net start bits
net start wuauserv
net start appidsvc
net start cryptsvc
After performing these methods, your Windows 11 update process should proceed without encountering the 0xC1900208 error. If the issue persists, consider contacting Microsoft support or seeking further assistance from the Windows community forums.


