
Encountering the error code 0x80072f8f – 0x20000 when using the Windows Media Creation Tool on Windows 11 can be quite frustrating. This error typically occurs when launching the MediaCreationTool.exe file to create bootable media or upgrade your operating system. Fortunately, there are several methods you can try to resolve this issue.
Before proceeding with the solutions, it’s a good idea to try using your USB drive in a different port to rule out any faulty USB port issues.
Method 1: Modify the Registry Files
Adjusting specific registry settings has helped many users eliminate the Media Creation Tool error. Follow these steps carefully to modify the registry files on your Windows 11 PC.
Registry Editor in the search bar, and select the ‘Registry Editor’ app from the results.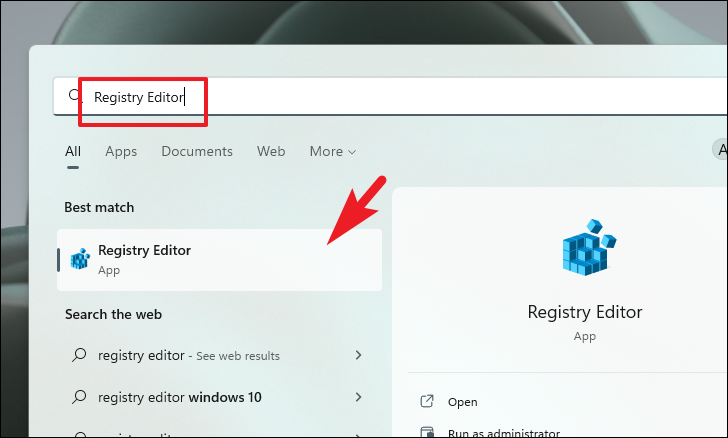
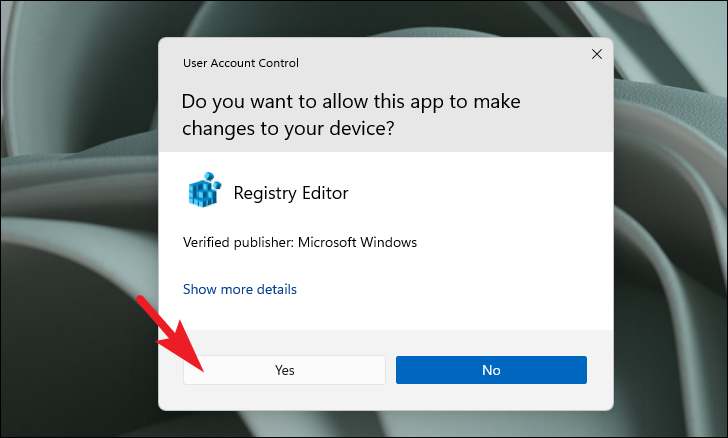
If prompted by the User Account Control (UAC), click ‘Yes’ to proceed.
Computer\HKEY_LOCAL_MACHINE\SOFTWARE\Microsoft\Windows\CurrentVersion\WindowsUpdate\Auto Update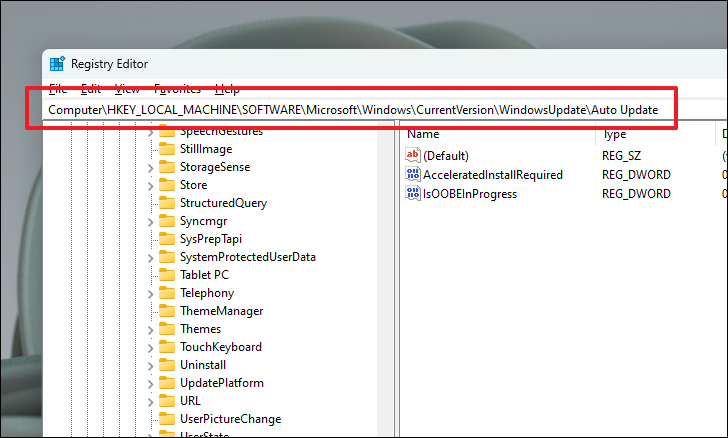
AllowOSUpgrade.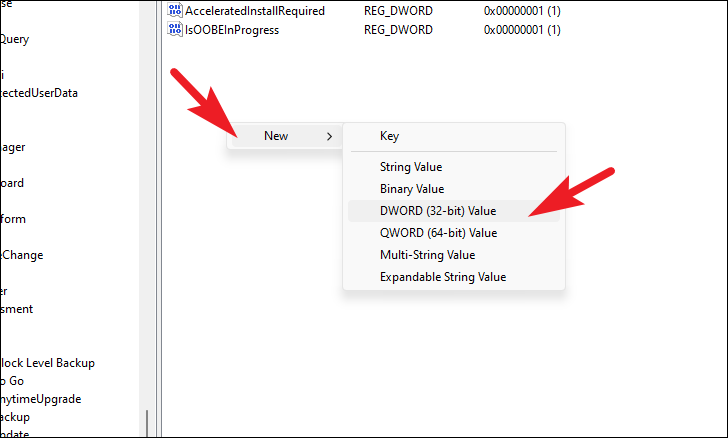
AllowOSUpgrade value. In the ‘Value data’ field, enter 1 and click ‘OK’.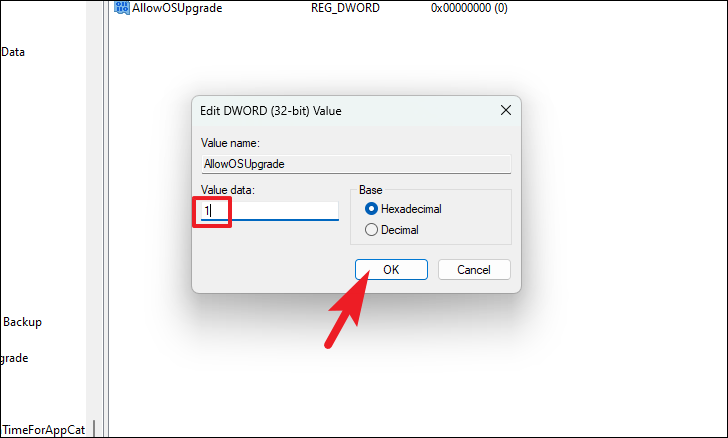
Method 2: Reset Windows Update Components
Resetting Windows Update components can often fix issues related to the update process, including the 0x80072f8f – 0x20000 error.
Terminal, right-click on ‘Windows Terminal’, and select ‘Run as administrator’.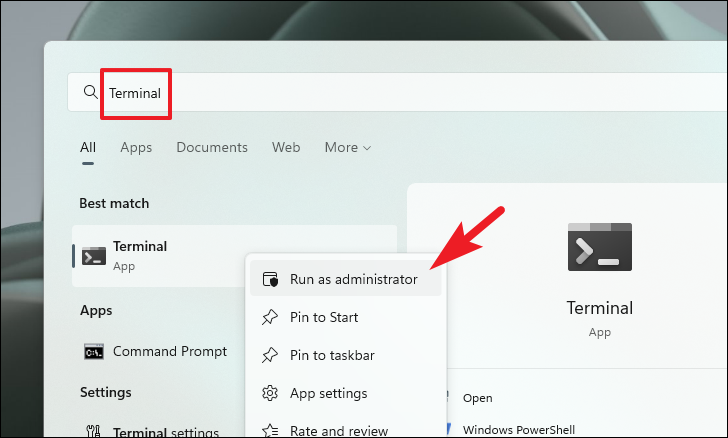
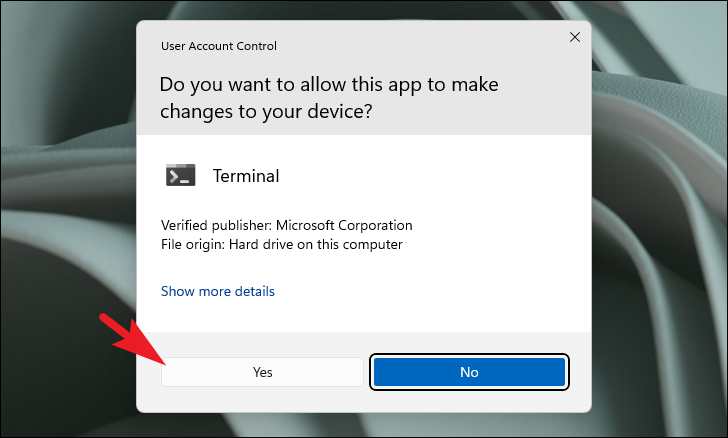
When prompted by UAC, click ‘Yes’ to continue.
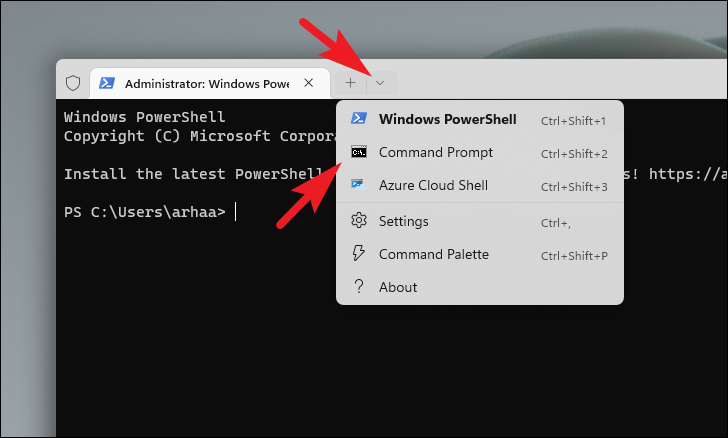
net stop wuauservnet stop cryptSvcnet stop bitsnet stop msiserverRen C:\Windows\SoftwareDistribution SoftwareDistribution.oldnet start wuauservnet start cryptSvcnet start bitsnet start msiserver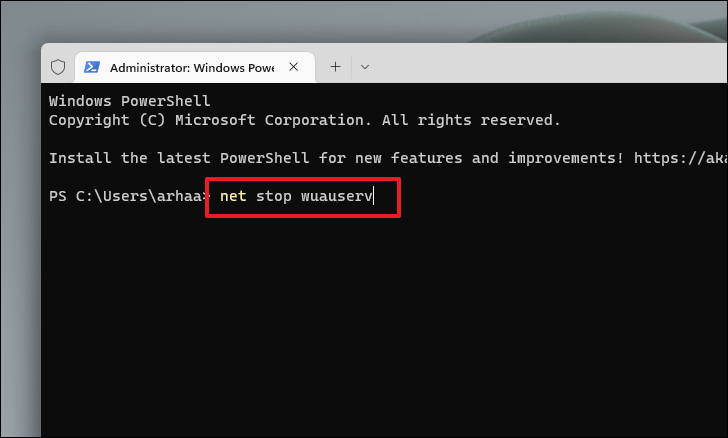
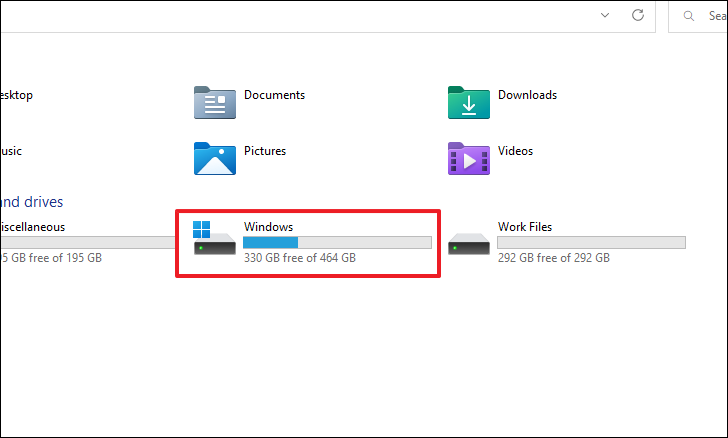
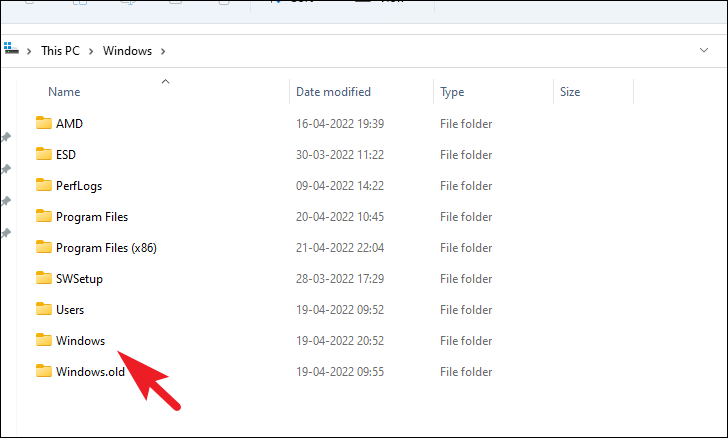
Method 3: Clear the SoftwareDistribution Folder
Clearing the SoftwareDistribution folder can resolve issues caused by corrupted Windows Update files.

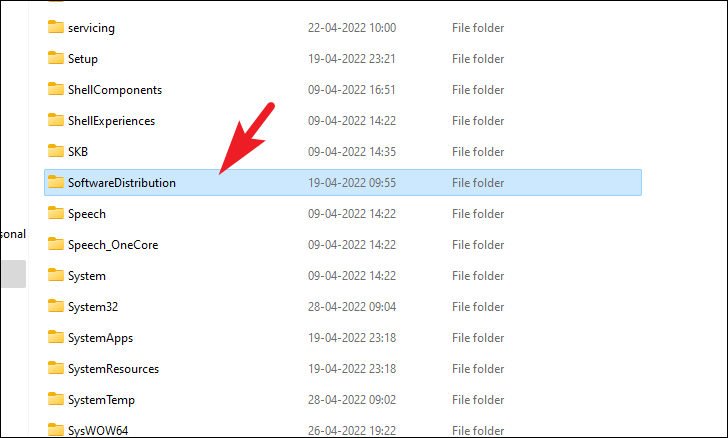
Ctrl + A, then permanently delete them by pressing Shift + Delete. Confirm any prompts that appear.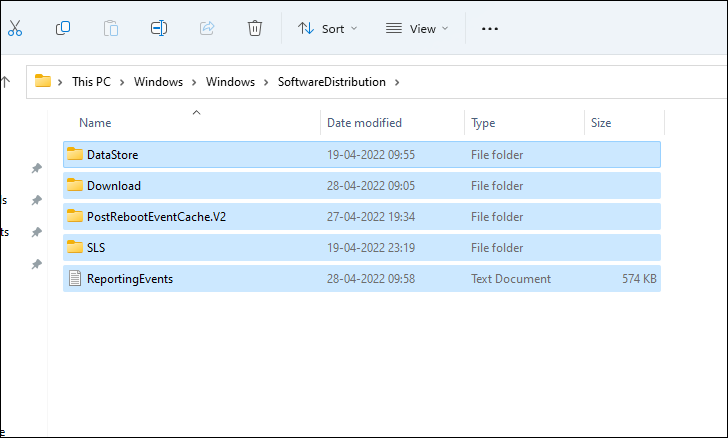
Command Prompt, right-click on it, and select ‘Run as administrator’.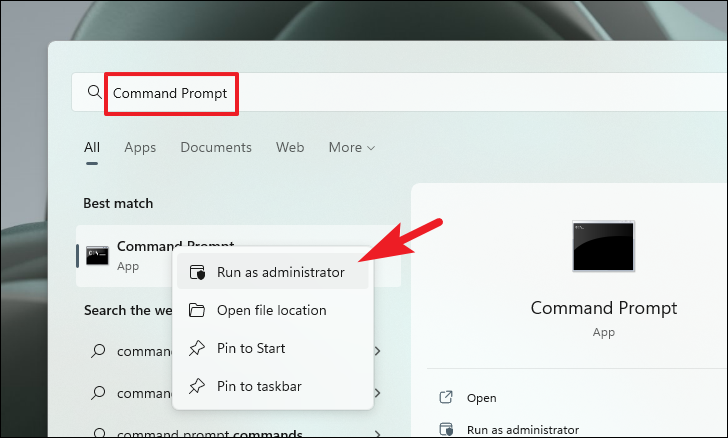
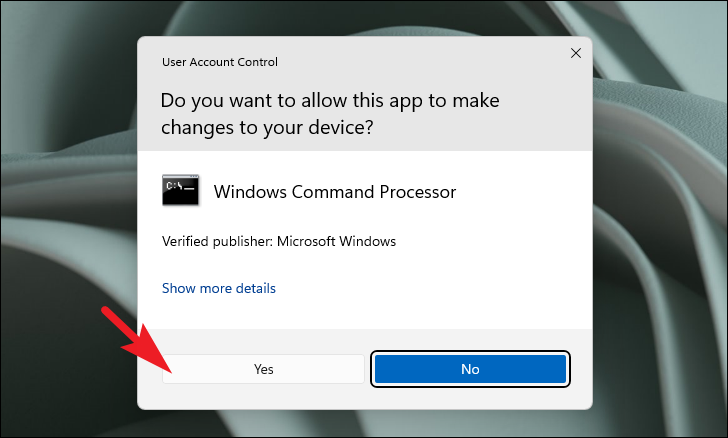
When prompted by UAC, click ‘Yes’ to proceed.
wuauclt.exe /updatenow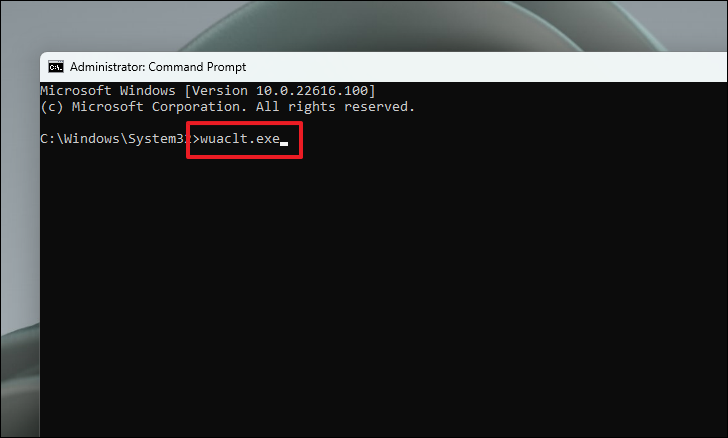
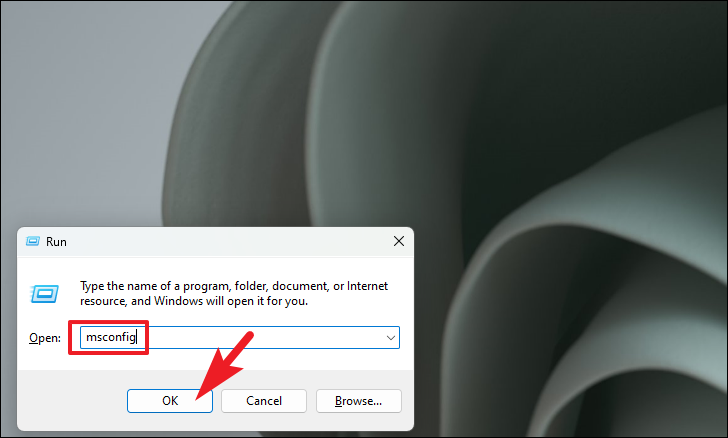
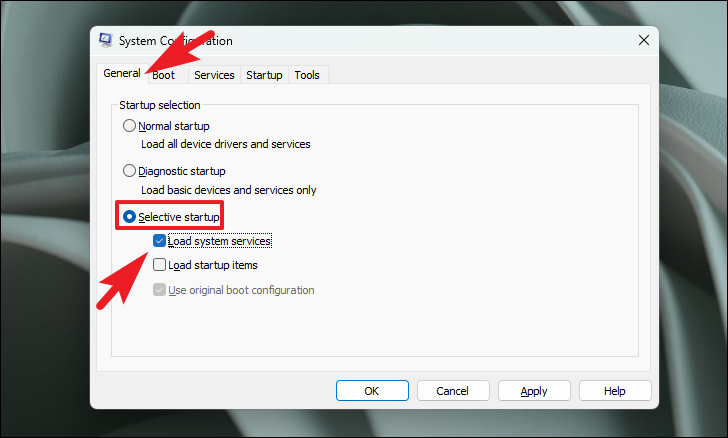
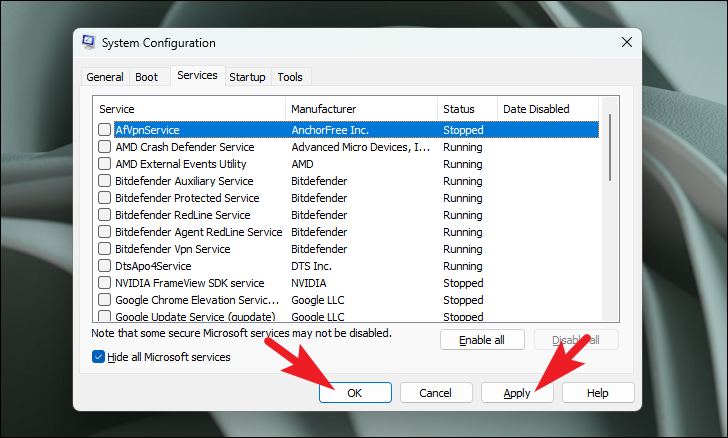
Method 4: Perform a Clean Boot
A clean boot starts Windows with a minimal set of drivers and startup programs, which can help determine if a background program is interfering with the Media Creation Tool.
Note: Performing a clean boot will not erase any data on your system.

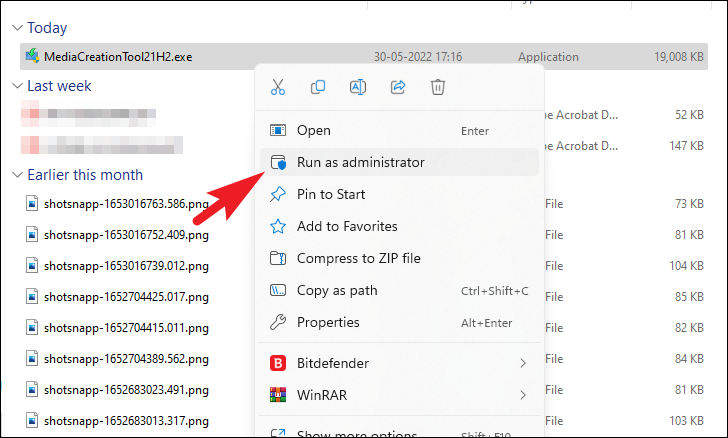
Method 5: Run the Media Creation Tool as Administrator
Running the Media Creation Tool with administrative privileges can sometimes bypass permission issues that cause the error.
By following these methods, you should be able to resolve the error code 0x80072f8f – 0x20000 and successfully use the Windows Media Creation Tool on your Windows 11 PC.


