
Receiving the message, "Microsoft Excel can't insert new cells because it would push non-empty cells off the end of the worksheet," signals that Excel has reached the worksheet’s maximum row or column limit, or believes it has, due to hidden data, formatting, or other factors. This issue can lock you out from inserting or adding new rows or columns, even when your sheet appears mostly empty. Addressing this error requires clearing out any hidden or excess data and, in some cases, tackling formatting or workbook-specific problems.
Clear Excess Data and Formatting from Unused Rows and Columns
Excel often registers formatting, formulas, or even invisible content far beyond your actual data range, causing it to think the sheet is full. Removing this excess can restore your ability to add new cells.
Step 1: Click into any cell and press Ctrl + End. This shortcut takes you to what Excel considers the last used cell in the worksheet. If this cell is far outside your actual data, it means Excel is tracking extra content or formatting.
Step 2: Identify the last column and row that contain real data. Click the first empty cell to the right of your data in the top row. Hold Ctrl + Shift and press the Right Arrow to select all columns to the end of the worksheet.
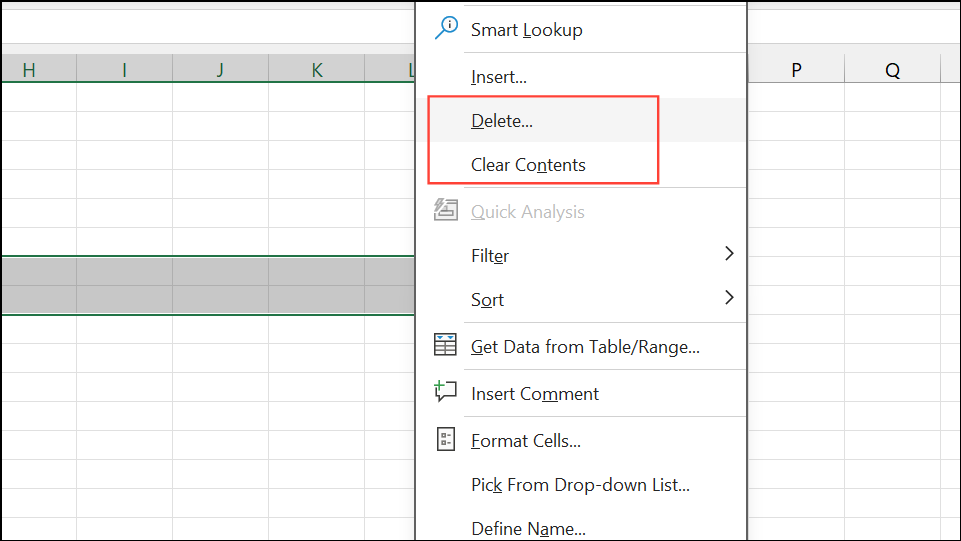
Step 3: Right-click within the selected columns and choose “Delete” or “Clear Contents.” Deleting removes both content and formatting, while clearing contents only removes the data but leaves formatting intact. Deleting is more thorough and often more effective.
Step 4: Repeat this process for rows. Click the first empty cell below your data in the first column, hold Ctrl + Shift and press Down Arrow to select all rows to the bottom of the worksheet, then right-click and delete or clear contents.
Step 5: Save the workbook, close it, and reopen it to ensure Excel updates its internal record of used cells. After reopening, try inserting new rows or columns again.
Remove Conditional Formatting and Excess Formatting Rules
Conditional formatting rules, especially if applied to large ranges or in bulk, can cause Excel to treat the worksheet as full. Removing unnecessary formatting often resolves insertion issues.
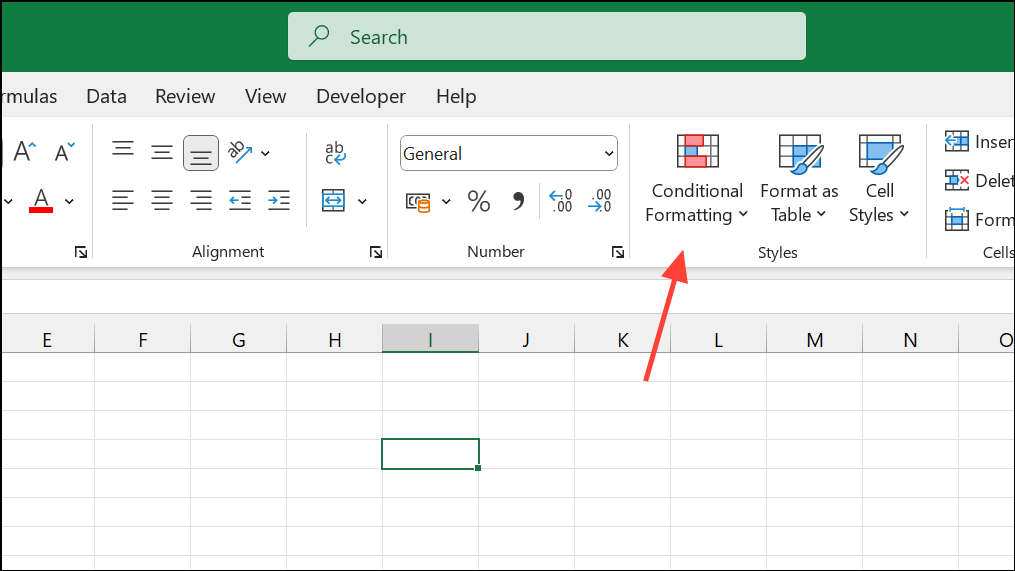
Step 1: Go to the worksheet where the error appears. On the Home tab, find the “Conditional Formatting” menu.
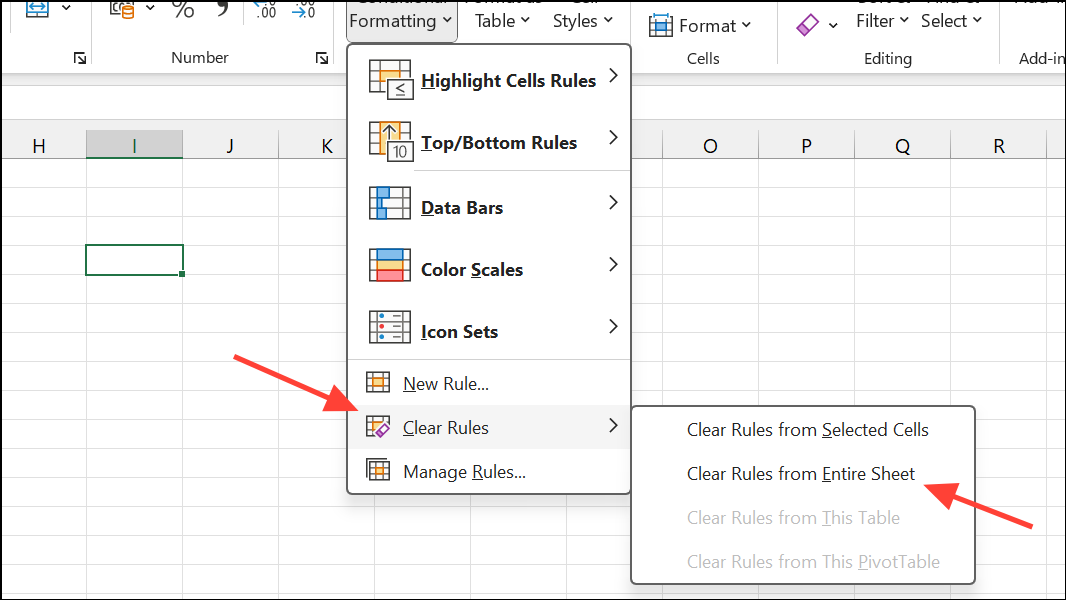
Step 2: Select “Clear Rules” and choose “Clear Rules from Entire Sheet.” This will remove all conditional formatting rules, which can significantly reduce the worksheet’s complexity and free up space for new cells.
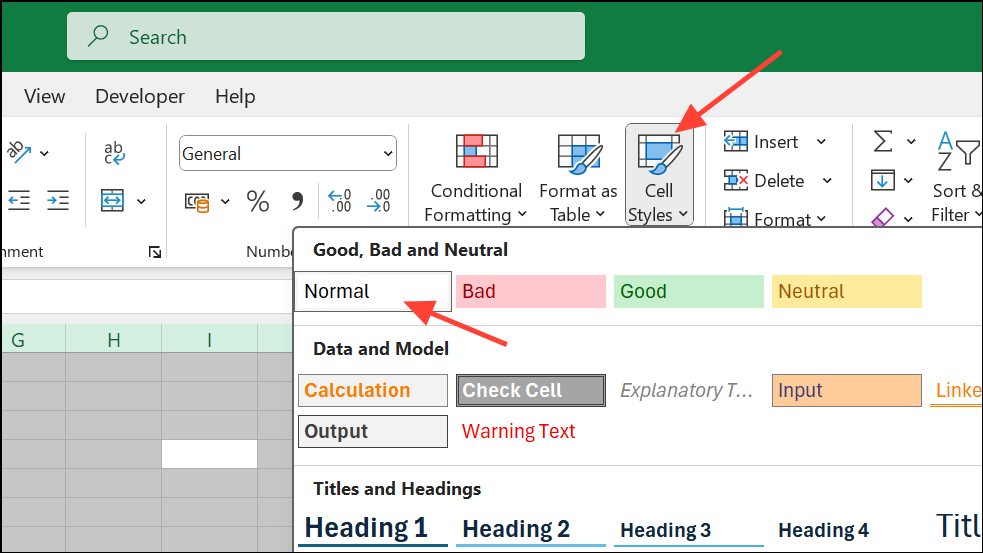
Step 3: If the error persists, check for excessive standard formatting (such as fill colors, borders, or fonts) by selecting the entire worksheet (Ctrl + A), then on the Home tab, click “Cell Styles” and select “Normal” to reset formatting.
Step 4: Save and reopen the file, then attempt to insert new rows or columns again.
Unmerge Cells and Unfreeze Panes
Merged cells and frozen panes can block cell insertion, especially if they span the area where you want to add new cells.
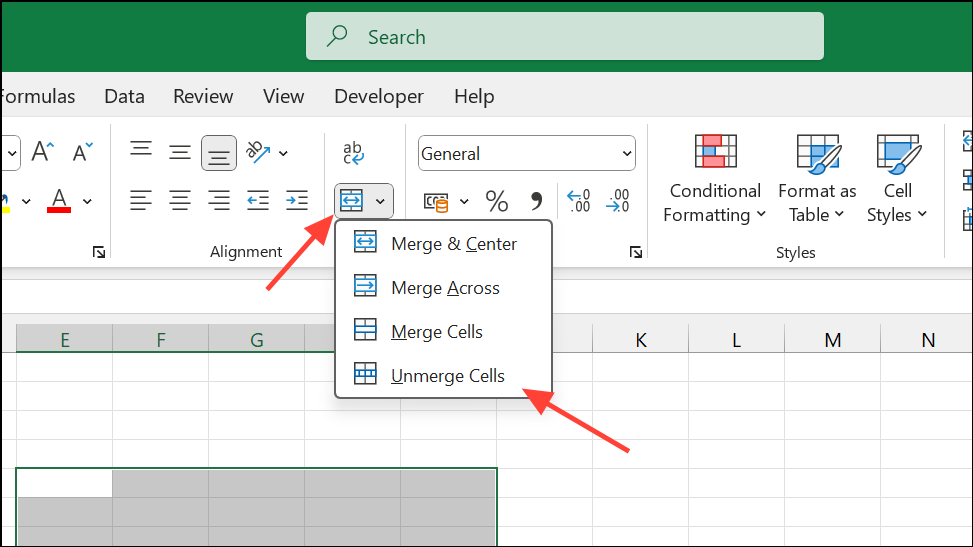
Step 1: Select the entire worksheet or the region where you want to insert new cells. On the Home tab, click the “Merge & Center” dropdown and choose “Unmerge Cells.” This splits any merged cells, removing barriers to insertion.
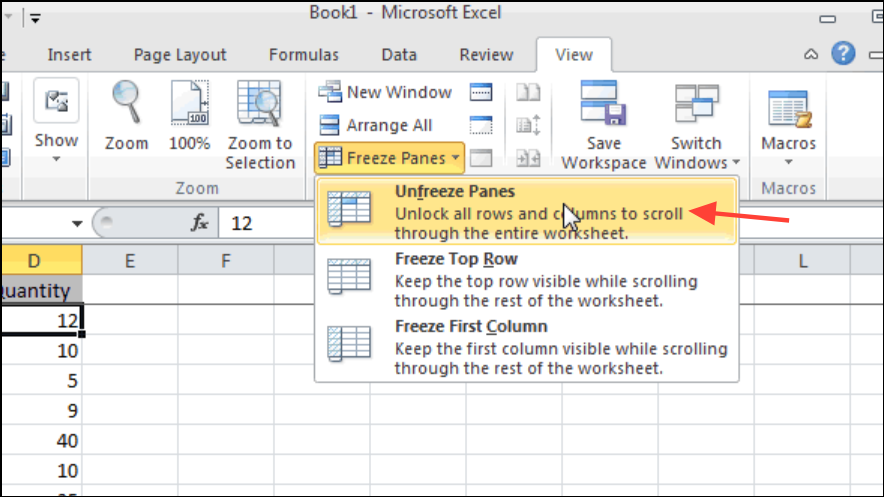
Step 2: Navigate to the View tab and select “Unfreeze Panes.” This ensures that frozen rows or columns aren’t restricting your ability to add new cells.
Step 3: Try inserting cells again after making these changes.
Check for Cell Protection or Workbook Protection
Locked or protected cells and sheets prevent structural changes, including inserting or deleting cells.
Step 1: Go to the Review tab and check if “Unprotect Sheet” or “Unprotect Workbook” is available. If so, click it and enter the password if prompted.
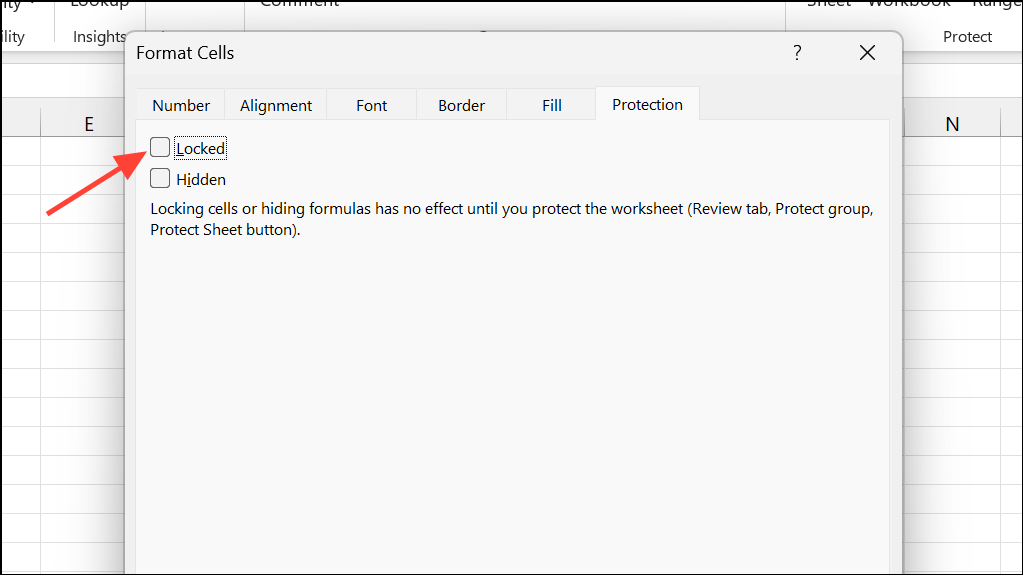
Step 2: To ensure all cells are unlocked, select the entire worksheet (Ctrl + A), right-click, choose “Format Cells,” go to the Protection tab, and uncheck “Locked.”
Step 3: Click OK, and try to insert new cells. If protection was the cause, this should resolve the issue.
Copy Data to a New Workbook
In rare cases, Excel’s internal record of used cells or formatting becomes corrupt and cannot be fixed by clearing content or formatting. Starting fresh in a new workbook can often solve persistent problems.
Step 1: Open the problematic workbook and select the data you want to keep. Press Ctrl + C to copy.
Step 2: Open a new, blank Excel workbook. Click into cell A1 and press Ctrl + V to paste.
Step 3: Save the new workbook and check whether you can now insert new rows or columns. If so, continue working in the new file.
Address Issues Caused by File Corruption or Excel Bugs
Some recent Excel versions have introduced bugs where insert/delete actions do not work, even in seemingly healthy files. File format mismatches, excessive memory usage, or outdated files can cause these symptoms.
- Try closing all other applications to free up memory and restart Excel.
- Check for available updates in Microsoft 365 or Office and install them.
- If your file was created in an older Excel version, consider recreating it from scratch in the latest version, copying only the content (not formatting or formulas) to avoid carrying over corruption.
- Avoid copying and pasting entire rows, columns, or sheets from old files—stick to plain cell content wherever possible.
These steps can resolve issues that persist even after clearing data and formatting.
By methodically clearing excess data, removing complex formatting, and addressing file corruption or protection, you can restore your ability to add or insert new cells in Excel and keep your workflow moving smoothly.