
File History in Windows 10 and 11 provides a straightforward way to automatically back up personal files to an external drive. However, users often notice that File History skips the OneDrive folder or certain subfolders, such as Documents or Pictures, even when these are included in the backup settings. This issue typically arises because of how OneDrive manages cloud files and local file availability, especially with the Files On-Demand feature. Below, you’ll find effective solutions to ensure your OneDrive folders are properly included in your File History backups, along with additional troubleshooting steps for persistent issues.
Method 1: Make OneDrive Files Available Offline to Enable File History Backup
File History only backs up files that are physically present on your device. OneDrive’s Files On-Demand feature saves disk space by keeping files in the cloud until you open them. These cloud-only files appear in File Explorer but are not actually stored on your computer, so File History skips them. To ensure all OneDrive files are included in backups, you must configure OneDrive to keep files available offline.
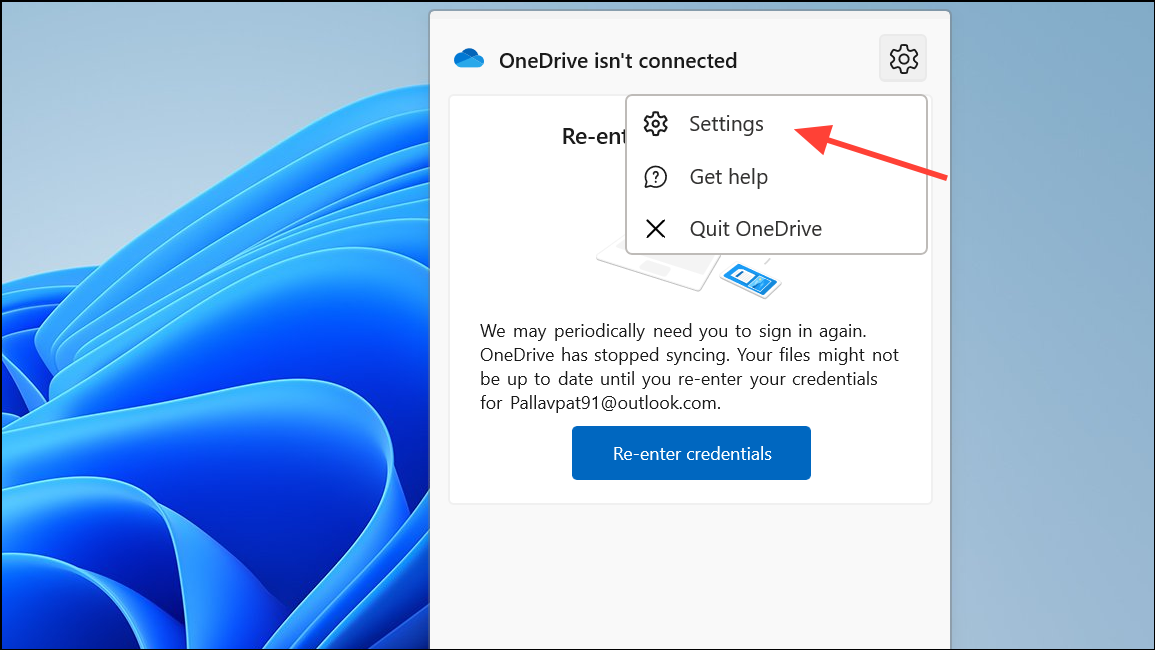
Step 1: Click the OneDrive cloud icon in the Windows taskbar notification area to open the OneDrive menu.

Step 2: Select the Help & Settings (gear) icon, then choose Settings.
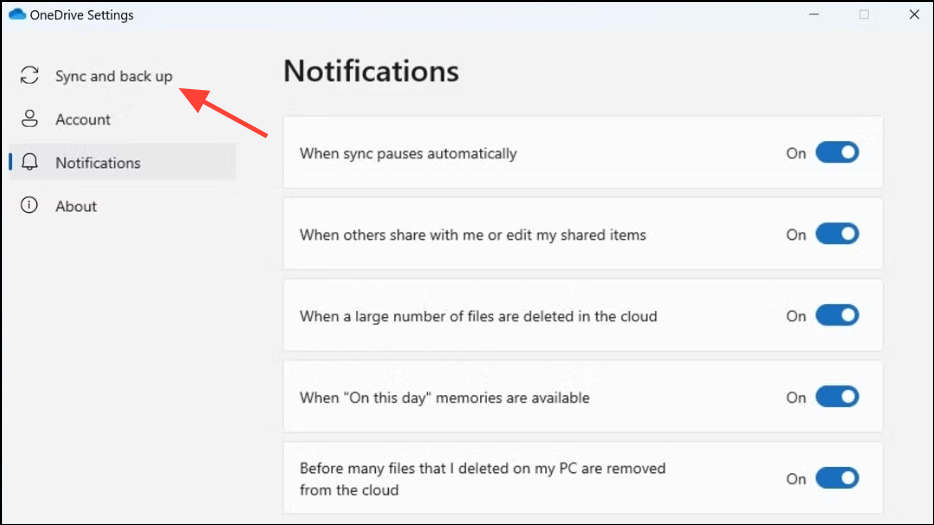
Step 3: Go to the Sync and backup tab, then click Advanced settings.
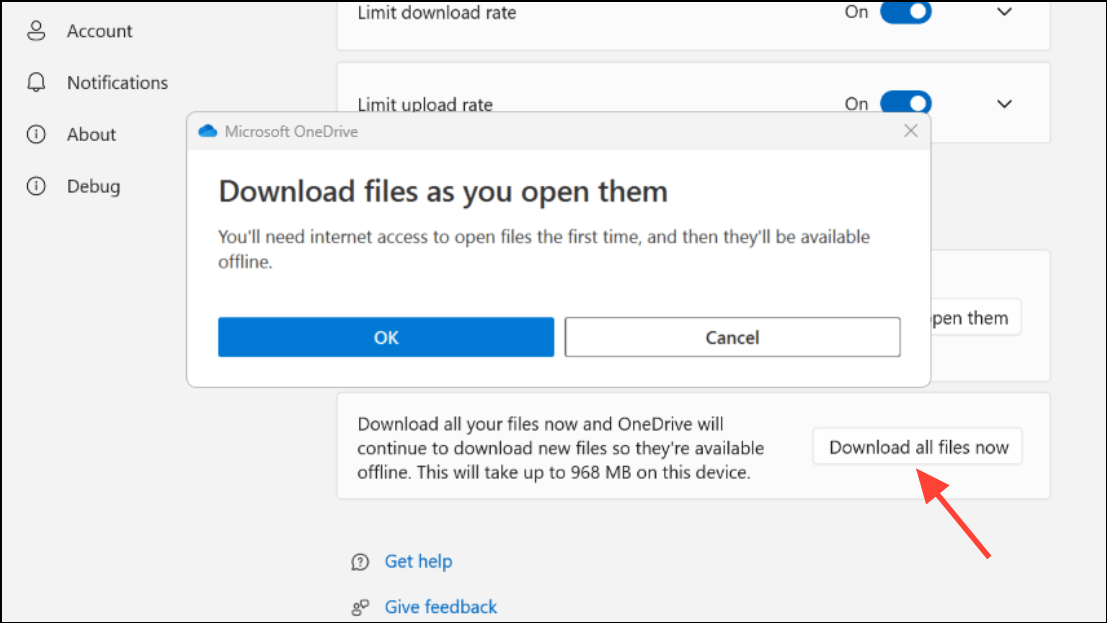
Step 4: Under the “Files On-Demand” section, click Download all files. This will start downloading all cloud-only files to your device, making them available for File History to back up.
Step 5: Wait for OneDrive to finish downloading files. You can monitor progress in the OneDrive menu. Folders and files that are fully available offline will display a green checkmark icon in File Explorer.
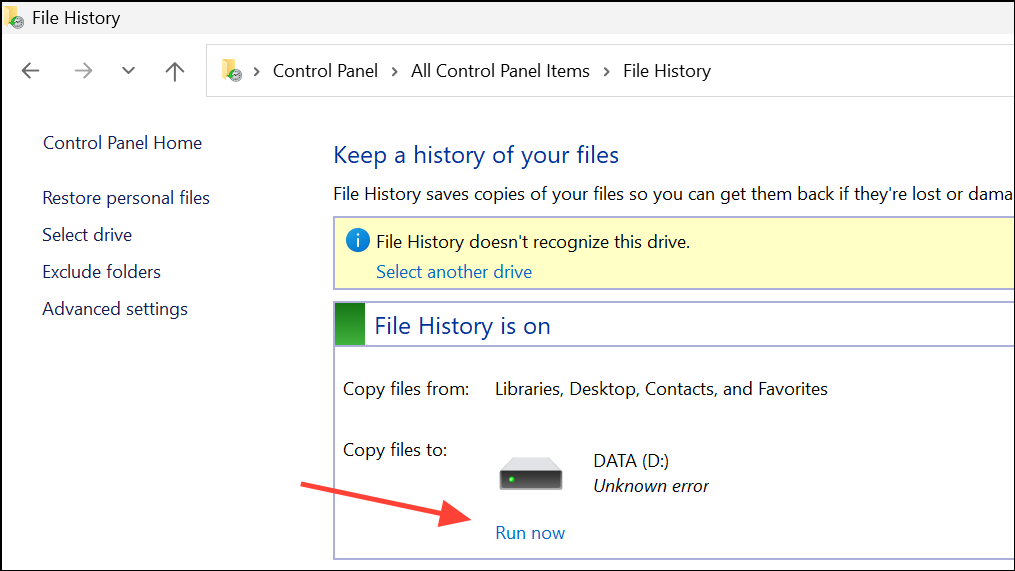
Step 6: Open the Control Panel, navigate to File History, and click Run now to start a new backup. File History will now include your OneDrive folder and its contents in the backup.
This approach ensures all OneDrive files are present on your computer, allowing File History to copy them to your external drive. Be aware that downloading all files can use significant disk space, especially if your OneDrive contains large amounts of data.
Method 2: Confirm OneDrive Folders Are Set to 'Always Keep on This Device'
Sometimes, you may want to selectively make only certain OneDrive folders available offline instead of the entire OneDrive library. This is useful if you have limited local disk space.
Step 1: Open your OneDrive folder in File Explorer.
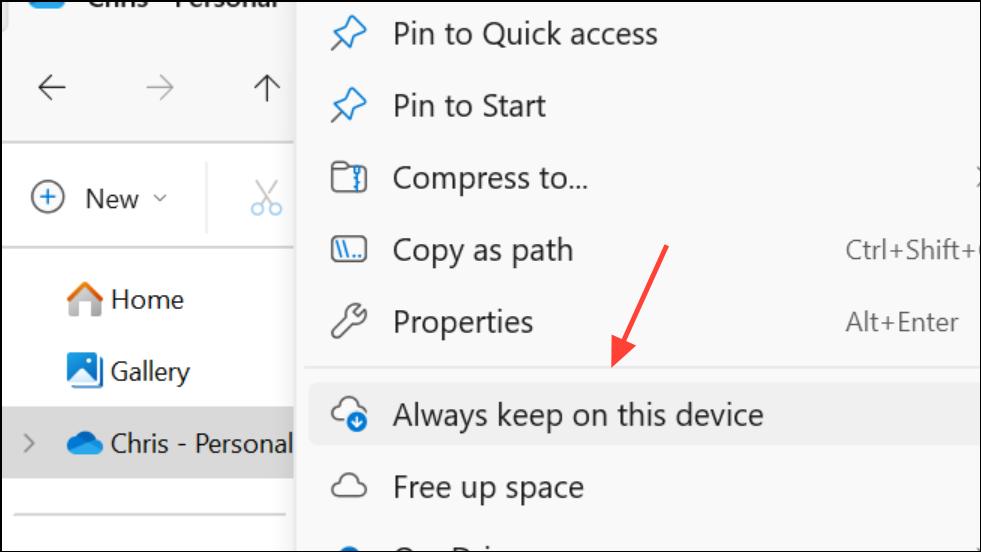
Step 2: Right-click on the folder (for example, Documents or Pictures) you want included in the backup, and select Always keep on this device.
Step 3: Wait for the green checkmark icon to appear, indicating the folder and its files are downloaded and available locally.
Step 4: Run File History backup again. These folders will now be included in the backup set.
This method gives you control over which folders are kept offline, reducing disk usage while ensuring critical folders are backed up locally.
Method 3: Reset OneDrive Sync and Reconfigure File History
If File History continues to skip OneDrive folders after making them available offline, the issue may be due to sync glitches or a corrupt File History database. Resetting OneDrive and File History can resolve this.
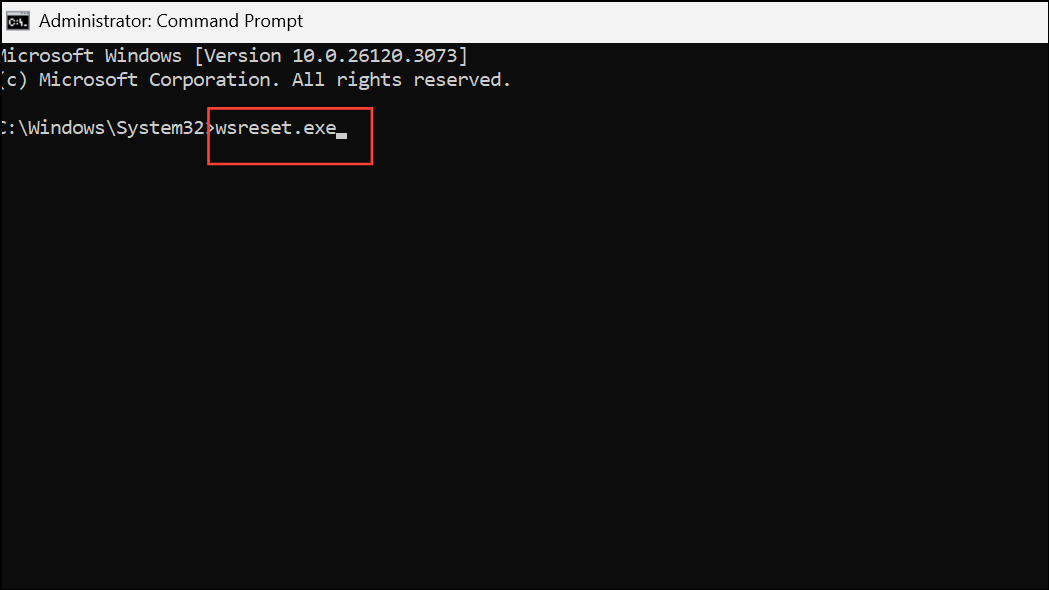
Step 1: Reset OneDrive by right-clicking the OneDrive icon in the taskbar, selecting Help & Settings, then Settings, and using the Reset option under Account or About tab, depending on your version. This forces OneDrive to reprocess and resync all files. Alternatively, open Command Prompt with admin rights, type wsreset.exe and hit Enter.
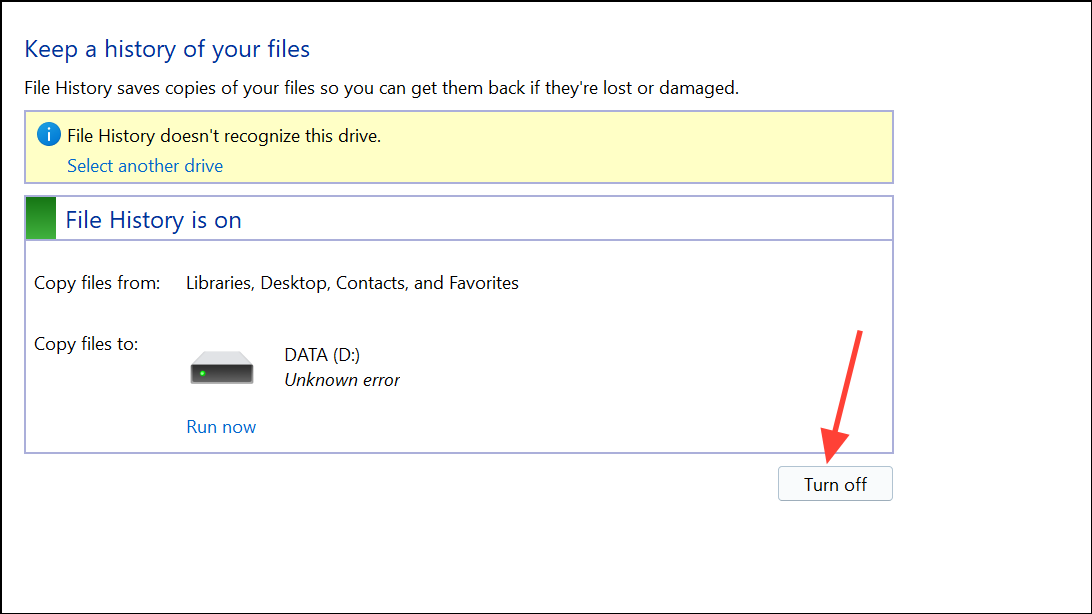
Step 2: Stop File History. Open Control Panel, go to File History, and select Turn off.
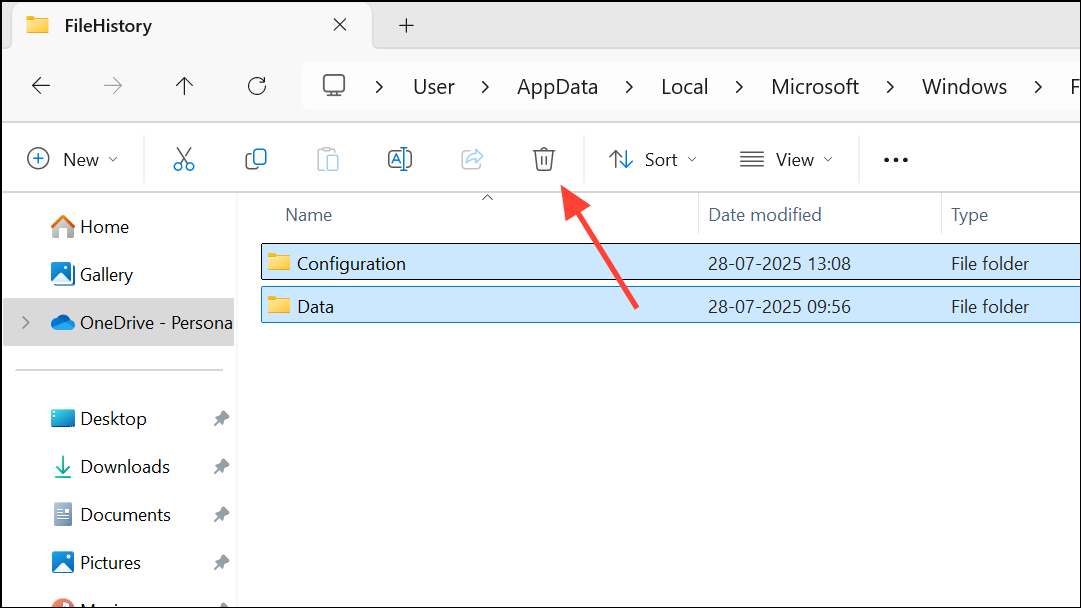
Step 3: Delete the File History configuration by removing the %UserProfile%\AppData\Local\Microsoft\Windows\FileHistory folder.
Step 4: Delete previous backup data from your external drive by removing the FileHistory folder.
Step 5: Restart your computer.
Step 6: Set up File History again and run a new backup. Confirm that OneDrive folders with offline files are now included.
This reset process addresses issues caused by out-of-sync databases or corrupted backup histories, giving you a fresh start for both OneDrive and File History.
Method 4: Exclude or Customize Folder Selection in File History
If you want to avoid backing up OneDrive folders, or only want to back up specific local folders, customize your File History settings.
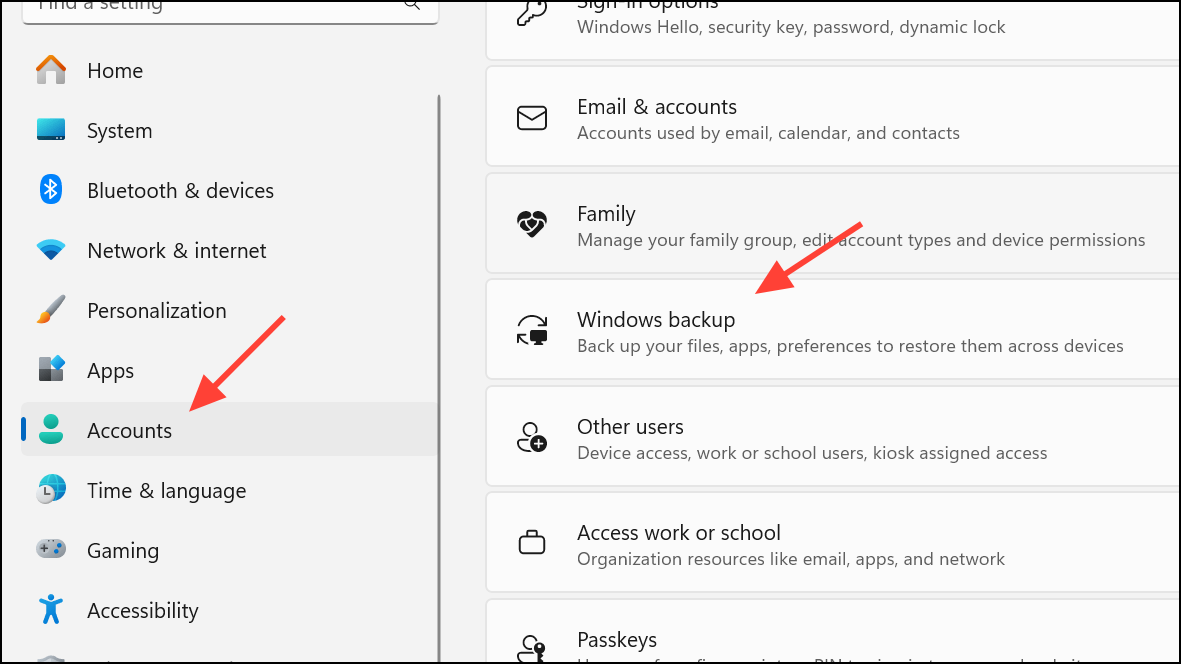
Step 1: Open Settings > Update & Security > Backup, then click More options under Backup using File History. On Windows 11, go to Accounts and then Windows Backup.
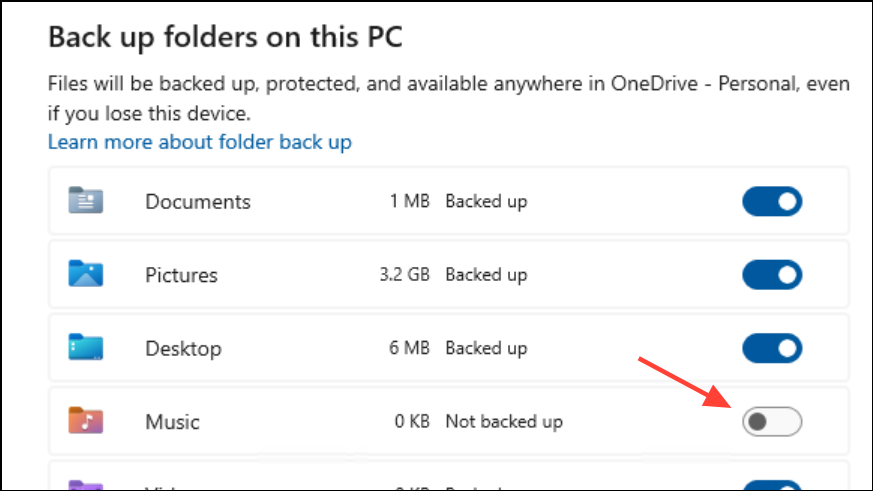
Step 2: Scroll down to Back up these folders. Remove any folders you do not want included by selecting them and clicking Remove or using the toggle.
Step 3: To add specific folders, click Add a folder and select the desired directory.
Step 4: Run File History backup to confirm only selected folders are included.
This customization helps avoid errors related to OneDrive and ensures your backup only includes necessary files.
Additional Troubleshooting for Persistent File History Issues
When File History still fails to back up OneDrive folders, or you receive errors such as STATUS_WAIT_2 (0x80070002) or 8100002F, consider these steps:
- Check your external drive for errors using the Error checking tool in the drive’s Properties > Tools tab.
- Run sfc /scannow and DISM /Online /Cleanup-Image /RestoreHealth from an elevated Command Prompt to repair system files.
- Ensure the File History service is running. Press
Win + R, typeservices.msc, and confirm the File History Service is set to Automatic. - Check that your external backup drive is formatted as NTFS, which is required for File History.
- Review the Windows Event Viewer for File History errors to pinpoint causes.
If File History remains unreliable, consider using dedicated backup software such as Macrium Reflect or AOMEI Backupper for more consistent local backups, especially if you require point-in-time restore versions or system image backups.
By making OneDrive files available offline and resetting sync and backup settings, File History can reliably include your cloud files in local backups. Regularly review your backup configuration to ensure all critical data is protected both locally and in the cloud.