
Text in PowerPoint presentations can suddenly appear as question marks, default to a different font, or even disappear entirely when the required font isn't recognized. This problem disrupts slide layouts and can undermine the intended message of your presentation, especially when custom or downloaded fonts are involved. Addressing this issue involves checking font installation, embedding fonts, and sharing them correctly, as well as using PowerPoint's built-in tools to restore font display.
Embed Fonts in Your PowerPoint File
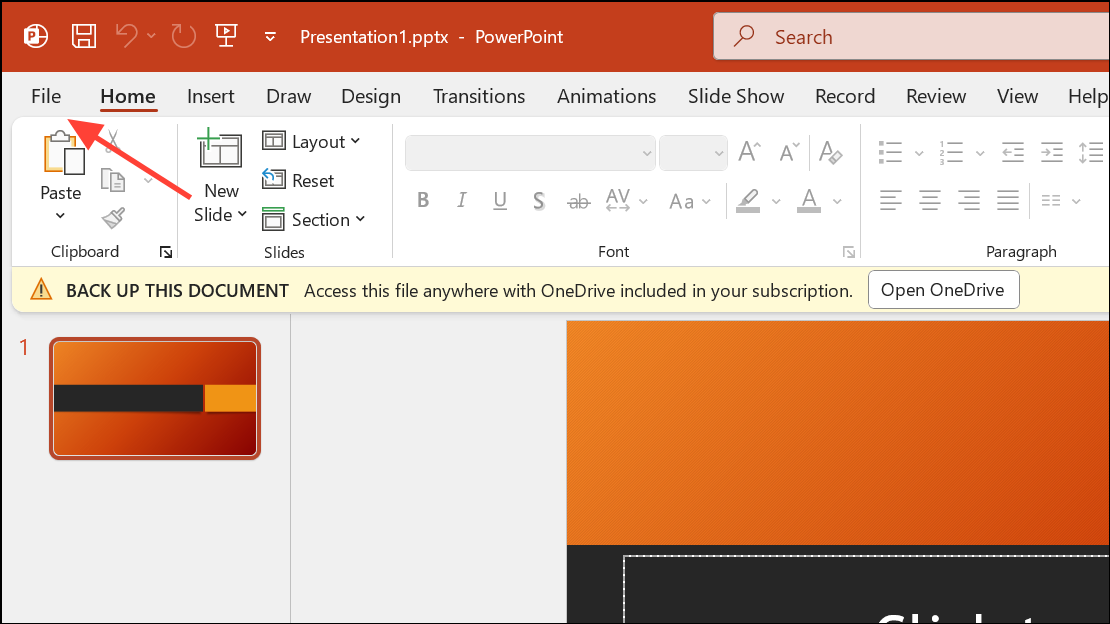
Step 1: Open your presentation and select the File menu. This gives you access to PowerPoint’s settings and export options.
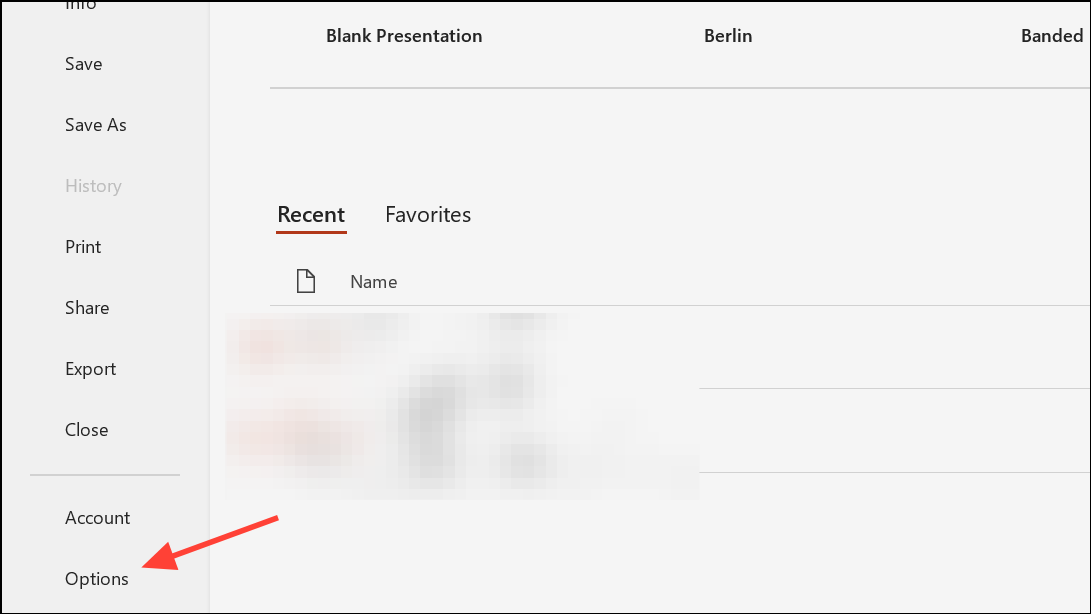
Step 2: Click Options at the bottom of the left-hand pane to open the PowerPoint Options dialog.
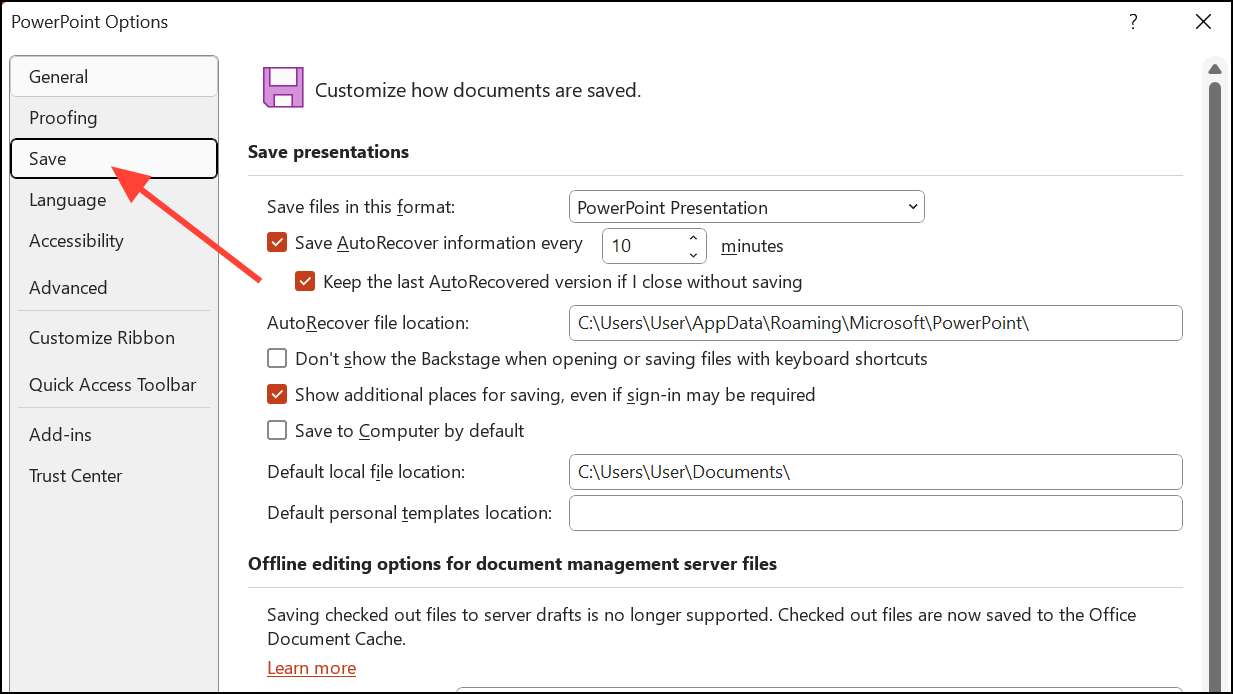
Step 3: Navigate to the Save category. Here, you’ll find options related to file saving and embedding content.
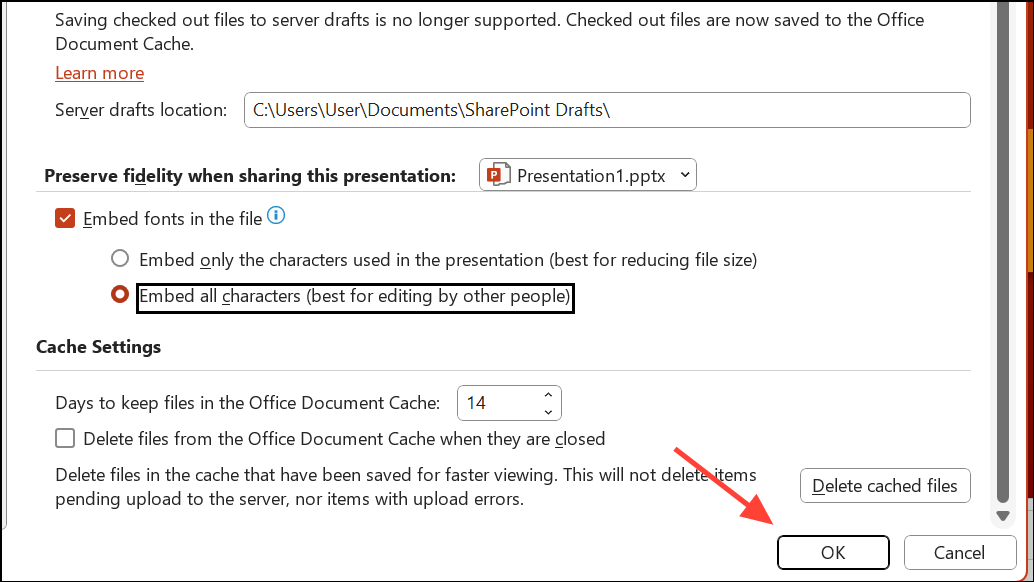
Step 4: Locate the section labeled Preserve fidelity when sharing this presentation and check the box for Embed fonts in the file. Choose Embed only the characters used in the presentation for smaller file size if recipients won’t edit the file, or Embed all characters if others may edit it.
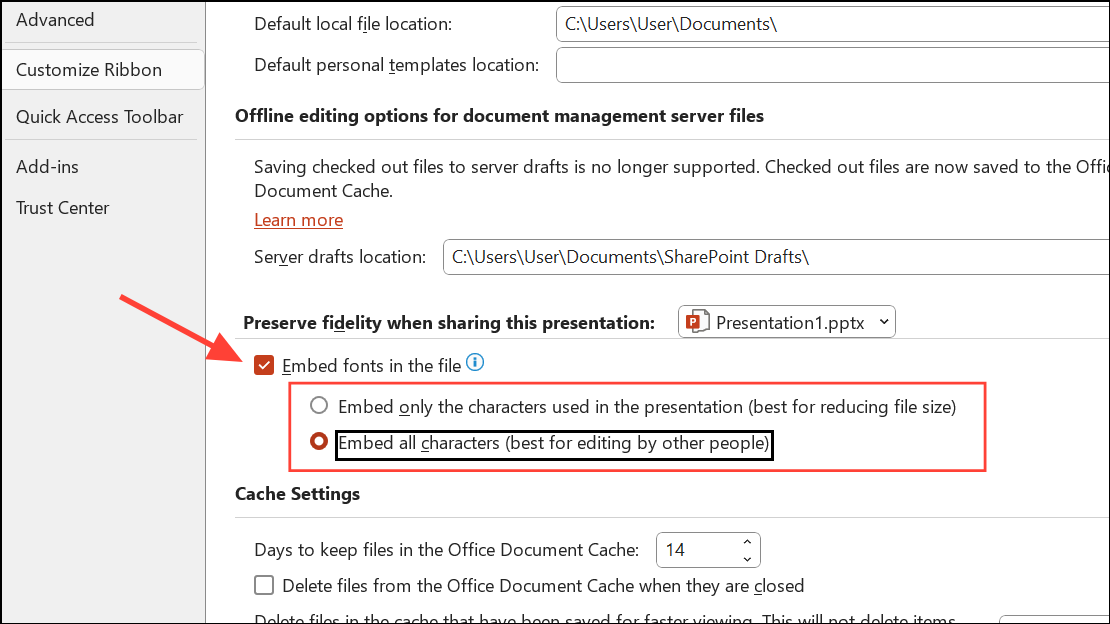
Step 5: Click OK to save your changes. When you send this file, the fonts you used should display correctly on other Windows PCs.
Share Fonts Alongside Your Presentation
Embedding fonts is reliable between Windows devices, but sharing between Windows and Mac, or using certain font types, may still cause problems. To guarantee the recipient sees your intended fonts, send the font files along with your presentation.
Step 1: On Windows, open File Explorer and go to C:\Windows\Fonts. Find the fonts you used in your slides.
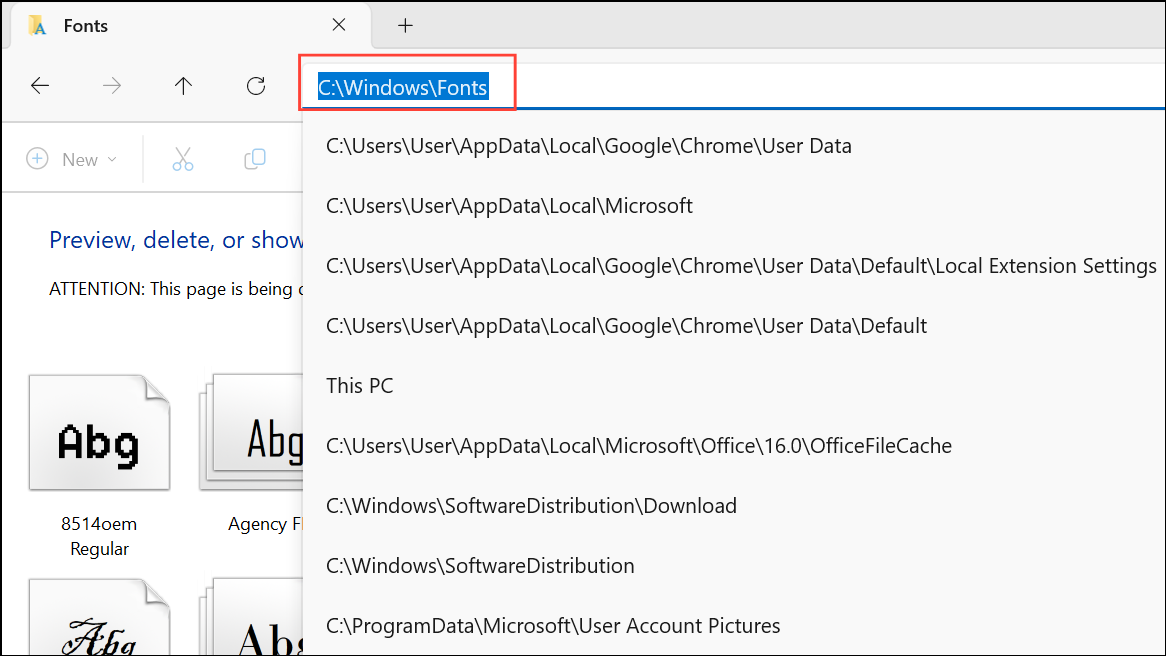
Step 2: Copy the required font files to a USB drive or attach them to an email. The recipient must install these fonts on their system before opening your presentation.
Step 3: On Mac, open Font Book (search with Cmd+Space). Select the fonts, then use File > Export Fonts to save copies for sharing. Recipients should install these fonts before viewing the file.
Once the fonts are installed on the recipient’s computer, PowerPoint should display your slides exactly as designed.
Convert Text to Shapes or Pictures
When you need absolute certainty that text appears as intended—regardless of the recipient’s fonts or platform—convert your text to shapes or images. This approach means text is no longer editable but will always look the same.
Convert Text to Shapes
Step 1: Insert a text box and type your desired content, using your chosen font.
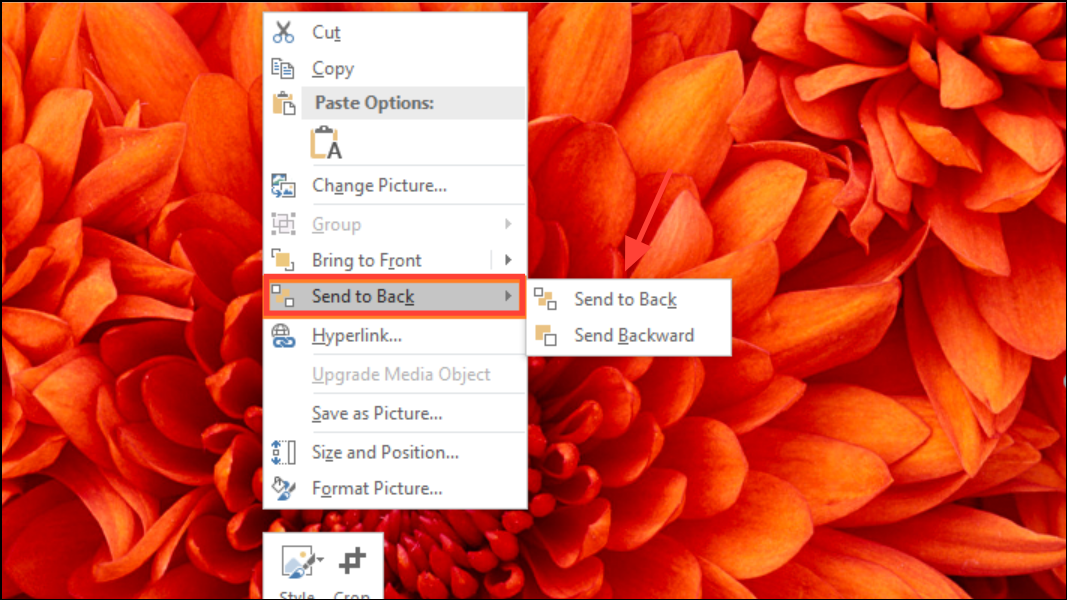
Step 2: Draw a shape (like a rectangle) over your text. Right-click the shape and select Send to Back so the text is visible again.
Step 3: Select both the text box and the shape by holding Shift and clicking each item.
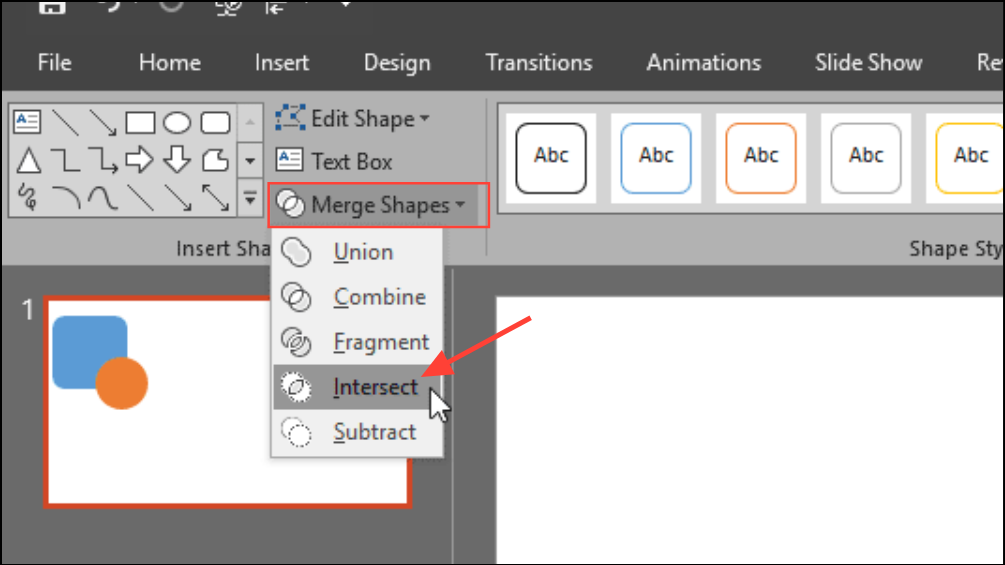
Step 4: In the Shape Format tab, choose Merge Shapes > Intersect. Your text becomes a shape, preserving its appearance on any device.
Convert Text to Pictures
Step 1: Create a text box and enter your content using the preferred font.
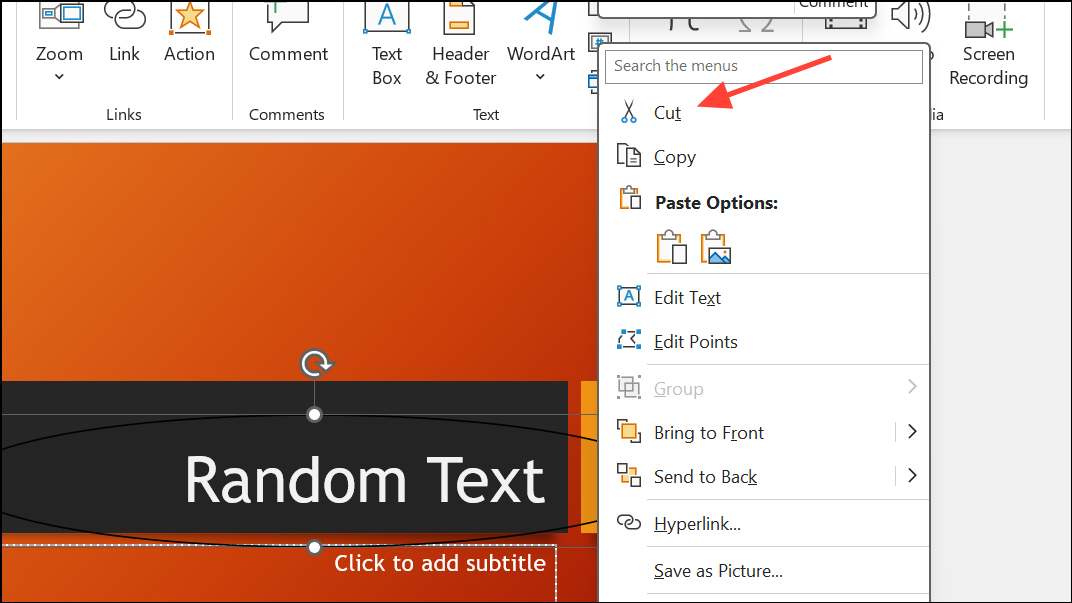
Step 2: Right-click the border of the text box and select Cut.
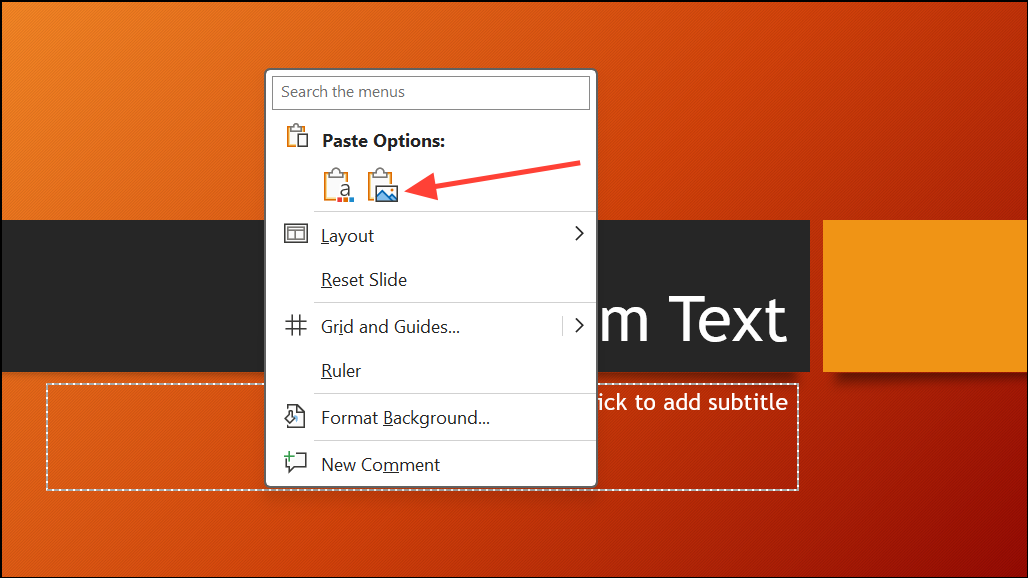
Step 3: Right-click anywhere on the slide and choose Paste as Picture. The text is now an image and will not be affected by missing fonts.
Both methods ensure your design remains intact, but the text can no longer be edited directly in PowerPoint.
Use PowerPoint’s Replace Font Feature
When PowerPoint substitutes your chosen font or displays question marks, using the Replace Font feature can restore proper display. This is especially useful if the font is present but not being recognized.
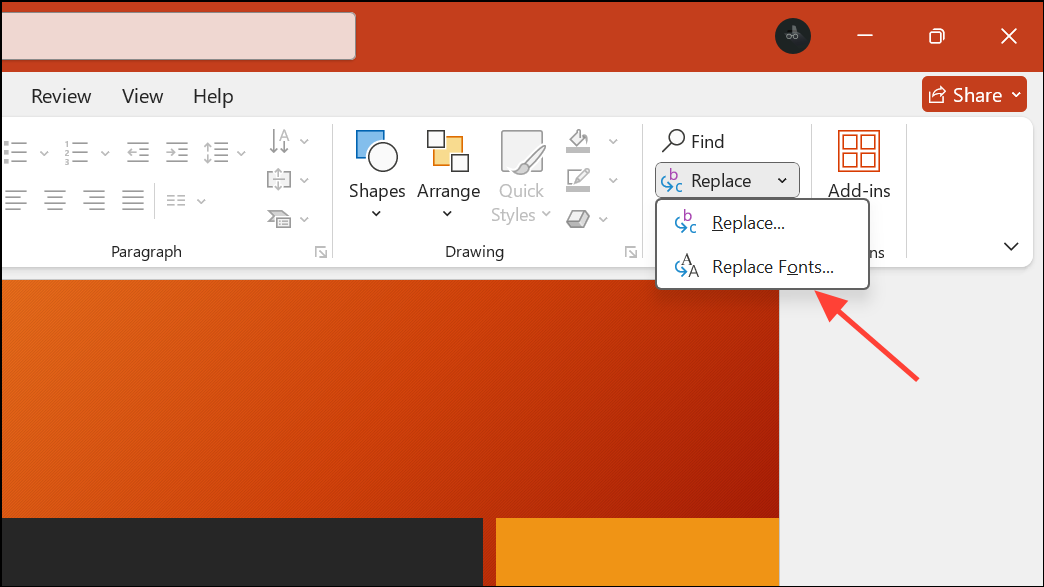
Step 1: Go to the Home tab and select Replace > Replace Fonts.
Step 2: In the dialog box, choose the problematic font in the first dropdown and a different font in the second dropdown. Click Replace.
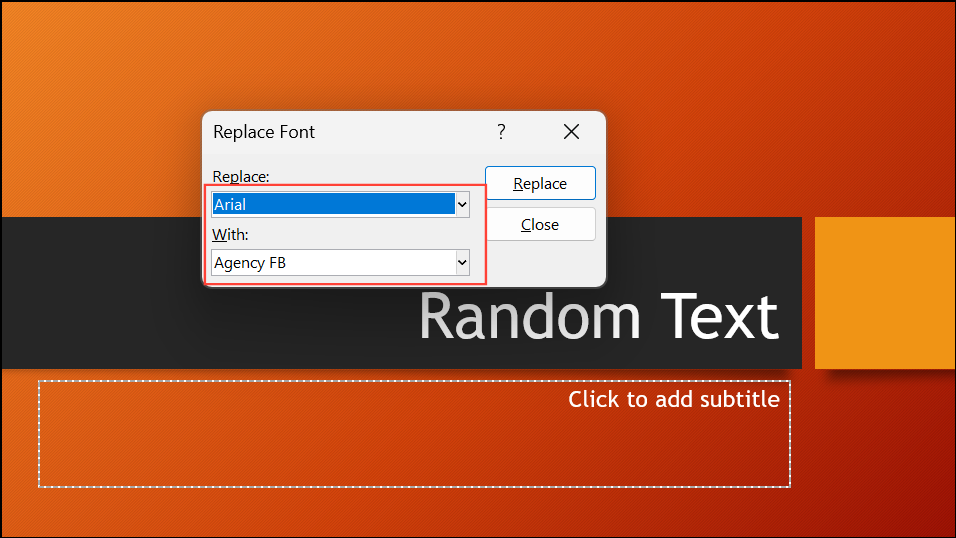
Step 3: Repeat the process, this time switching back to your original font. This can prompt PowerPoint to recognize and use the font properly in your slides.
Verify Font Installation and Compatibility
Fonts must be properly installed and in a compatible format for PowerPoint to use them. Some font types, such as .TTF (TrueType Font), are widely supported, while others (.OTF, OpenType Font) may have issues depending on your PowerPoint version, especially on the web version or with free accounts.
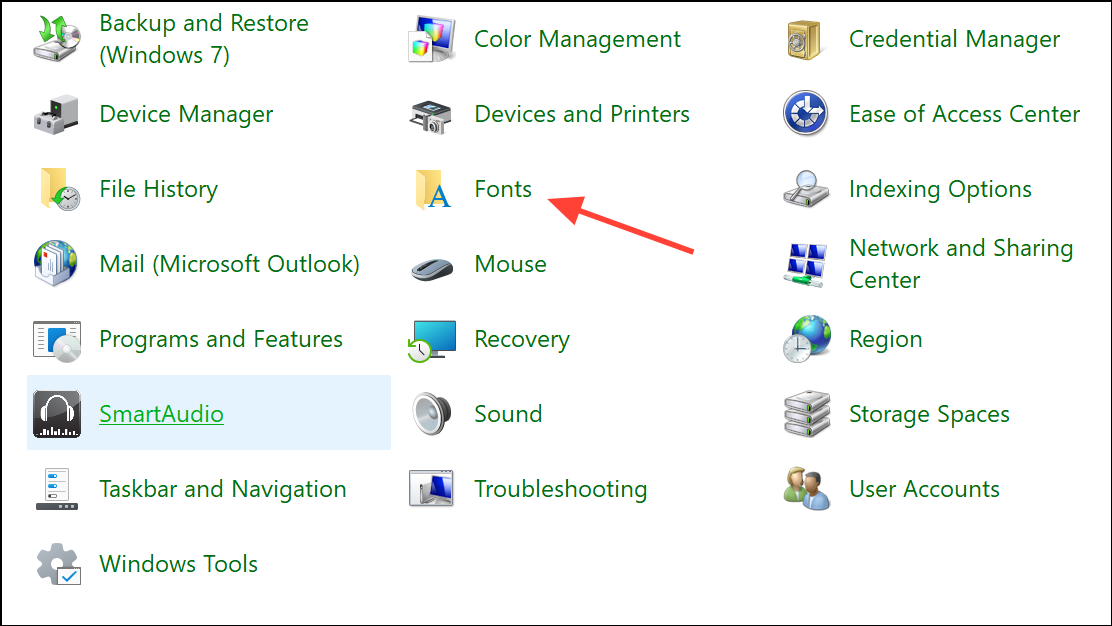
Step 1: Open the Control Panel and navigate to Fonts to confirm your font is listed. If not, reinstall it and restart your computer.
Step 2: If you use PowerPoint for the web or a free version, note that custom fonts may not be supported unless you have a paid Microsoft 365 subscription. In these cases, even installed fonts might not appear in PowerPoint.
Step 3: Try downloading an alternative format of the font, such as .TTF instead of .OTF, and install it again. Restart PowerPoint after installation to check if the font appears.
Step 4: If the font still doesn't display, test it in other applications like Word to confirm it's installed correctly. If the problem persists only in PowerPoint, a repair or reinstall of Office may help.
Additional Troubleshooting Steps
- Clear the font cache on your system to resolve conflicts or corruption.
- Update your printer driver, as some font rendering issues are linked to outdated or incompatible drivers.
- Contact Microsoft support if none of the above methods resolve the issue, as there may be account or system-specific problems.
Resolving font display problems in PowerPoint usually comes down to embedding fonts, sharing font files, or converting text to non-editable objects. With these approaches, your slides will appear as you intended, no matter where or how they're viewed.