
Audio output through the headphone jack can suddenly stop functioning on Windows 11 systems, especially after updates or driver changes. When Windows 11 fails to detect headphones plugged into the jack, users lose access to private audio and experience interruptions in calls, meetings, or entertainment. This issue often results from missing or outdated audio drivers, incorrect settings, or conflicts between hardware and software components.
Method 1: Reinstall or Update Audio Drivers
Missing or outdated audio drivers commonly prevent Windows 11 from recognizing the headphone jack. Reinstalling or updating these drivers restores proper detection and playback.
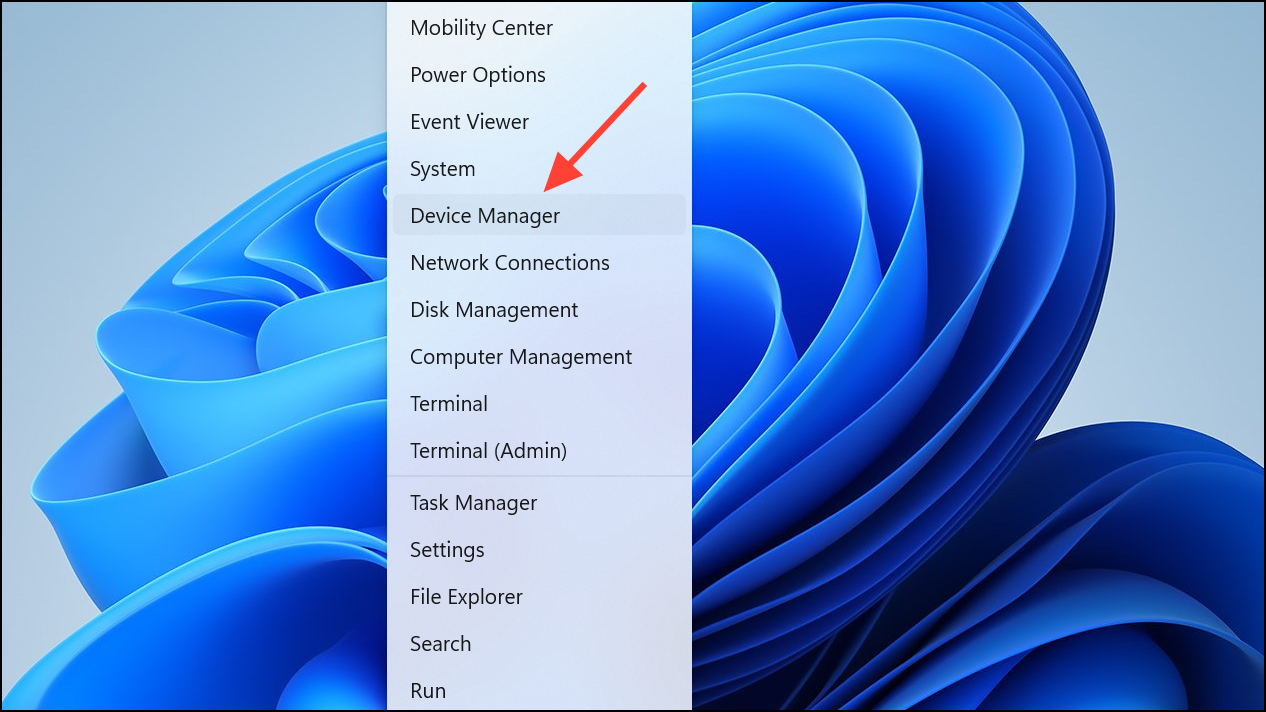
Step 1: Open Device Manager by pressing Windows + X and selecting Device Manager from the menu.
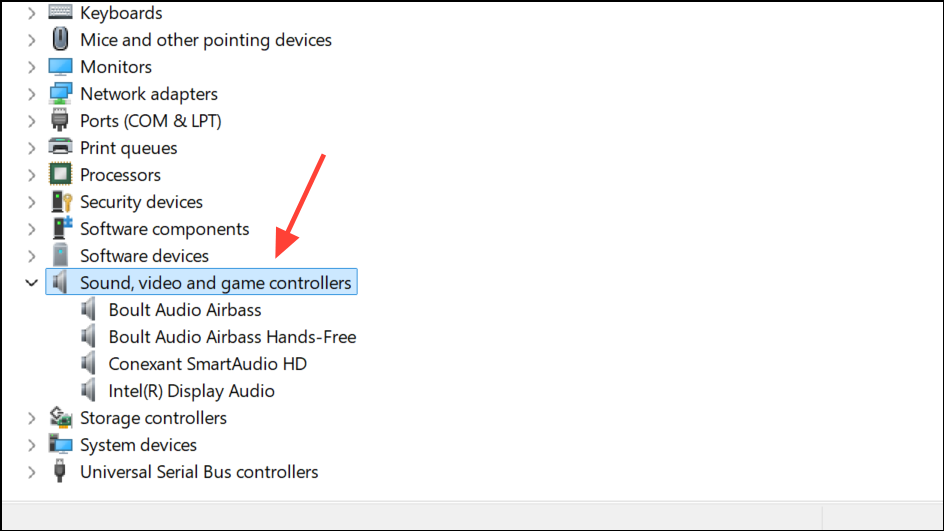
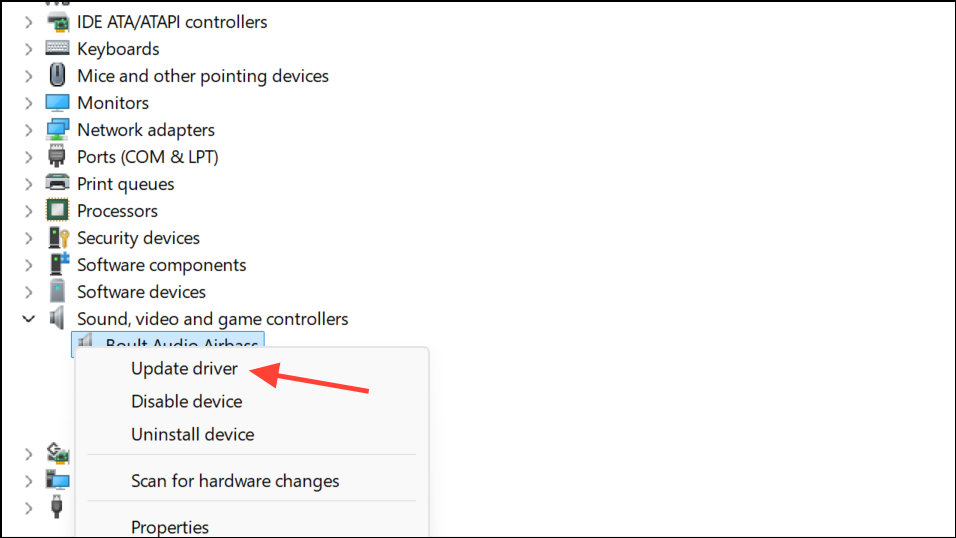
Step 2: Expand the Sound, video and game controllers section. Look for your primary audio device, such as Realtek Audio or High Definition Audio Device.
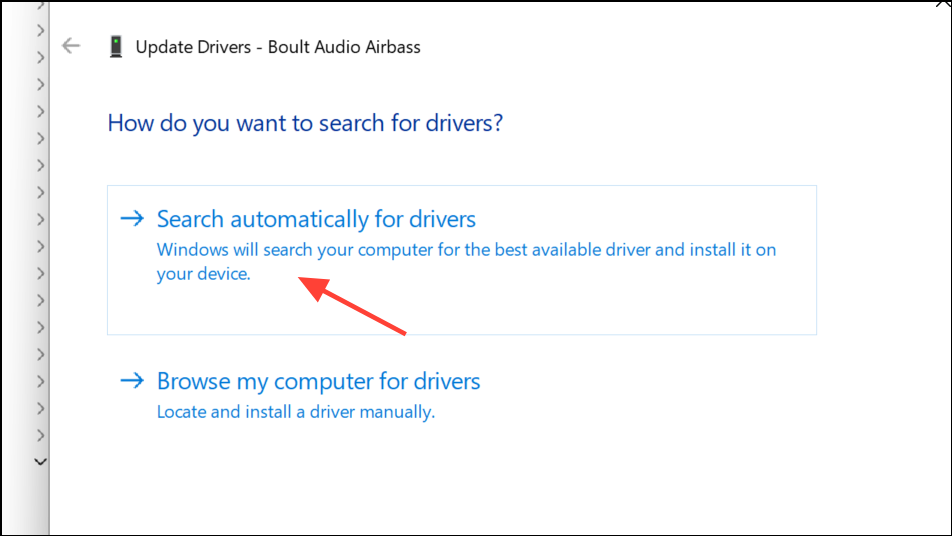
Step 3: Right-click the audio device and select Update driver. Choose Search automatically for drivers to let Windows locate the latest version.
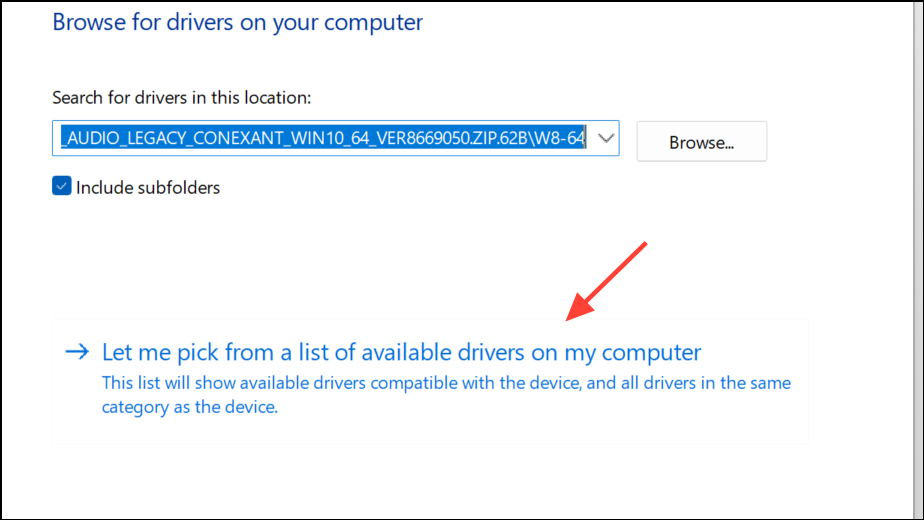
Step 4: If no update is found, try Browse my computer for drivers and select Let me pick from a list of available drivers on my computer. Test an older driver if available, as newer updates can sometimes cause compatibility issues.
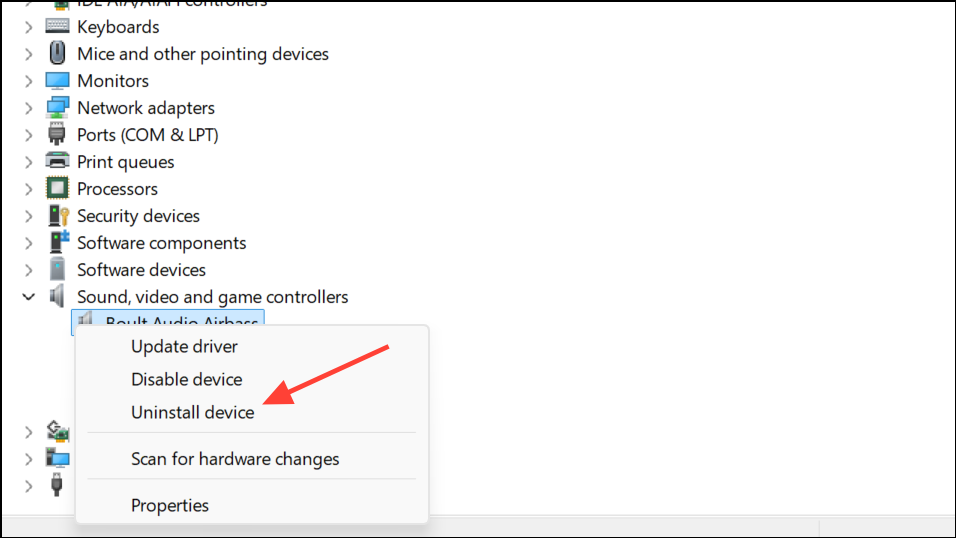
Step 5: If updating does not resolve the issue, right-click the device and select Uninstall device. After uninstalling, restart your PC. Windows will attempt to reinstall the generic driver automatically. If it does not, download the correct driver from your PC or motherboard manufacturer's website and install it manually.
Step 6: Restart your computer and check if the headphone jack now functions as expected.
Method 2: Set Headphones as Default Playback Device
Incorrect audio output settings can prevent sound from routing through your headphones, even when they are physically connected.
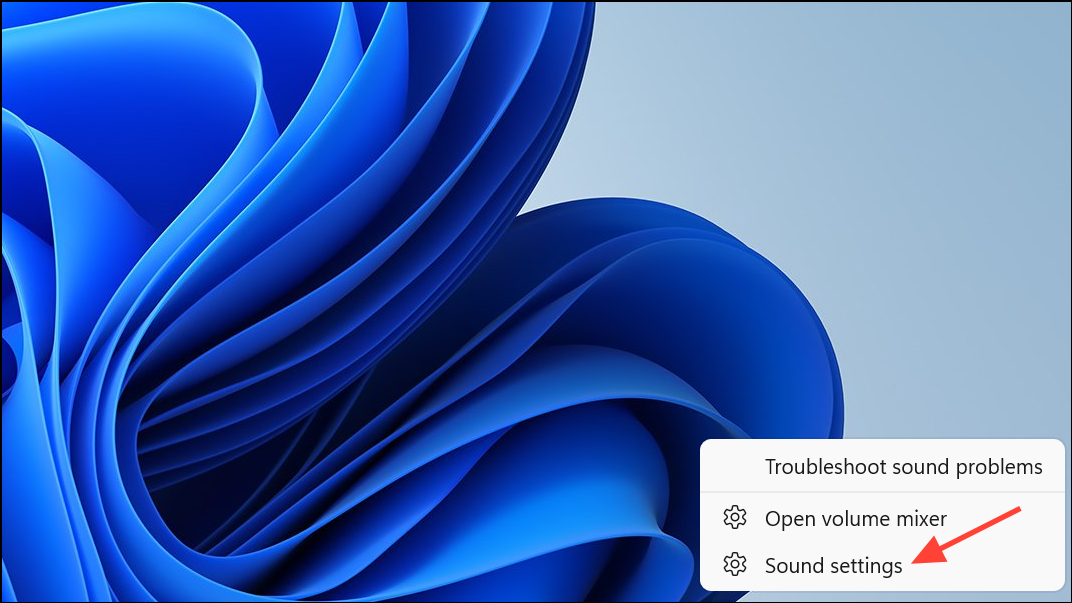
Step 1: Right-click the sound icon in the taskbar and select Sound settings or open Settings > System > Sound.
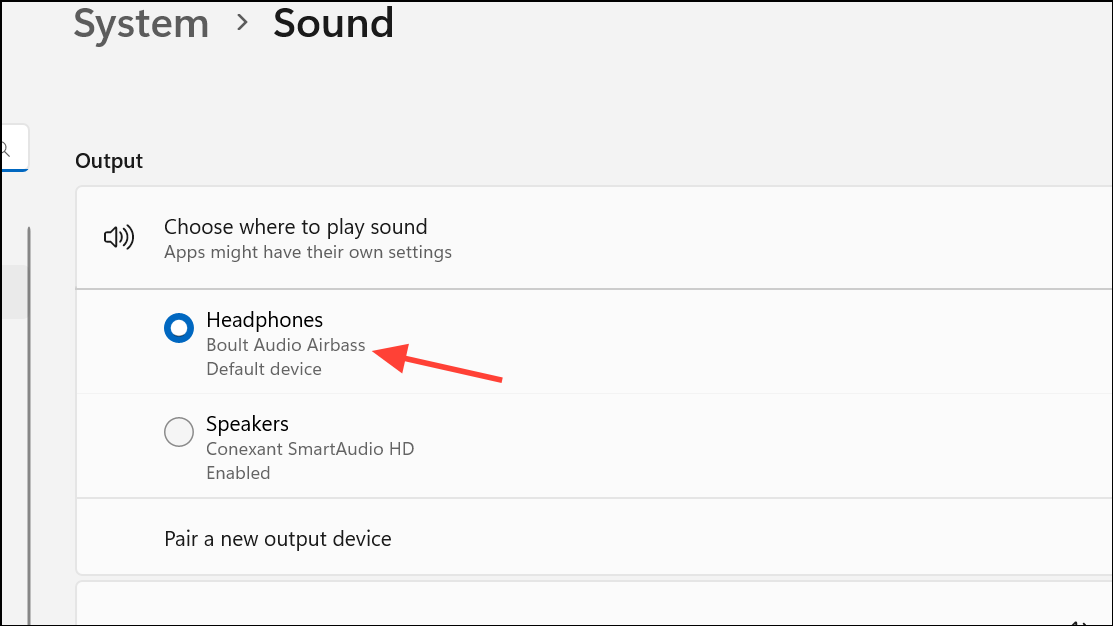
Step 2: In the Output section, locate your headphones in the list of audio devices. Click to select them as the default output device.
Step 3: If your headphones do not appear, click Manage sound devices and look under the Disabled section. Enable your headphones if listed.
Step 4: Test audio playback to confirm the change.
Method 3: Run Windows Audio Troubleshooter
Windows 11 includes a built-in troubleshooter that can automatically detect and resolve many audio issues, including those related to the headphone jack.
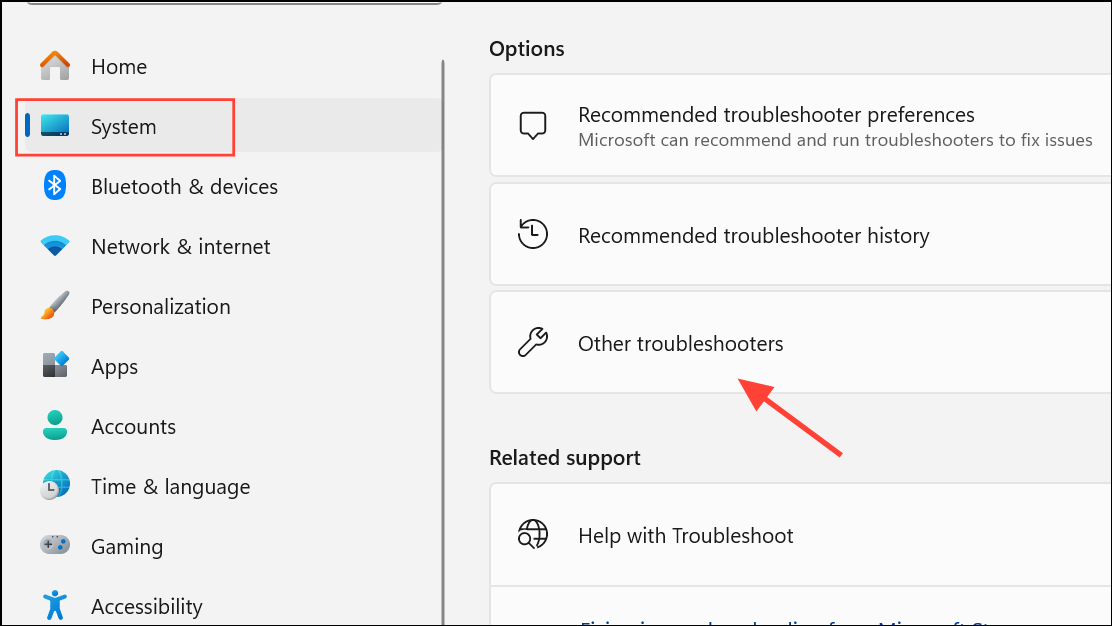
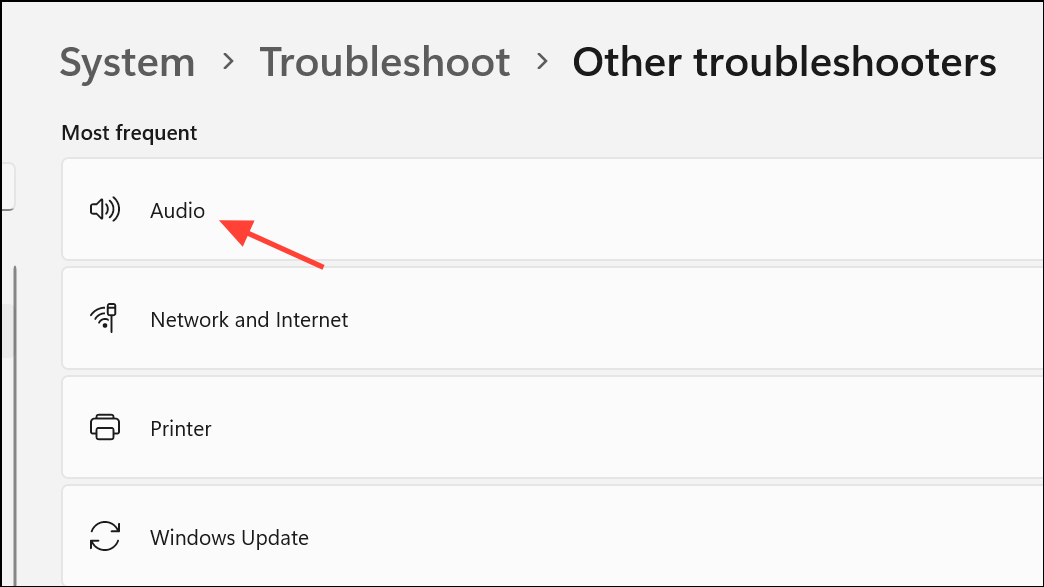
Step 1: Open Settings and go to System > Troubleshoot > Other troubleshooters.
Step 2: Find the Audio troubleshooter and click Run.
Step 3: Follow the prompts. The troubleshooter will scan for problems and suggest or apply fixes automatically.
Step 4: Restart your PC if prompted, then test your headphones again.
Method 4: Check for Generic Audio Driver Availability
When only virtual audio outputs (such as NVIDIA High Definition Audio) are present in Device Manager, the system may lack the necessary generic audio driver for the headphone jack.
Step 1: In Device Manager, confirm if any generic audio device (e.g., High Definition Audio Device or Realtek Audio) is listed under Sound, video and game controllers. If only NVIDIA outputs are present, the system is missing a core driver.
Step 2: Download the latest audio driver from your PC or motherboard manufacturer's support page. Install the driver and restart your computer.
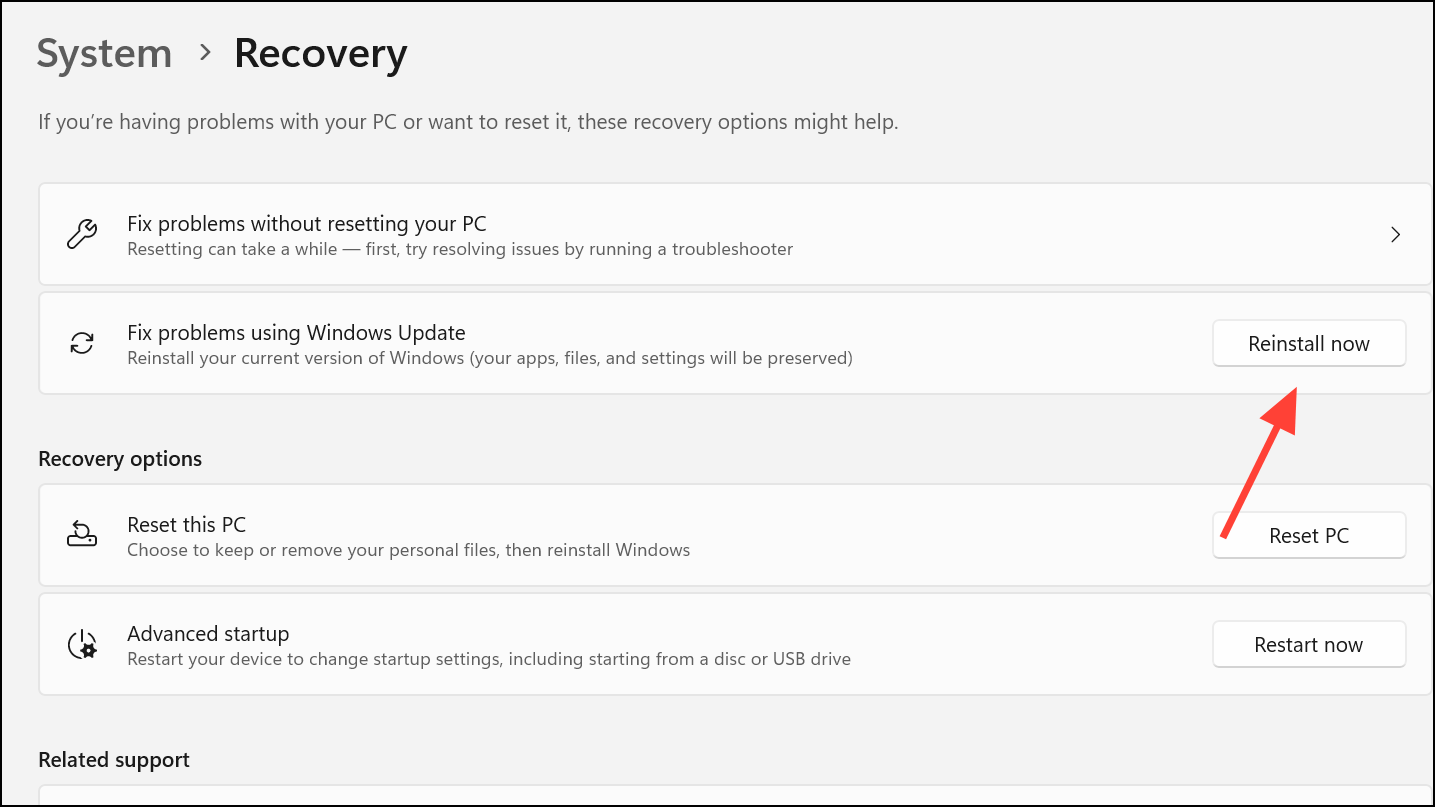
Step 3: If the driver still does not appear, use the Windows recovery feature: Go to Settings > System > Recovery, select Fix Problem using Windows update, and click Re-install now. This process reinstalls Windows 11 without removing personal files or apps, restoring missing system drivers.
Step 4: After recovery, reinstall the generic audio driver if necessary, then test the headphone output.
Method 5: Adjust Realtek Audio Console Settings (If Applicable)
Some laptops and desktops use Realtek audio hardware with a dedicated control panel. Incorrect settings in this console can prevent the system from recognizing the correct audio device type.
Step 1: Open Device Manager, expand Sound, video and game controllers, right-click Realtek (R) Audio, and select Update driver.
Step 2: Search for Realtek Audio Console in the Windows search bar and open the app. If the app is missing or crashes, download the latest version from your manufacturer's support site or the Microsoft Store.
Step 3: With your headset plugged in, navigate to Device advanced settings in the Realtek Audio Console. Change the connector type from Headphone to Headset if available, which enables both audio and microphone functionality for combination jacks.
Step 4: Save changes and test your headphones.
Method 6: Additional Troubleshooting Steps
- Test your headphones on another device to confirm they are working properly.
- Try different headphones in the same jack to rule out hardware failure.
- Inspect the headphone cable and connector for visible damage or debris.
- Restart your PC after each major change to apply new settings or drivers.
- Disconnect any additional audio devices (USB or Bluetooth) to avoid conflicts.
- Check for Windows updates, as new patches may address audio issues.
Resolving headphone jack issues on Windows 11 often requires a mix of driver updates, settings adjustments, and sometimes system recovery. Keeping your audio drivers current and verifying output settings usually restores proper headphone detection and playback.