
Remote Desktop sessions in Windows 11 can sometimes trigger sustained high CPU usage, causing system slowdowns, overheating, or even system crashes. Addressing this problem requires a combination of immediate relief steps and configuration changes to prevent recurrence. The following sections outline the most effective solutions, starting with the method that has delivered the fastest measurable improvement for users in recent cases.
Reset Hidden Power Plan Settings to Restore CPU Idle Functionality
Incorrect or hidden power plan settings are a frequent cause of high CPU usage in Windows 11, especially after installing third-party utilities or system management apps (such as MSI Center or similar). These settings can prevent the CPU from entering idle states, resulting in constant 100% usage—even when the system appears idle. Adjusting these settings restores normal CPU behavior and quickly reduces processor load.
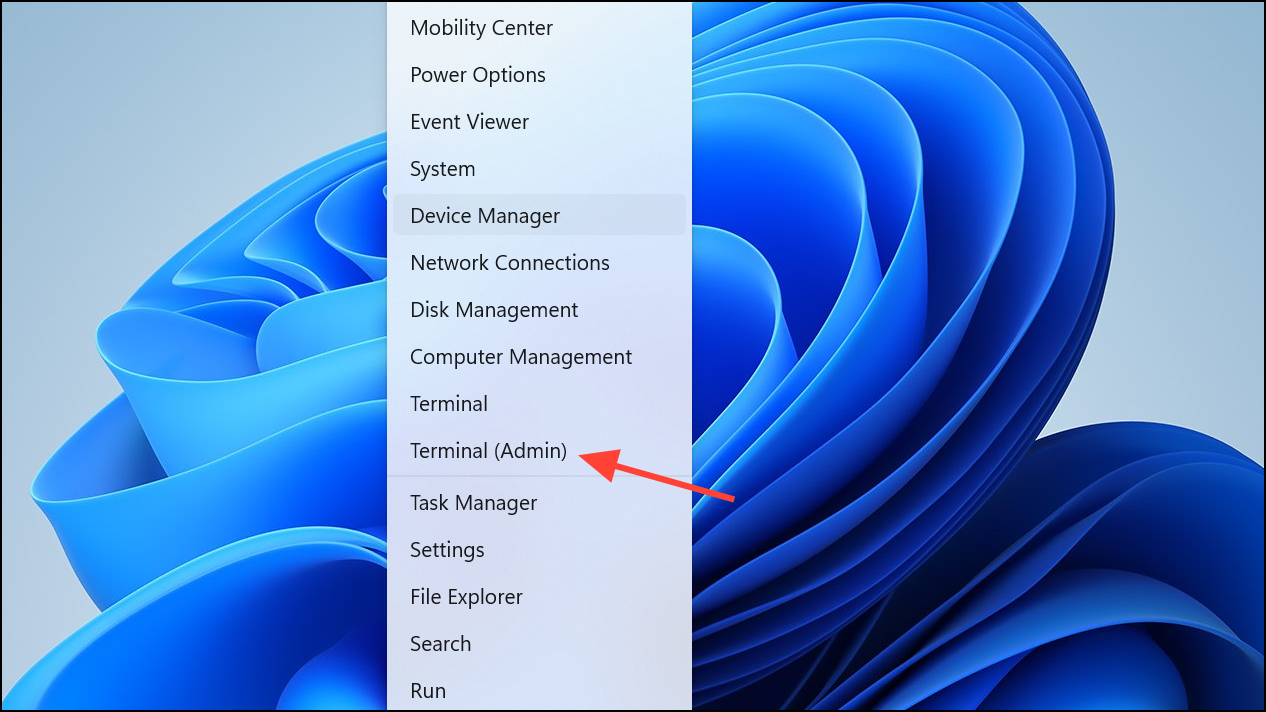
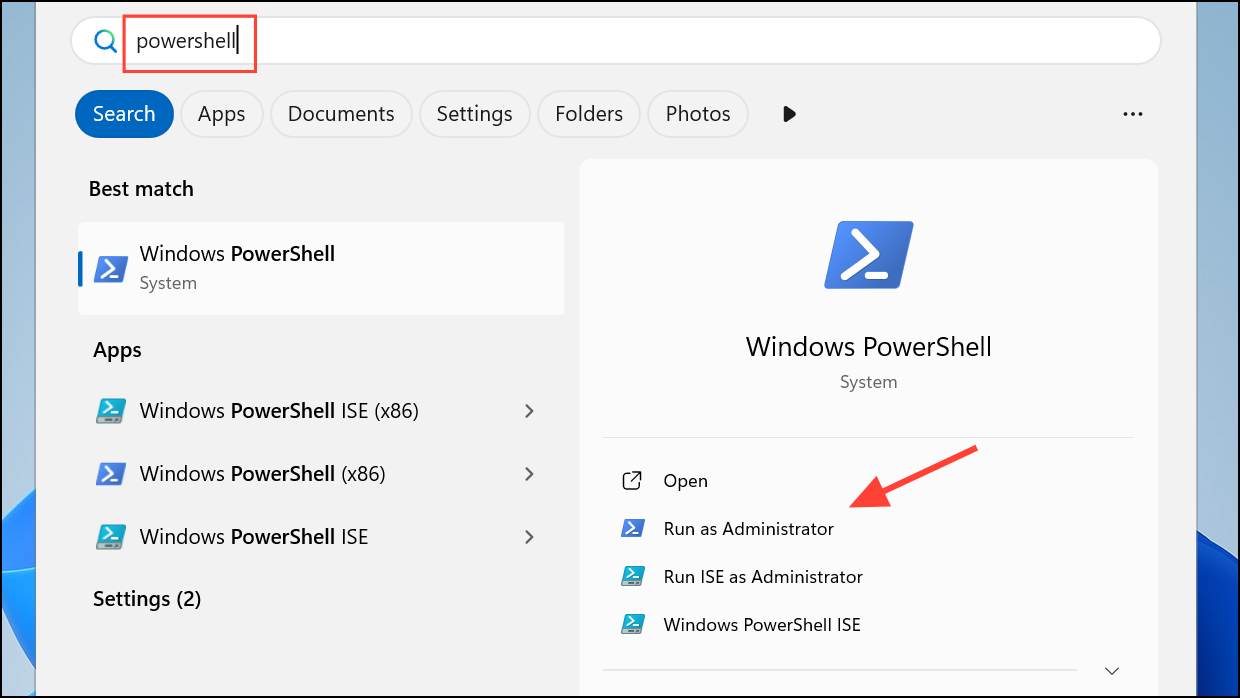
Step 1: Open the Windows Terminal or Command Prompt with administrative privileges. Press Windows Key + X and select Terminal (Admin) or Command Prompt (Admin).
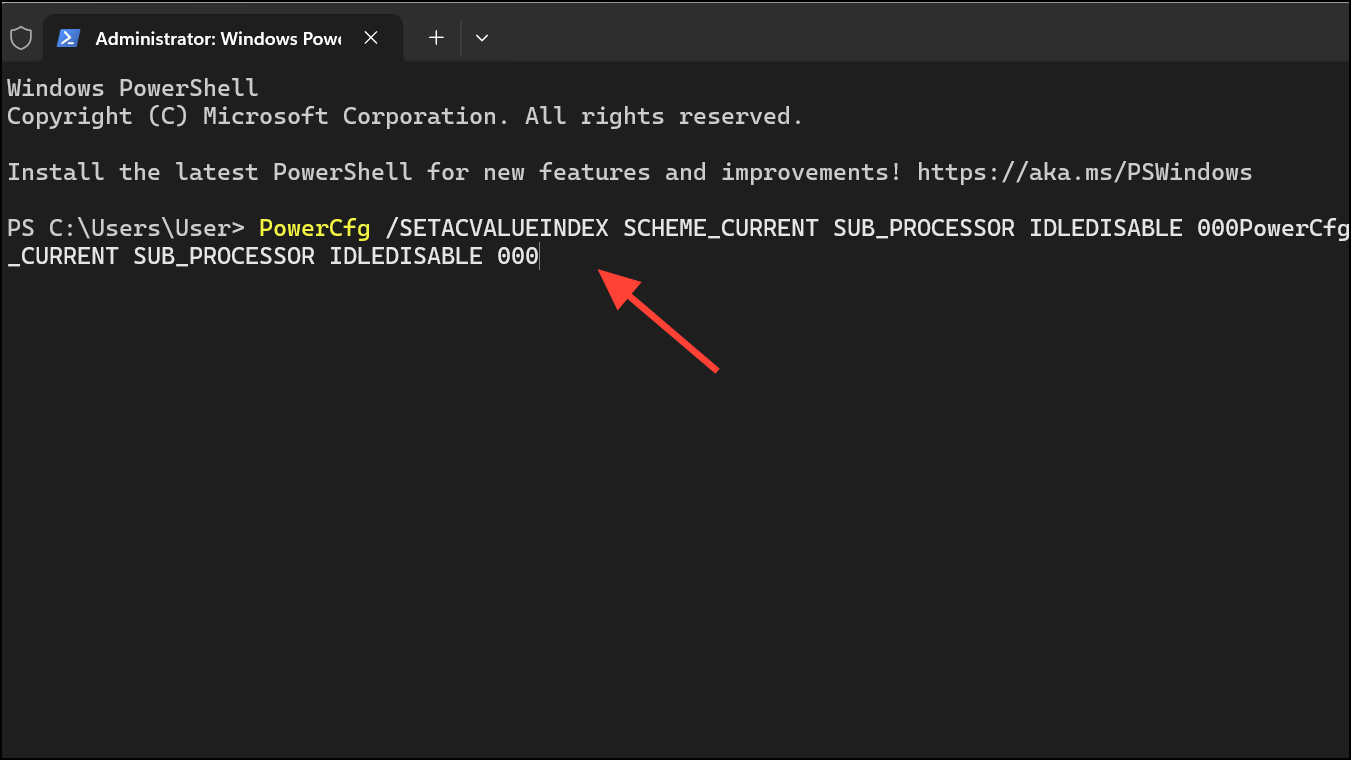
Step 2: Enter the following command to reset the hidden processor idle setting:
PowerCfg /SETACVALUEINDEX SCHEME_CURRENT SUB_PROCESSOR IDLEDISABLE 000This command restores the processor's ability to enter low-power idle states, which is crucial for reducing unnecessary CPU load.
Step 3: Activate the current power scheme to apply the change:
PowerCfg /SETACTIVE SCHEME_CURRENT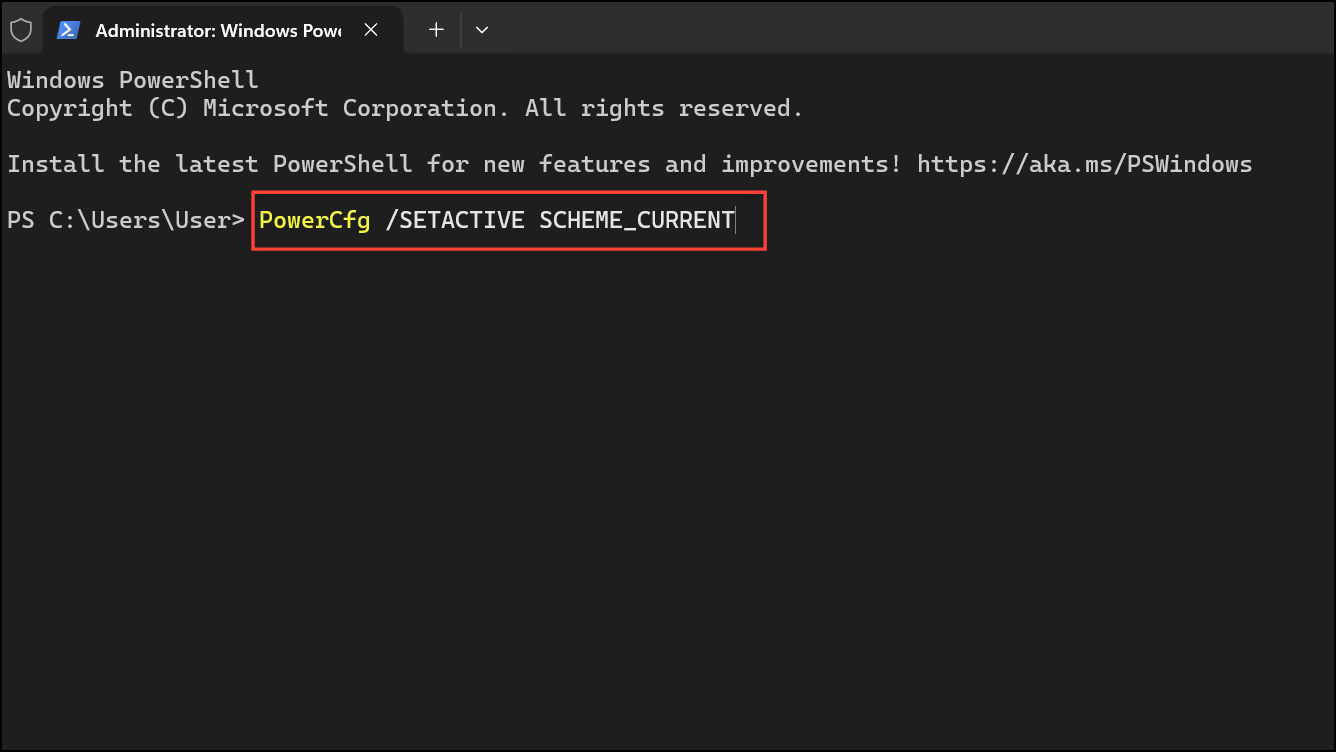
Wait a few moments, then open Task Manager (Ctrl + Shift + Esc) and monitor CPU usage. The processor should now return to normal idle levels, often dropping from 100% to below 10% within seconds. If the issue recurs after a reboot, check for third-party software reapplying custom power plans and consider uninstalling or updating those applications.
Clear Disconnected Remote Desktop Sessions
Disconnected but lingering Remote Desktop sessions can accumulate and consume system resources, especially on servers or shared workstations. Clearing these sessions can immediately reduce CPU load associated with the Remote Desktop Service.
Step 1: Open PowerShell as an administrator.
Step 2: Run the following script to identify and reset all disconnected sessions:
$sessions = query session | Where-Object { $_ -match '(\d+)\s+Disc' -and $matches[1] -ne 0 }
foreach ($session in $sessions) {
    if ($session -match '(\d+)\s+Disc') {
        rwinsta $matches[1]
        Write-Host "Successfully reset session ID: $($matches[1])"
    }
}
This script searches for all disconnected sessions and resets them, freeing up resources held by inactive user sessions.

Restart Remote Desktop Services
Sometimes, restarting core Remote Desktop services can quickly resolve temporary CPU spikes caused by stuck processes or service errors.
Step 1: Open PowerShell as an administrator.
Step 2: Enter the following commands to restart the main Remote Desktop services:
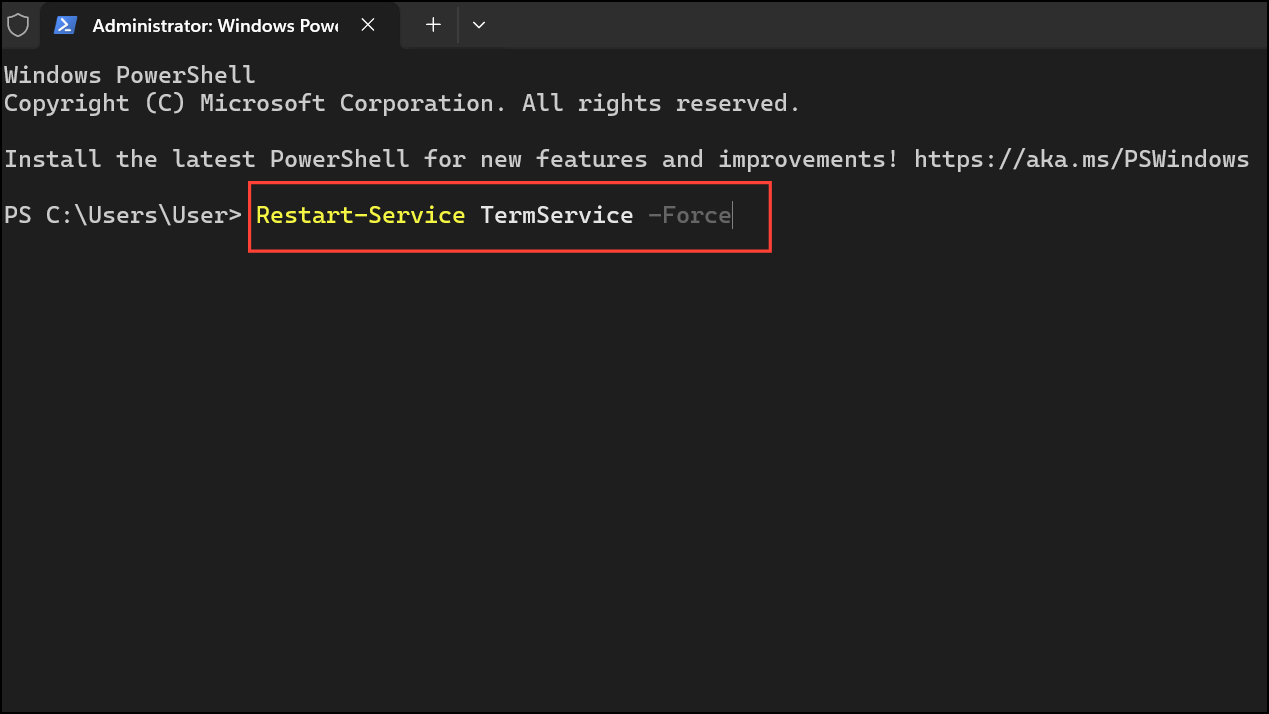
Restart-Service TermService -Force
Restart-Service SessionEnv -Force
This action refreshes the Terminal Services and Session Environment, clearing out any glitches that may be causing high CPU usage.
Optimize Session Memory and Disable Non-Essential RDP Services
Default memory allocations per Remote Desktop session can sometimes be too high, especially on systems with multiple users. Additionally, background RDP components may consume resources unnecessarily.
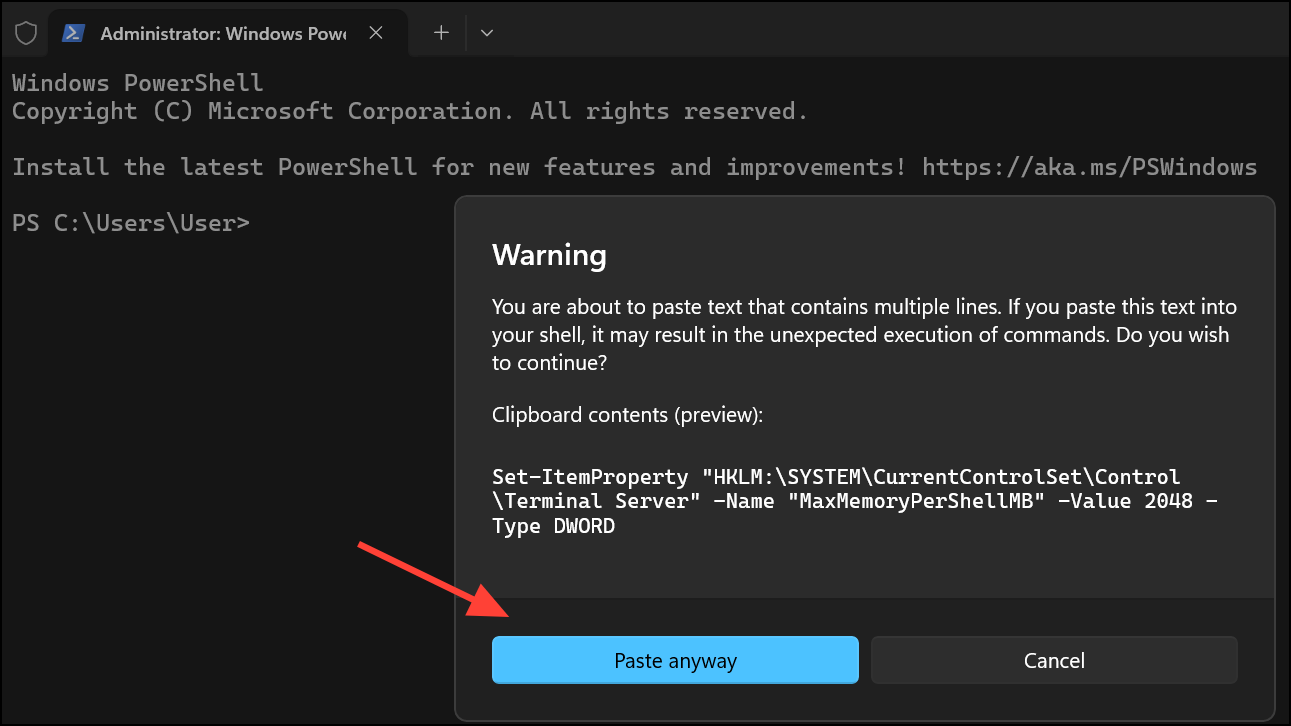
Step 1: Increase or set a reasonable memory limit for each RDP session:
Set-ItemProperty "HKLM:\SYSTEM\CurrentControlSet\Control\Terminal Server" -Name "MaxMemoryPerShellMB" -Value 2048 -Type DWORD
This sets a 2GB memory cap per session, reducing the risk of runaway memory and CPU consumption.
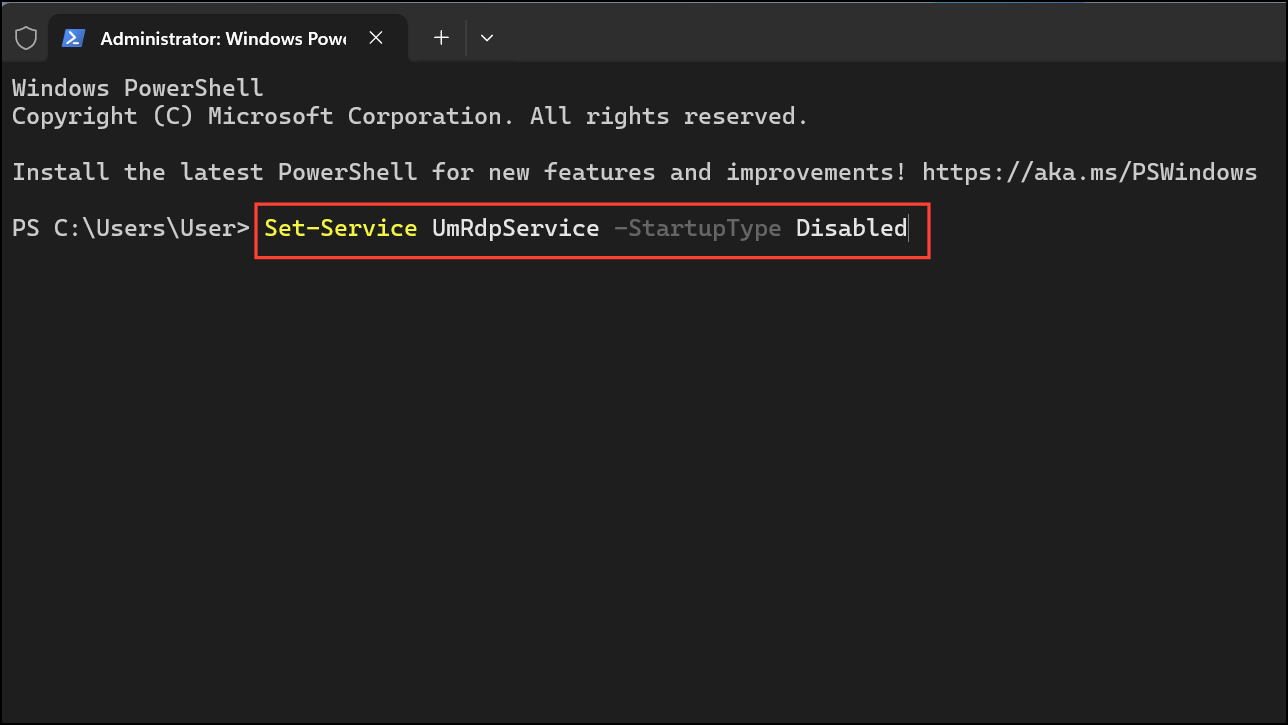
Step 2: Disable the unnecessary UserMode Remote Desktop Service if not required:
Set-Service UmRdpService -StartupType Disabled
Stop-Service UmRdpService -Force
Disabling non-essential RDP sub-services can reduce background resource drain, further lowering CPU usage during and after remote sessions.
Schedule Automatic Daily Cleanup of Disconnected Sessions
Automating session cleanup prevents future CPU spikes caused by session buildup. Scheduling a daily maintenance task ensures that disconnected sessions do not accumulate over time.
Step 1: Create a new scheduled task for automatic session cleanup at a fixed time (e.g., 3 AM):
$Action = New-ScheduledTaskAction -Execute "powershell.exe" -Argument {
    query session | Where { $_ -match '(\d+)\s+Disc' -and $matches[1] -ne 0 } | % {
        rwinsta $matches[1]
    }
}
Register-ScheduledTask -Action $Action -TaskName "Daily_RDP_Maintenance" `
    -Trigger (New-ScheduledTaskTrigger -Daily -At 3AM) `
    -User "NT AUTHORITY\SYSTEM" `
    -Description "Automatic session cleanup"
This scheduled task regularly clears disconnected sessions, keeping CPU usage stable over time.

Monitor and Diagnose Persistent High CPU Usage
Persistent high CPU usage may be caused by driver conflicts, malware, or resource-intensive background processes. Systematic monitoring and diagnostics help identify the root cause.
Step 1: Check for driver issues, focusing on Remote Desktop-related drivers:
driverquery /v | Select-String "term|rdp|vnic|vmswitch" | Out-File "C:\RDP_Drivers.txt"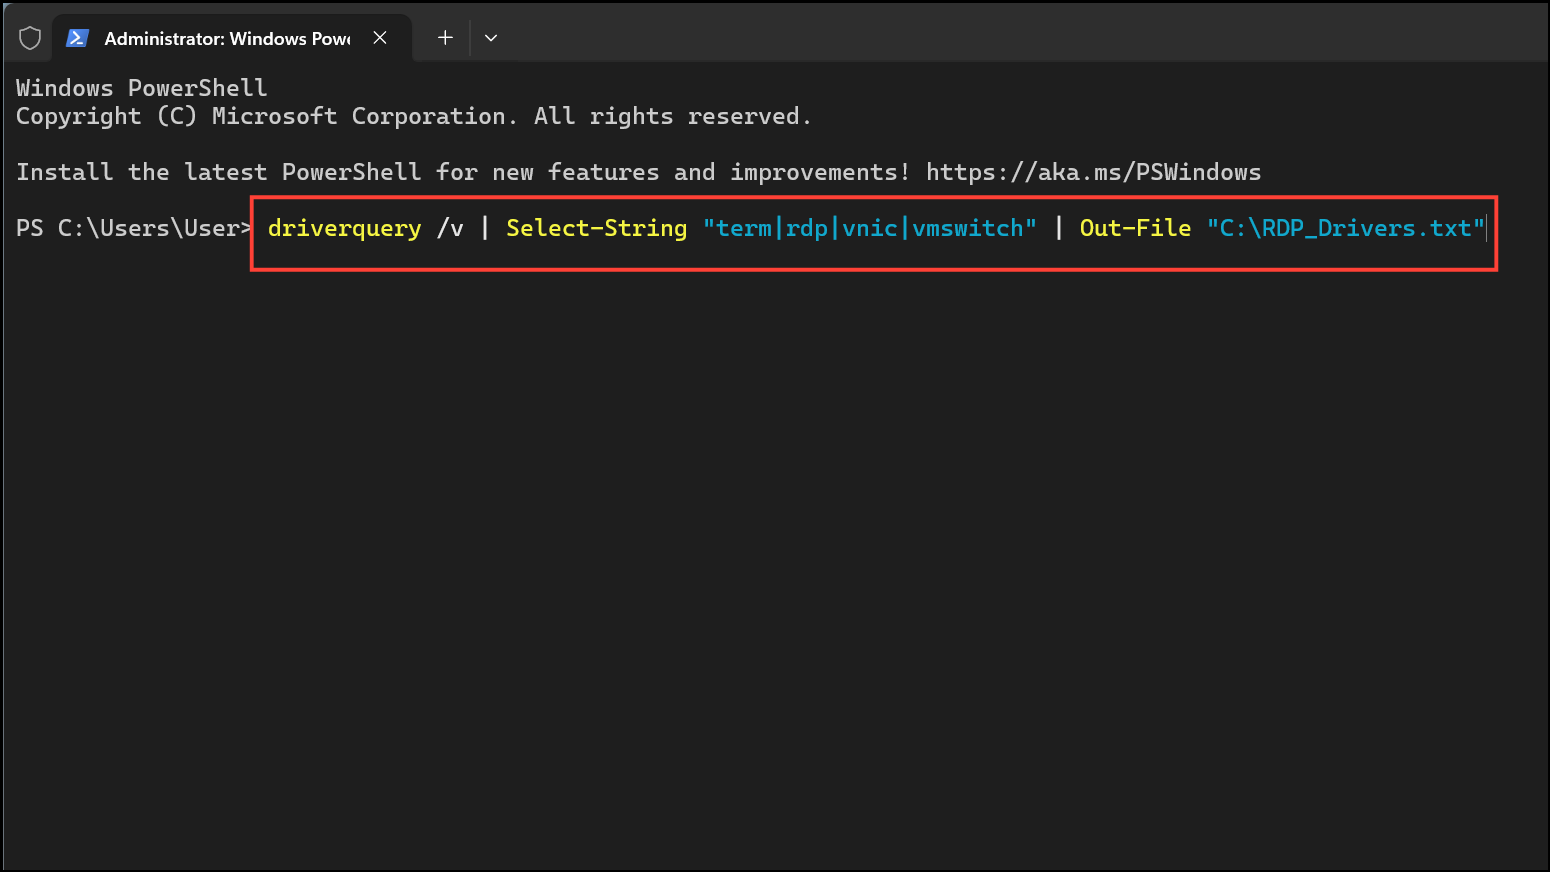
Review the generated report for outdated or problematic drivers and update them via Device Manager or the manufacturer's website.
Step 2: Monitor real-time CPU usage for the Remote Desktop process:
while ($true) {
    $cpu = (Get-Counter '\Process(*)\% Processor Time' -ErrorAction SilentlyContinue |
        Where-Object { $_.InstanceName -match 'svchost.TermService' }).CounterSamples.CookedValue
    if ($cpu -gt 50) {
        Write-Host "High CPU Alert: $([math]::Round($cpu))% at $(Get-Date -Format 'hh:mm:ss tt')"
    }
    Start-Sleep -Seconds 20
}
This script continuously checks CPU usage and alerts if the Remote Desktop service exceeds 50% processor time, helping you pinpoint when and why spikes occur.
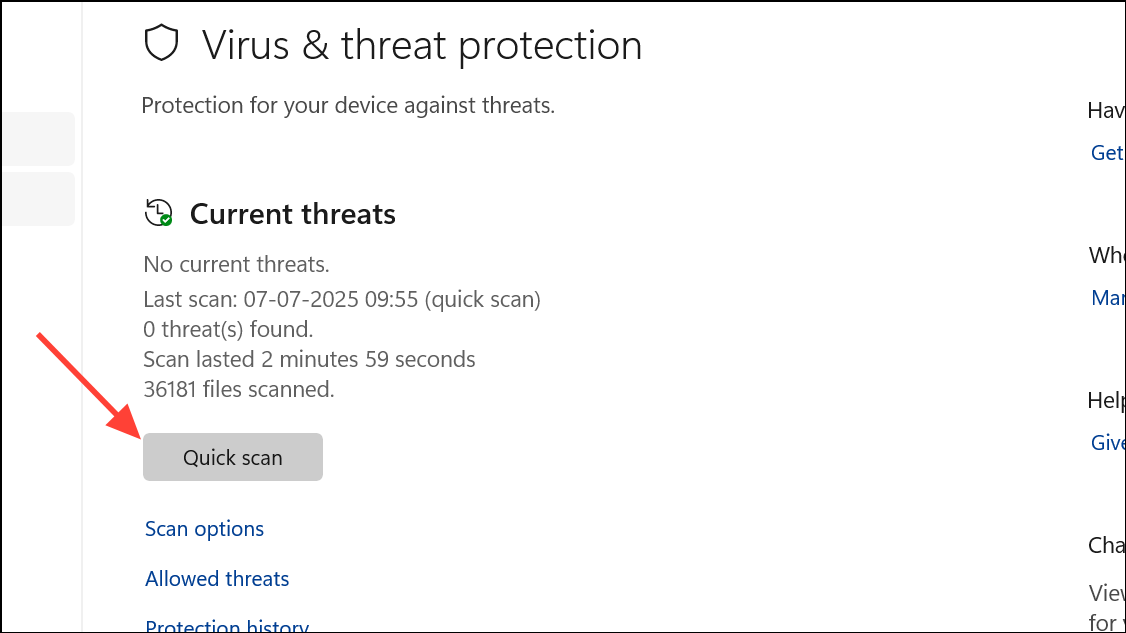
Step 3: Scan for malware using Windows Security. Open Windows Security, navigate to Virus & Threat Protection, and run a Quick Scan. Remove any threats found, as malware can cause unexplained CPU spikes.
Step 4: Update Windows and all device drivers, especially graphics and network drivers, as outdated drivers can cause compatibility issues leading to high CPU usage during Remote Desktop sessions.
Reset Remote Desktop Components as a Last Resort
If all other methods fail, refreshing the Remote Desktop Services components can resolve persistent issues tied to corrupted system files or misconfigured features.
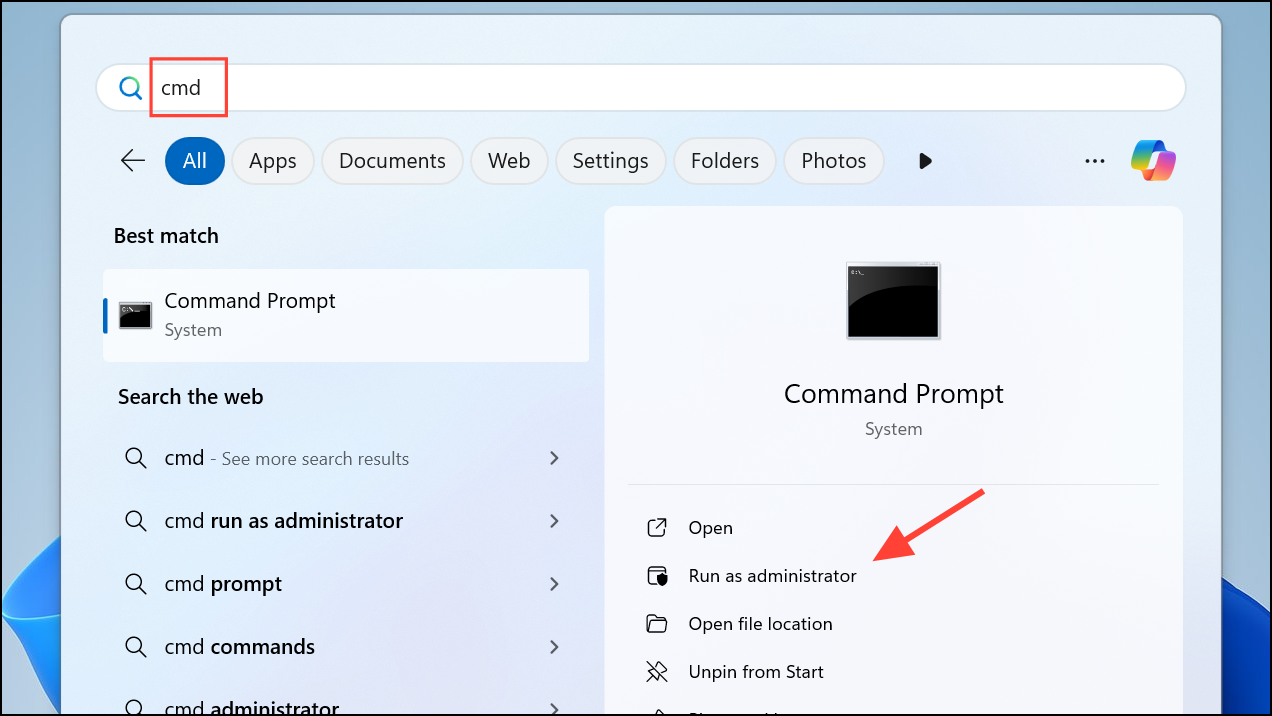
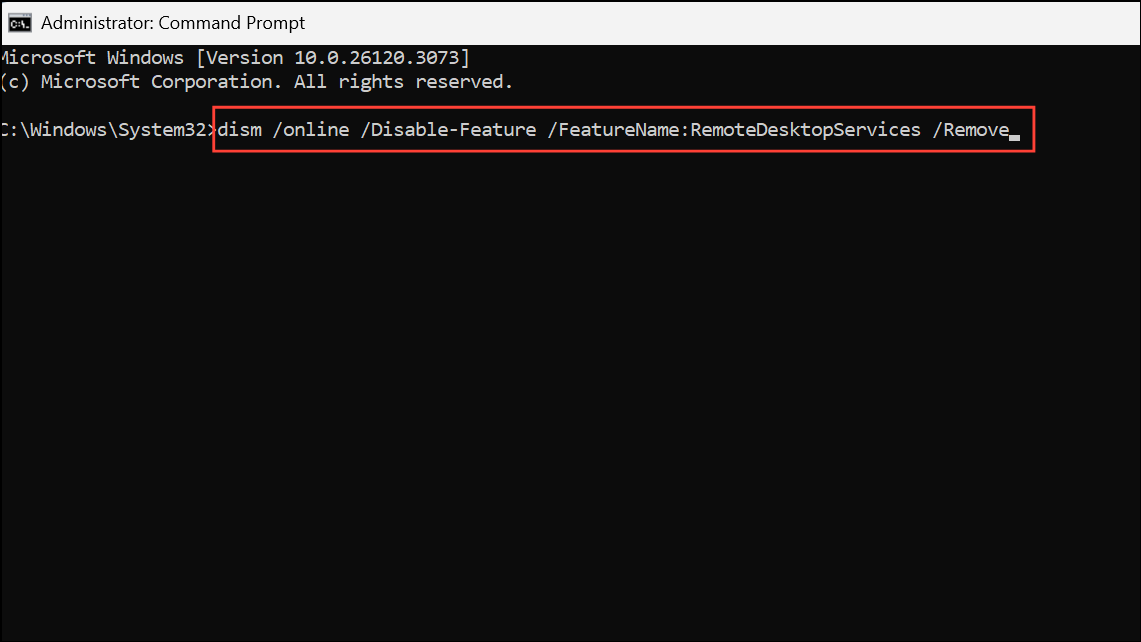
Step 1: Open an elevated Command Prompt.
Step 2: Disable and then re-enable Remote Desktop Services:
dism /online /Disable-Feature /FeatureName:RemoteDesktopServices /Remove
dism /online /Enable-Feature /FeatureName:RemoteDesktopServices
After running these commands, restart your computer. Check for Windows Updates again to ensure all drivers and services are current.
Additional System Optimization Tips
- Use Task Manager (
Ctrl + Shift + Esc) to identify and end resource-hogging apps. - Disable unnecessary startup programs in Task Manager under the
Startuptab to prevent background CPU drain after reboot. - Adjust visual effects for best performance by searching
View advanced system settings, clickingSettingsunderPerformance, and selectingAdjust for best performance. - Clean system dust and ensure adequate cooling to prevent CPU thermal throttling, which can exacerbate high usage problems.
Regularly applying these fixes and monitoring your system ensures smooth Remote Desktop performance and keeps CPU usage at optimal levels in Windows 11.