If your camera isn’t working on Windows 11, it can be a major inconvenience, especially when you need it for important meetings or calls. Whether you’re using an in-built camera or an external webcam, there are several ways to troubleshoot and resolve the issue. Follow these detailed methods to get your camera up and running again.
Before trying any of these solutions, if you’re using an external webcam, disconnect it and reconnect it. Additionally, try plugging it into a different USB port to rule out a faulty connection.
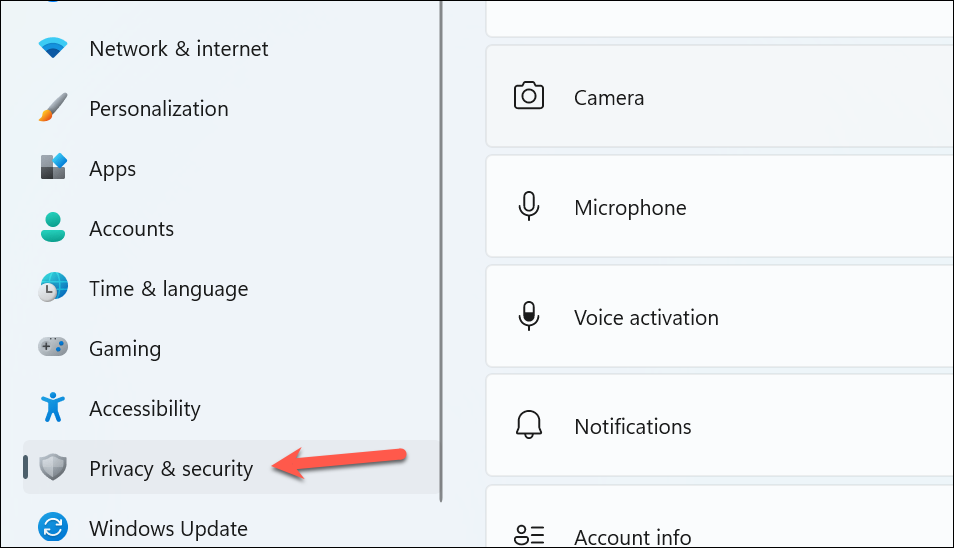
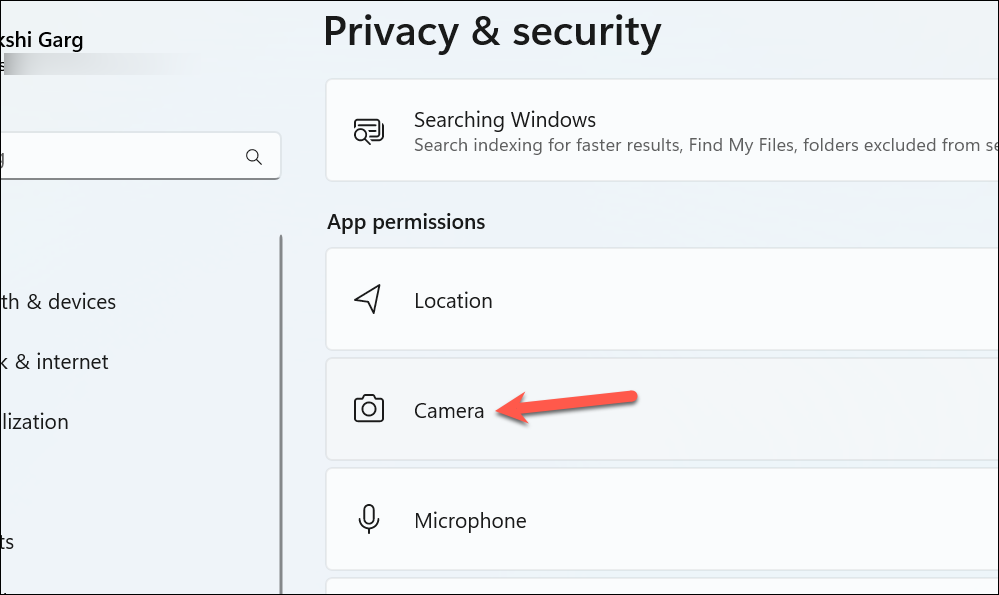
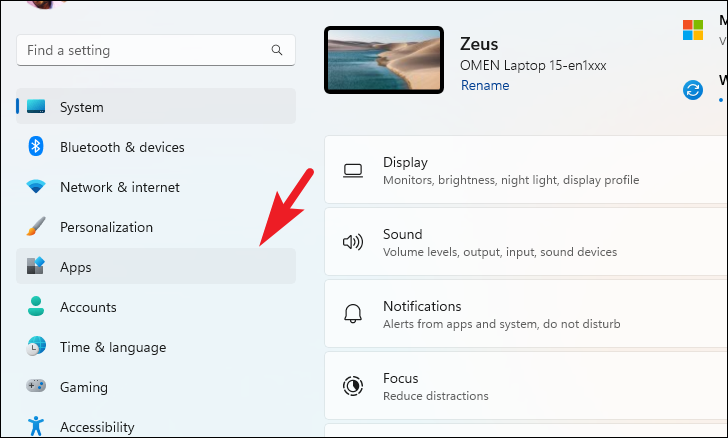
Method 1: Check camera privacy settings
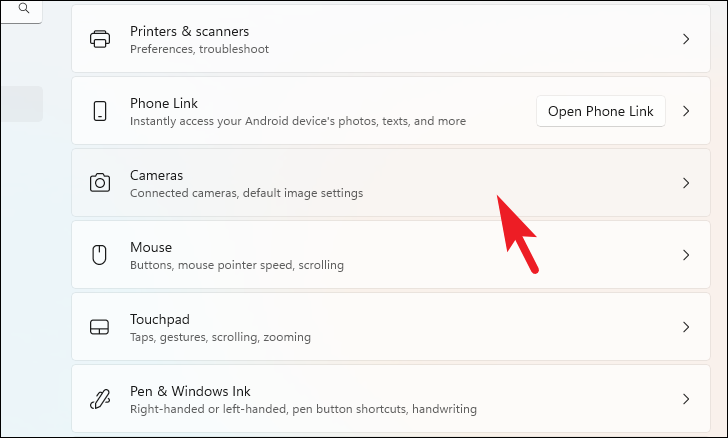
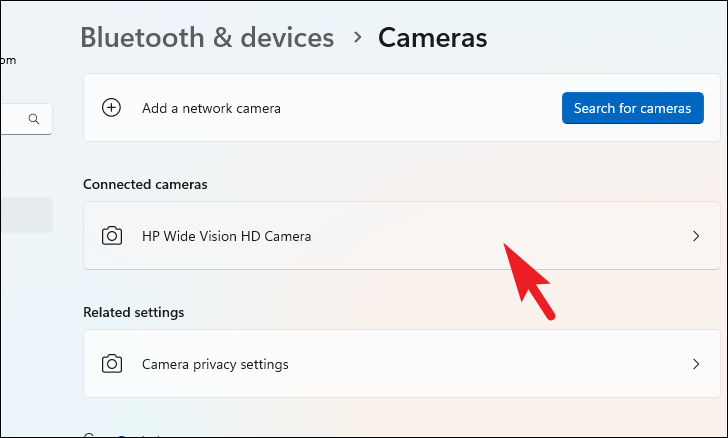
Windows 11 includes privacy settings that can restrict apps from accessing your camera. If your camera isn’t working in specific apps or at all, these settings might be the culprit.
Windows + I on your keyboard.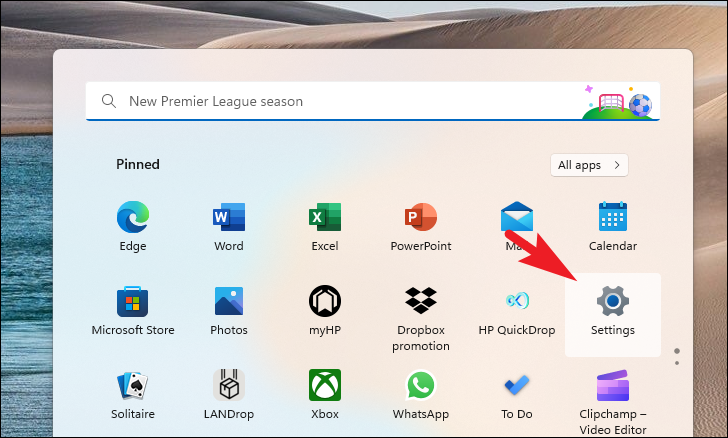
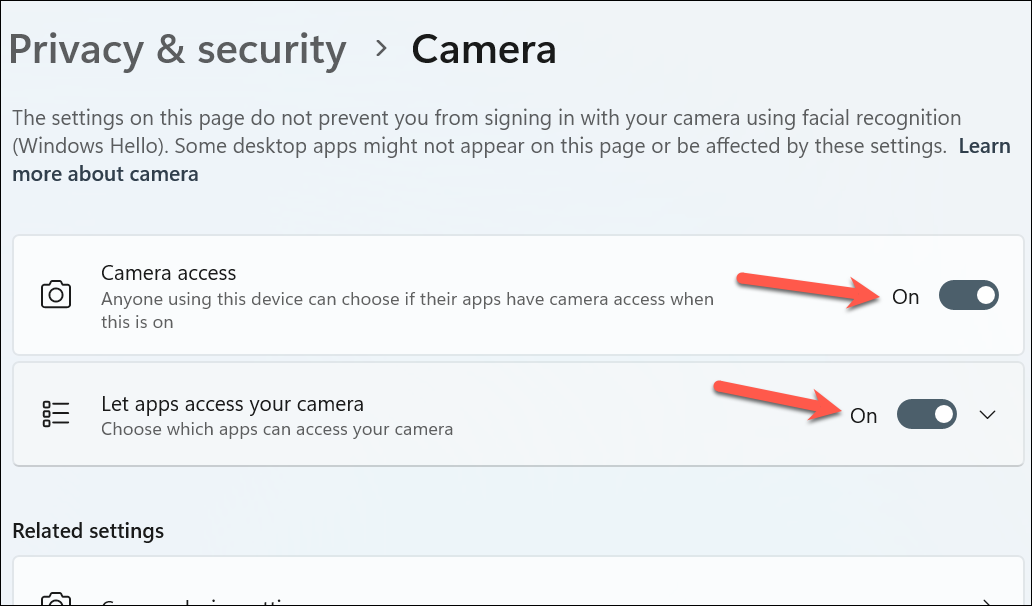
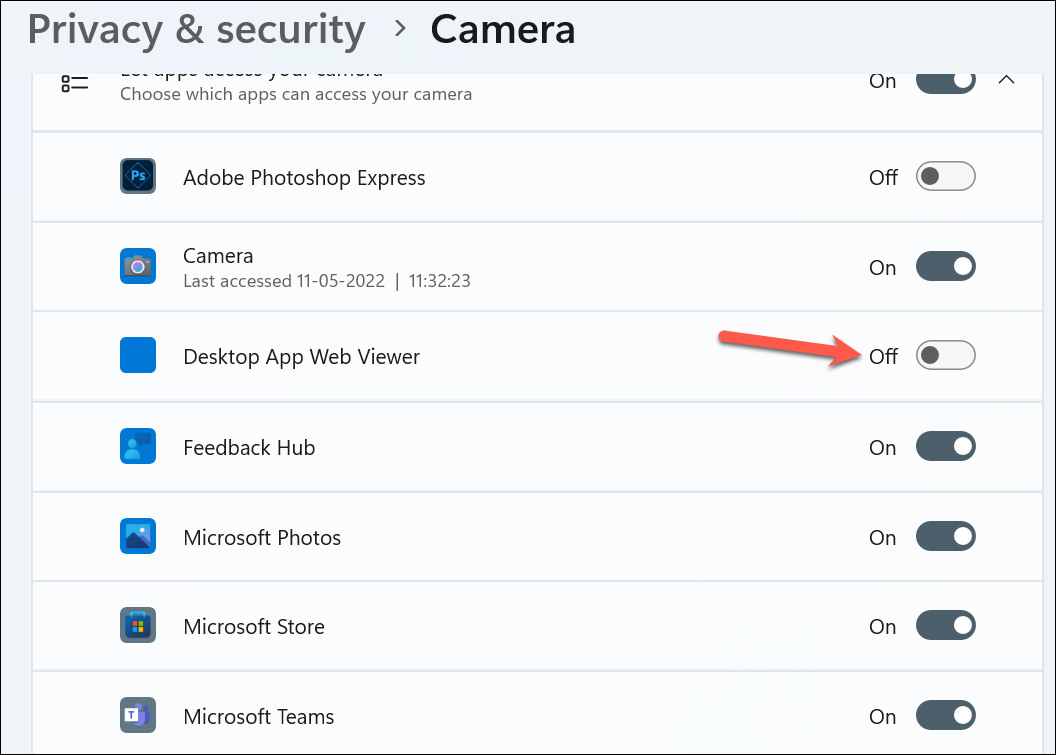
After adjusting these settings, check if your camera is functioning properly in the desired apps.
Method 2: Check for a physical button or shutter
Some laptops and webcams come with a physical shutter or switch that disables the camera for privacy reasons. If this shutter is closed or the switch is turned off, your camera will not work.
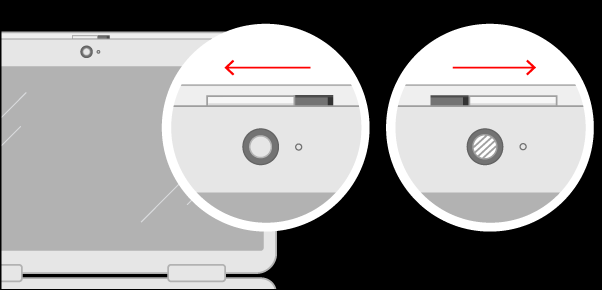
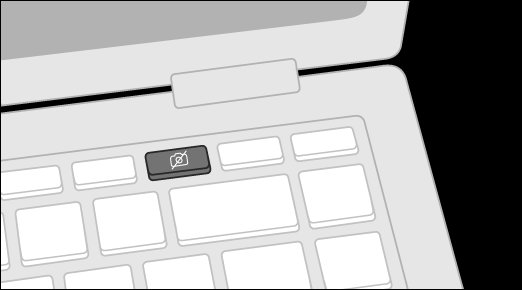
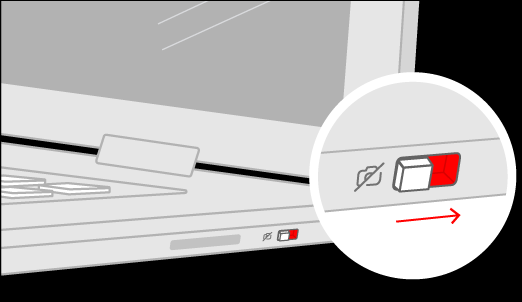
Make sure any physical barriers or switches are properly set to allow your camera to function.
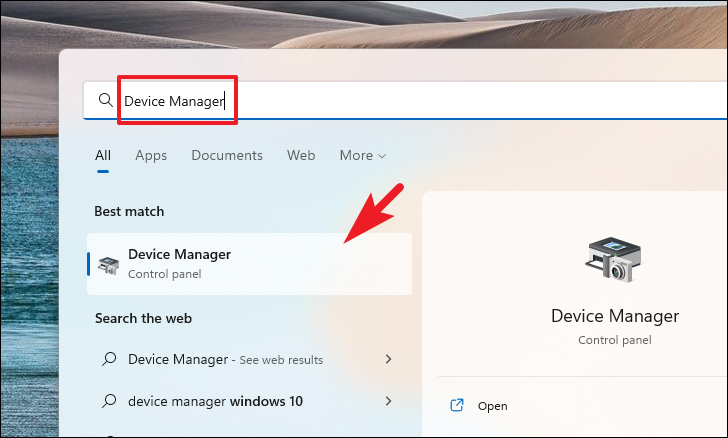
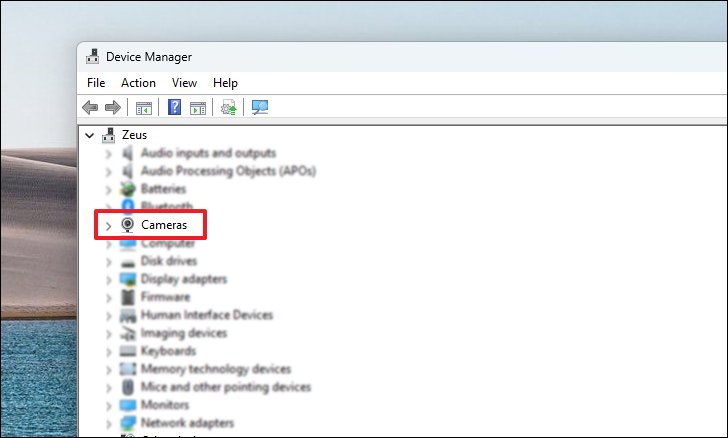
Method 3: Update your camera driver
An outdated or corrupted camera driver can cause your camera to stop working. Updating the driver can often resolve these issues.
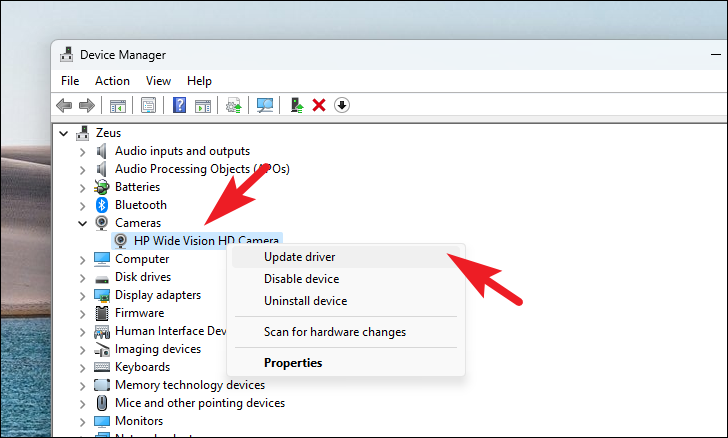
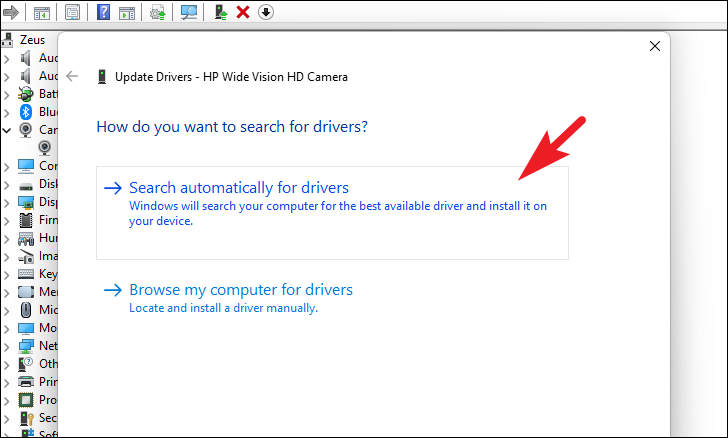
If Windows doesn’t find a new driver, you can also check the manufacturer’s website for the latest driver for your camera model.
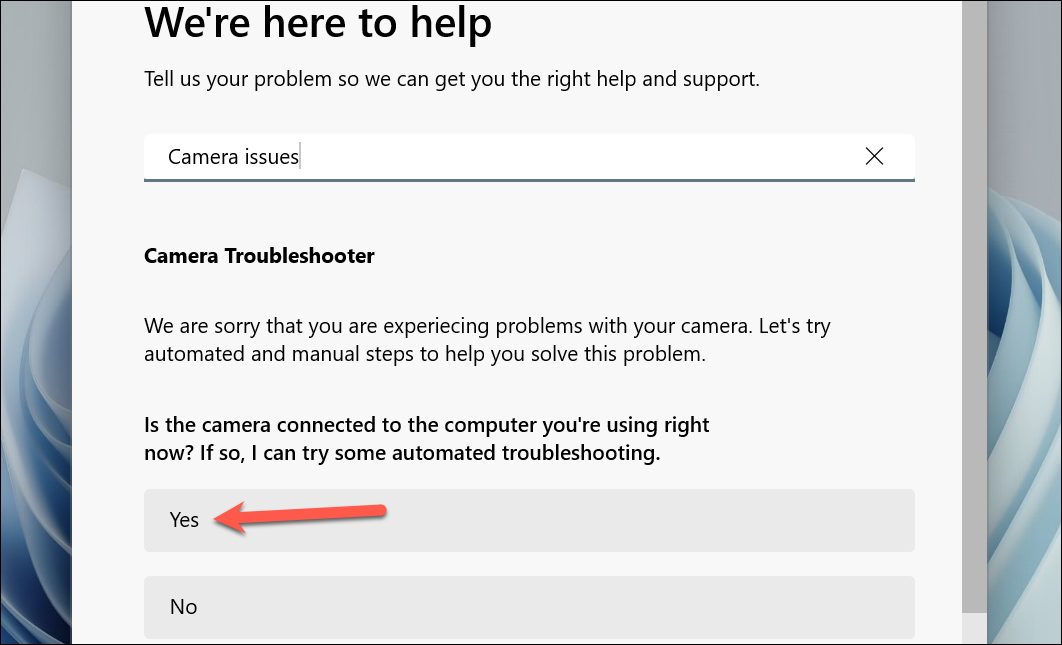
Method 4: Run the Camera troubleshooter
Windows 11 includes a built-in troubleshooter that can detect and fix common camera issues automatically.
Windows + I or by clicking on the Start menu and selecting Settings.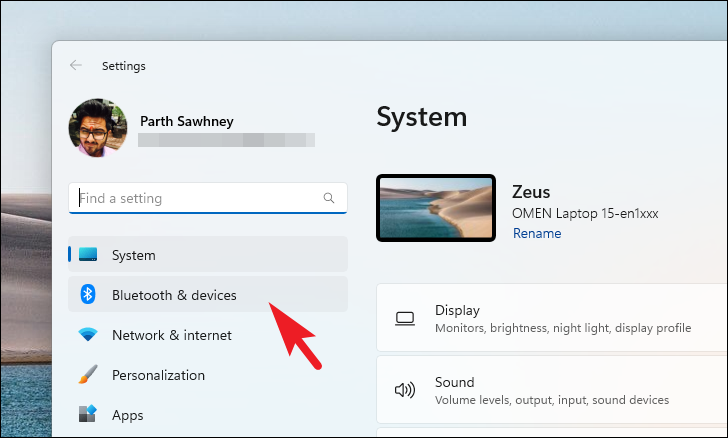

Follow the on-screen instructions to complete the troubleshooting. The troubleshooter will attempt to identify and fix any issues with your camera.
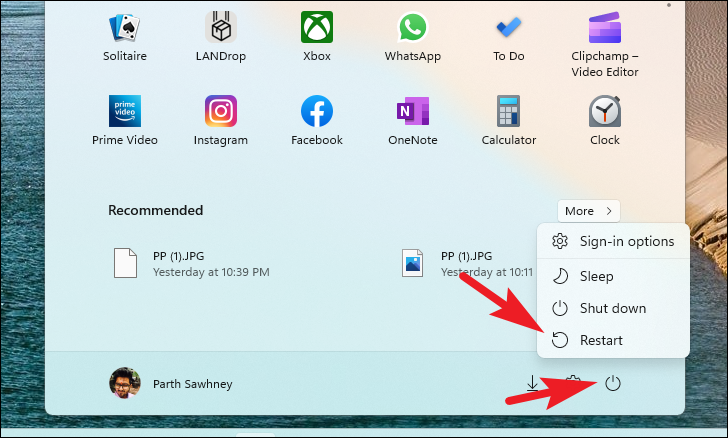
Method 5: Restart your PC
Sometimes, a simple restart can resolve temporary glitches that prevent your camera from working.
Alternatively, you can press Alt + F4 on your desktop to bring up the shutdown dialog, then select Restart and click OK.
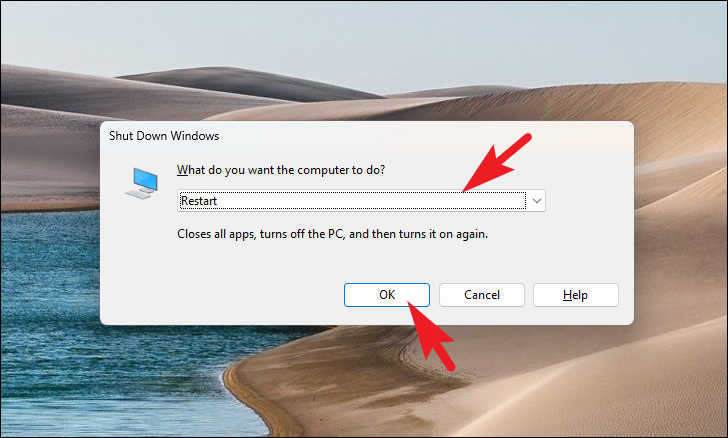
After your PC restarts, check if your camera is now functioning properly.
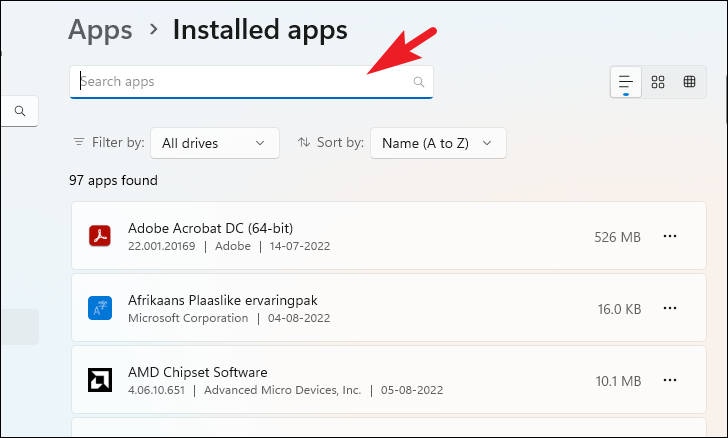
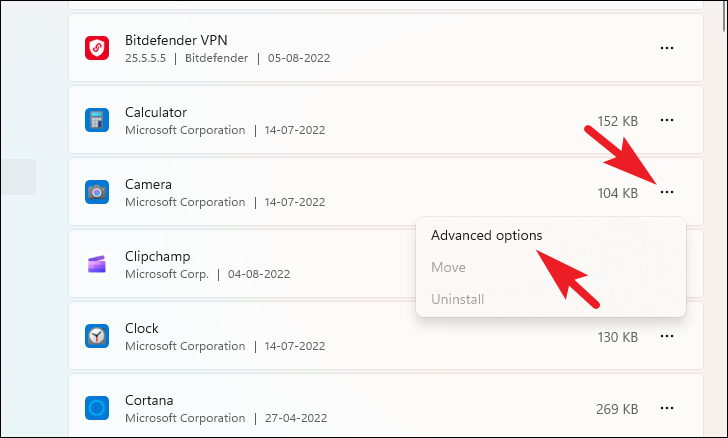
Method 6: Reset the Camera app
If the issue persists, resetting the Camera app can help by restoring it to its default settings.

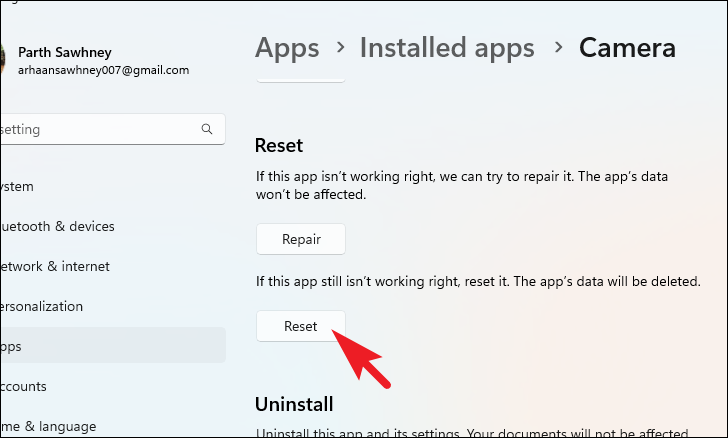
After resetting the app, open it to see if the camera issue has been resolved.
Method 7: Check your anti-virus software
Some anti-virus programs can block camera access for security reasons. This may prevent apps from using the camera.
If none of these methods have resolved the issue, it’s possible that your camera hardware might be malfunctioning. Consider contacting the device manufacturer or a professional technician for further assistance.


