
- The mouse cursor disappearing on a Windows PC can be an infrequent but frustrating software issue, often resolvable by the user.
- One solution is toggling the physical touchpad lock key on the keyboard, which is usually among the function keys (F1-F12).
- Ensuring the touchpad is enabled from the Settings app on your Windows machine is another method to resolve the issue.
- Updating or rolling back the mouse driver can also help, especially if the problem occurred after a recent driver update.
- For hybrid devices like Microsoft Surface, disabling Tablet Mode by restarting the device can resolve the cursor disappearing issue.
The occurrence of the mouse cursor disappearing on a Windows PC is an infrequent event, but recently, an increasing number of users have reported this issue. Although it isn’t a severe problem, it can cause some inconvenience and frustration.
The good news is that this issue appears to be linked to software rather than hardware, which suggests that you should be able to identify and resolve the problem independently. However, given the lack of a specific cause, it may be necessary to experiment with several solutions outlined in this guide to address the issue entirely.
With this understanding, let’s proceed with the techniques to rectify the issue on your PC.
Method 1: Toggle the Physical Touchpad Lock Key on your Keyboard
Modern laptop computers typically have a physical key to deactivate the touchpad. If you’re experiencing issues with your touchpad, it’s possible that it may have been inadvertently turned off.
This key is often found among the function keys (F1-F12) and may be identified by an icon of a touchpad with a line through it. In many cases, this key also features a small light to signal whether it’s activated or deactivated.
To turn the touchpad back on, press the key with the touchpad icon. If your laptop has a function lock feature and it’s active, you’ll need to press and hold the Fn key, then press the touchpad key to reactivate the touchpad.
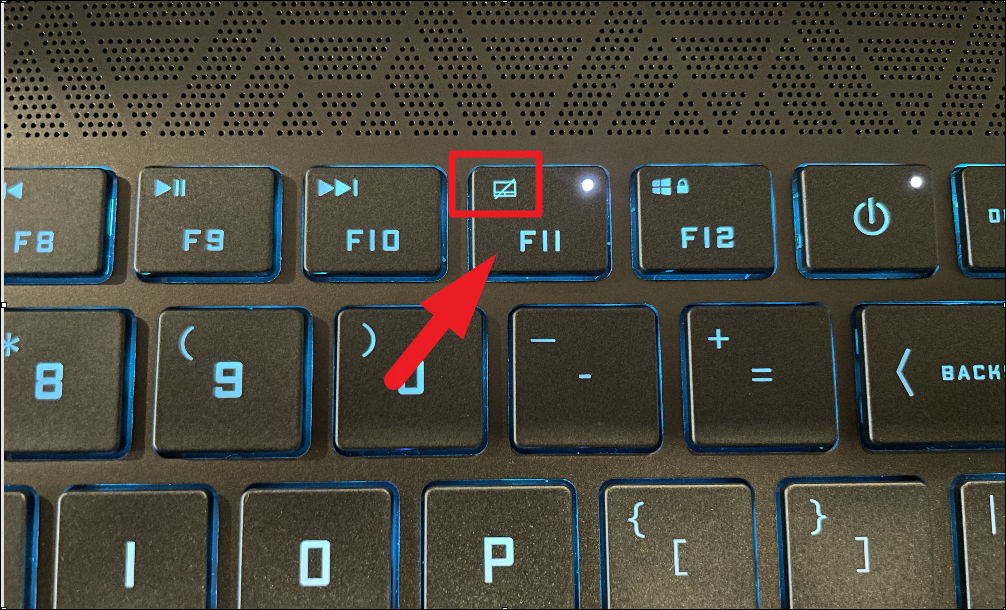
Notice the little white light that acts as a status indicator on the key.
Method 2: Make Sure Touchpad is Enabled from the Settings App
To check the Touchpad setting, head to the Settings app on your Windows machine by pressing the Windows + I button together on your keyboard.
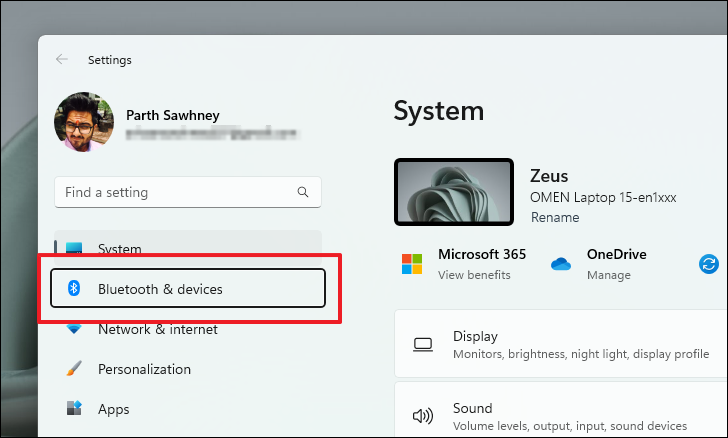
Once the Settings window appears, press the Tab key once to bring the focus to the left sidebar present on the window. Then, press the Down Arrow key till you reach the ‘Bluetooth & devices’ option and hit Enter on your keyboard.
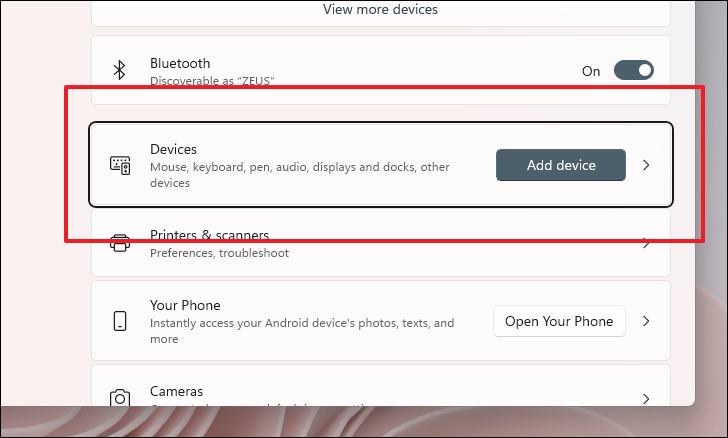
Next, keep pressing the Tab key until the cursor focus shifts to the ‘Devices’ tile.
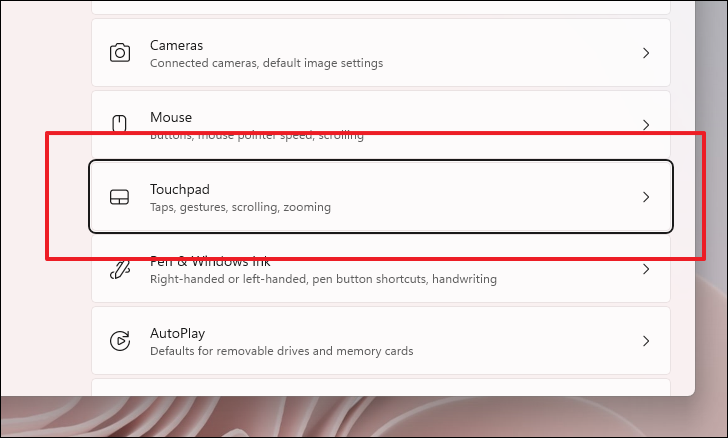
Next, press the Down Arrow key on your keyboard till you reach the ‘Touchpad’ tile, and then press Enter on your keyboard.
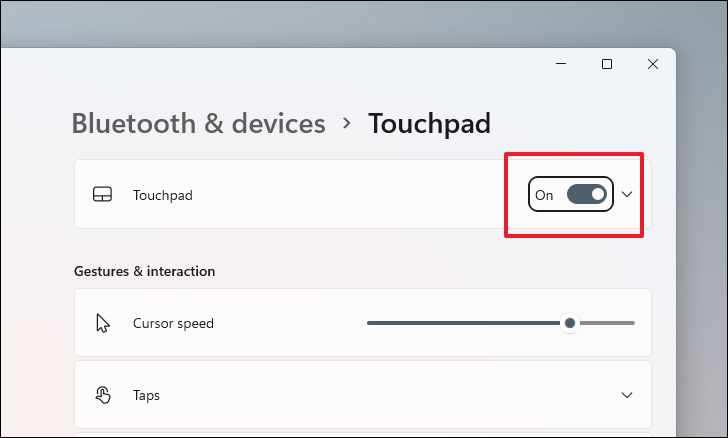
In the upcoming screen, activate the toggle switch adjacent to the ‘Touchpad’ option by hitting the spacebar, assuming it’s not already enabled. If the cursor focus doesn’t automatically land on the toggle switch, use the Tab key to advance to the next option displayed on the window. Alternatively, you can use Shift + Tab to shift the cursor focus to the preceding option.
Method 3: Update or Roll Back Mouse Driver
If you have just recently updated your mouse driver, rolling it back to the previous version can definitely help. On the flip side, if it has been a while since you updated the driver, updating it might fix the issue for you.
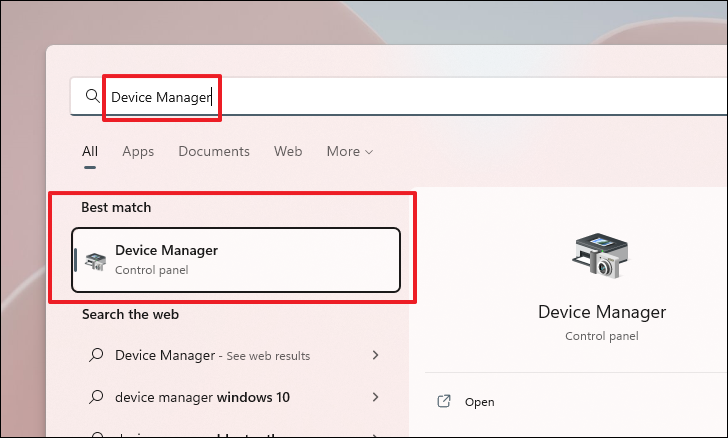
To update the mouse driver, first, open the Start Menu by pressing the Windows key. Then, type Device Manager to perform a search for it. Then, from the search results and press Tab to shift cursor focus to the next item on the search result pane till the ‘Device Manager’ tile is highlighted. Next, press Enter on your keyboard to open it.
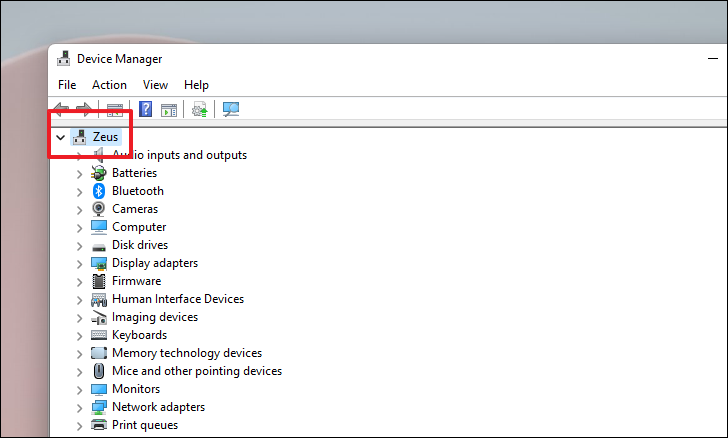
In the Device Manager window, first, press Tab to bring focus to the list of component categories present on the window.
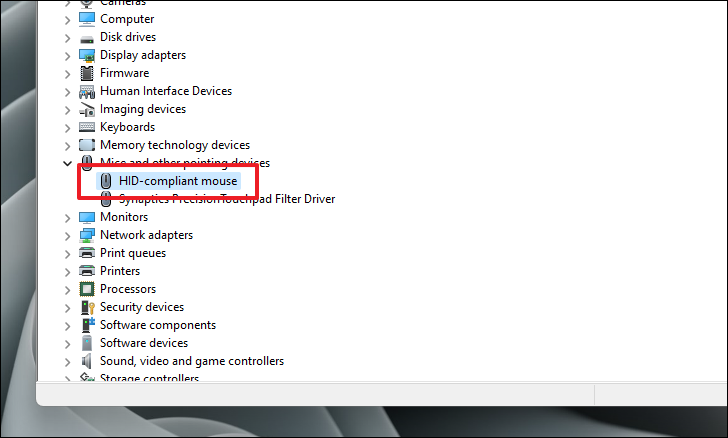
Then, press and hold the Down Arrow key till you reach the ‘Mice and other pointing devices’ option, now, press the Side Arrow key to expand the section.
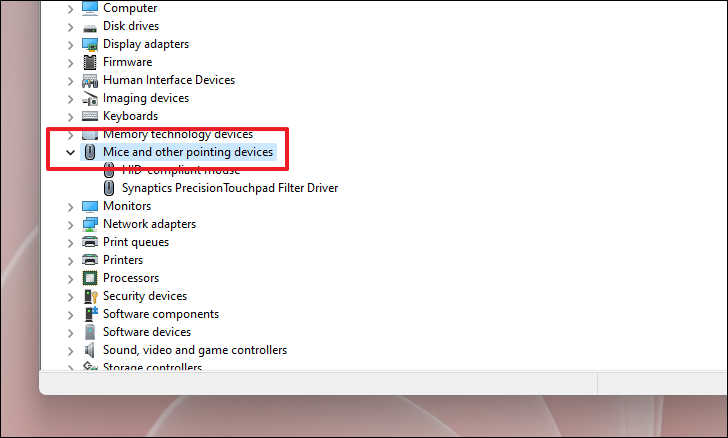
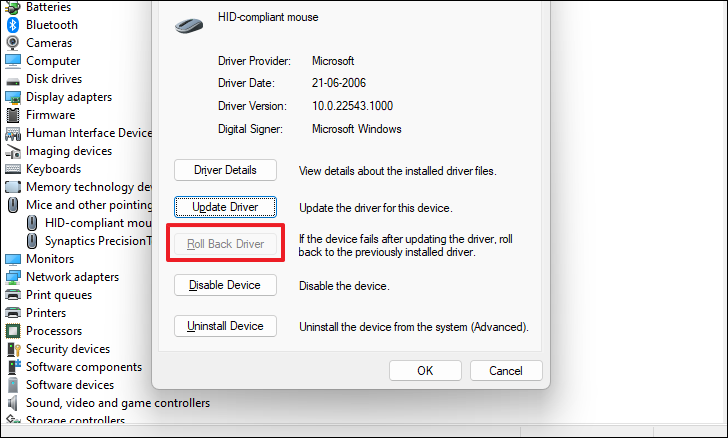
After that, press the Down Arrow key to navigate to the ‘HID-compliant mouse’/’Touchpad Driver’ option from the list and press Enter to open its properties window separately on your screen.
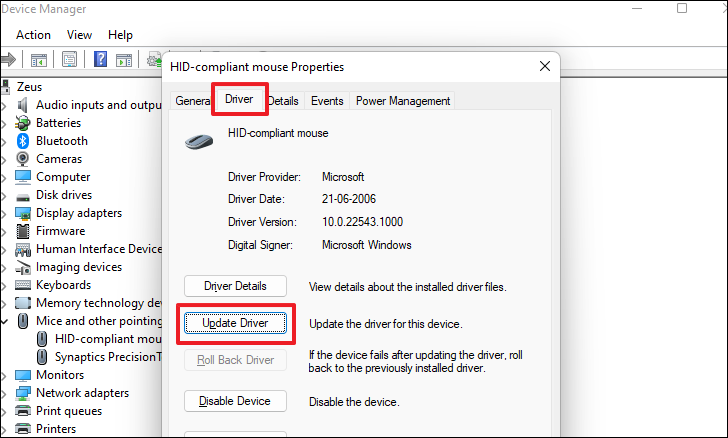
Now, from the separately opened window, tap the Right Side Arrow key to move to the ‘Driver’ tab. Then again press the Tab key to bring the focus to the items listed on the ‘Drivers’ tab. Once the focus cursor is on the ‘Update Driver’ button, press the Enter key on your keyboard. This will open a separate window on your screen.
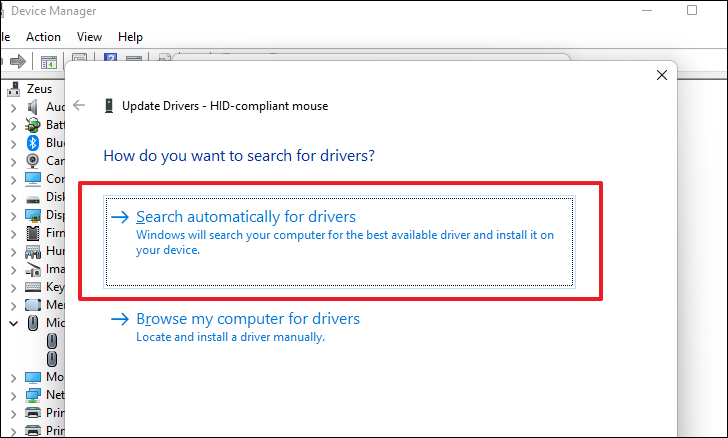
After that, from the separately opened window, press the Enter key to select the ‘Search automatically for drivers’ option. In case the focus cursor is not on the option, press Tab to move to the next option in the window or Shift + Tab to move to the previous option.
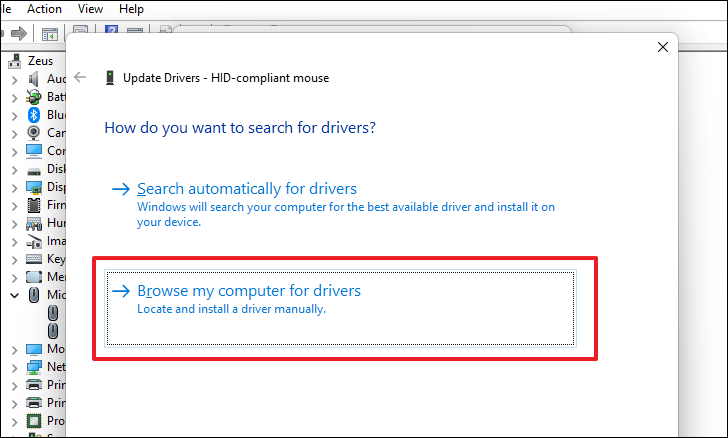
In case you have already downloaded a driver for your device, move to the ‘Browse my computer for drivers’ option by tapping the Down Arrow key on your keyboard and then hit Enter to open the File Explorer and navigate to the .EXE file.
If you are here to roll back the mouse driver, from the properties window of the component, press Tab to bring focus to the tabs and click on the Right Side Arrow key to navigate to the ‘Driver’ tab.
Then, again press Tab to shift the focus to the components present on the particular tab. Next, once the ‘Roll Back Driver’ button is highlighted, press the Enter key to roll back the driver to its previous version.
Once updated or rolled back, restart your PC from the Start Menu. After restarting, you should be able to see the cursor on your screen.
Method 4: Disable the Tablet Mode
If you’re using a hybrid Windows device with a detachable keyboard, the device will automatically switch to tablet mode when the keyboard is detached. In this mode, the cursor is disabled because the device operates based on touch input. Therefore, it’s possible that the device may remain in Tablet Mode even after the keyboard is reconnected.
Unfortunately, there’s no manual method to disable Tablet Mode on a Windows 11 device. To recalibrate the device according to the peripherals connected, you’ll need to restart it. This action should enable the device to automatically detect the presence of the keyboard and exit Tablet Mode.
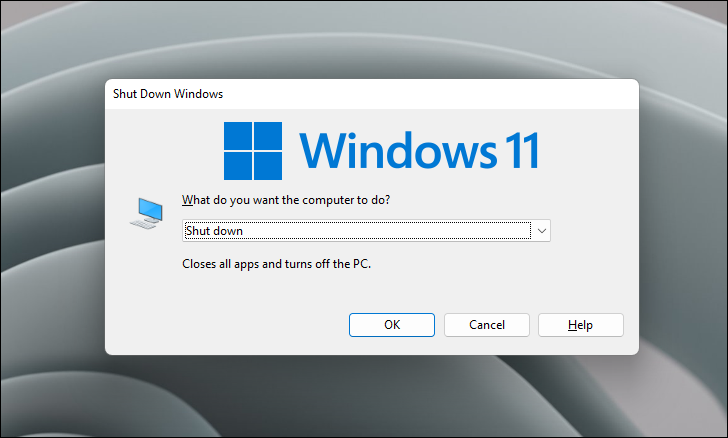
To restart, first, connect your device with a keyboard if not already connected. Then, press the Alt + F4 keys together on your keyboard to bring up the ‘Shut Down Wizard’ on your screen.
Next, press the Down Arrow key till the drop-down menu displays the ‘Restart’ option. Then press the Tab key to shift cursor focus to the ‘OK’ button. Next, hit Enter on your keyboard to restart the computer.
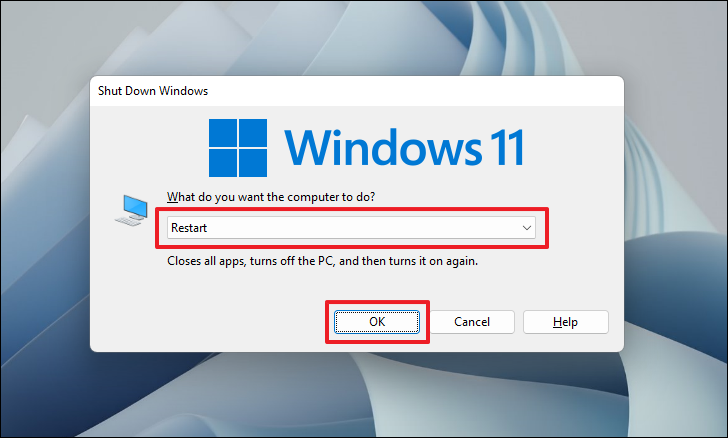
Once restarted, your Tablet mode should turn off, and the mouse cursor should appear on your screen.
There you go, people. We hope you are able to resolve the issue on your machine using the above-mentioned methods in the guide.


