
Screenshots taken with
PrtScrn or Windows + PrtScrn keys are saved in the ‘Screenshots’ folder under ‘Pictures’. Screenshots taken with Snipping Tool are copied to the clipboard and can be pasted into Paint or other locations. Screenshots taken with Xbox Game Bar are saved in the ‘Captures’ folder under ‘Videos’.In Windows 11, there are three native methods to capture a screenshot on your device. You can either use the keyboard shortcut, access the pre-installed ‘Snipping Tool’ app, or utilize the ‘Xbox Game Bar’ app for a quick snapshot. However, it’s important to note that the storage location for your screenshots will vary depending on the method you choose.
To help you keep track of your captured images, let’s take a closer look at the storage locations for screenshots through each native method on Windows 11.
Location of Screenshots Taken Using the Print Screen PrtScrn Shortcut Key
All the screenshots you take by pressing the PrtScr key or Windows + PrtScr keys together are saved in the ‘Screenshots’ folder on your computer. The below-mentioned is a quick way to navigate to the folder.
First, double-click on the ‘This PC’ icon on your desktop to open File Explorer. Alternatively, you can also press the Windows + E keys together on your keyboard to do so.

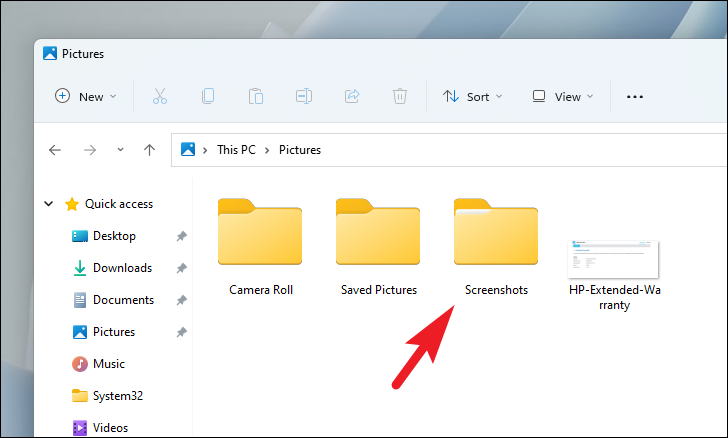
After that, click on the ‘Pictures’ folder present under the ‘Folder’ section on the File Explorer window to proceed.

Then, on the next screen, locate and double-click on the ‘Screenshots’ folder to continue.
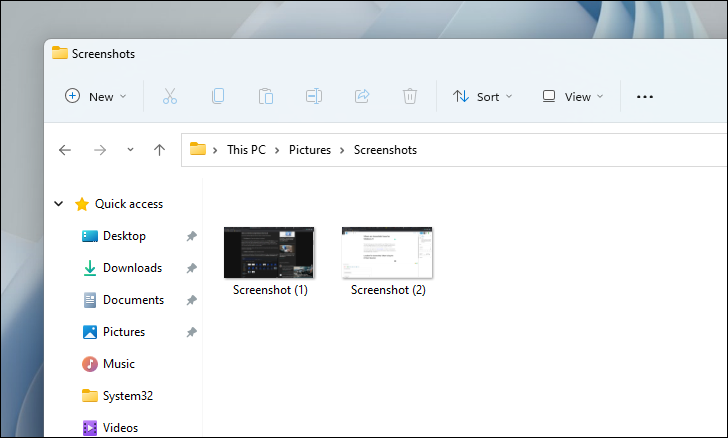
Now, you will be able to see all the screenshots you clicked using the PrtScr / Windows + PrtScr keyboard shortcut.
Location of Screenshots Clicked Using Snipping Tool
While the screenshots clicked by any other native method on Windows are directly saved on disk. Screenshots that you click using the Snipping Tool are copied to your clipboard, which you can then paste on paint or directly insert into a space that allows picture insertion.
Though clicking screenshots using the Snipping Tools is very easy, below is a quick refresher on clicking a screenshot, along with how to use it once it is available on your clipboard.
To summon the Snipping Tool, press the Windows + Shift + S keys together on your keyboard. Your screen should dim a bit and you will be able to see the ‘Snipping Tool’ bar on top of the screen.
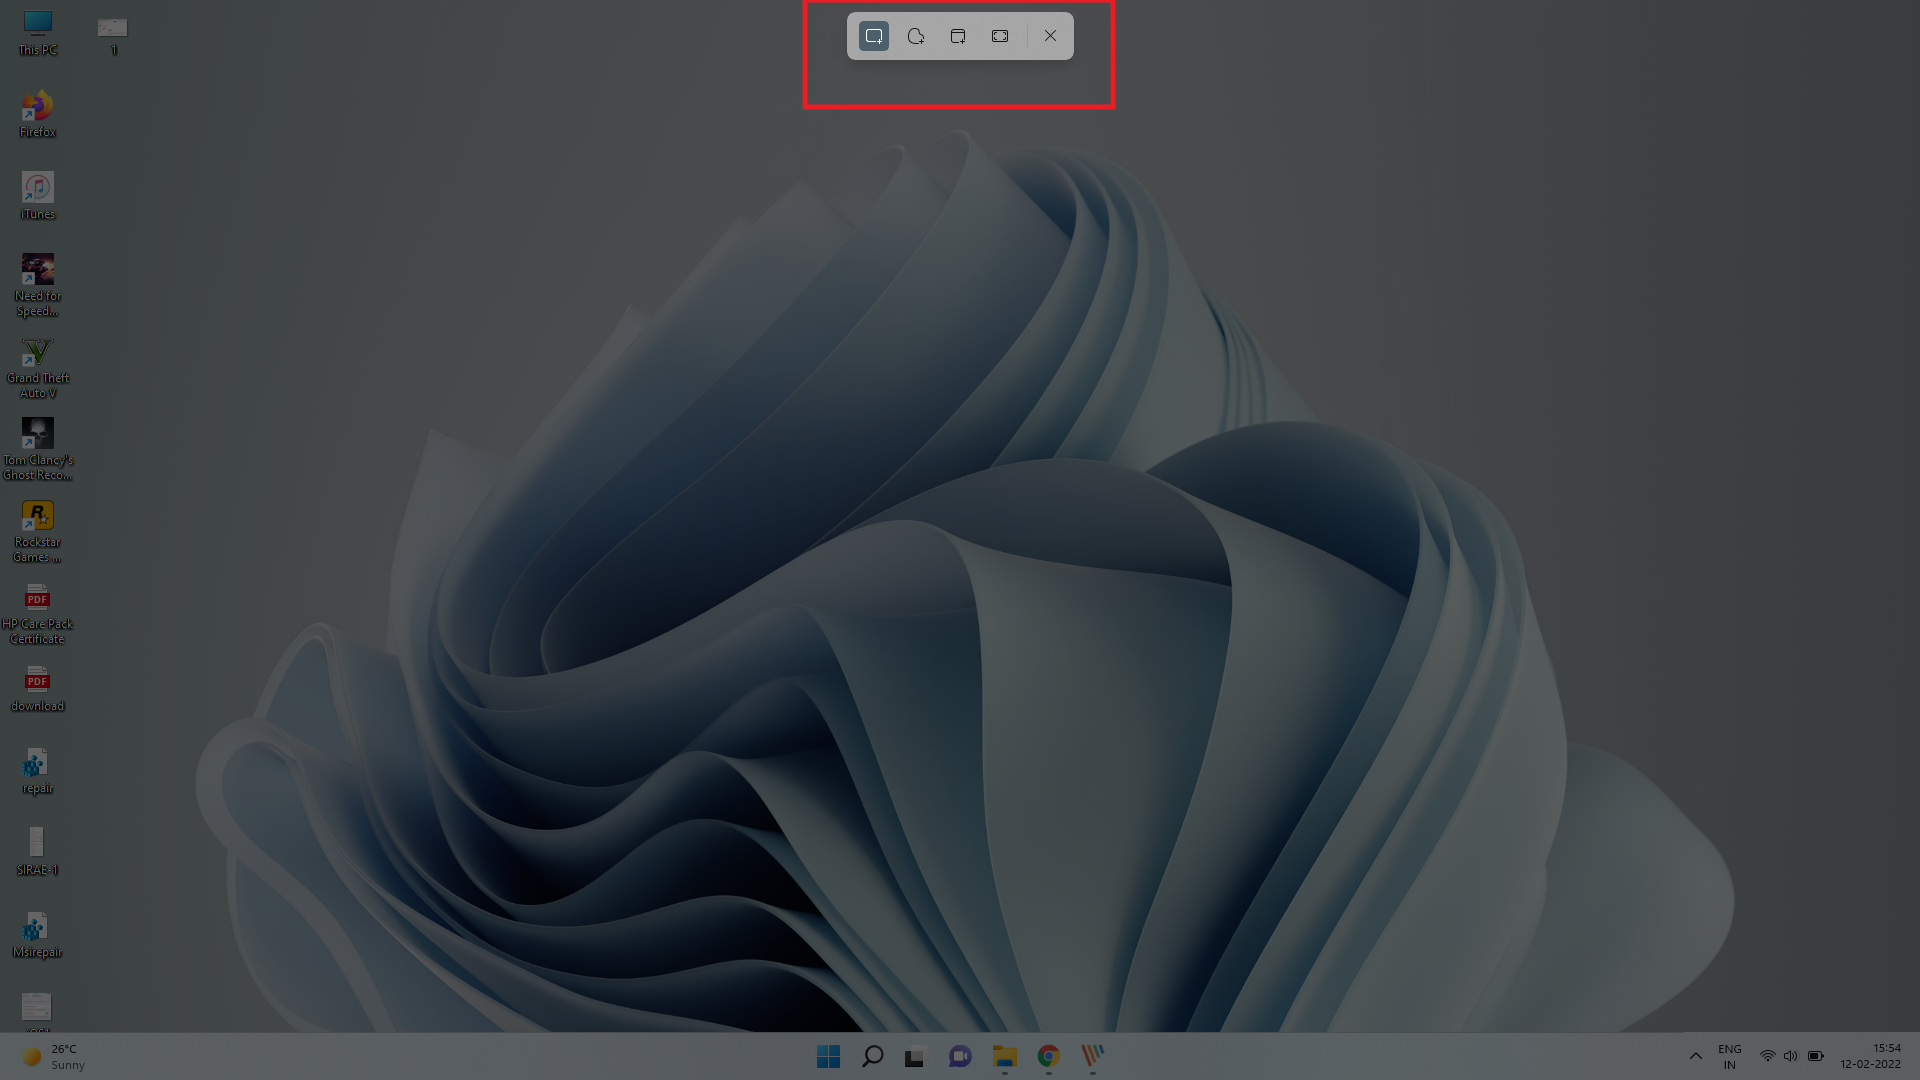
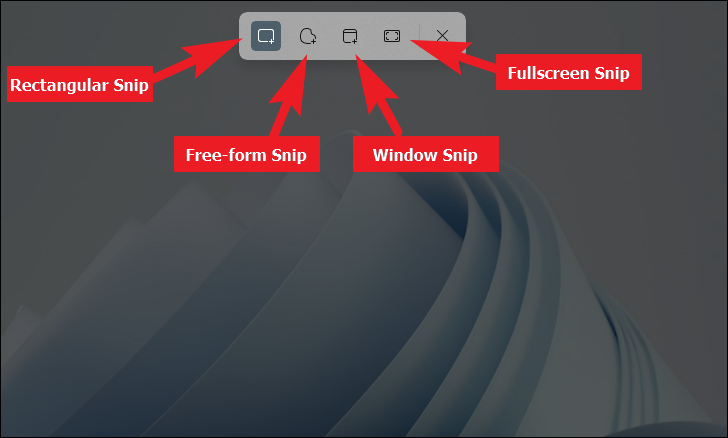
Next, you can either choose to click a rectangular screenshot, a free-form screenshot, a screenshot of a particular window, or a full-screen screenshot of your screen by clicking on the respective buttons.
When using a rectangular or free form, once the mode has been selected from the toolbar, you will have to click-hold the left mouse button and drag the cursor across the screen to select the area. Once the desired area is covered, release the mouse button to click the screenshot.

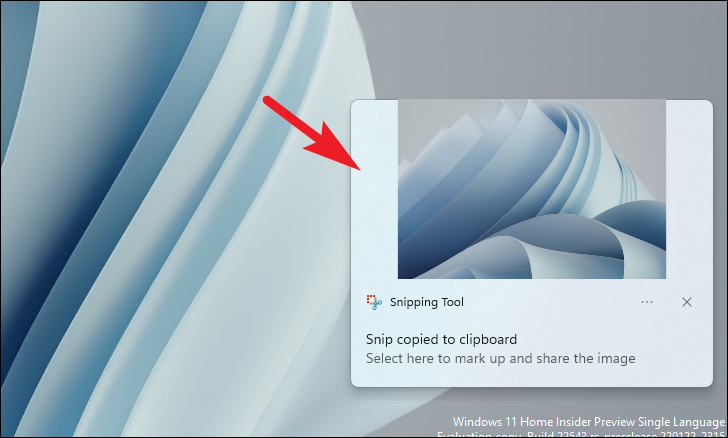
Once you have clicked the screenshot using your preferred option, you will be able to see a notification tile in the bottom right section of your screen with the thumbnail of the said screenshot stating that it has been copied to the clipboard. You can now either click on the notification tile to open the screenshot in a Snipping Tool window.
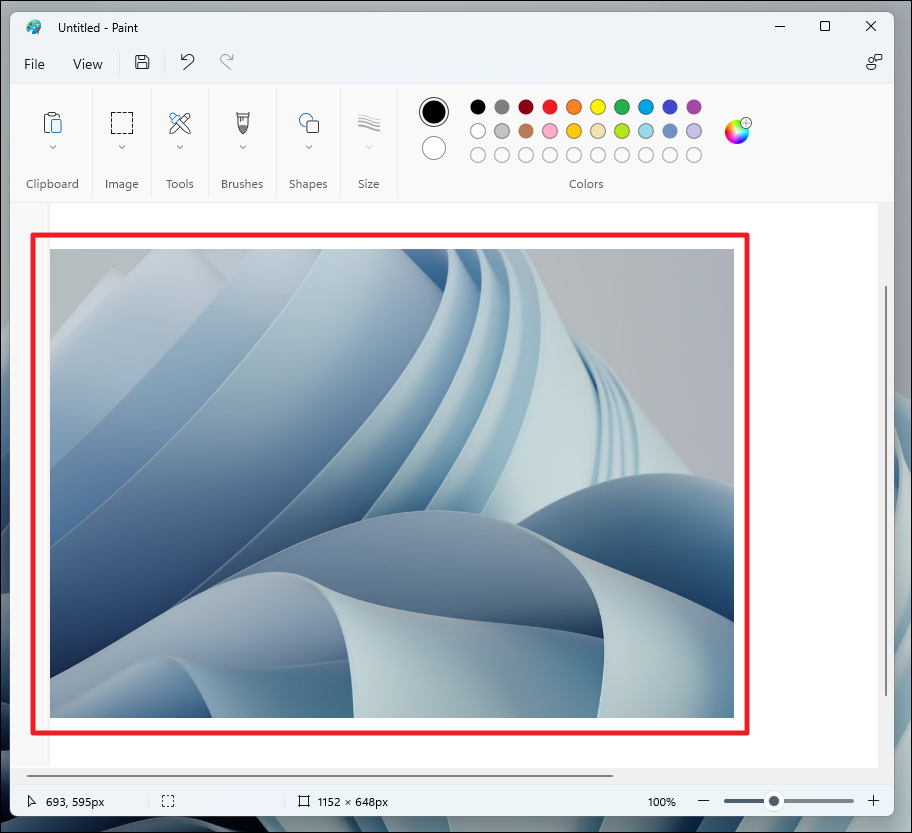
Or you can open the ‘Paint’ app by searching for it from the Start Menu on your Windows PC, and paste the screenshot by pressing the Ctrl + V keys together on your keyboard.
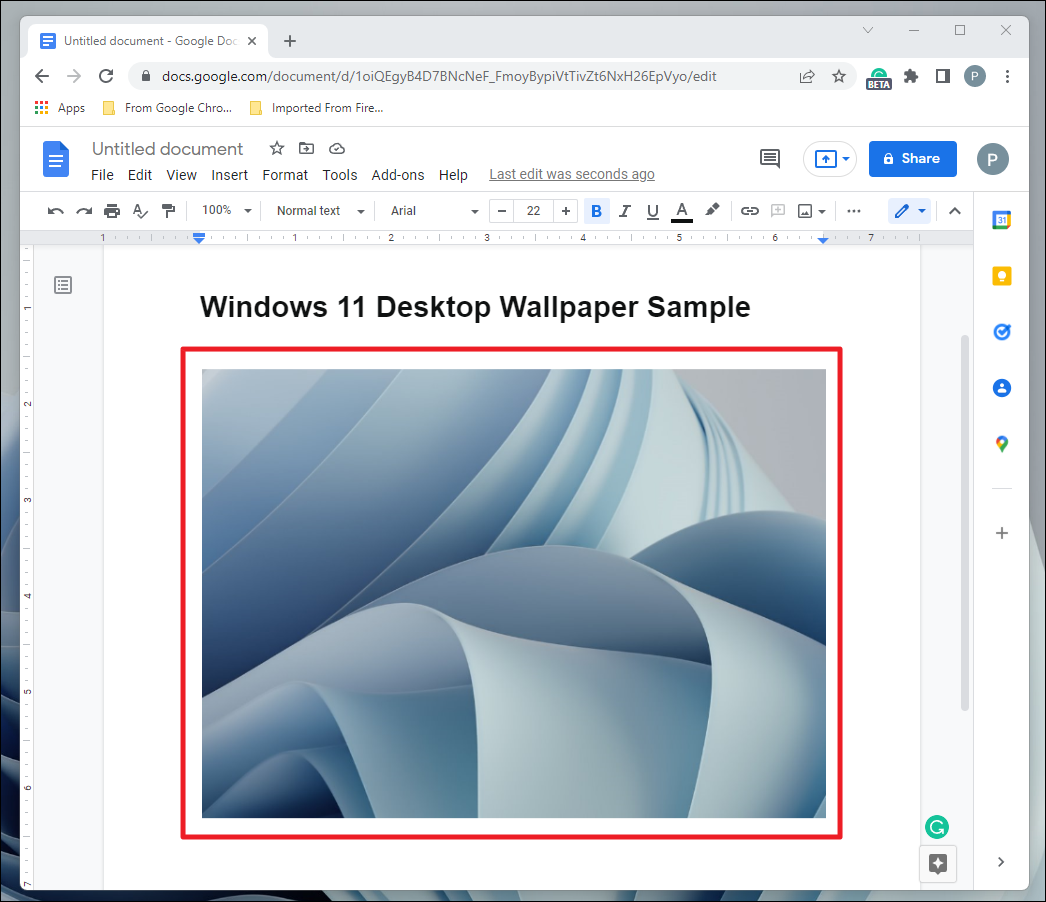
Otherwise, you can also insert the screenshot in a document, in a chatbox, or in any other location supporting the insertion of a picture by pressing the Ctrl + V keys together on your keyboard.
Location of Screenshots Clicked using the Xbox Game Bar App
Just like the PrtScr shortcut for screenshots, the Xbox Game Bar app also directly saves the screenshots on your secondary storage. However, the directory is obviously different for the saved screenshots due to both being different apps.
Though a little crash course on how to click screenshots using the Xbox Game Bar app to jog your memory cannot hurt.
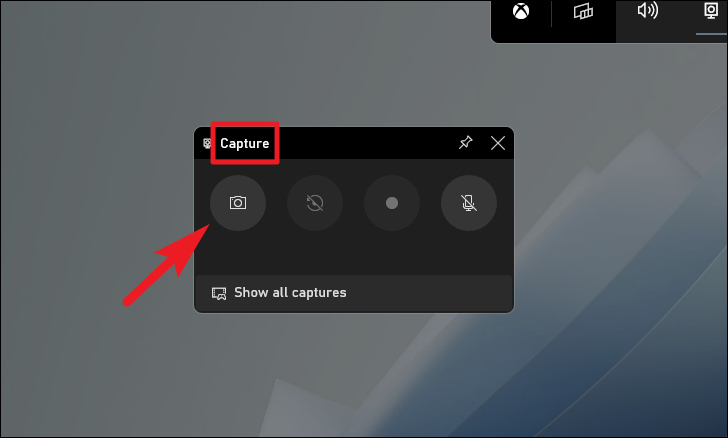
To click screenshots using the Xbox Game Bar app, press the Windows + G keys together on your keyboard to bring up the Game Bar on your screen.
Then, locate the ‘Capture’ window on your screen and click on the ‘Camera’ icon present on the overlay window to take a screenshot. Alternatively, you can also press the Windows + Alt + G keys together on your keyboard to quickly take a full-screen screenshot.
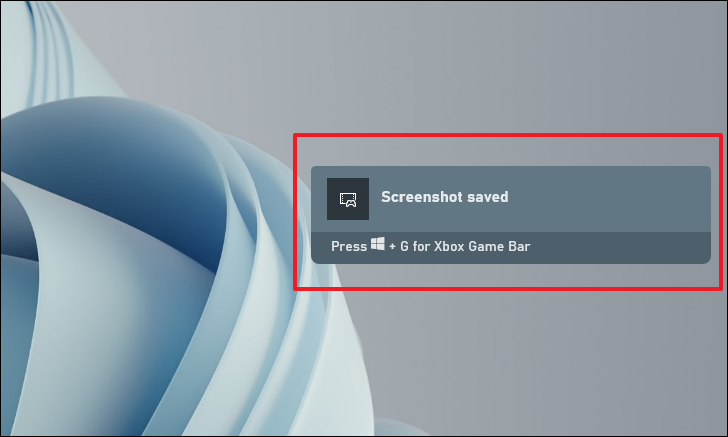
Once you click a screenshot, a notification bar will appear from the right edge of your screen, to notify you of the same.
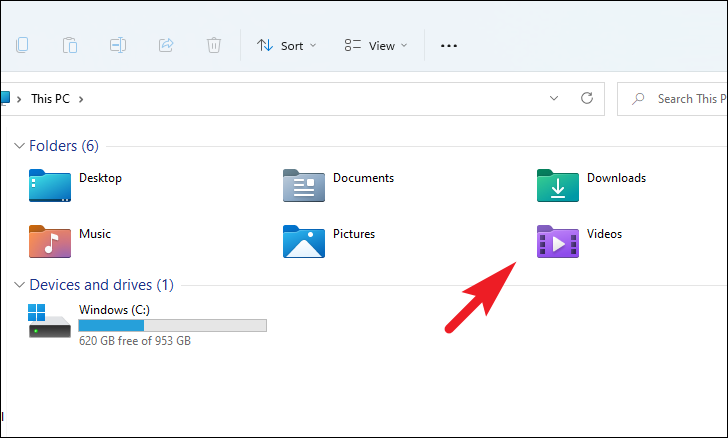
After that, double-click on the ‘This PC’ icon present on your desktop to open the File Explorer. Alternatively, you can also press the Windows + E keys together on your keyboard to open it.

Next, under the ‘Folders’ section on the Explorer window, locate and double-click on the ‘Videos’ folder to continue.
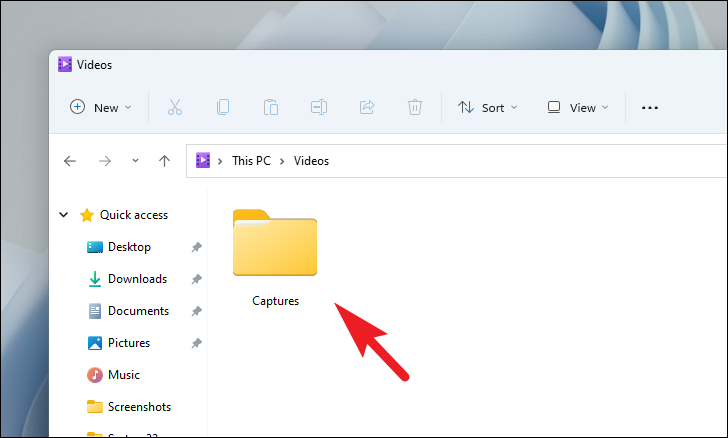
On the next screen, locate and double-click on the ‘Captures’ folder to proceed.
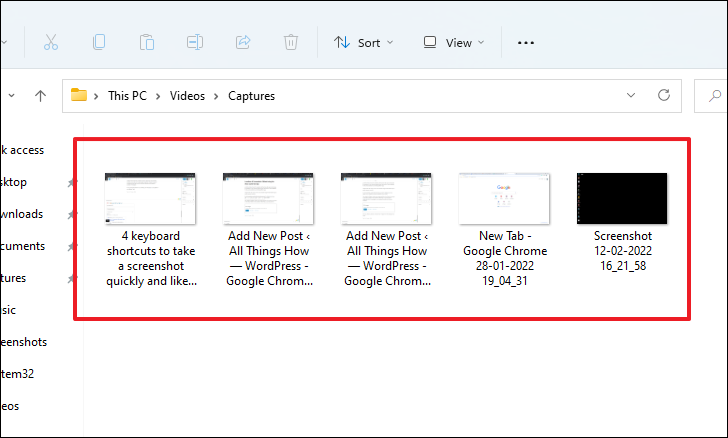
You will now be able to see all the screenshots you clicked using the Xbox Game Bar app on your device.
That’s it, folks. Hopefully, this guide helped you locate all the locations where the screenshots have been saved on your device.


