
Experiencing difficulties when creating a new folder in Windows 11 can be quite inconvenient. If the ‘New’ option is missing from the context menu or selecting it doesn’t produce any results, there are several solutions you can try to fix this issue. Here are step-by-step methods to help you resolve this problem.
Use Registry Editor to fix can’t create a new folder
If the option to create a new folder is missing when you right-click on the desktop or in File Explorer, adjusting the Registry Editor can help restore it.
- Open the Registry Editor by typing
Registry Editorin the Windows search bar and selecting it from the results.

- In the Registry Editor, navigate to the following path by copying and pasting it into the address bar and pressing
Enter:
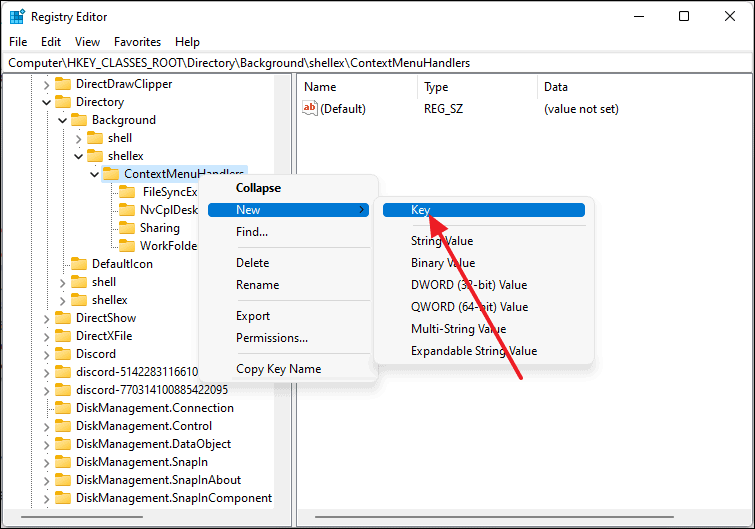
Computer\HKEY_CLASSES_ROOT\Directory\Background\shellex\ContextMenuHandlers
- Right-click on
ContextMenuHandlersin the left pane, select New, and then click on Key. Name the new keyNew.
- Click on the newly created
Newkey, then double-click on theDefaultstring value in the right pane.
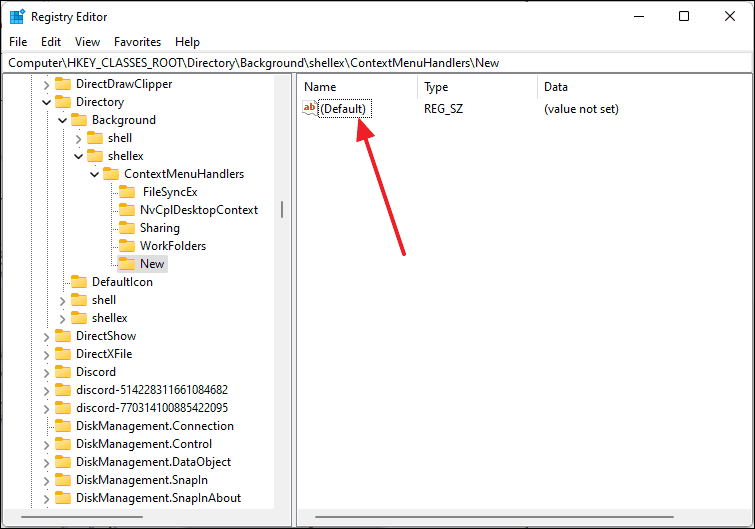
- In the Edit String window, enter the following value in the Value data field and click OK:
{D969A300-E7FF-11d0-A93B-00A0C90F2719}
- Close the Registry Editor and restart your computer.
After your computer restarts, right-click on your desktop or inside File Explorer to check if the ‘New’ option is now available and you can create a new folder.
Restart Windows Explorer
Restarting Windows Explorer can resolve issues related to the Windows interface, including problems with creating new folders.
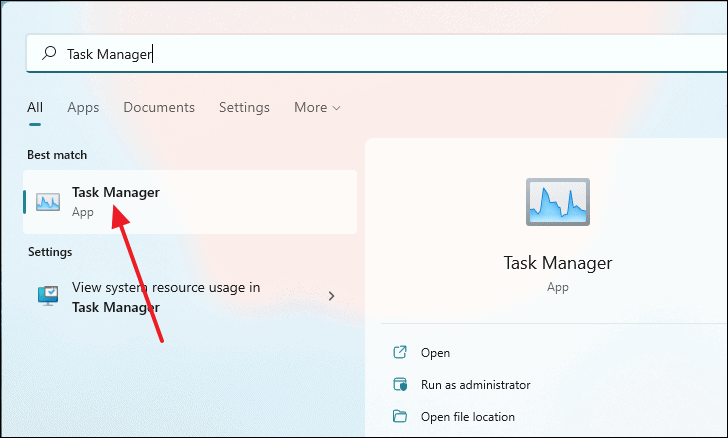
- Open the Task Manager by pressing
Ctrl+Shift+Escor by searching forTask Managerin the Start menu.
- In the Task Manager window, scroll down to find Windows Explorer in the list of processes.
- Click on Windows Explorer to select it, then click on the Restart button at the bottom-right corner of the window.
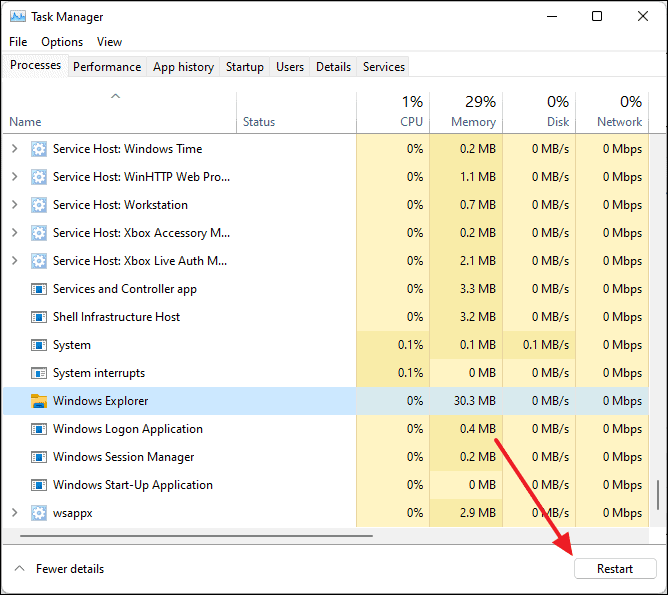
- Once Windows Explorer restarts, try creating a new folder to see if the issue has been resolved.
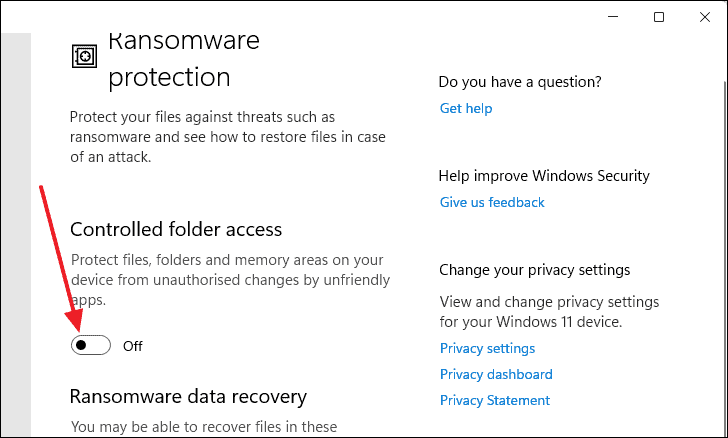
Disable Controlled Folder Access
Controlled Folder Access in Windows Security can sometimes prevent the creation of new folders. Disabling this feature might help.
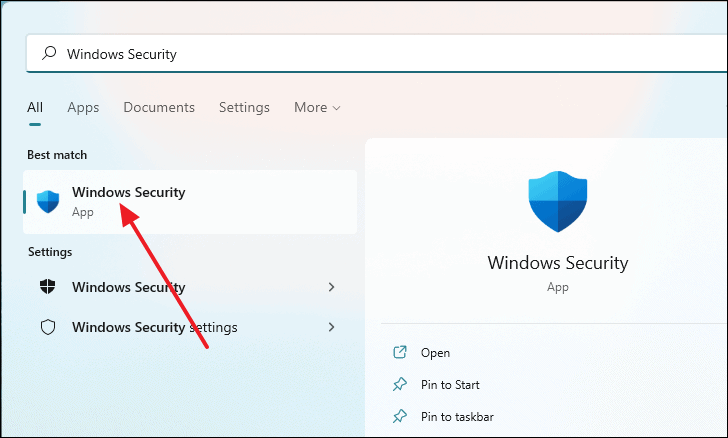
- Open
Windows Securityby searching for it in the Start menu.
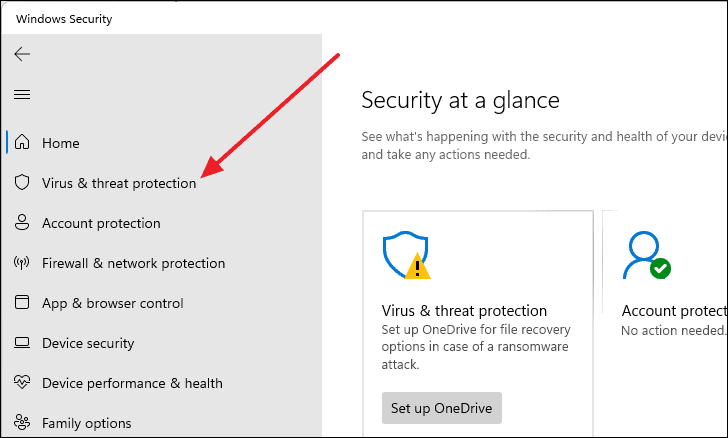
- In the Windows Security window, click on Virus & threat protection in the left pane.
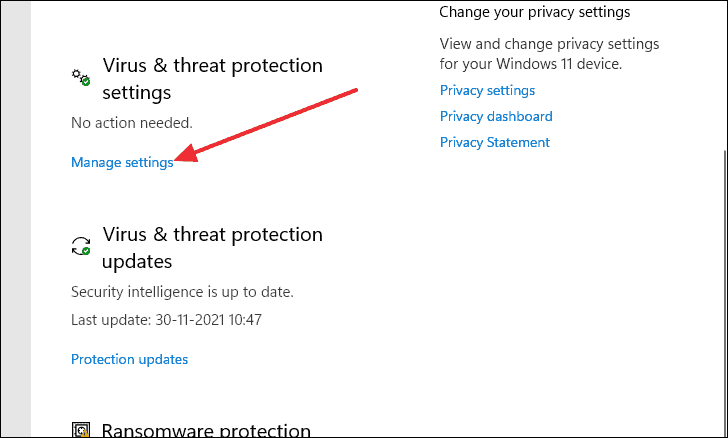
- Scroll down and click on Manage settings under the Virus & threat protection settings section.
- Scroll down to find Controlled folder access and click on Manage Controlled folder access.
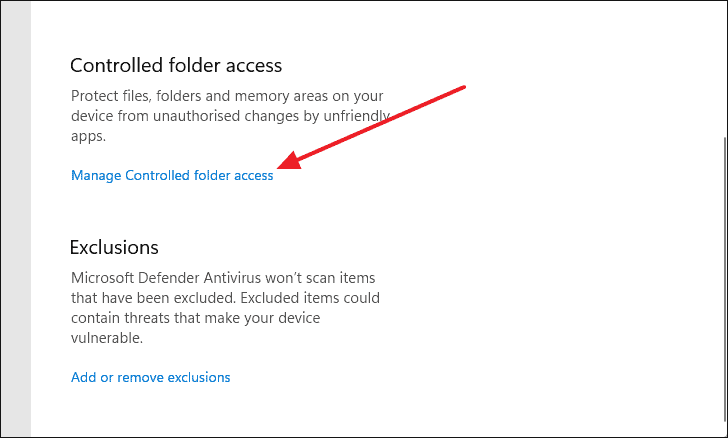
- Toggle the switch to Off to disable Controlled folder access.
- Attempt to create a new folder to see if this method has resolved the issue.
Look for corrupted or broken files
Corrupted system files can interfere with your ability to create new folders. Running a System File Checker (SFC) scan can detect and repair these files.
- Open
Command Promptas an administrator by searching for it in the Start menu, right-clicking on it, and selecting Run as administrator.

- In the Command Prompt window, type the following command and press
Enter:
sfc /scannow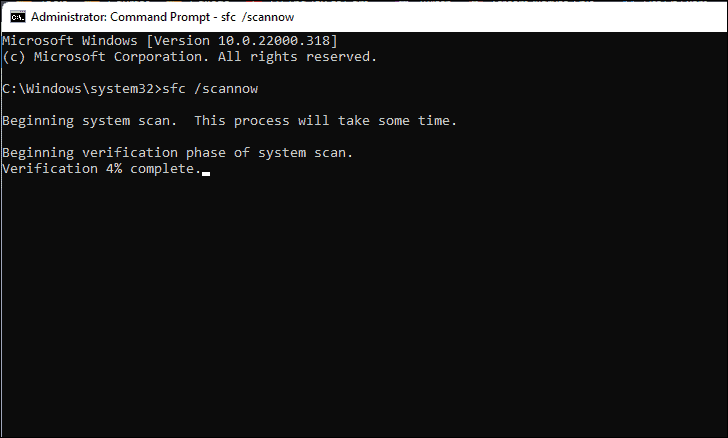
- Wait for the scan to complete. It may take several minutes.
- Once the scan is finished, it will automatically repair any corrupted files found. Restart your computer.
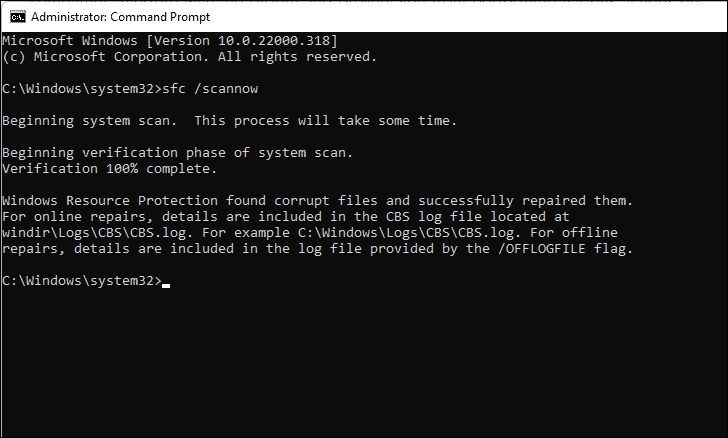
- After restarting, try creating a new folder to see if the issue is resolved.
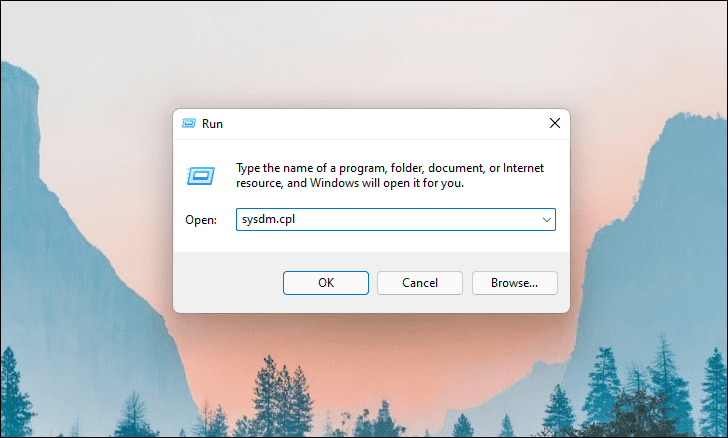
Make changes to the system properties settings
Adjusting certain settings in the System Properties can help fix issues with creating new folders.
- Press
Windows+Rto open the Run dialog box. Typesysdm.cpland pressEnter.
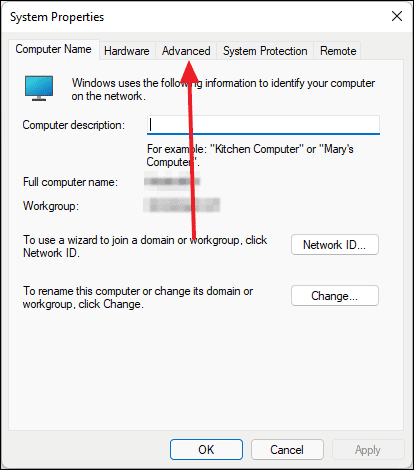
- In the System Properties window, go to the Advanced tab.
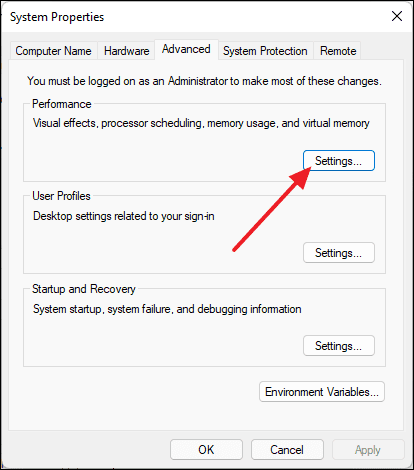
- Under the Performance section, click on Settings….
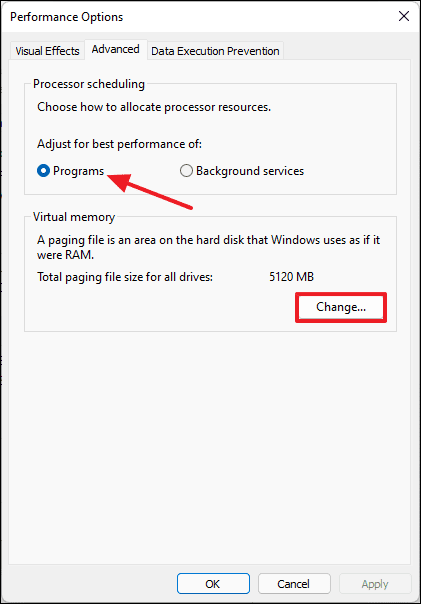
- In the Performance Options window, make sure the Adjust for best performance of: option is set to Programs.
- Click on Change… under the Virtual memory section.
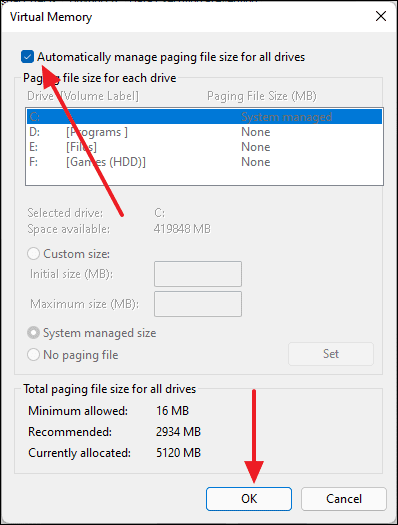
- In the Virtual Memory window, check the box for Automatically manage paging file size for all drives if it’s not already checked. If it is checked, uncheck it and then check it again. Click OK.
- Restart your computer and attempt to create a new folder to see if the problem is fixed.
Do a clean boot on your computer
Performing a clean boot can help determine if a background application is interfering with creating new folders.
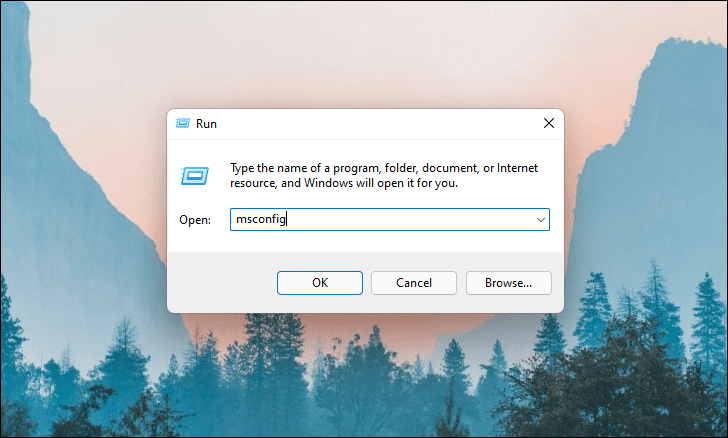
- Press
Windows+Rto open the Run dialog box. Typemsconfigand pressEnter.
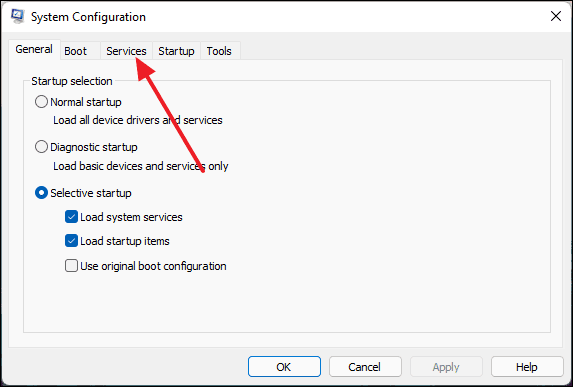
- In the System Configuration window, go to the Services tab.
- Check the box that says Hide all Microsoft services to ensure essential services remain enabled.
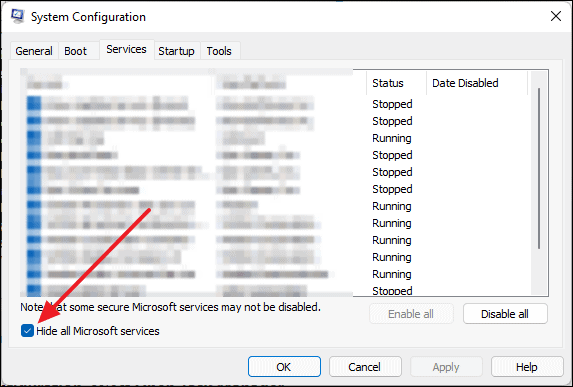
- Click on Disable all to disable all non-essential services, then click OK.

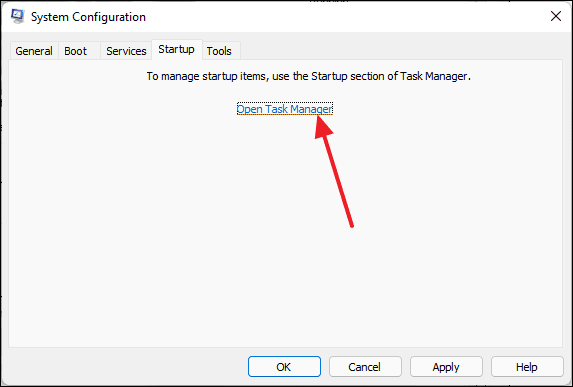
- Switch to the Startup tab and click on Open Task Manager.
- In Task Manager, disable all startup items by selecting each one and clicking Disable.
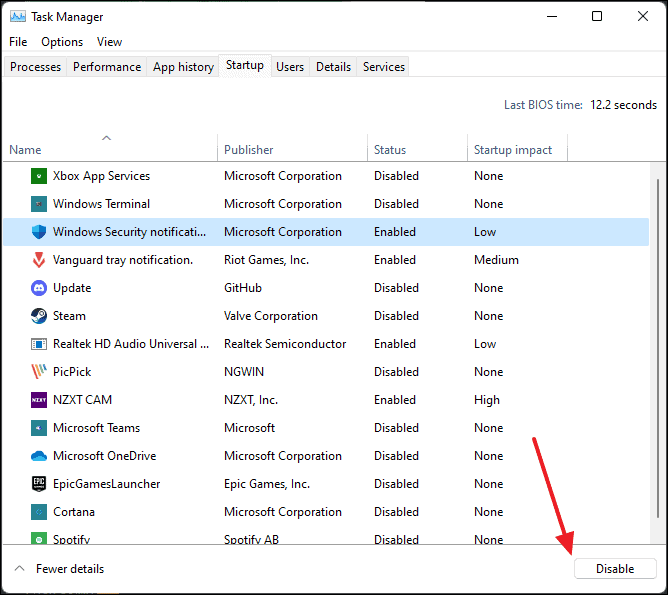
- Close Task Manager and restart your computer.
- Try creating a new folder to check if the issue persists.
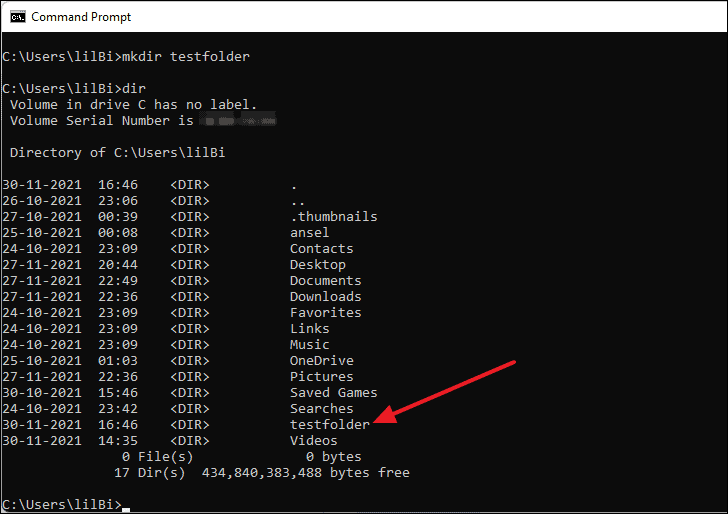
Create a folder using the Command Prompt
If you’re still unable to create a folder using the usual methods, you can use Command Prompt to create one.
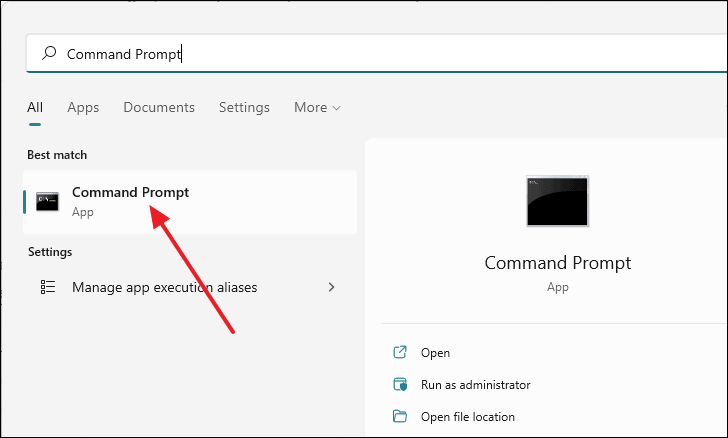
- Open
Command Promptby searching for it in the Start menu and selecting it.
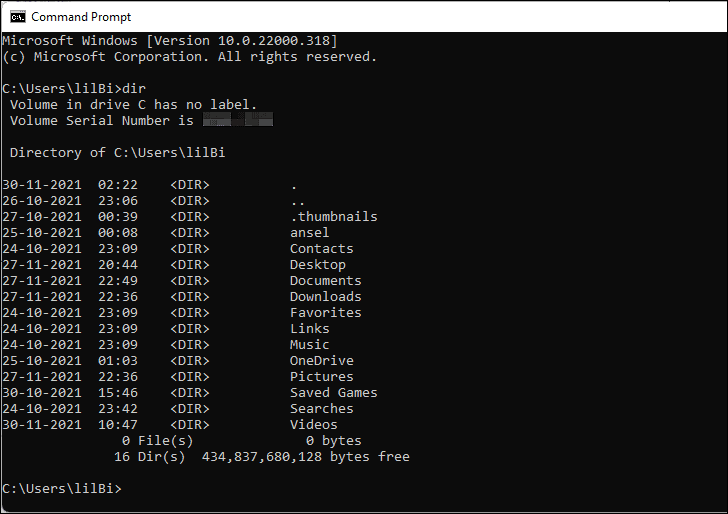
- In the Command Prompt window, type
dirand pressEnterto list the contents of the current directory.
- To create a new folder, type
mkdir foldername, replacingfoldernamewith your desired folder name, and pressEnter.
mkdir testfolder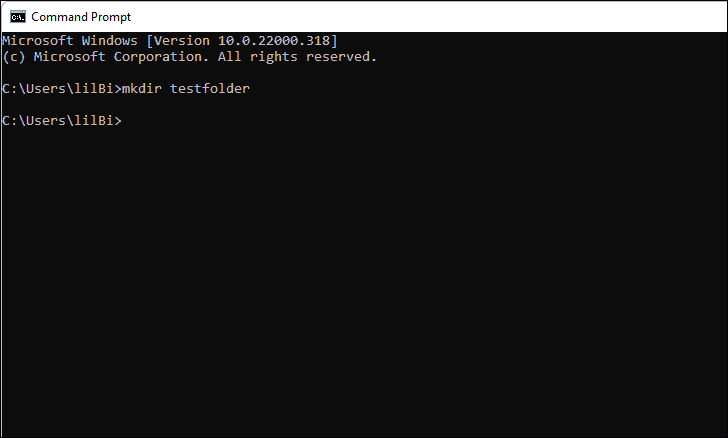
- Run the
dircommand again to confirm that the new folder has been created.
Use keyboard shortcut to create a new folder
If the context menu doesn’t allow you to create a new folder, you can try using a keyboard shortcut as a workaround.
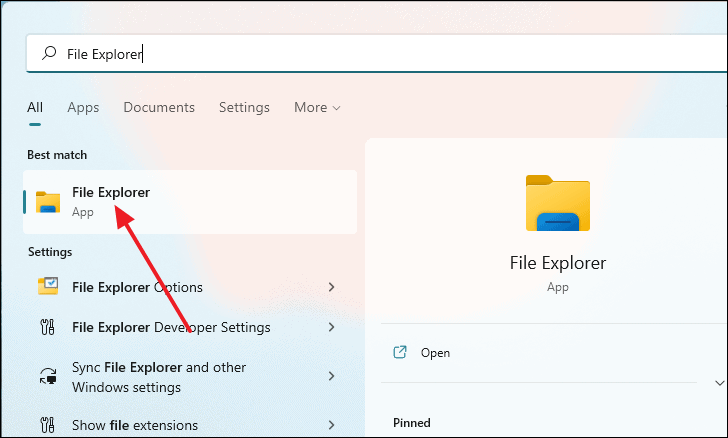
- Open File Explorer by pressing
Windows+Eor by searching for it in the Start menu.
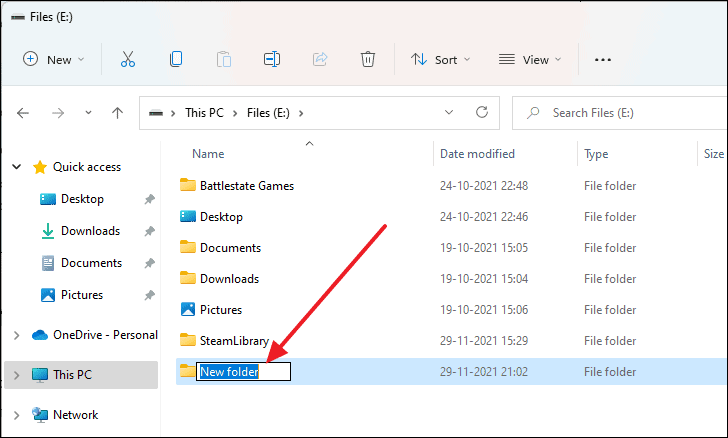
- Navigate to the directory where you want to create the new folder.
- Press
Ctrl+Shift+Nto create a new folder. - The new folder will appear, prompting you to rename it.
By following these methods, you should be able to resolve the issue of not being able to create a new folder in Windows 11.


