
Teams shutting down unexpectedly during screen sharing often points to conflicts with display drivers, outdated software, or misconfigured system settings. This issue can interrupt meetings, cause lost progress, and force users to switch to less efficient workarounds. Addressing the root causes—ranging from graphics driver compatibility to application cache problems—restores stable functionality and allows seamless collaboration.
Update Microsoft Teams and Windows
Running older versions of Teams or Windows can trigger compatibility issues, especially after major updates or changes to hardware drivers. Keeping both platforms current ensures new bug fixes and improved stability.
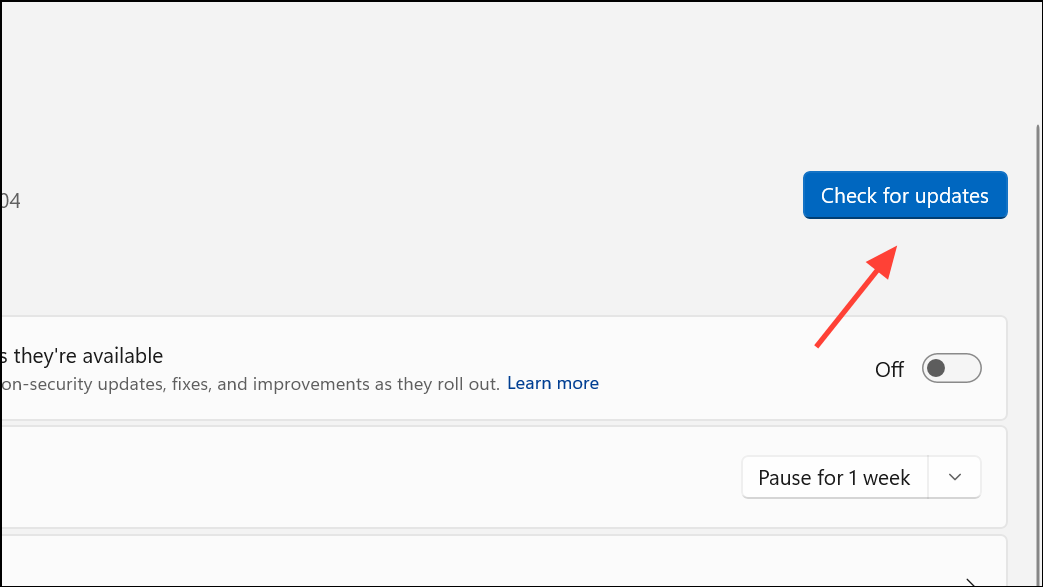
Step 1: Press Windows + I to open Settings, then select Windows Update from the sidebar. Click Check for updates and install any listed updates. Restart your device if required to apply changes.
Step 2: Launch Microsoft Teams. Click the three dots in the upper right corner, select Settings, then choose About Teams. Click Check for updates and follow prompts to install the latest version. Relaunch Teams after updating.
Clear the Microsoft Teams Cache
Corrupted or outdated cache files can cause Teams to crash, particularly during resource-intensive actions like screen sharing. Clearing the cache removes problematic files and forces Teams to rebuild them, often resolving persistent crashes.
Step 1: Close Teams completely, ensuring it is not running in the background (check the system tray and Task Manager).
Step 2: Press Windows + R to open the Run dialog. Enter %appdata%\Microsoft\Teams and press Enter.

Step 3: Select all files and folders in the directory and delete them. This removes cached data but does not affect your Teams account or settings.
Step 4: Restart Teams and attempt to share your screen again.
Repair or Reset Microsoft Teams
If Teams continues to crash, repairing or resetting the app can address corrupted installation files or settings without requiring a full uninstall. Repair attempts to fix issues while preserving data; reset returns the app to its default state, which may log you out.
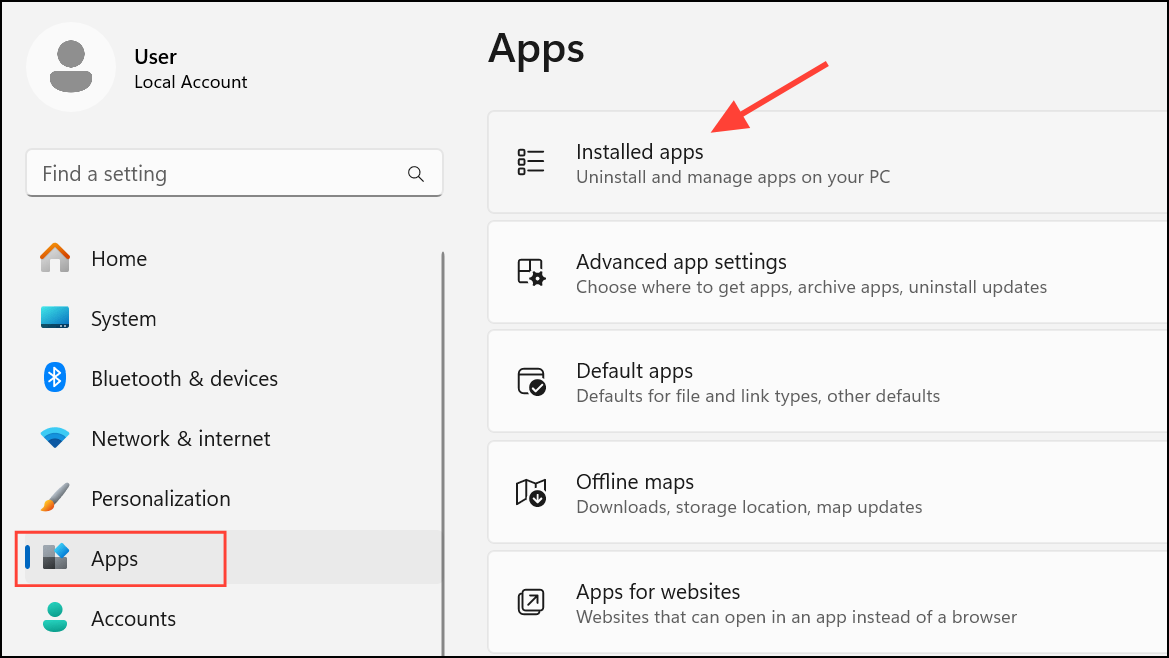
Step 1: Open Settings with Windows + I and navigate to Apps > Installed apps.
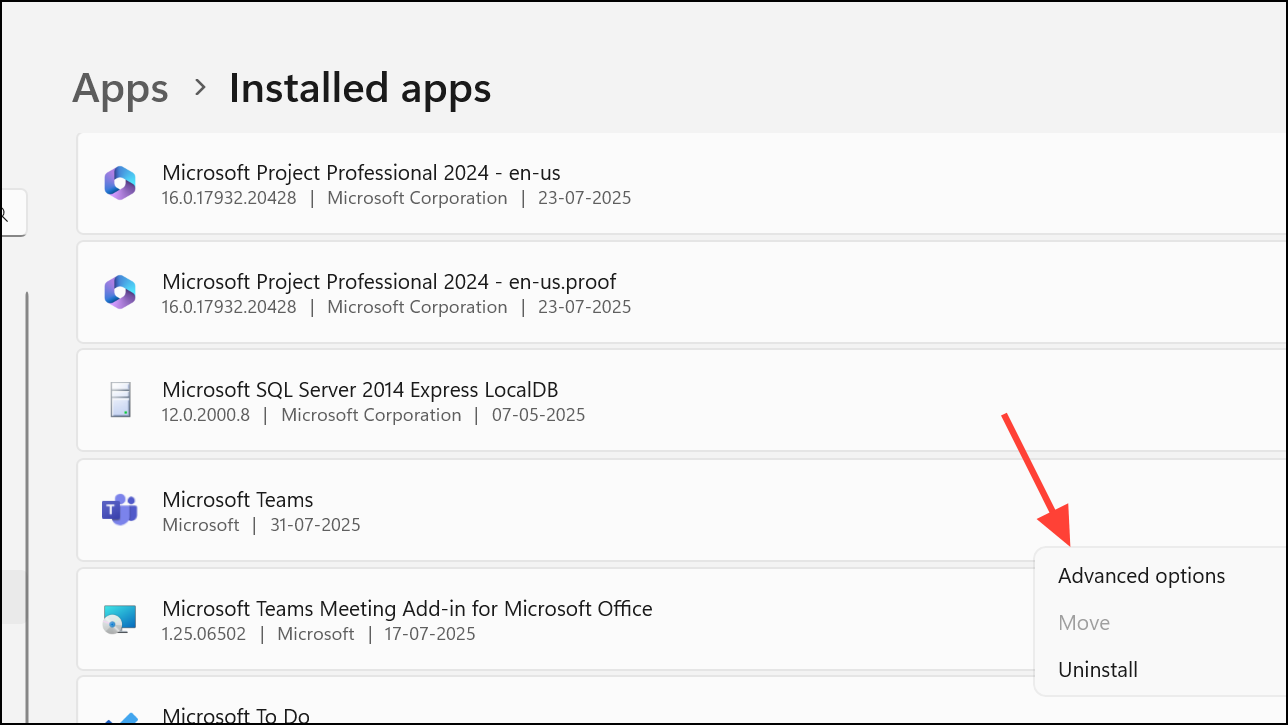
Step 2: Locate Microsoft Teams in the list. Click the three dots beside it and select Advanced options.
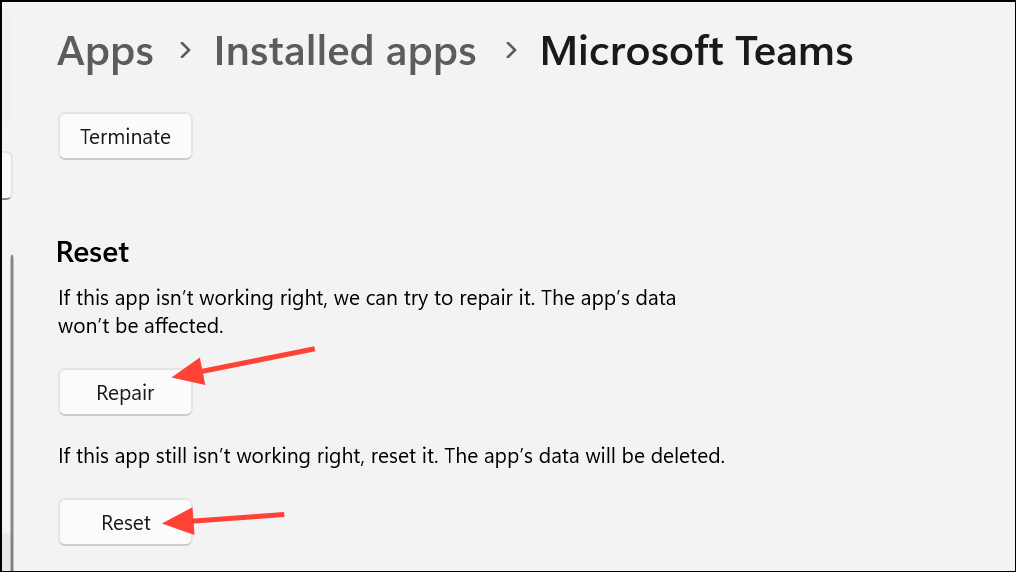
Step 3: Scroll to the Reset section. Click Repair and follow on-screen instructions. If the issue persists, return to this menu and click Reset.
Step 4: After repairing or resetting, restart your device and test screen sharing in Teams.
Update or Reinstall Display Drivers
Outdated or incompatible graphics drivers can cause Teams to crash when rendering shared content. Updating drivers ensures compatibility with Teams and Windows updates, while reinstalling addresses corrupt installations.
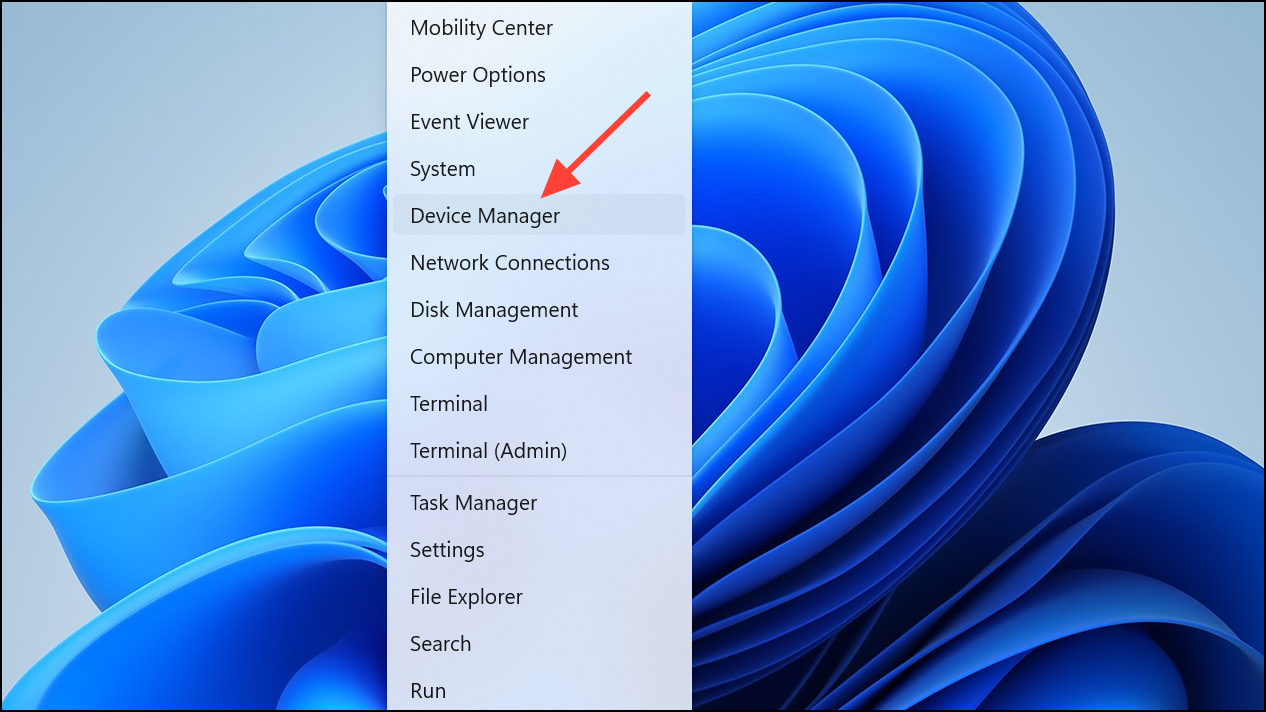
Step 1: Right-click the Start button and choose Device Manager.
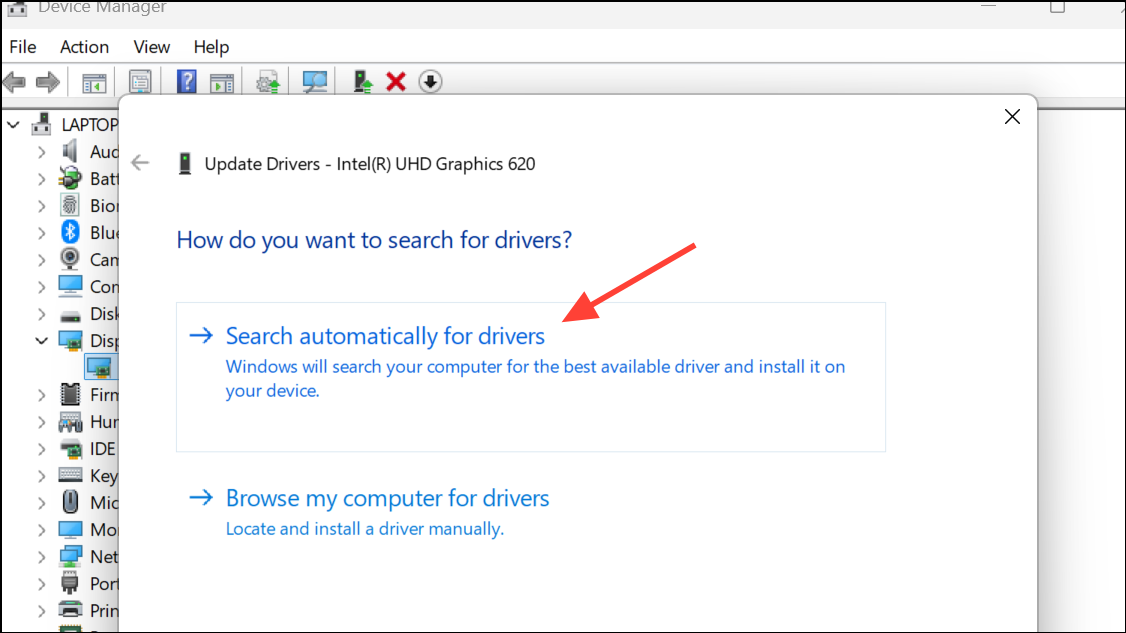
Step 2: Expand Display adapters, right-click your graphics card, and select Update driver. Choose Search automatically for drivers. If no update is found, check your device manufacturer's website for the latest drivers.
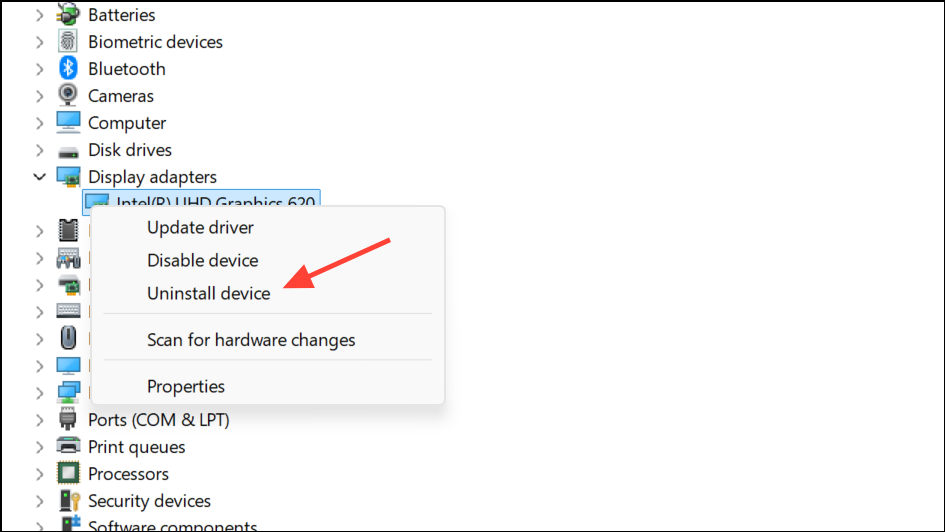
Step 3: Optionally, uninstall the device and restart your computer to allow Windows to reinstall the correct version.
Step 4: After updating or reinstalling, restart your device and try screen sharing in Teams again.
Disable HDR and Adjust Display Settings
High Dynamic Range (HDR) settings and high refresh rates can conflict with Teams’ screen sharing, especially on certain hardware or with specific driver versions. Disabling HDR and lowering refresh rates often resolves display-related crashes.
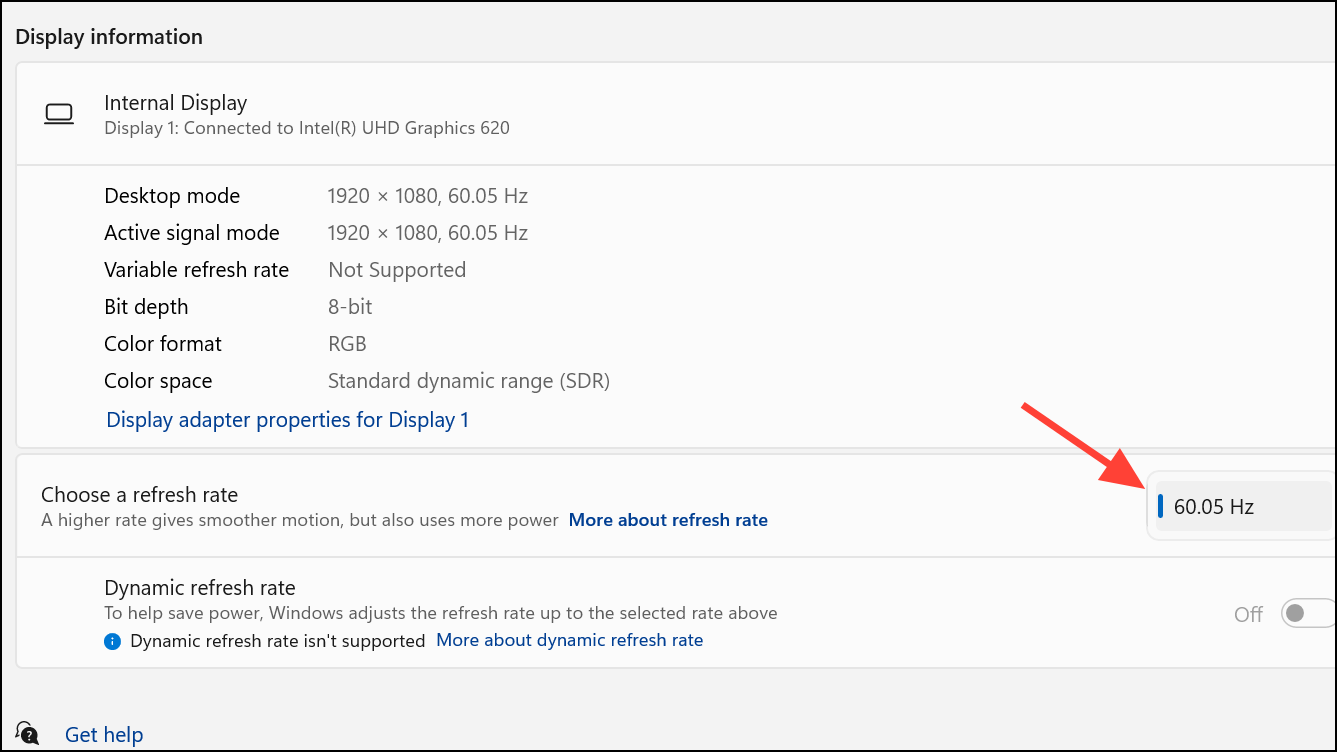
Step 1: Open Settings (Windows + I), go to System > Display, and look for the HDR toggle. If enabled, switch it off.

Step 2: In the same menu, select Advanced display and set your refresh rate to 60Hz or the lowest available option.
Step 3: If you use multiple monitors, consider disconnecting secondary displays and testing screen sharing with only your primary monitor connected. This helps isolate issues related to multi-monitor setups.
Disable Hardware Acceleration in Teams
Hardware acceleration can sometimes cause instability during screen sharing, particularly on systems with older or problematic graphics cards. Disabling this feature forces Teams to use software rendering, which can improve reliability.
Step 1: Exit Teams completely.
Step 2: Open File Explorer and navigate to %APPDATA%\Microsoft\Teams\desktop-config.json.
Step 3: Open desktop-config.json in a text editor. Locate the "appPreferenceSettings" block and find the "disableGpu" property. Change its value to true. If the property is missing, add "disableGpu": true within the block.
Step 4: Save the file and restart Teams to apply the change.
Repair Microsoft Edge WebView2 Runtime
Teams relies on WebView2 for rendering certain content. Corruption in the WebView2 runtime can cause Teams to crash, especially during screen sharing. Repairing this component can resolve the issue.
Step 1: Open Settings (Windows + I), go to Apps > Installed apps, and search for Microsoft Edge WebView2.
Step 2: Click the three dots next to WebView2, select Modify, and then choose Repair. Follow the prompts to complete the repair process.
Step 3: Restart your device and test Teams screen sharing again.
Lower Display Resolution
Teams screen sharing may fail or crash on systems set to high display resolutions. Lowering the resolution reduces system resource usage and can stabilize screen sharing.
Step 1: Open Settings (Windows + I), select System > Display.
Step 2: Under Display resolution, select a lower setting (such as 1920x1080 or 1280x720) from the dropdown menu.
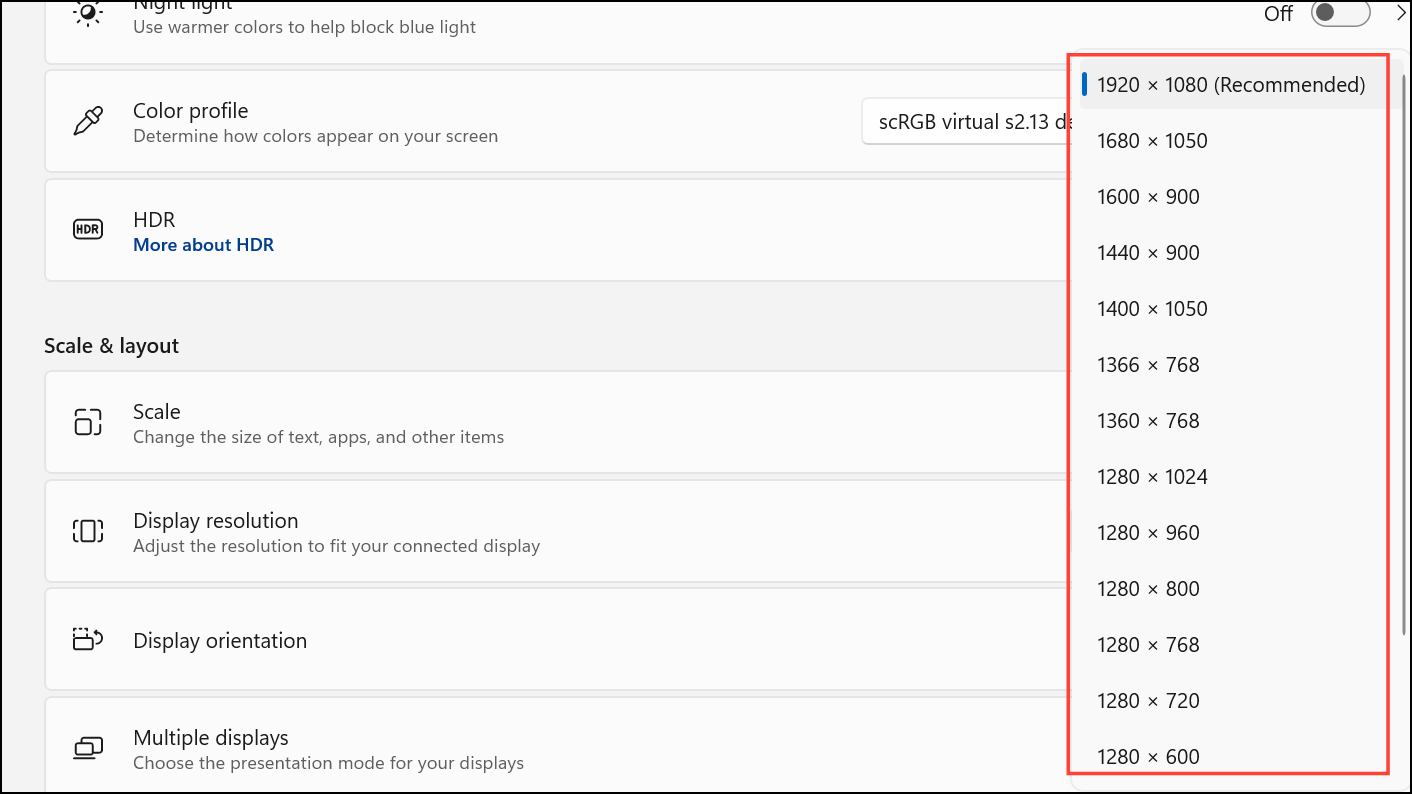
Step 3: Apply the new resolution and test Teams screen sharing.
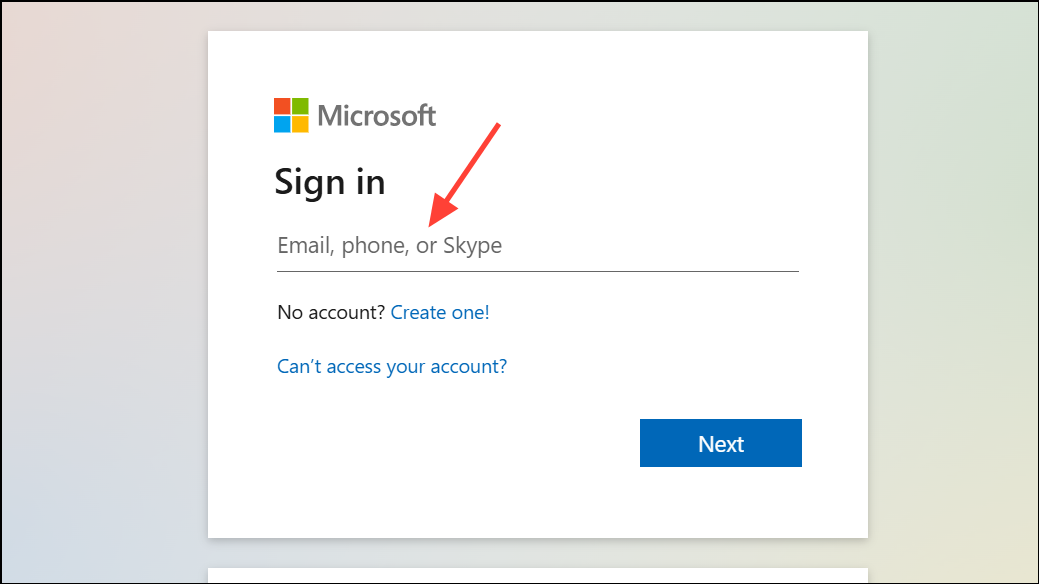
Try the Web Version of Teams
If the desktop app continues to crash despite troubleshooting, running Teams in a supported browser (Microsoft Edge or Google Chrome) can serve as a temporary workaround. The web version often bypasses local app conflicts and hardware acceleration issues.
Step 1: Open Edge or Chrome and navigate to https://teams.microsoft.com.
Step 2: Sign in with your Teams credentials and attempt to share your screen during a meeting.
Step 3: If screen sharing works in the browser, continue using this method while further troubleshooting the desktop app or awaiting updates.
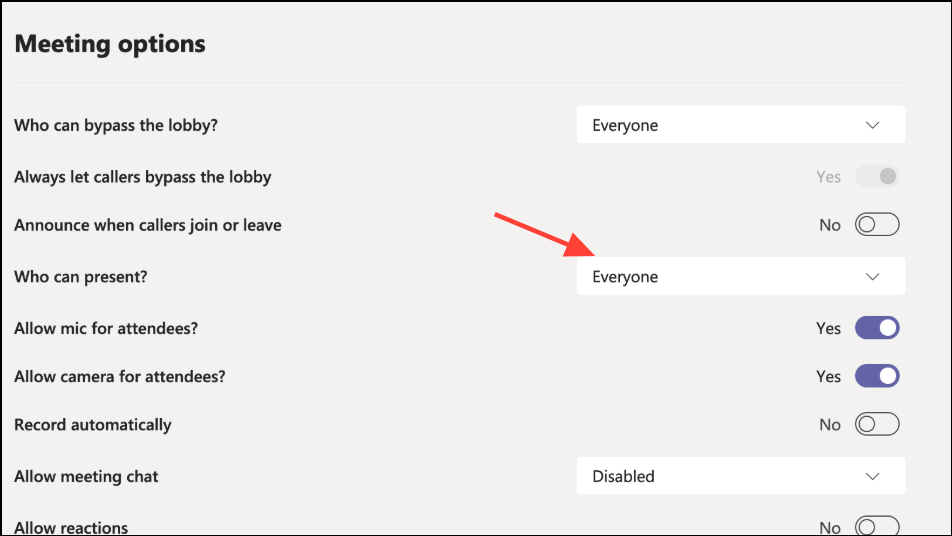
Check Meeting Permissions and Network Connection
Screen sharing may also fail if meeting permissions restrict presenters or if your network connection is unstable. Ensuring you have presenter rights and a stable connection helps prevent unexpected crashes and black screens.
Step 1: For meeting organizers, open Meeting Options and set Who can present to Everyone or the appropriate group.
Step 2: Test your internet speed to confirm a robust connection. Use a wired connection if possible, or move closer to your Wi-Fi router.
Step 3: Close unnecessary background apps that may consume bandwidth or system resources.
Following these steps addresses the most common causes of Microsoft Teams crashing during screen sharing, resulting in more stable meetings and uninterrupted collaboration. If problems persist, contacting IT support or Microsoft 365 support may be necessary for deeper investigation.