
Installing Microsoft Teams on Windows 11 can sometimes result in the frustrating "Installation has failed" error message, preventing users from accessing essential collaboration tools. This issue typically arises due to compatibility conflicts, corrupted installation files, or incorrect system settings. Fortunately, there are several effective troubleshooting steps you can follow to complete the installation.
Method 1: Run the Installer as an Administrator
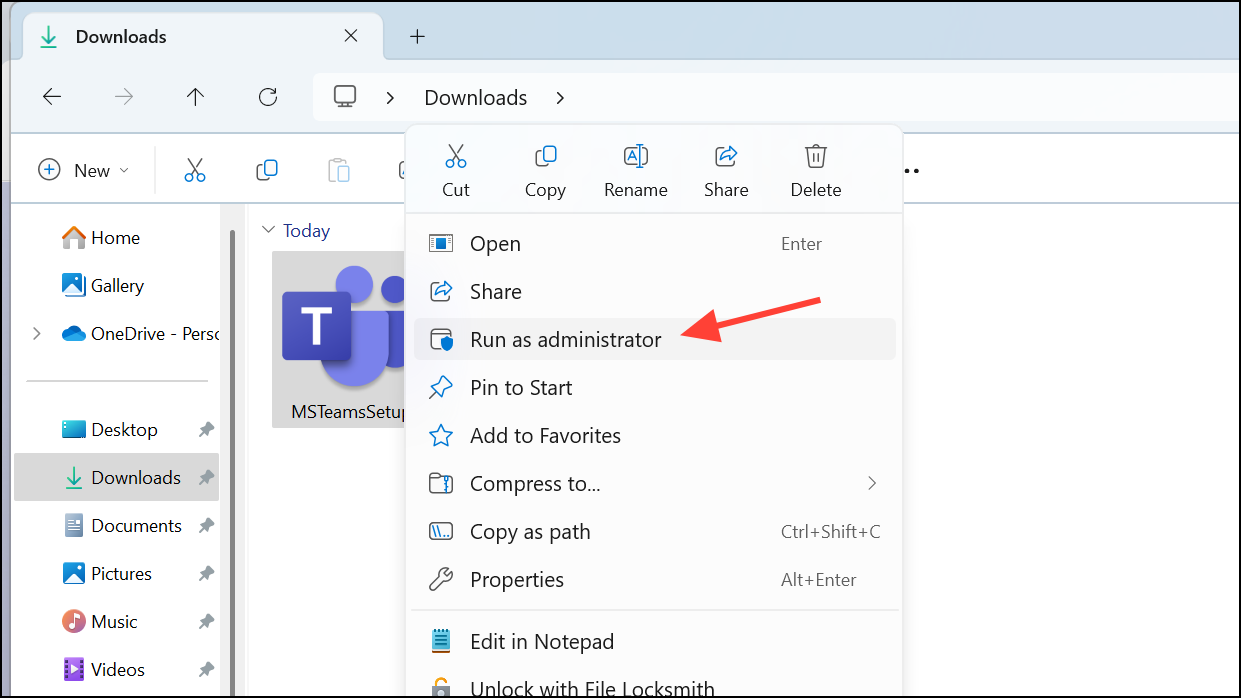
Step 1: First, locate the Microsoft Teams installation file you downloaded (usually found in your Downloads folder). Right-click on the installation file and select "Run as administrator". Running the installer with administrative privileges often resolves permission-related issues that cause installation failures.
Step 2: If prompted by User Account Control (UAC), click "Yes" to allow the installer to make changes to your computer. Follow the on-screen instructions to complete the installation. Once finished, verify that Microsoft Teams launches correctly.
Method 2: Clear Microsoft Teams Cache and Retry Installation
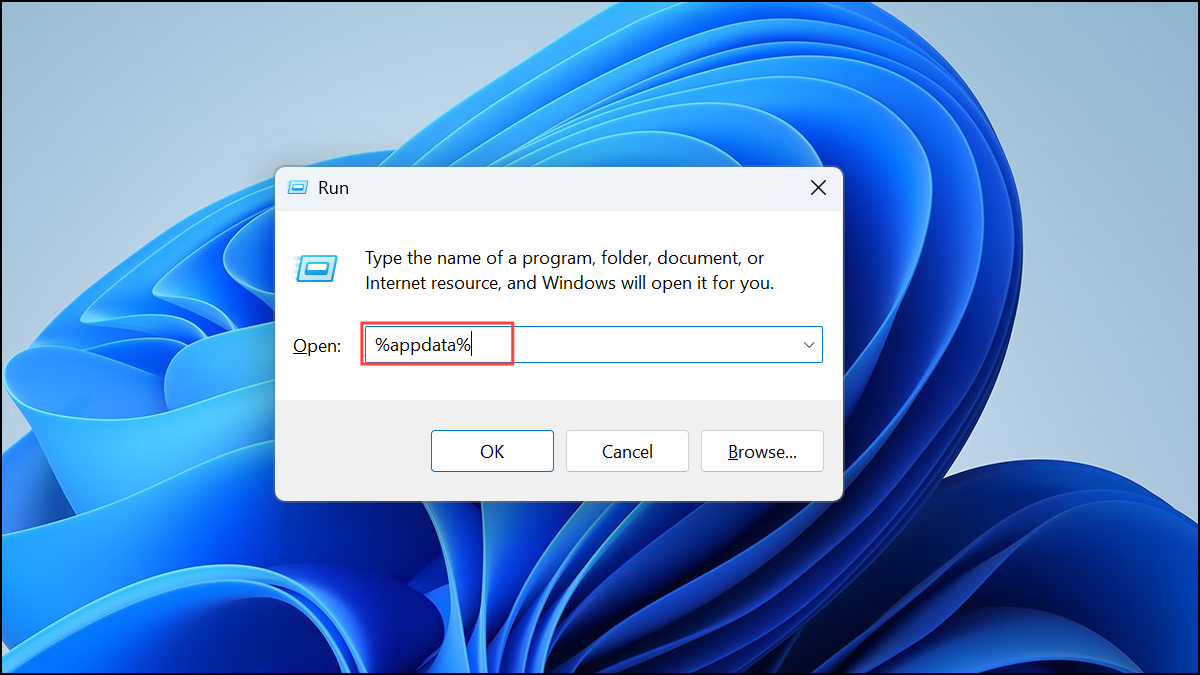
Step 1: Press the keyboard shortcut Windows + R to open the Run dialog box. Type %appdata% into the box and press Enter. This opens the AppData Roaming folder.
Step 2: Locate the folder named "Microsoft", open it, and then delete the "Teams" folder entirely. This clears any corrupted or incomplete installation files that may be causing the error.
Step 3: After deleting the Teams folder, restart your computer to ensure all cached data is cleared from memory. Once restarted, download the latest version of the Microsoft Teams installer from the official Microsoft website and attempt installation again.
Method 3: Temporarily Disable Antivirus or Firewall Software
Step 1: Sometimes antivirus or firewall software mistakenly blocks certain components of Microsoft Teams, causing installation failures. Temporarily disable your antivirus or firewall software to determine if it's preventing the installation. To do this, right-click your antivirus software icon in the system tray and select an option like "Disable protection temporarily" or similar wording.
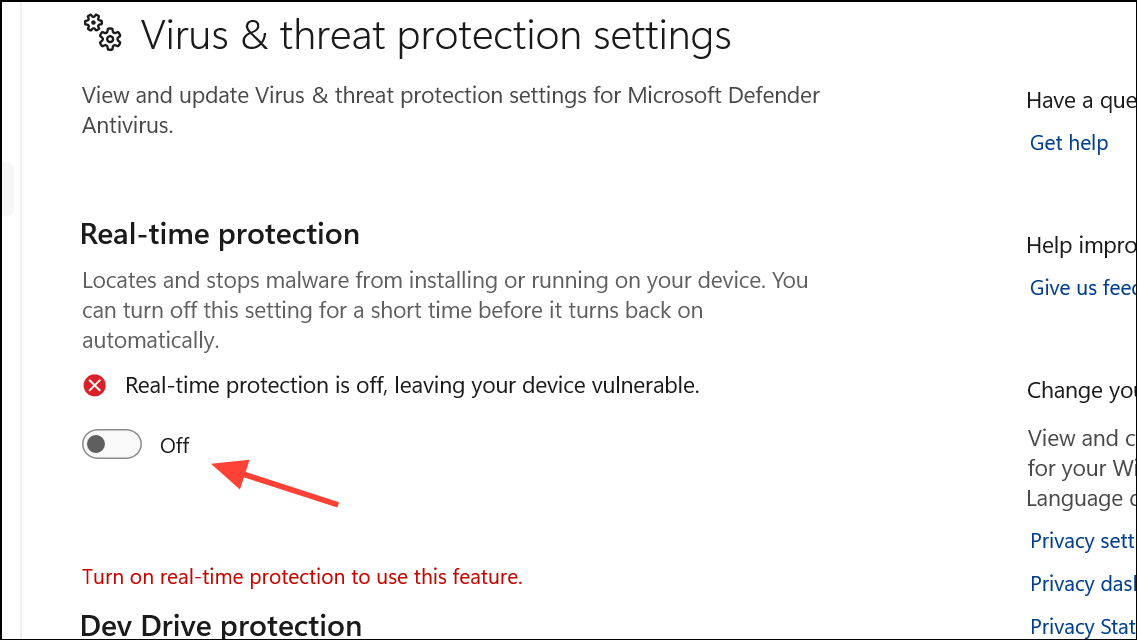
Step 2: After disabling antivirus or firewall software, attempt to install Microsoft Teams again. If the installation succeeds, re-enable your antivirus software immediately afterward to maintain system security. Consider adding Microsoft Teams to your antivirus software's trusted applications list to prevent future conflicts.
Method 4: Use the Microsoft Teams Installer for All Users
Step 1: Microsoft offers two types of Teams installers: per-user and all-users. If the per-user installer fails repeatedly, the all-users installer may provide a more stable installation. Visit the official Microsoft Teams download page and select the installer labeled "Teams for work or school (MSI installer)" designed for all users.
Step 2: Once downloaded, run the MSI installer file with administrative privileges. Follow the prompts to complete the installation. This installer typically bypasses issues related to individual user account permissions and system conflicts.
Method 5: Update Windows 11 to the Latest Version
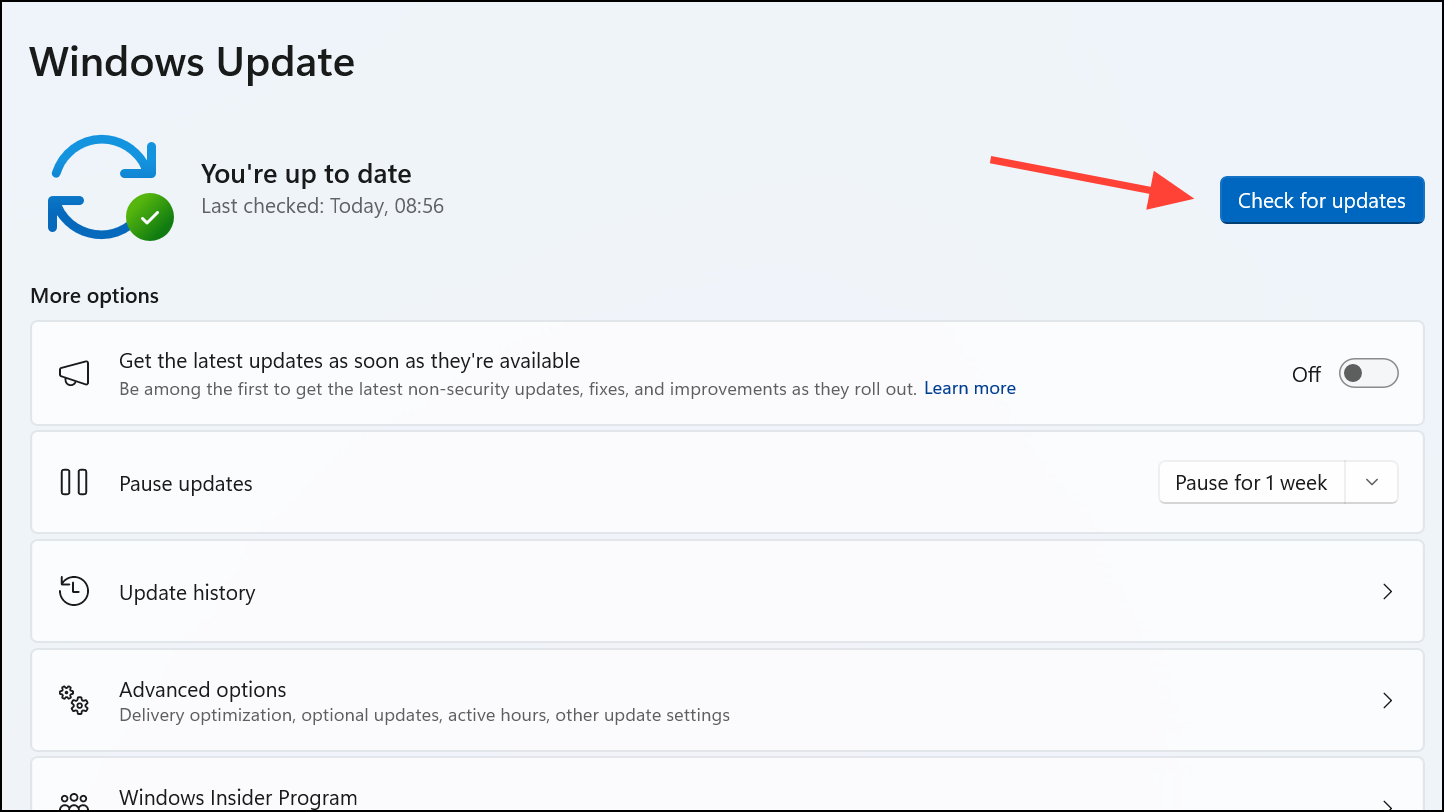
Step 1: Outdated system files or pending Windows updates can cause compatibility issues with new software installations. To update Windows 11, click the "Start" button, select "Settings", and navigate to "Windows Update".
Step 2: Click the "Check for updates" button. Windows will automatically search and install any available updates. After updating, reboot your computer and retry the Microsoft Teams installation.
By carefully following these steps, you should successfully resolve the Microsoft Teams installation failure on your Windows 11 system. Keep your system regularly updated and periodically clear unnecessary cached files to prevent similar issues in the future.