
The OneDrive Personal Vault provides an extra layer of security for sensitive files, but occasionally, it may fail to appear in Windows 11's File Explorer. This problem usually stems from synchronization issues, incorrect settings, or outdated software. Follow these detailed steps to resolve the issue and regain access to your protected files.
Method 1: Update and Restart OneDrive
One of the most common reasons the Personal Vault doesn't show up is due to an outdated or unresponsive OneDrive client. Updating and restarting OneDrive typically resolves this.
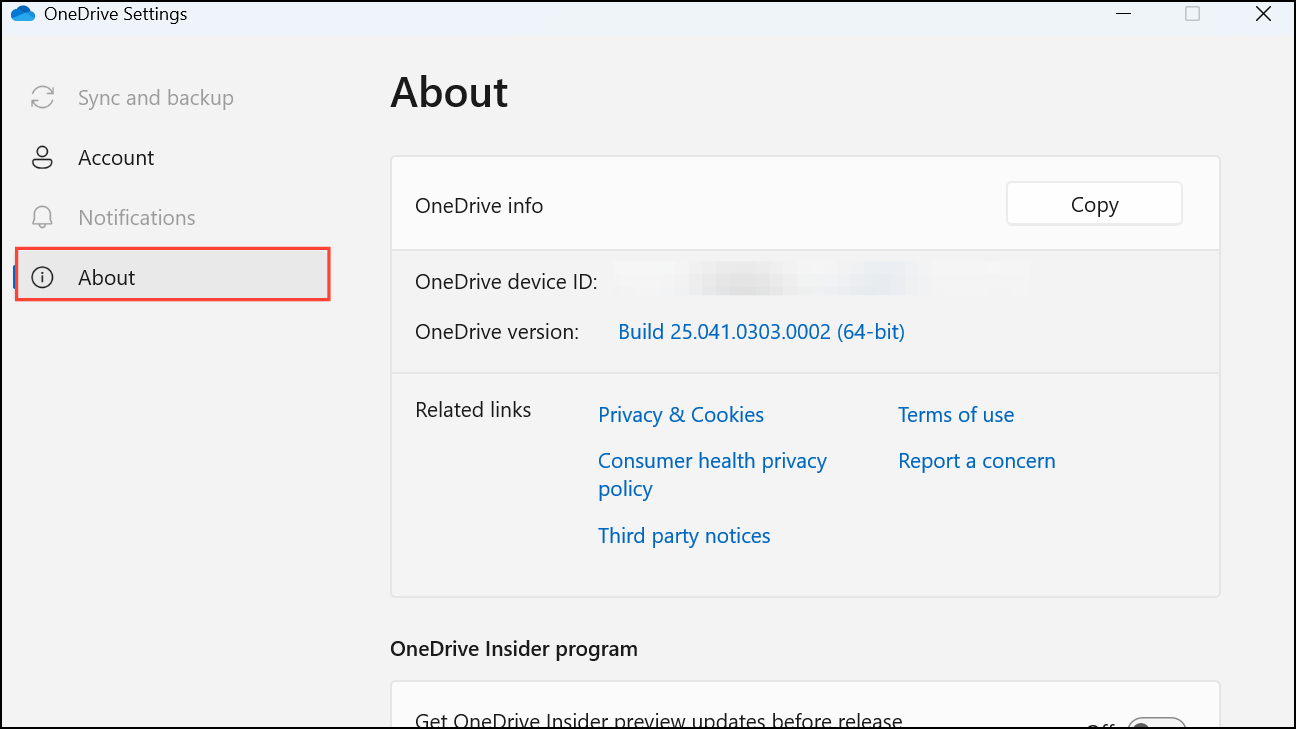
Step 1: Check if your OneDrive app is updated. Right-click the OneDrive cloud icon in the taskbar notification area and select Settings.

Step 2: Under the About tab, click on Version to verify if you have the latest update. If an update is available, follow the prompts to install it.
Step 3: Restart the OneDrive app to refresh its connection. Right-click the OneDrive icon again and select Quit OneDrive. Then, reopen OneDrive by typing OneDrive into the Windows 11 search bar and select the app.

Step 4: After restarting, open File Explorer and check if the Personal Vault folder now appears under your OneDrive directory.
Method 2: Enable Personal Vault Through OneDrive Settings
In some cases, the Personal Vault may not appear because it has been disabled unintentionally. You can manually enable it through OneDrive settings.
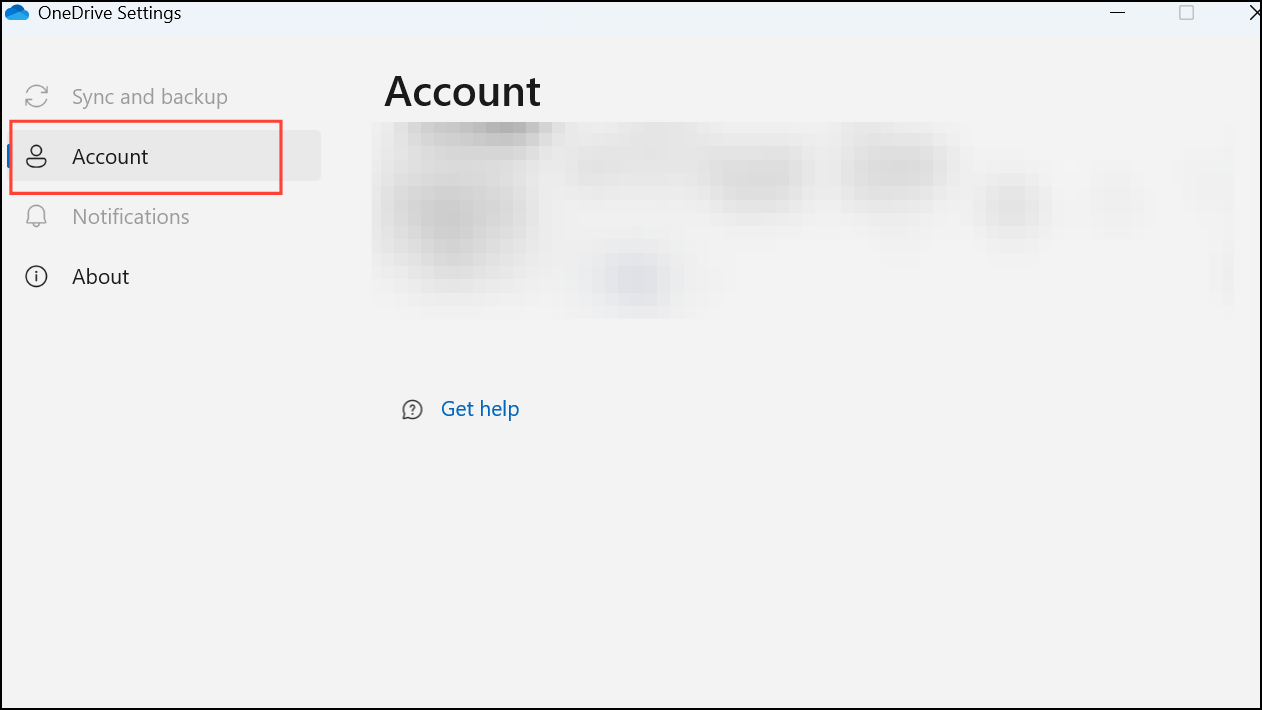
Step 1: Right-click the OneDrive icon in the notification area and select Settings.

Step 2: Navigate to the Account tab and click on Manage Storage. This action opens your OneDrive storage management page in your browser.
Step 3: On the storage management page, locate the Personal Vault option and ensure it is activated. If it's off, toggle it on and follow any prompts provided.
Step 4: Once enabled, close and reopen File Explorer to verify that the Personal Vault now appears.
Method 3: Reset OneDrive to Default Settings
If the above methods fail, resetting the OneDrive app can resolve deeper synchronization or configuration issues.
Step 1: Press Windows Key + R to open the Run dialog box. Type the following command and press Enter:
%localappdata%\Microsoft\OneDrive\OneDrive.exe /reset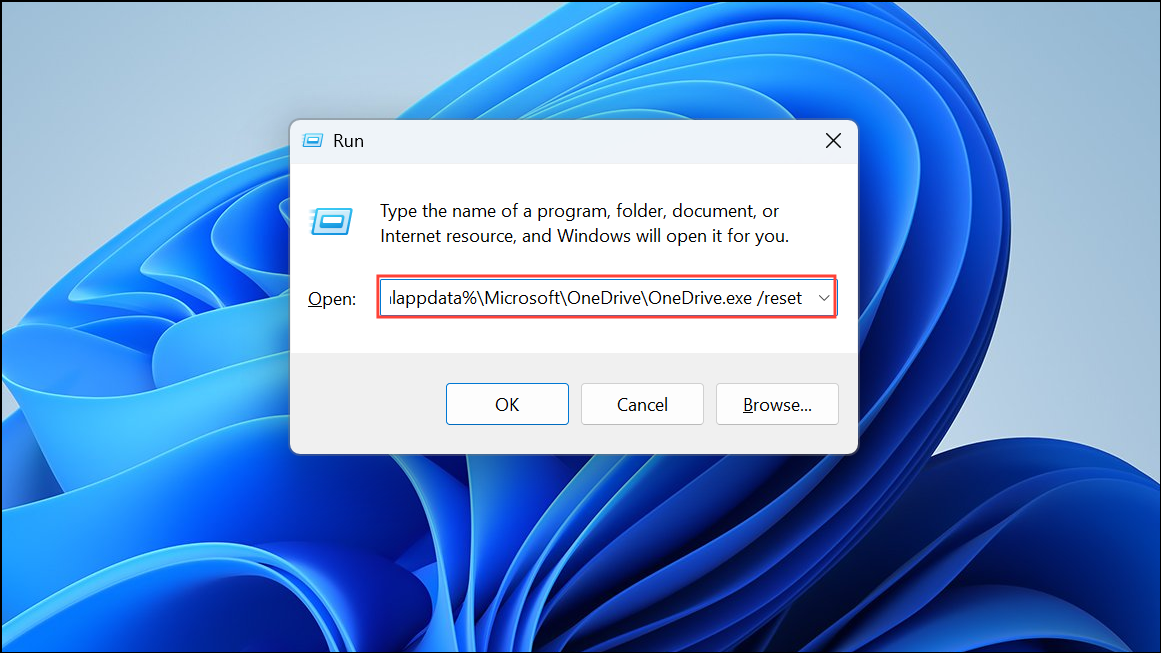
Step 2: After executing the command, the OneDrive icon will temporarily disappear from the taskbar. Wait a few moments for the reset process to complete.
Step 3: If OneDrive does not restart automatically after a few minutes, manually start it by typing OneDrive into the search bar and select the app.
Step 4: Log in again with your Microsoft account credentials if prompted. Once signed in, check File Explorer to confirm the Personal Vault is visible.
Method 4: Reinstall OneDrive Completely
When other troubleshooting steps fail, completely reinstalling OneDrive can fix persistent issues preventing the Personal Vault from showing.
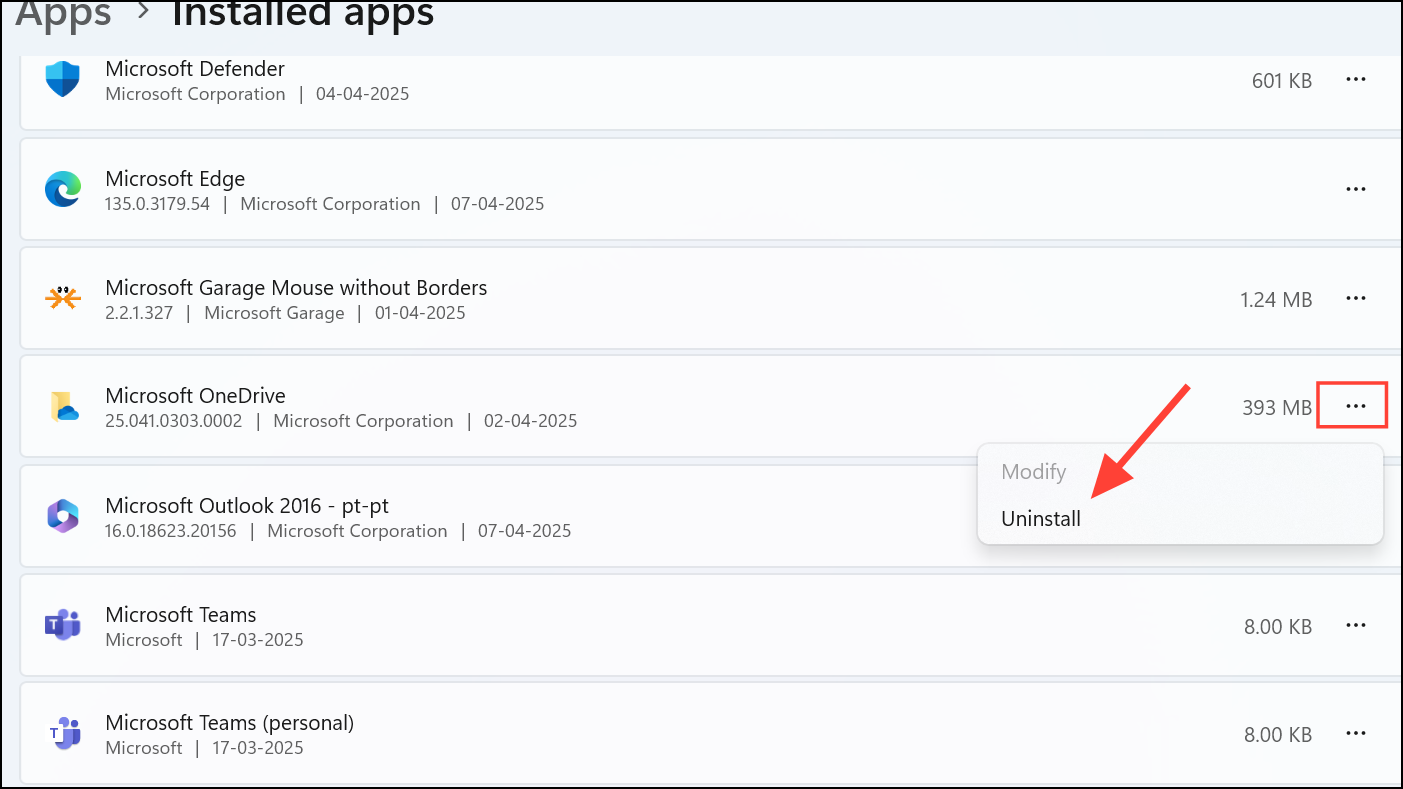
Step 1: Press Windows Key + I to open Windows Settings. Navigate to Apps > Installed apps.
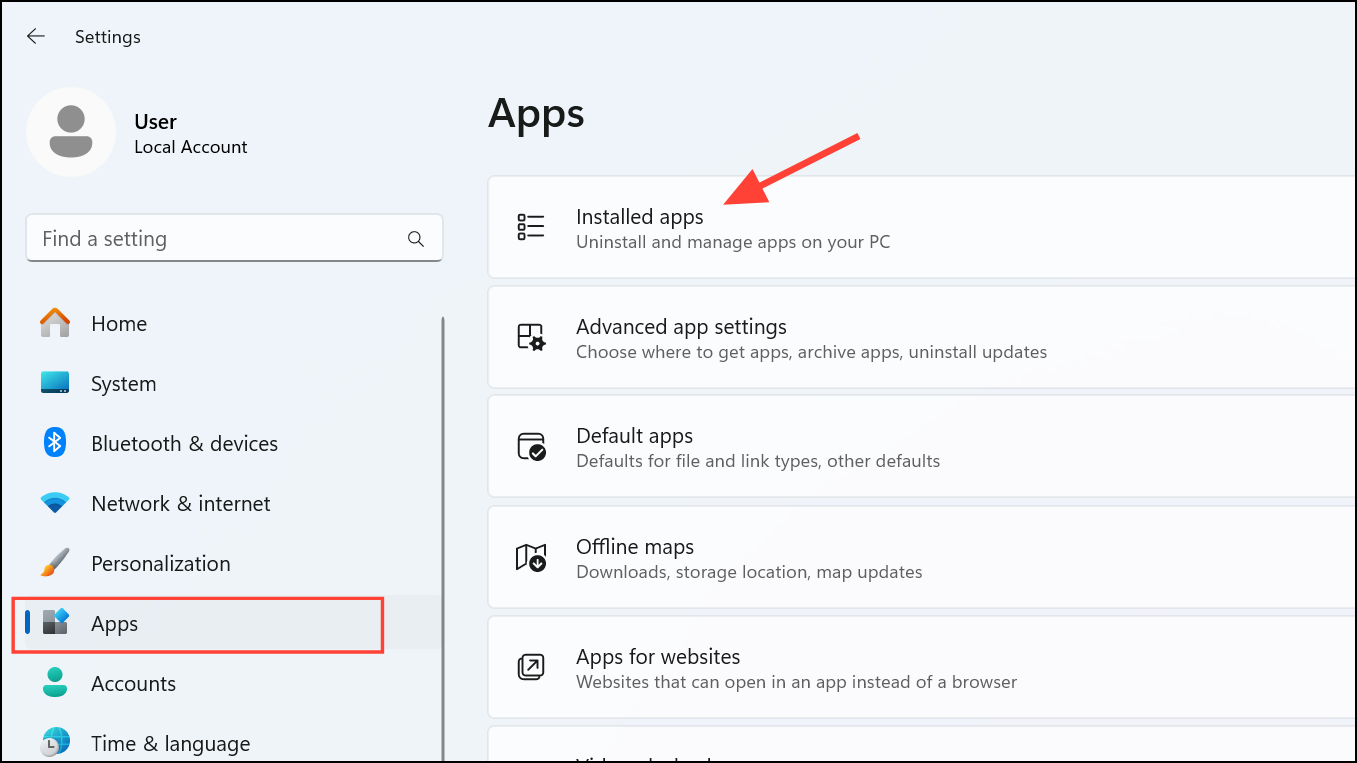
Step 2: Locate OneDrive in the list, click the three-dot menu, and select Uninstall. Follow the prompts to complete the removal.
Step 2: Restart your computer to ensure all residual files are cleared.
Step 3: After restarting, download the latest version of OneDrive from the official Microsoft OneDrive website and install it. Follow the installation wizard carefully and sign in with your Microsoft account credentials.
Step 4: Once installed and synced, open File Explorer to confirm whether the Personal Vault is now visible.
With these methods, you should successfully restore your OneDrive Personal Vault in Windows 11. If the issue persists, consider checking for Windows updates or contacting Microsoft support for further assistance.