How to Fix ‘Preparing for Upgrade’ Window Crash When Upgrading Windows 11
Upgrade window crashing every time you try to upgrade? Try these 4 simple methods to resolve the issue on your Windows 11 PC.
Upgrade window crashing every time you try to upgrade? Try these 4 simple methods to resolve the issue on your Windows 11 PC.
by Parth Sawhney
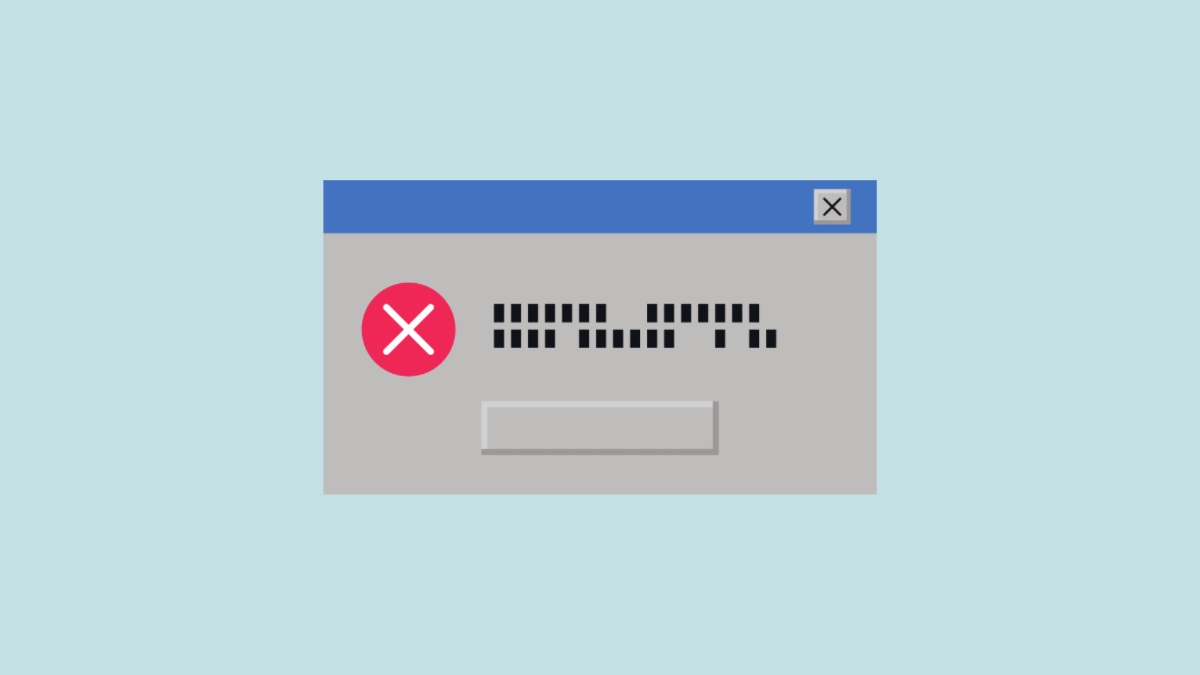
Upgrading your Windows 11 system should be straightforward, but some users have encountered an issue where the ‘Preparing for Upgrade’ window crashes after entering the product key, causing the Settings app to become unresponsive. Fortunately, there are several methods to resolve this problem.
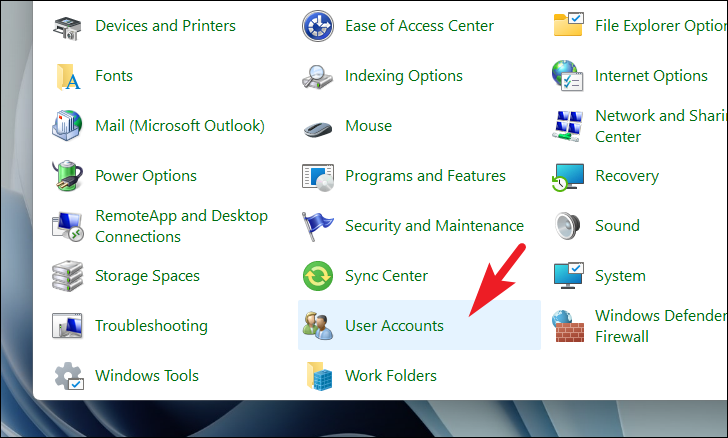
Method 1: Change User Account Control Settings
Adjusting the User Account Control (UAC) settings has helped some users fix the ‘Preparing for Upgrade’ crash. Since modifying UAC settings is simple, it’s worth trying this method first.
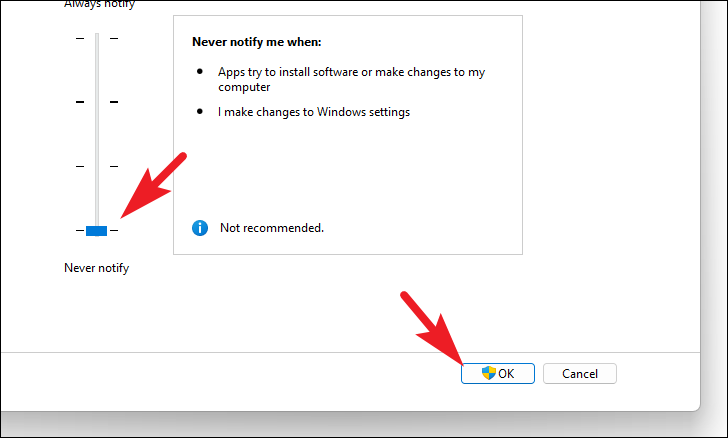
In the UAC settings window, move the slider all the way down to ‘Never notify’. Click ‘OK’ to save the changes. Note that this setting will disable UAC prompts, which might make your system less secure. Remember to revert this setting after completing the upgrade.
Attempt to upgrade Windows again to see if the issue is resolved.
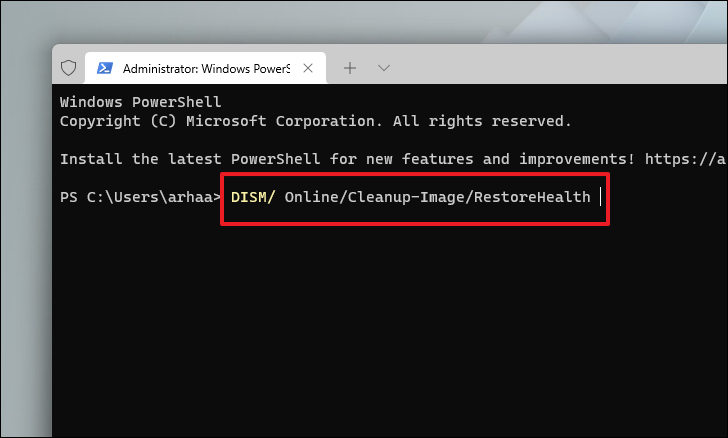
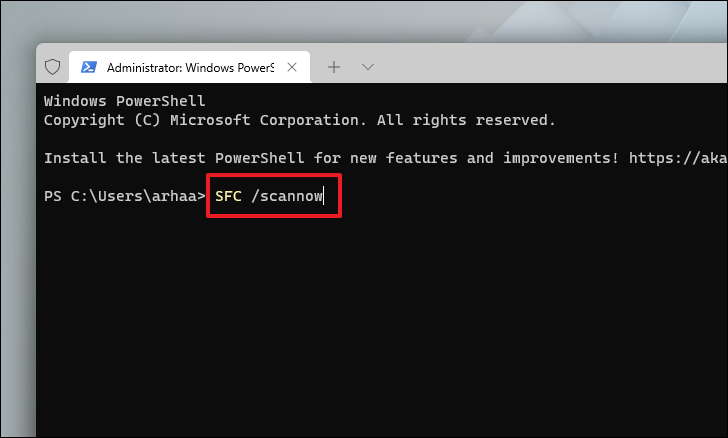
Method 2: Run DISM and SFC Scans
Corrupted or damaged system files might be causing the upgrade window to crash. Running the Deployment Image Servicing and Management (DISM) tool and the System File Checker (SFC) can repair these files and potentially fix the issue.
Once the SFC scan is completed, restart your computer. Step 6: After rebooting, try to upgrade Windows again to see if the problem persists.
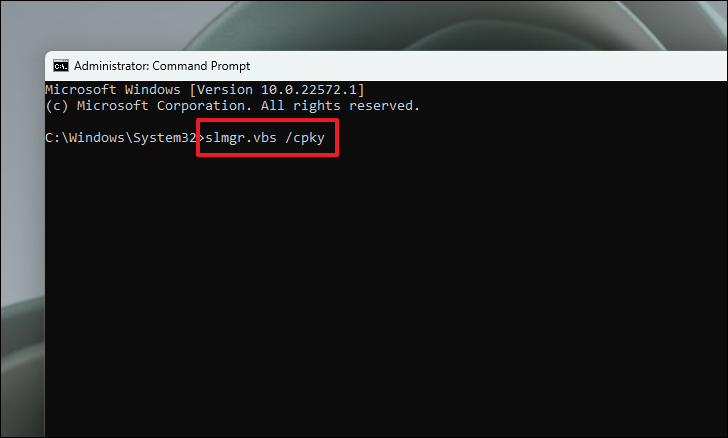
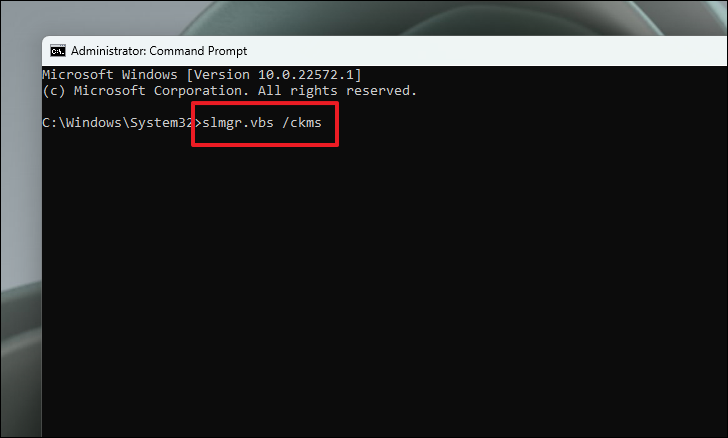
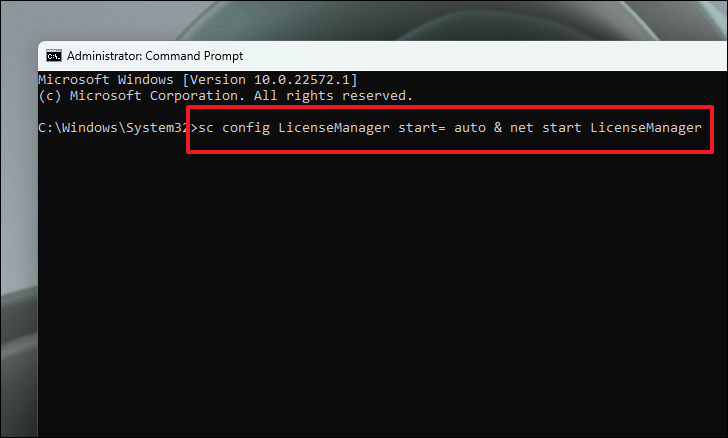
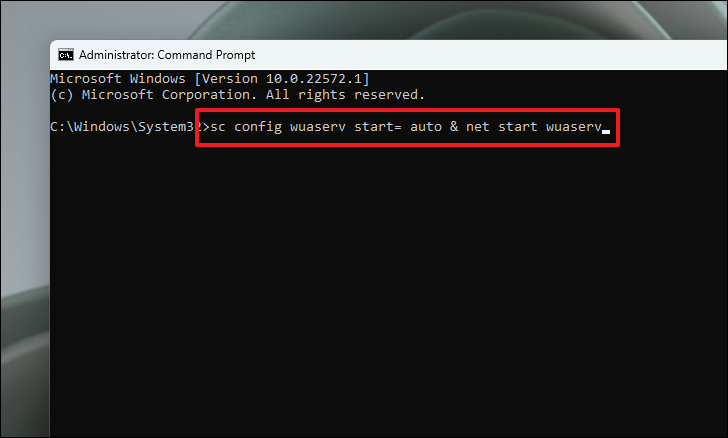
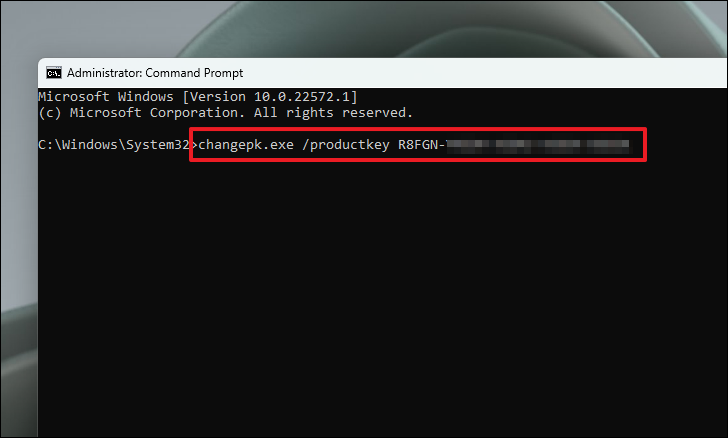
Method 3: Upgrade Using Command Prompt
If the standard upgrade process isn’t working, you can try upgrading your PC via the Command Prompt. This method bypasses the GUI and might resolve issues caused by improper system file invocation.
Finally, initiate the upgrade by entering your new product key with the following command (replace XXXX-XXXX-XXXX-XXXX-XXXX with your actual product key):
changepk.exe /productkey XXXX-XXXX-XXXX-XXXX-XXXX
This should initiate the upgrade process. Follow any on-screen instructions to complete the upgrade.
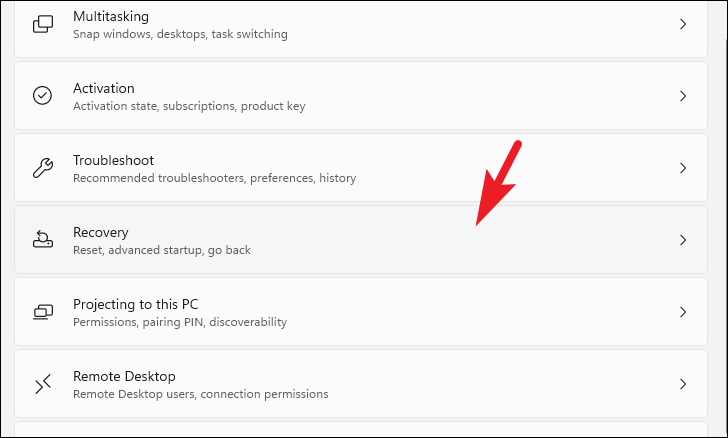
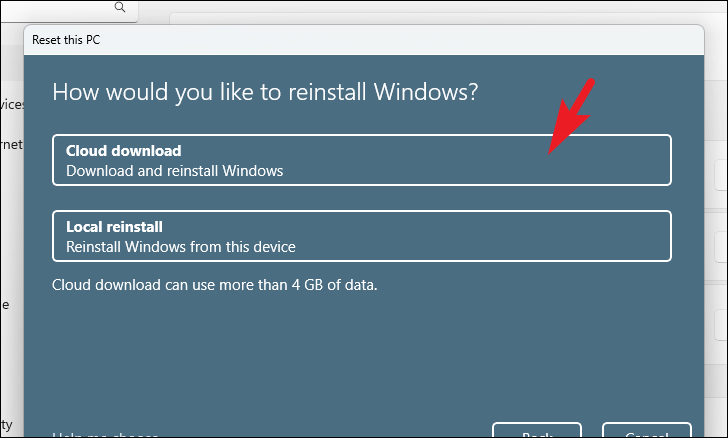
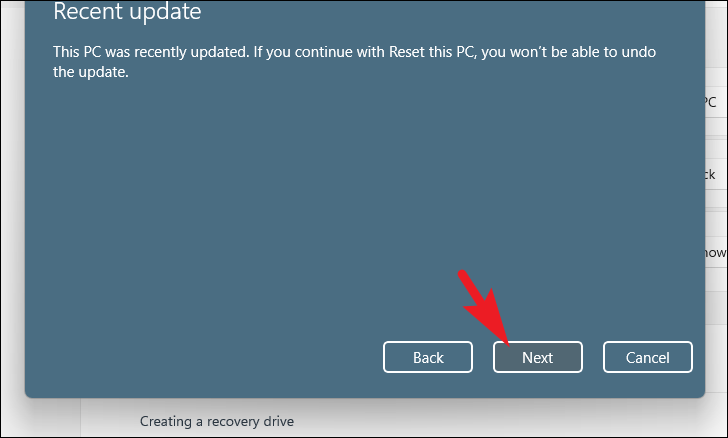
Method 4: Reset Your PC
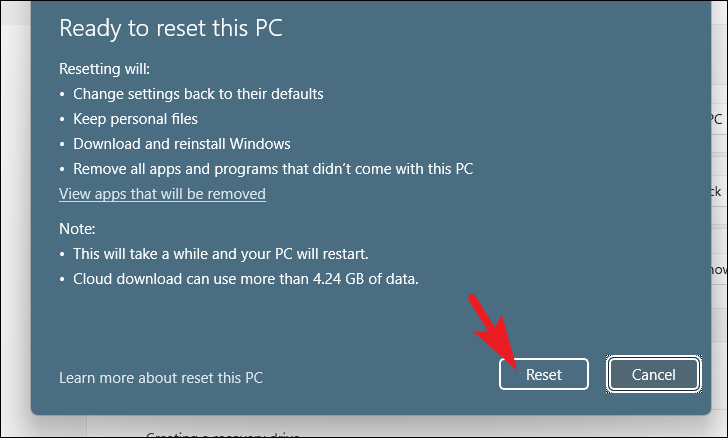
If none of the previous methods have resolved the issue, resetting your PC might help. This process reinstalls Windows but allows you to keep your personal files. Note that it will remove installed applications and reset settings to their defaults.
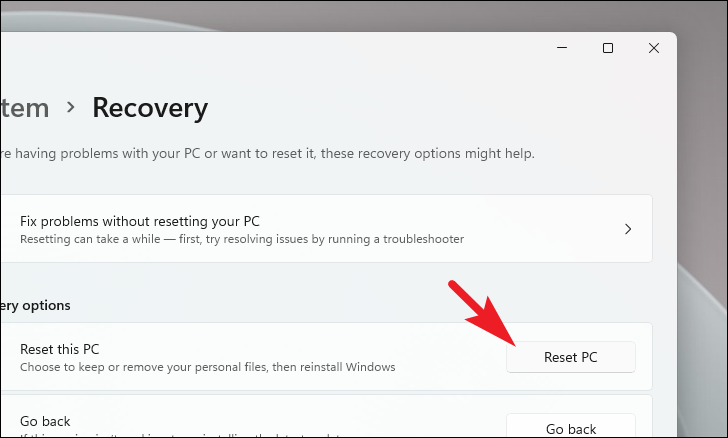
Select ‘Cloud download’ to reinstall Windows from the cloud, which may resolve issues with the local installation. Note that this requires an Internet connection and will download about 4 GB of data.
Note: ‘Cloud download’ will require an active internet connection and will consume upwards of 4 GB of data.
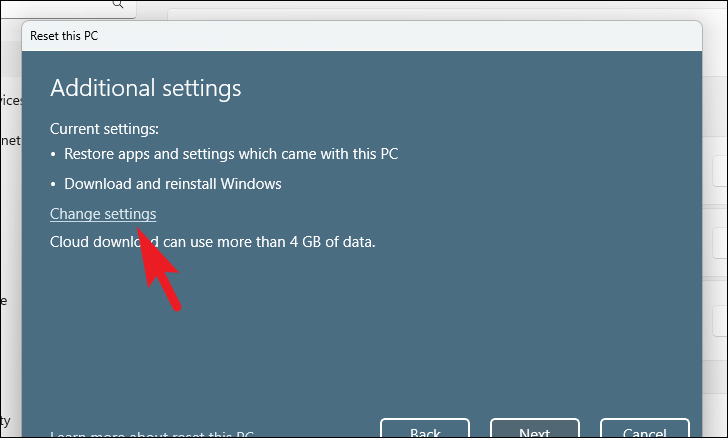
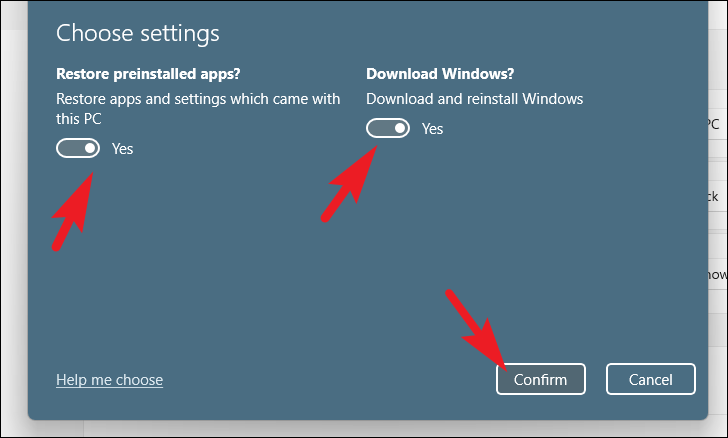
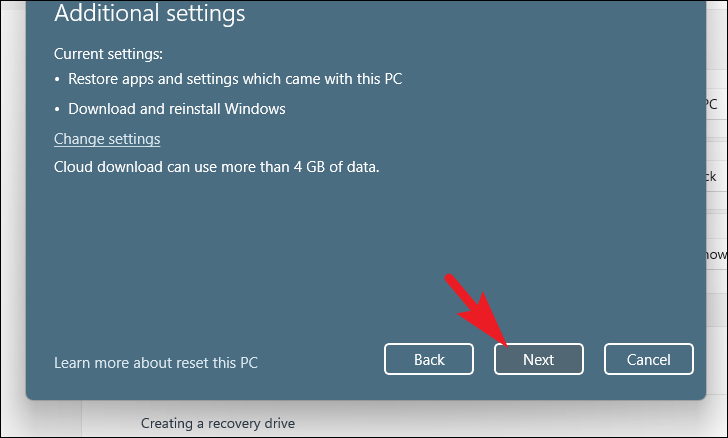
In the settings, you can choose whether to restore preinstalled apps and switch between cloud or local reinstall. Adjust the toggles as needed and click ‘Confirm’.