How to Change Recycle Bin Storage Settings in Windows 11
Customize the Recycle bin storage settings on your PC to not waste space on unneeded files or make more room for recovering accidentally deleted files.
Customize the Recycle bin storage settings on your PC to not waste space on unneeded files or make more room for recovering accidentally deleted files.
by Shreya Kini
Managing storage space efficiently is essential in maintaining your computer’s performance. The Recycle Bin in Windows 11 temporarily holds deleted files, allowing you to restore them if needed. However, you can customize its storage capacity to better suit your needs or even configure it to permanently delete files without sending them to the Recycle Bin. Here’s how you can adjust the Recycle Bin storage settings in Windows 11.
Changing Recycle Bin Storage Size
Windows assigns a default storage size to the Recycle Bin, but you may want to increase or decrease this limit based on your preferences.
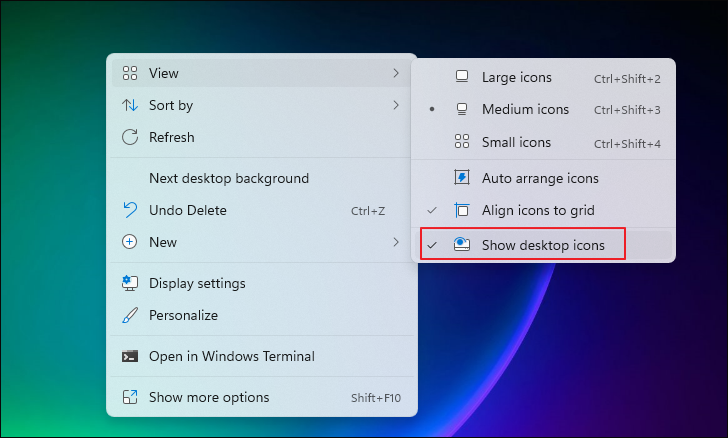
Locate the Recycle Bin icon on your desktop. If it’s not visible, right-click on an empty area of the desktop, hover over the ‘View’ option, and select ‘Show desktop icons’.
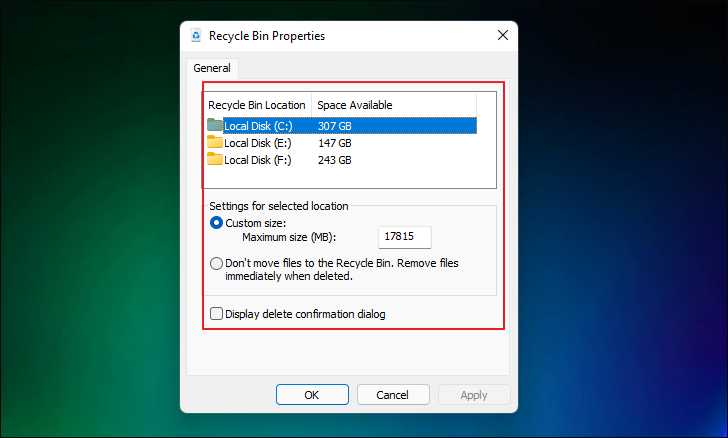
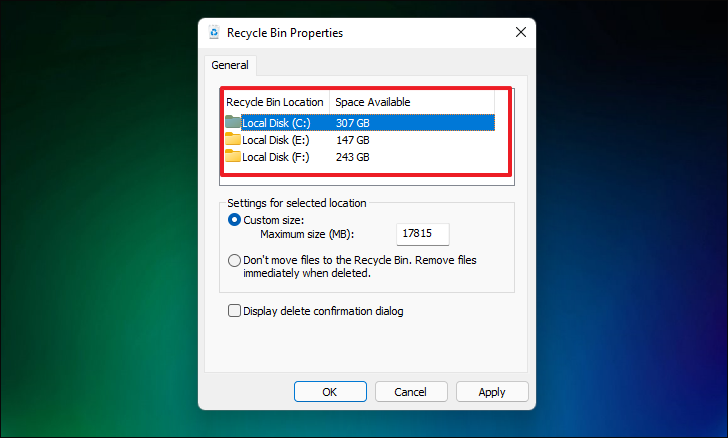
In the Recycle Bin Properties window, you’ll see a list of drives along with their Recycle Bin storage settings. Each drive has its own Recycle Bin, stored in a hidden system folder named “$RECYCLE.BIN” at the root of the volume.
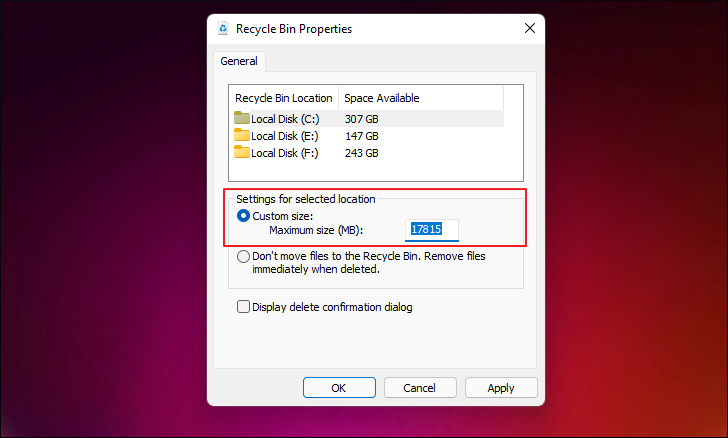
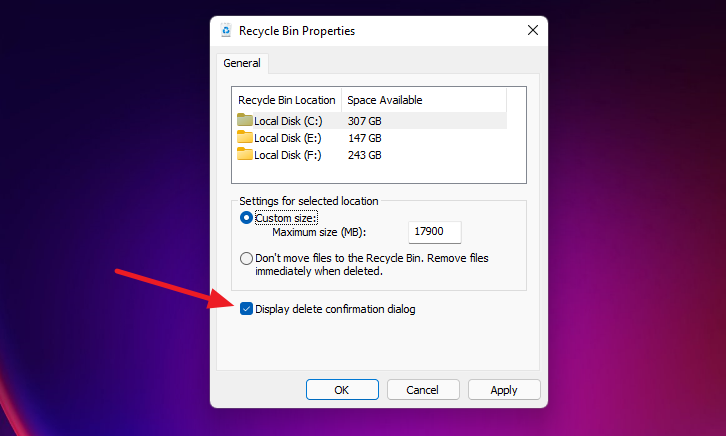
Under ‘Settings for selected location’, select the ‘Custom size’ option. Enter the maximum size you want to allocate for the Recycle Bin in megabytes (MB) next to ‘Maximum size (MB)’. For example, to allocate 15000 MB (approximately 15 GB), type ‘15000’ in the box.
Disabling Recycle Bin for a Drive to Permanently Delete Files
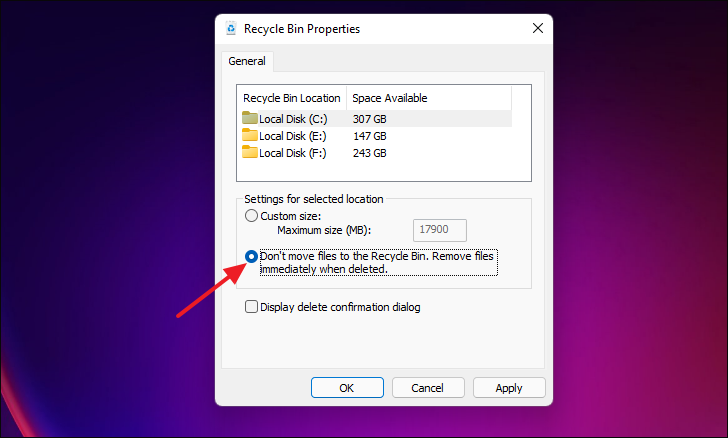
If you prefer to permanently delete files from a specific drive without sending them to the Recycle Bin, you can disable the Recycle Bin for that drive.
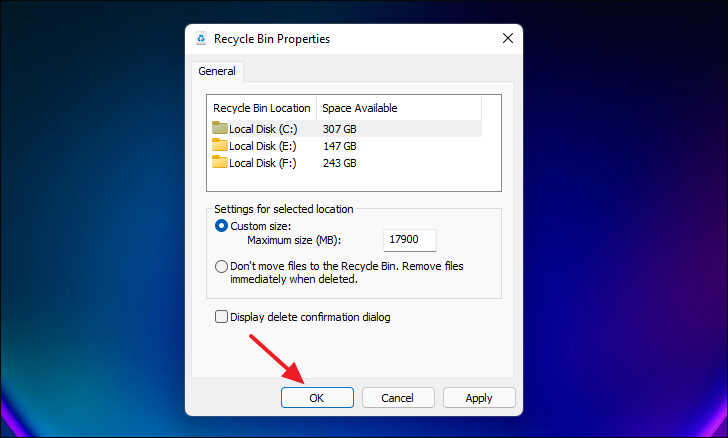
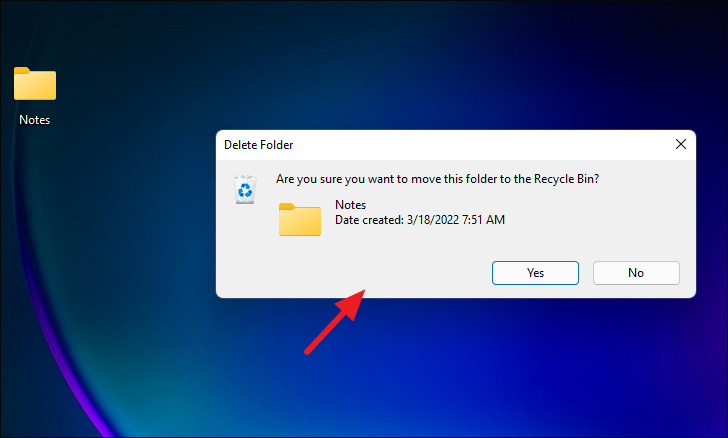
Click ‘OK’ to apply the changes. From now on, when you delete files from the selected drive, they will be permanently removed without being stored in the Recycle Bin. If the confirmation dialog is enabled, you will be prompted to confirm the deletion.
Adjusting the Recycle Bin settings helps you manage storage space more effectively. Whether you need more room to recover deleted files or prefer to bypass the Recycle Bin for certain drives, Windows 11 provides flexible options to suit your needs.