
Printing jobs in Windows 11 can fail abruptly with the message "The I/O operation has been aborted because of either a thread exit or an application request." This error typically interrupts printing, scanning, or device syncing processes, and is often linked to corrupted print drivers, issues with the print spooler service, or outdated system files. Addressing these root causes restores device functionality and prevents further disruptions.
Update or Reinstall Printer Drivers
Outdated or corrupted printer drivers are a primary source of the I/O operation error. Installing the latest drivers ensures compatibility with Windows 11 and removes problematic files from previous installations.
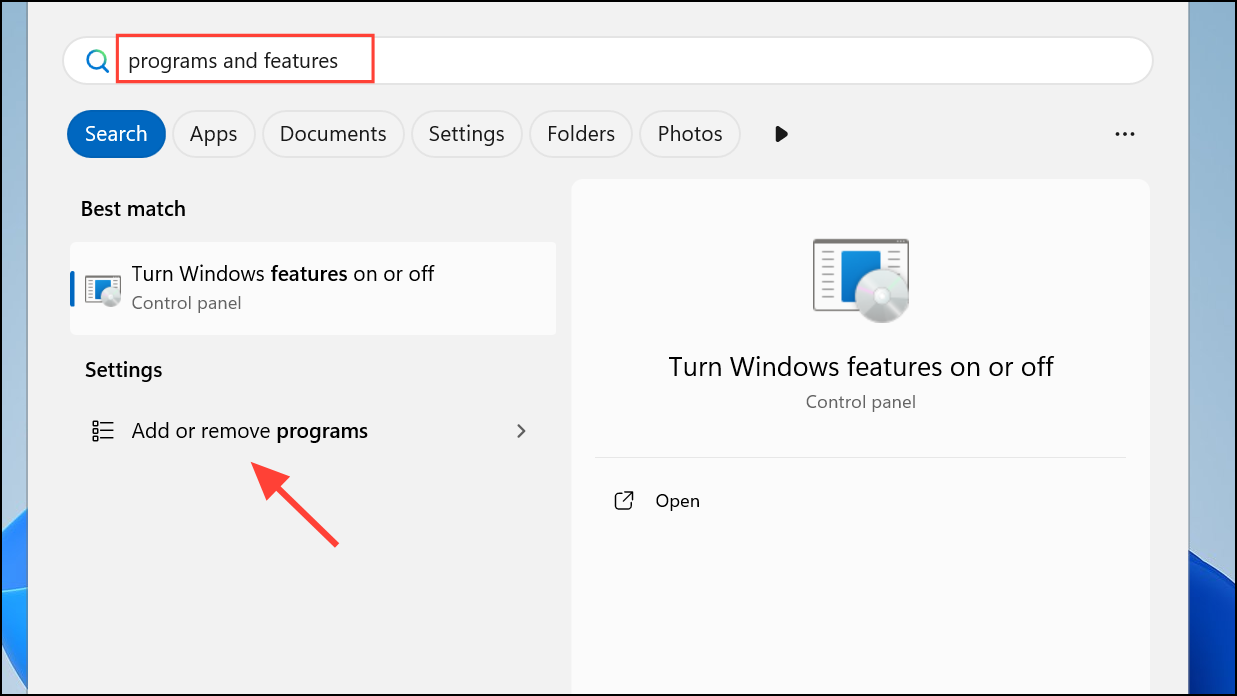
Step 1: Open Programs and Features by searching for it in the Start menu. Locate your printer in the list, select it, and choose Uninstall to remove the software.
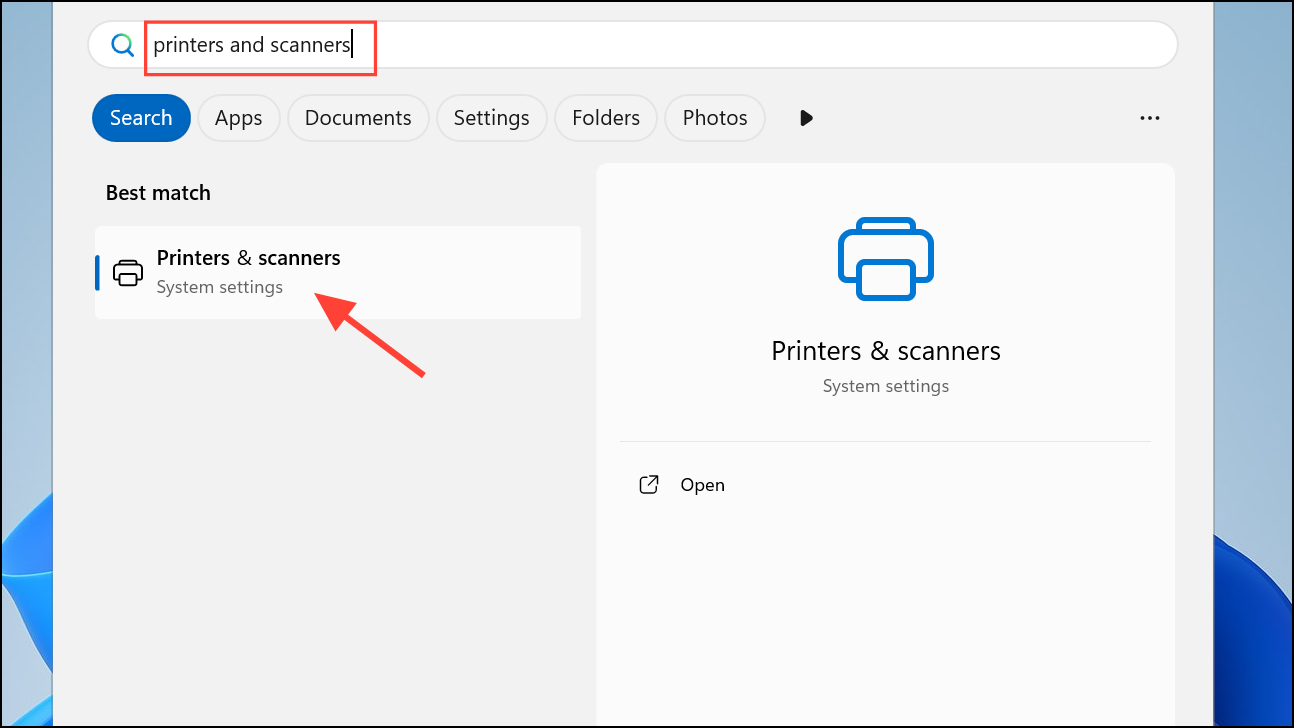
Step 2: Open Printers and Scanners from the Start menu. Right-click your printer and select Remove Device to clear any remaining references.
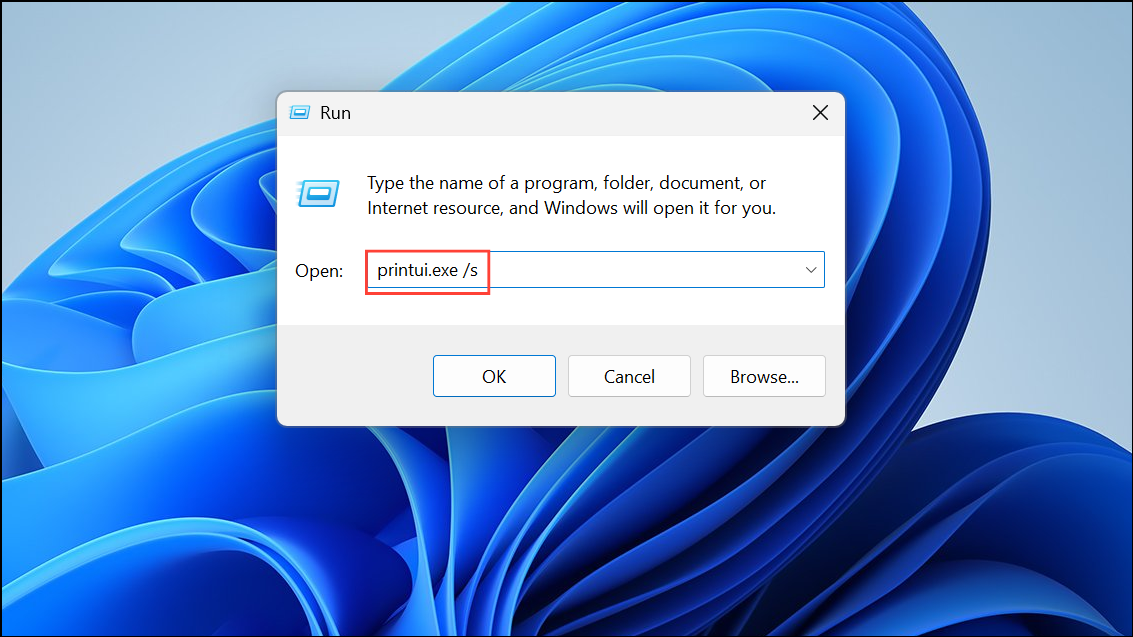
Step 3: Press Windows + R to open the Run dialog, then enter printui.exe /s and click OK. In the Print Server Properties window, go to the Drivers tab, select your printer driver, and click Remove.
Step 4: Restart your computer. Download and install the latest driver for your printer model from the manufacturer’s official website. For HP printers, you can find drivers and software on the HP Drivers & Downloads page.
Updating drivers resolves compatibility conflicts and removes residual files that may block print jobs.
Reset the Print Spooler Service
The print spooler service manages all print jobs sent to the printer. Corrupted spooler files can halt operations and trigger the I/O error. Resetting the spooler clears stuck jobs and refreshes the service.
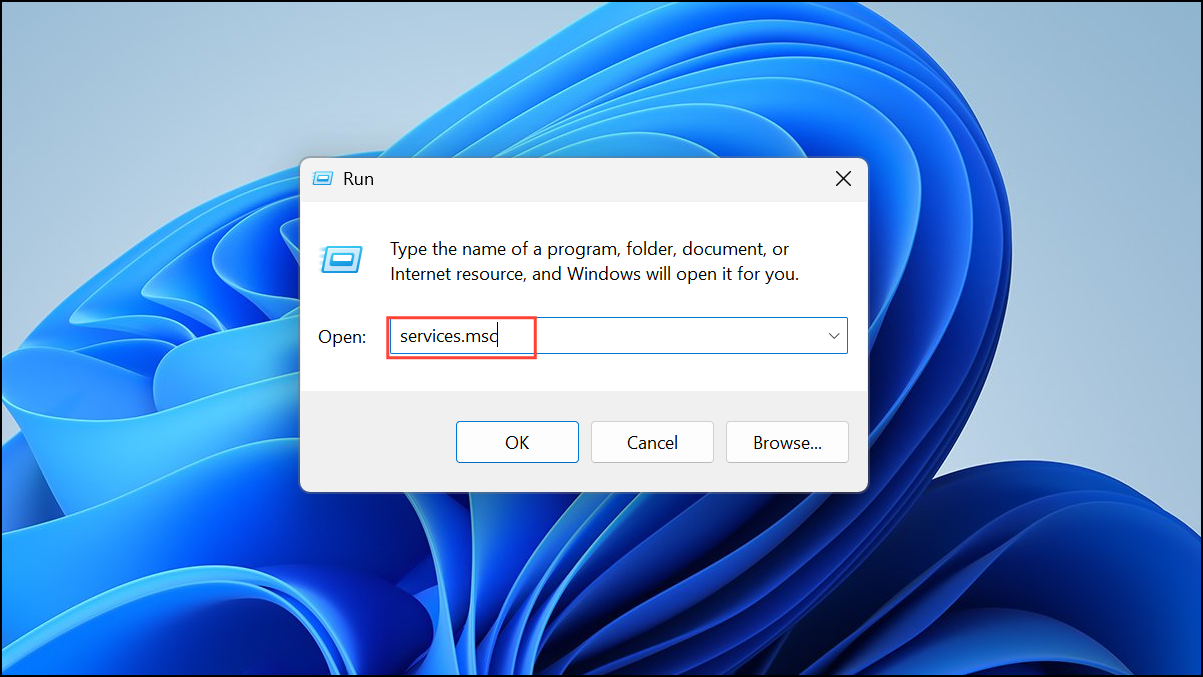
Step 1: Press Windows + R, type services.msc, and press Enter.
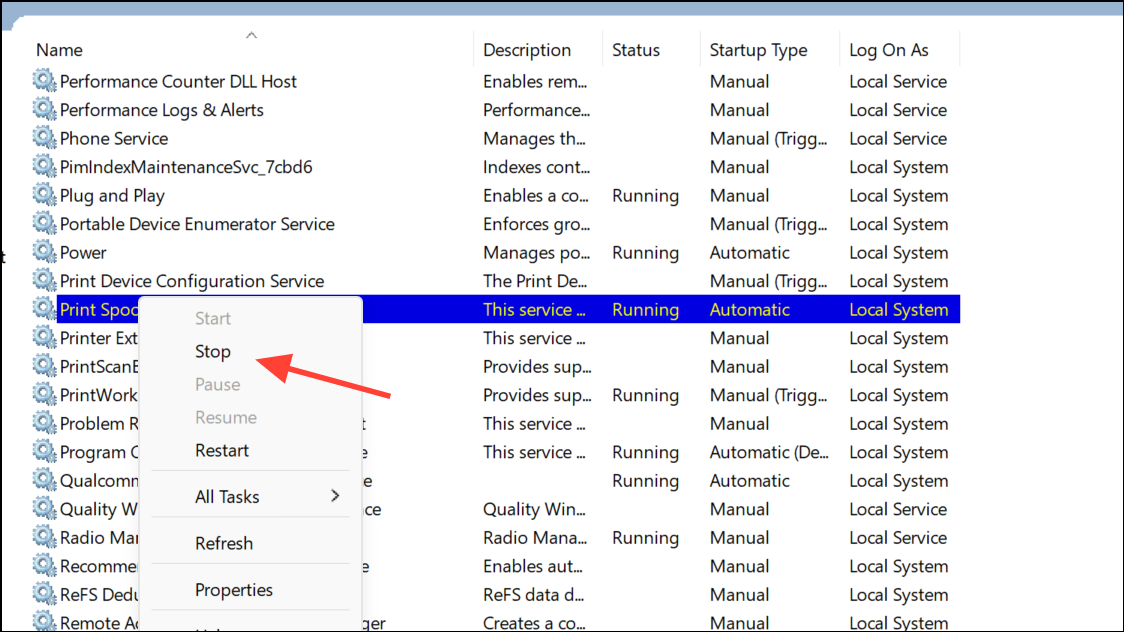
Step 2: In the Services window, right-click Print Spooler and select Stop.
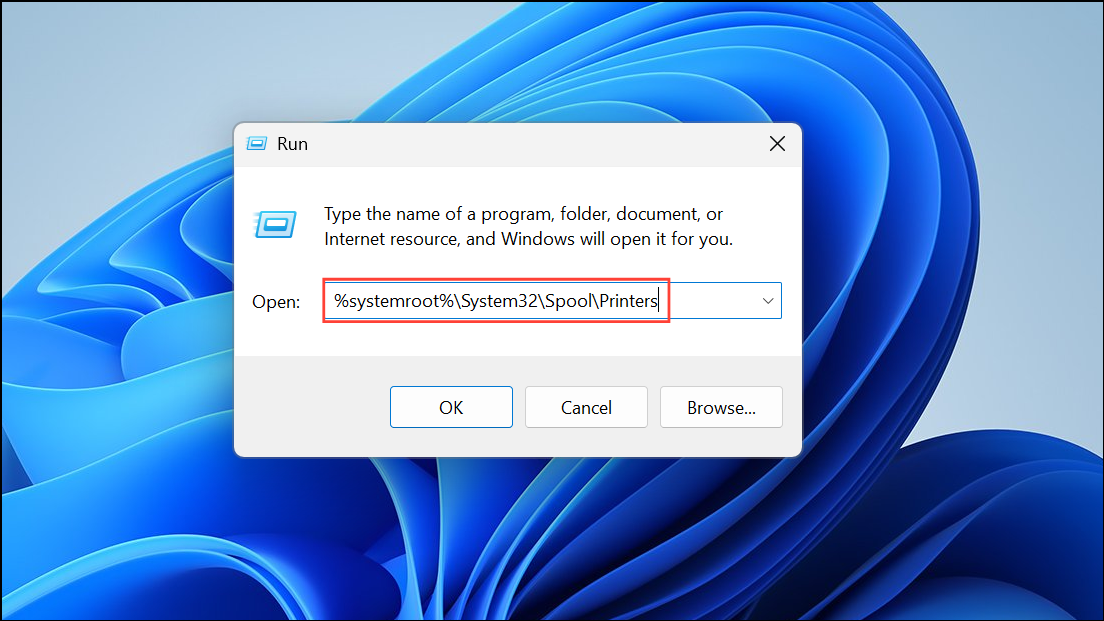
Step 2: Without closing the Services window, open the Run dialog again with Windows + R, enter %systemroot%\System32\Spool\Printers, and click OK. Select all files in this folder and delete them to remove any stuck print jobs.
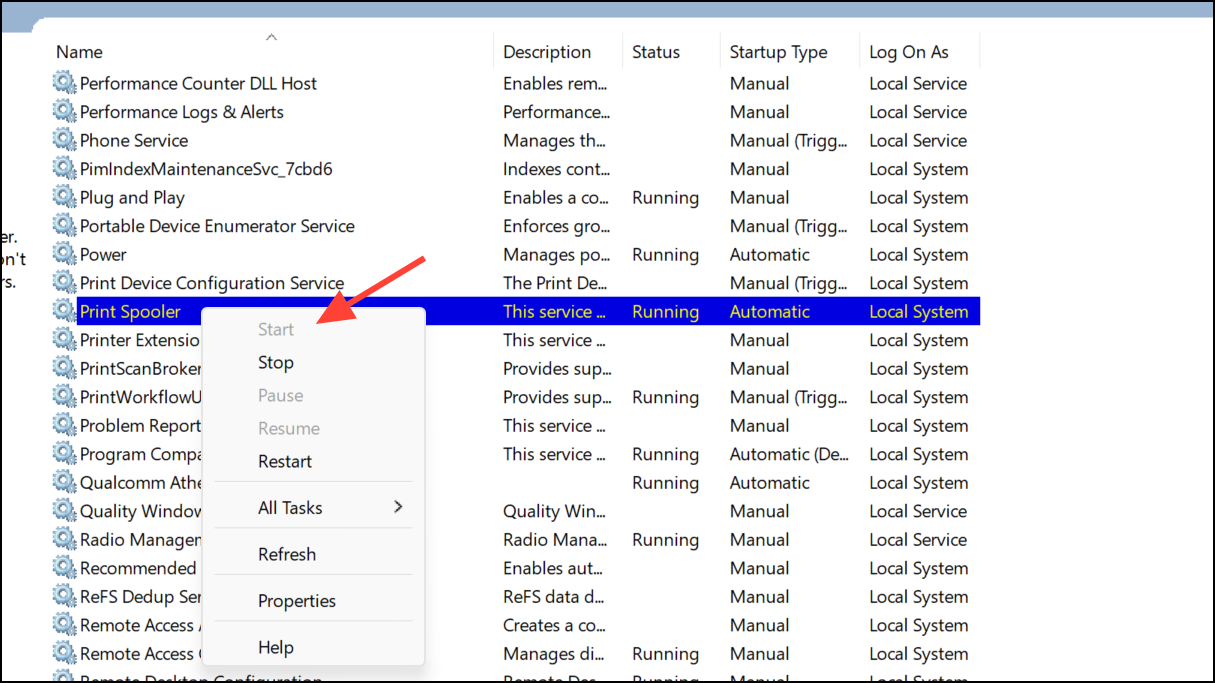
Step 3: Return to the Services window, right-click Print Spooler, and select Start to restart the service.
Step 4: Close all windows and test printing again. This process clears the print queue and resolves many cases of the I/O operation error.
Run the Printer Troubleshooter
Windows 11 includes a built-in troubleshooter that can detect and fix common printing issues automatically.
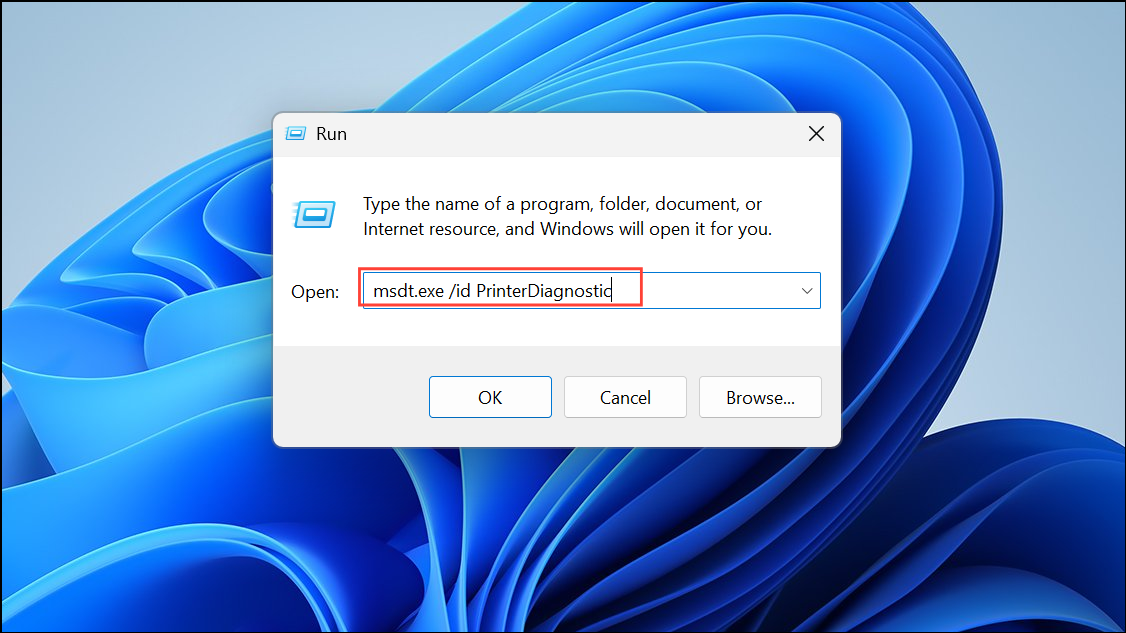
Step 1: Press Windows + R, enter msdt.exe /id PrinterDiagnostic, and click OK to launch the printer troubleshooter.
Step 2: Click Next and follow the on-screen prompts. The troubleshooter will scan for issues and attempt repairs.

If the tool identifies and fixes the problem, printing should resume as expected. If not, proceed to the next method.
Repair System Files Using DISM and SFC
Corruption in Windows system files can prevent printing operations from completing successfully. The DISM and SFC tools scan for and repair damaged system components.
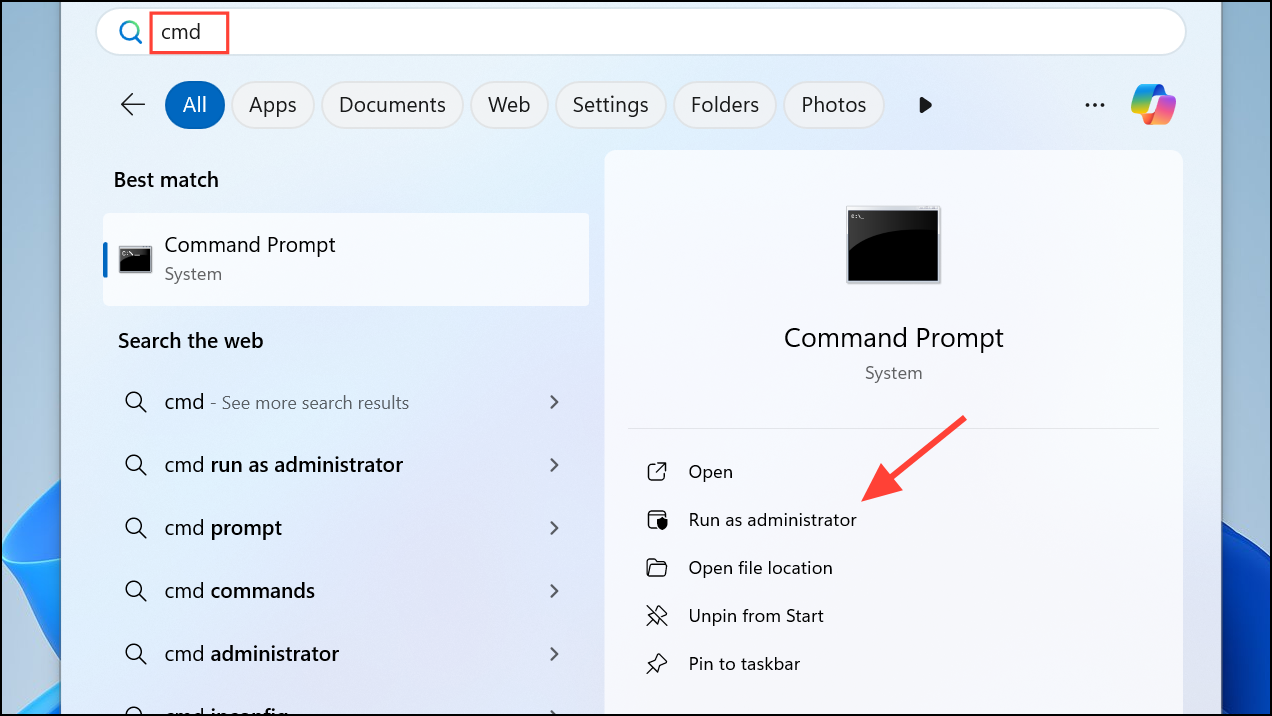
Step 1: In the Start menu, search for cmd, right-click Command Prompt, and choose Run as administrator.
Step 2: Enter the following command and press Enter:
Dism.exe /Online /Cleanup-Image /Restorehealth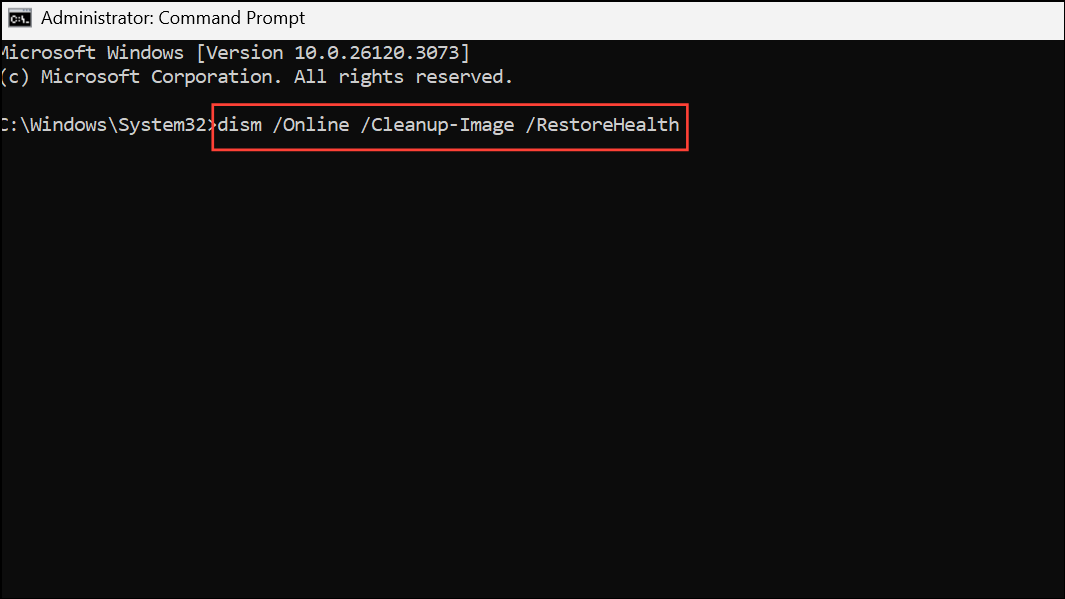
This command checks for and repairs corruption in the Windows component store. Wait for the process to finish.
Step 3: After DISM completes, run:
SFC /SCANNOW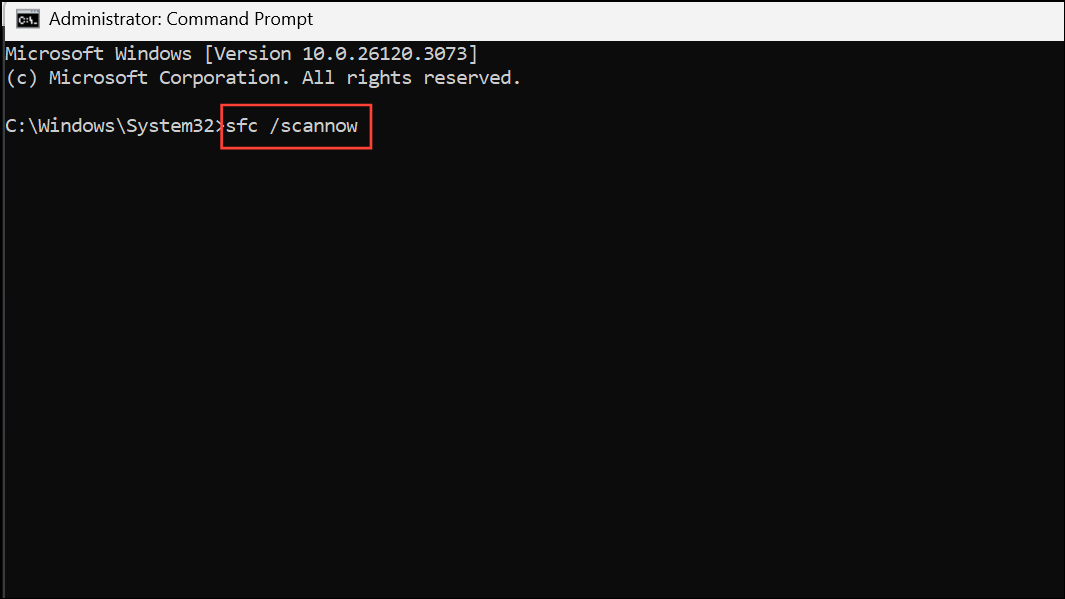
This command scans and repairs system files. Once finished, restart your computer and test your printer again.
Change Printer Port to IP Address (For Network Printers)
Network printers configured with incorrect ports may encounter communication issues that result in the I/O operation error. Assigning the printer to its specific IP address can resolve these conflicts.
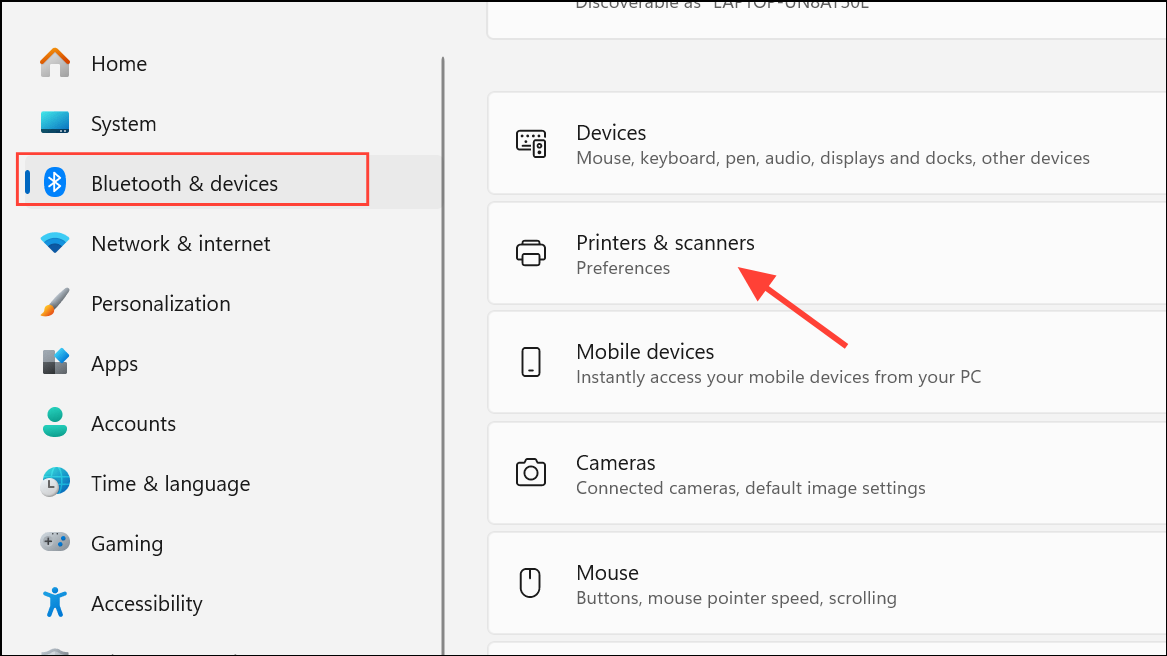
Step 1: Go to Start > Settings > Bluetooth & devices > Printers & scanners. Click your printer, then select Device Information to view its IP address.
Step 2: Open Printer Properties, navigate to the Ports tab, and click Add Port. Choose Standard TCP/IP Port and click New Port.
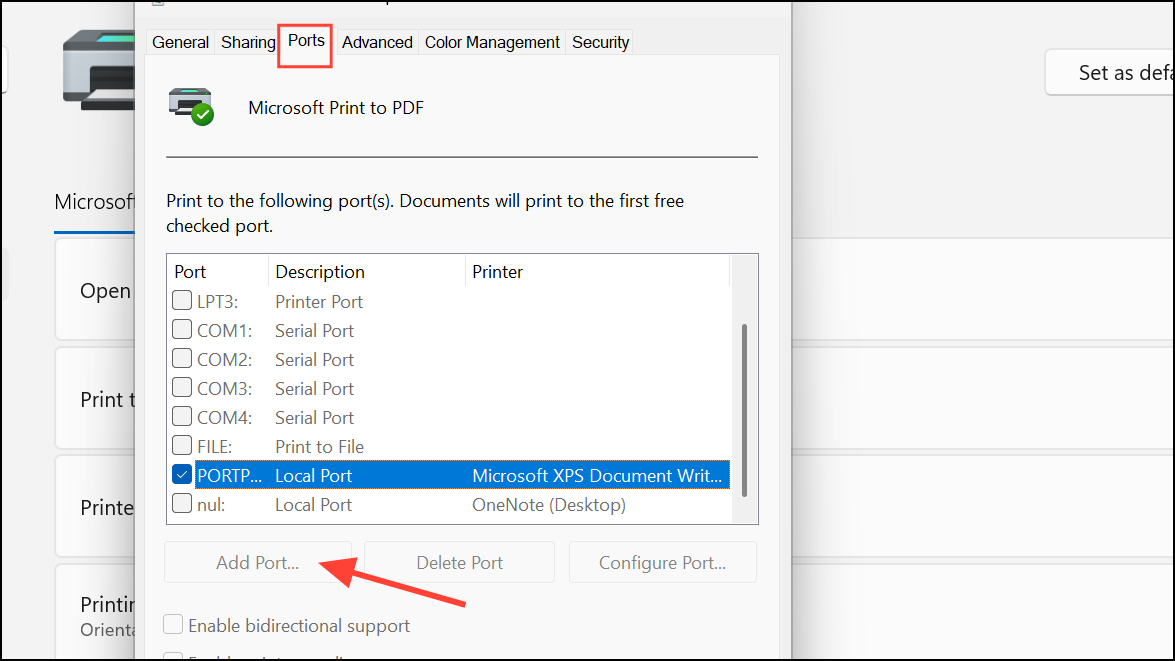
Step 3: Enter your printer’s IP address when prompted, then click Next and Close. Ensure your printer is set to use this new port, then click Apply.
Step 4: Print a test page to confirm the printer is working correctly on the new port.
Uninstall Recent Windows Updates
Occasionally, a recent Windows update may introduce compatibility issues with printing devices. Rolling back the latest updates can restore functionality.
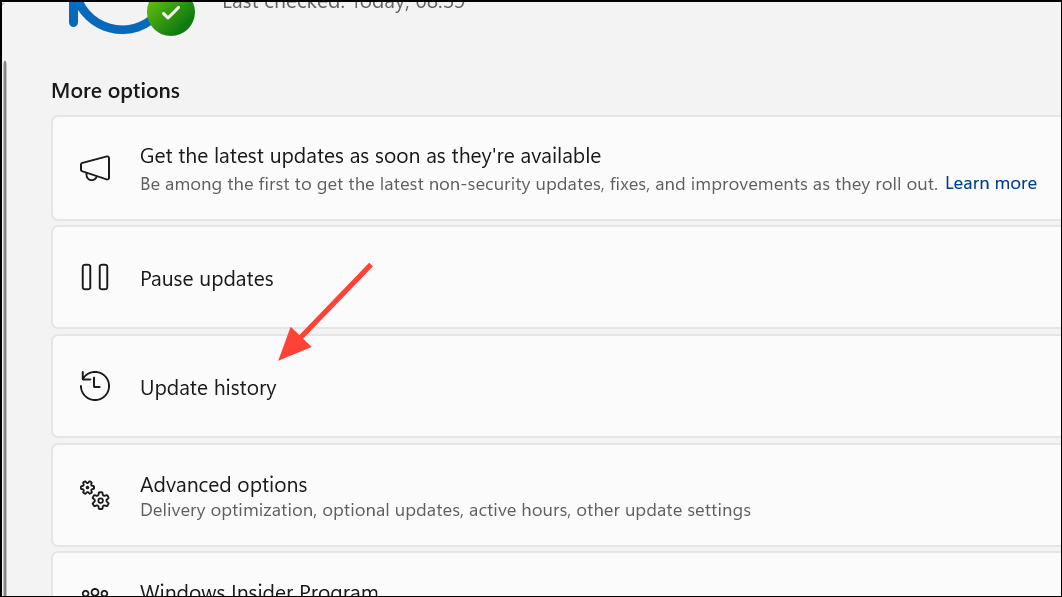
Step 1: Go to Start > Settings > Windows Update > Update history. Identify the most recent update installed before the error began.
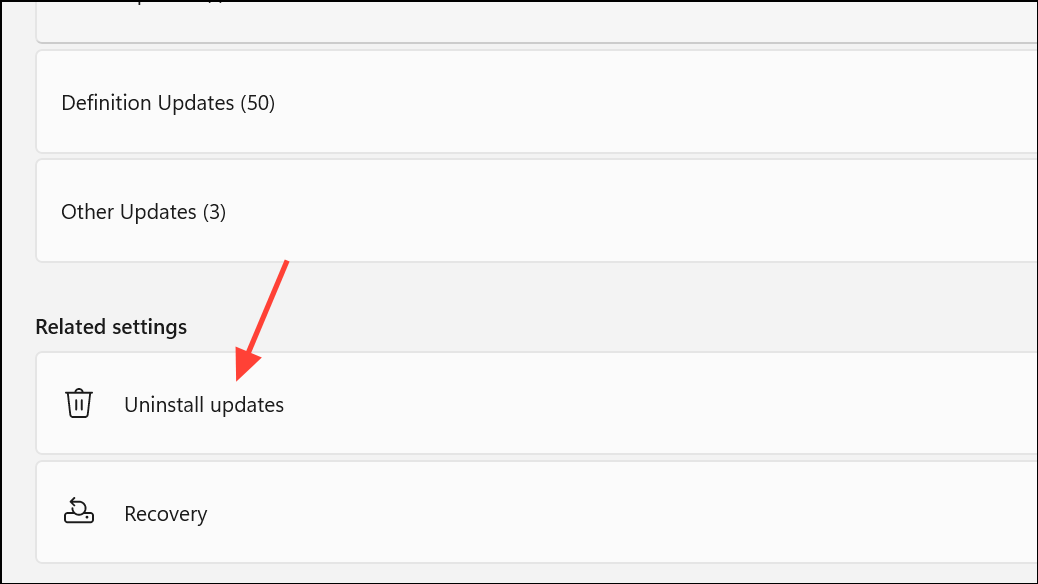
Step 2: Scroll down and select Uninstall updates under Related settings. Find the update by its KB number and select Uninstall.
Step 3: Restart your computer after uninstalling the update, then test your printer to determine if the error is resolved.
Additional Tips and Maintenance
- Always keep your printer firmware and Windows 11 system updated for best compatibility.
- Use only official drivers from your printer manufacturer’s website.
- If you continue to experience the error after these steps, consider checking for hardware faults or contacting the device manufacturer’s support team.
Applying these targeted troubleshooting steps restores printing capability and prevents further interruptions from the I/O operation error on Windows 11.