
Opening a Word document only to see the message "This file is corrupted and cannot be opened" interrupts workflow and threatens access to important content. This error can result from file corruption, incorrect security settings, or issues with Microsoft Office itself. Below you'll find detailed instructions for resolving this error, starting with the most effective approaches.
Repairing Corrupted Word Files Using Dedicated Software
Specialized file repair tools can restore access to corrupted Word documents by analyzing and fixing damaged file structures. These solutions are designed to address a wide range of corruption scenarios, including unreadable files, missing content, and formatting errors.
Step 1: Download and install a reputable Word file repair tool such as 4DDiG File Repair, Wondershare Repairit, or Stellar Repair for Word. These applications support DOC and DOCX formats and are compatible with recent Windows and macOS versions.
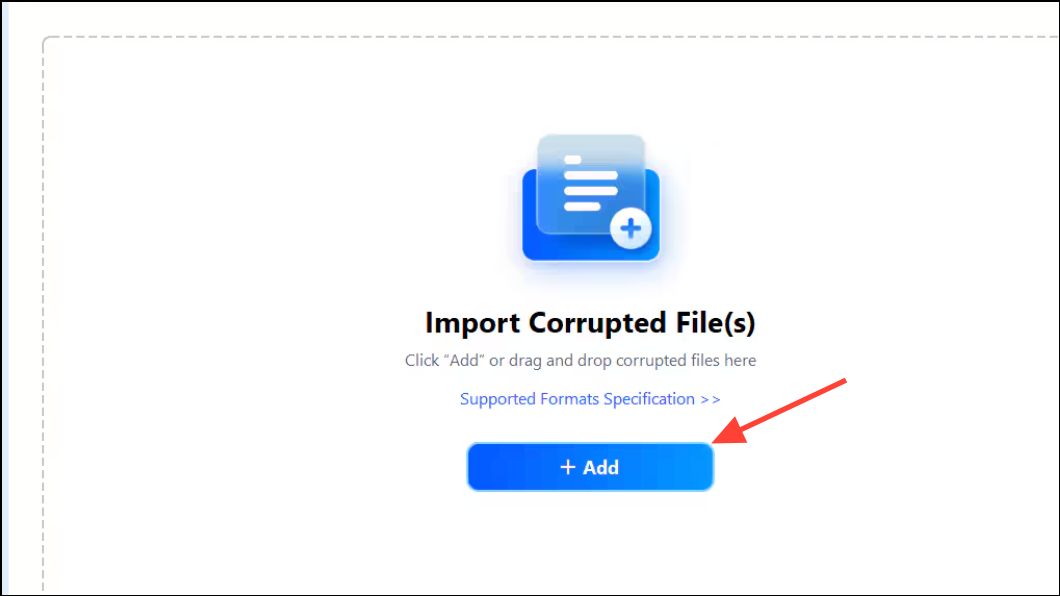
Step 2: Launch the repair tool and select the option for repairing Word or document files. Most tools provide a clear interface prompting you to add files for repair.
Step 3: Click the “Add File(s)” or similar button, then browse to and select the corrupted Word document that triggers the error message.
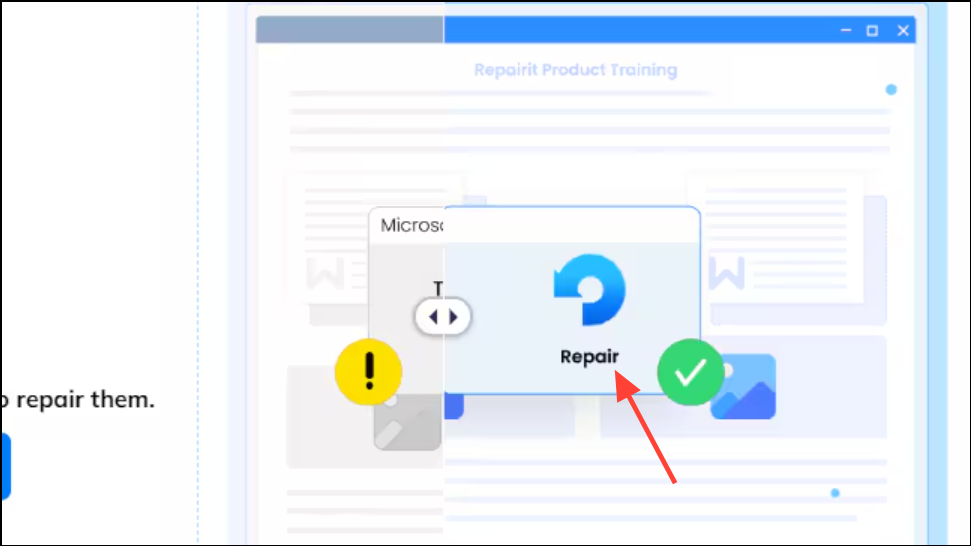
Step 4: Start the repair process by clicking the appropriate button (often labeled “Repair” or “Start Repair”). The tool scans the document, identifies corruption, and attempts to reconstruct the file’s content and formatting.
Step 5: Once the repair is complete, use the preview function (if available) to review the recovered content. This helps verify that the document’s integrity has been restored before saving.
Step 6: Save the repaired document to a new location on your computer. Avoid overwriting the original file in case you need to attempt additional recovery steps.
Using a dedicated repair tool streamlines the process and often recovers text, images, tables, and formatting that manual methods cannot. These applications are especially useful when the file is severely corrupted or when manual fixes fail.
Disabling Protected View Settings in Word
Protected View is a Microsoft Office security feature that restricts editing for files originating from potentially unsafe locations, such as email attachments or downloads. Sometimes, Protected View incorrectly flags legitimate files as unsafe, resulting in the corruption error.
Step 1: Open Microsoft Word. If you cannot open the problematic file, create a new blank document or open any accessible Word file.
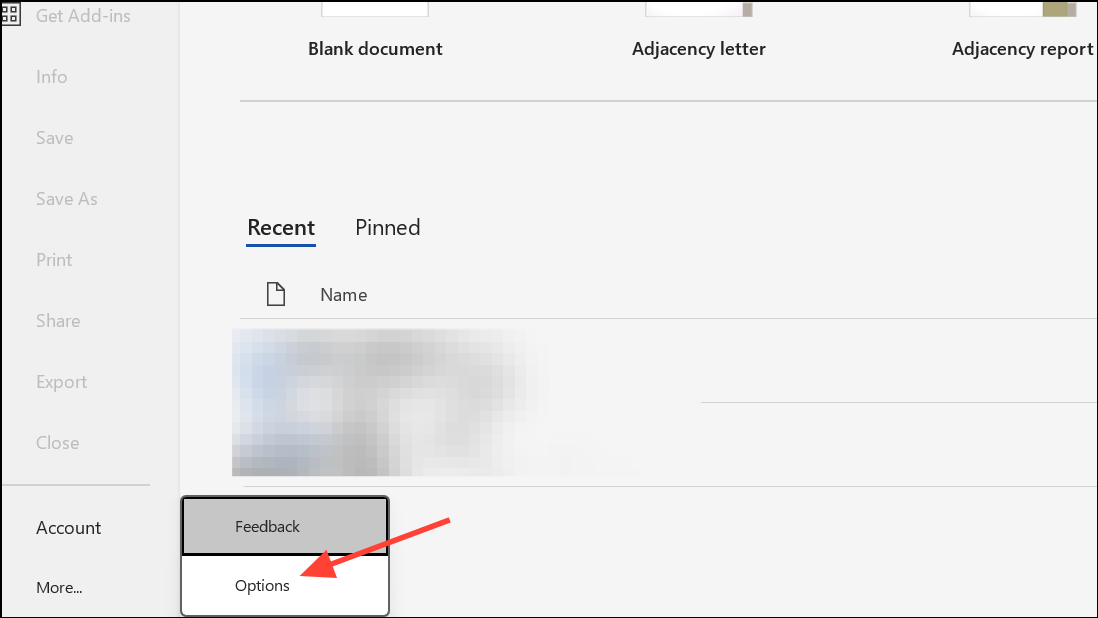
Step 2: Click the File tab in the upper-left corner, then choose Options from the menu on the left. This opens the Word Options dialog box.
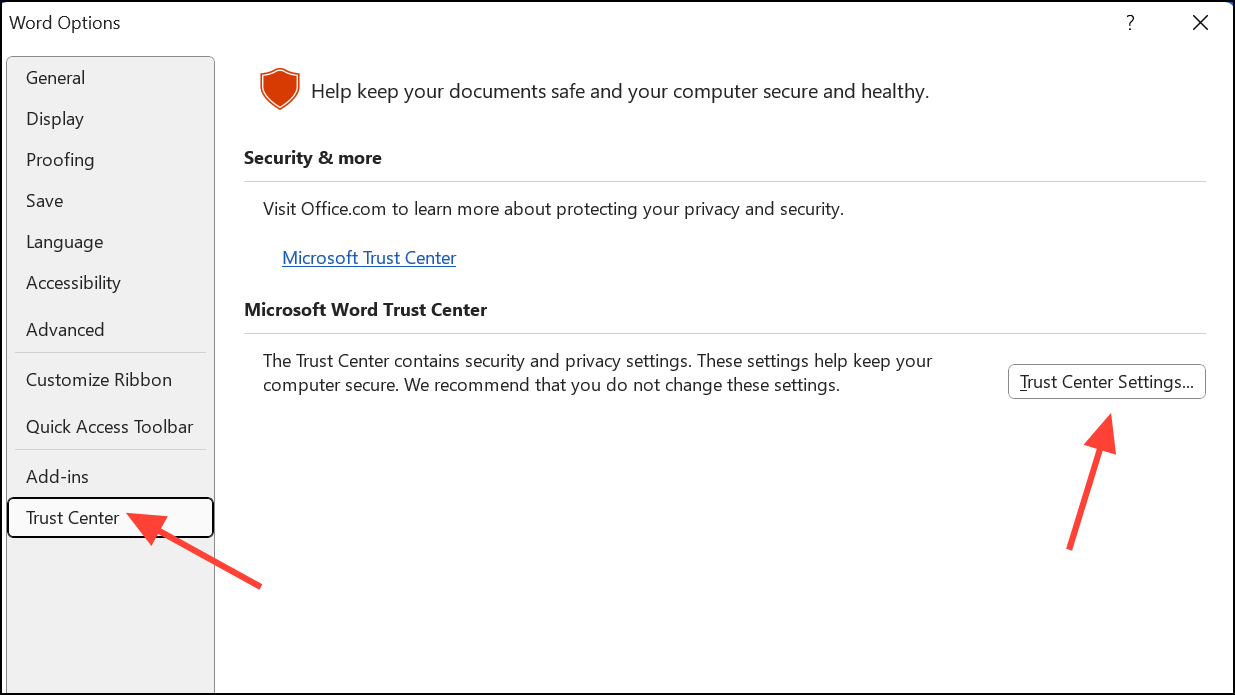
Step 3: In the Word Options window, select Trust Center from the left sidebar. Then, click the Trust Center Settings button on the right.
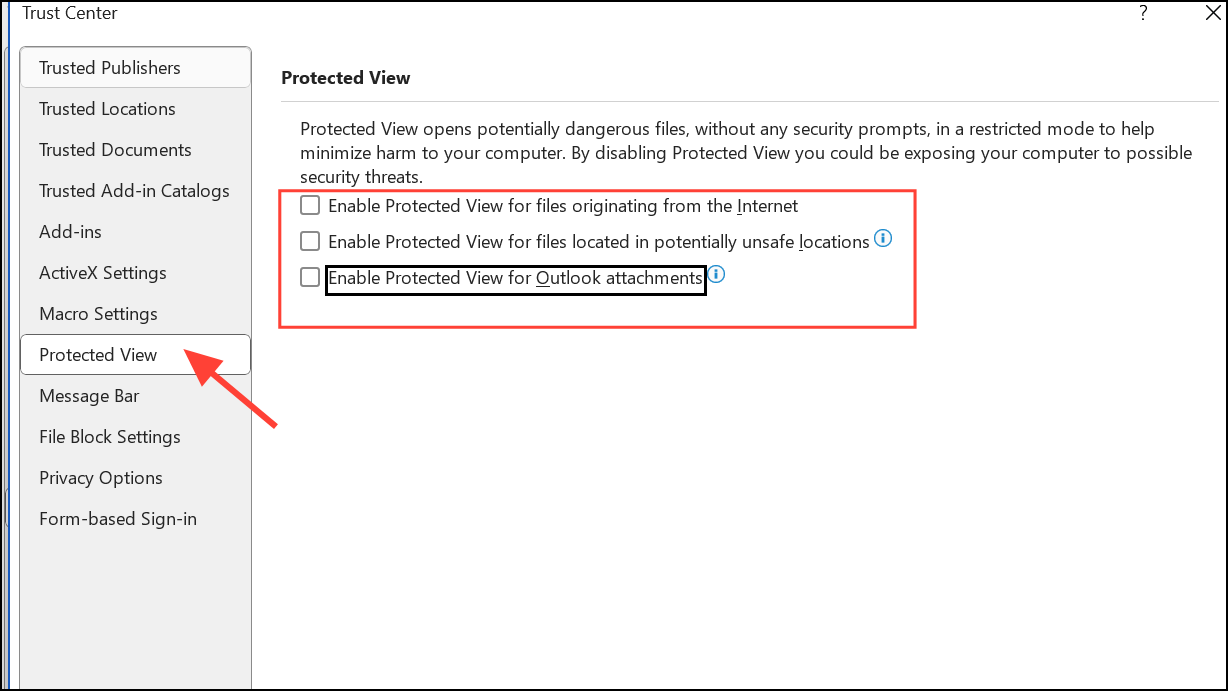
Step 4: In the Trust Center window, click Protected View on the left panel. Uncheck all available options, which typically include:
- Enable Protected View for files originating from the Internet.
- Enable Protected View for files located in potentially unsafe locations.
- Enable Protected View for Outlook attachments.
Step 5: Click OK to save your changes, then click OK again to exit Word Options.

Step 6: Close Microsoft Word completely, then reopen the application and try to open the previously corrupted file. The error should no longer appear if Protected View was the cause.
Disabling Protected View removes certain security checks, so only do this for files you trust. Remember to re-enable these settings after recovering your document if you regularly open files from unknown sources.
Resetting Component Services Security Settings
Incorrect system security settings can block Word from opening certain documents, triggering the corruption error even if the file is not actually damaged. Restoring default component services values can resolve this issue.
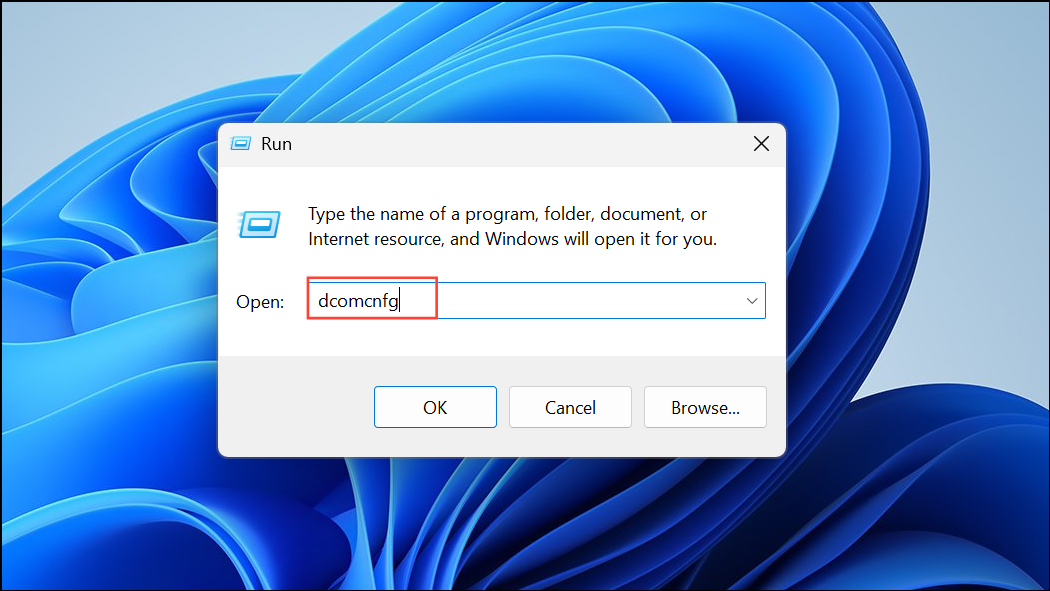
Step 1: Press Windows + R on your keyboard to open the Run dialog box.
Step 2: Type dcomcnfg and press Enter. This launches the Component Services management console.
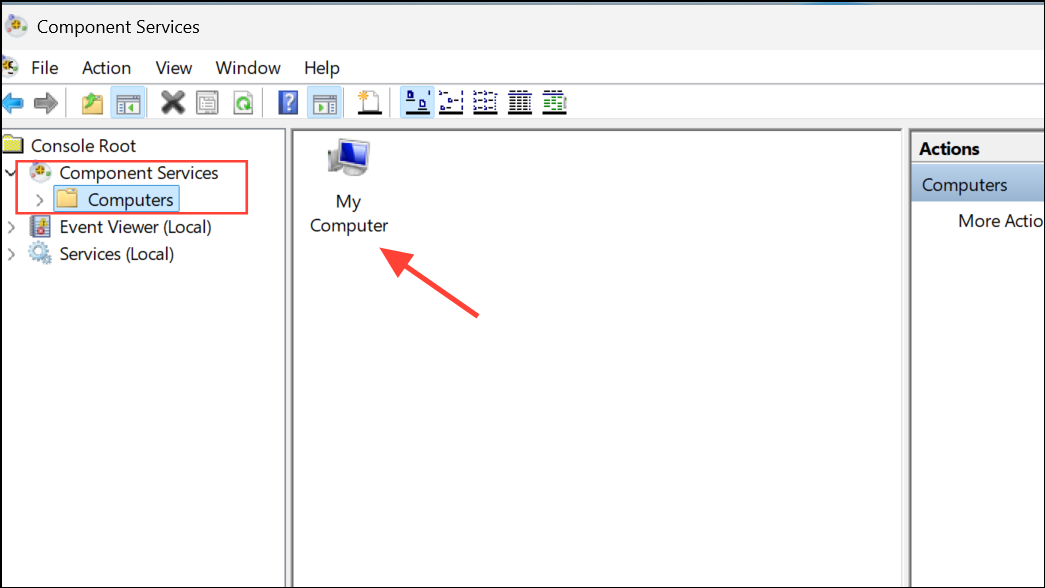
Step 3: In the left panel, expand Component Services > Computers, then select My Computer.
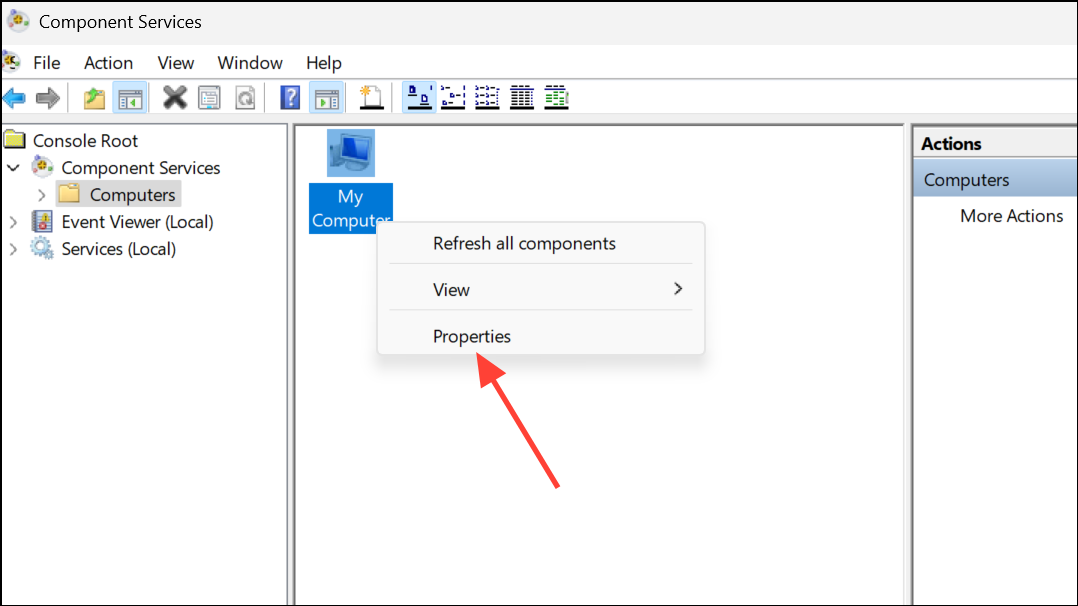
Step 4: Right-click My Computer and choose Properties.
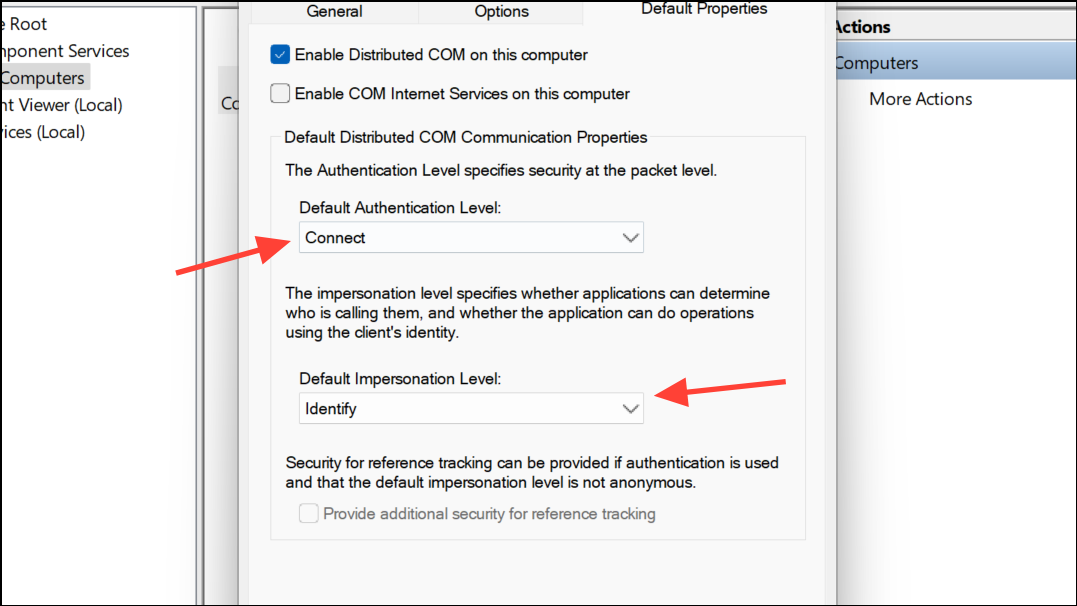
Step 5: Go to the Default Properties tab. Set Default Authentication Level to Connect and Default Impersonation Level to Identify.
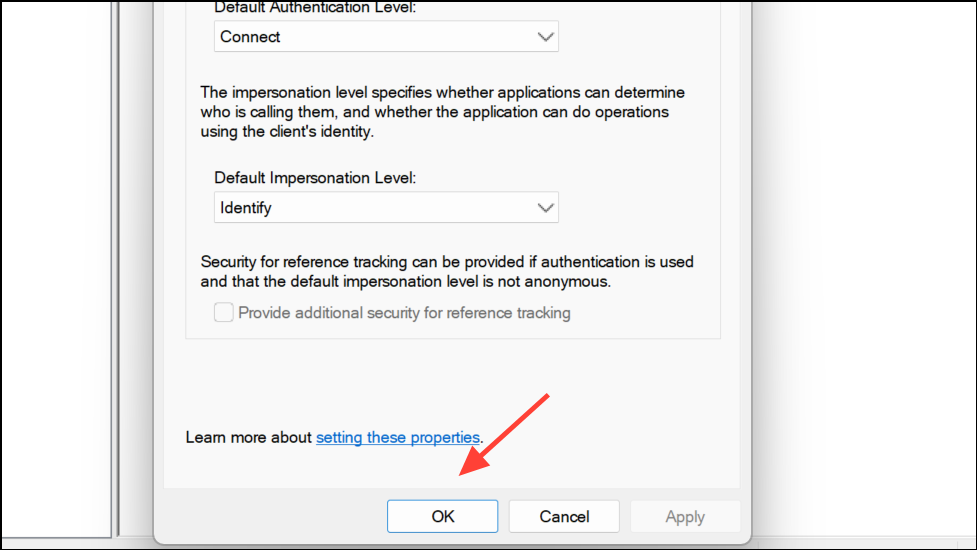
Step 6: Click OK to apply changes, then restart your computer to ensure the new settings take effect.
Once your system restarts, try opening the Word document again. This method is especially effective if the error appeared after a Windows or Office update, or if you have recently changed security policies on your computer.
Using the “Open and Repair” Feature in Microsoft Word
Microsoft Word includes a built-in recovery tool called “Open and Repair” that attempts to fix minor file corruption issues automatically. This feature is helpful for documents that are only partially damaged.
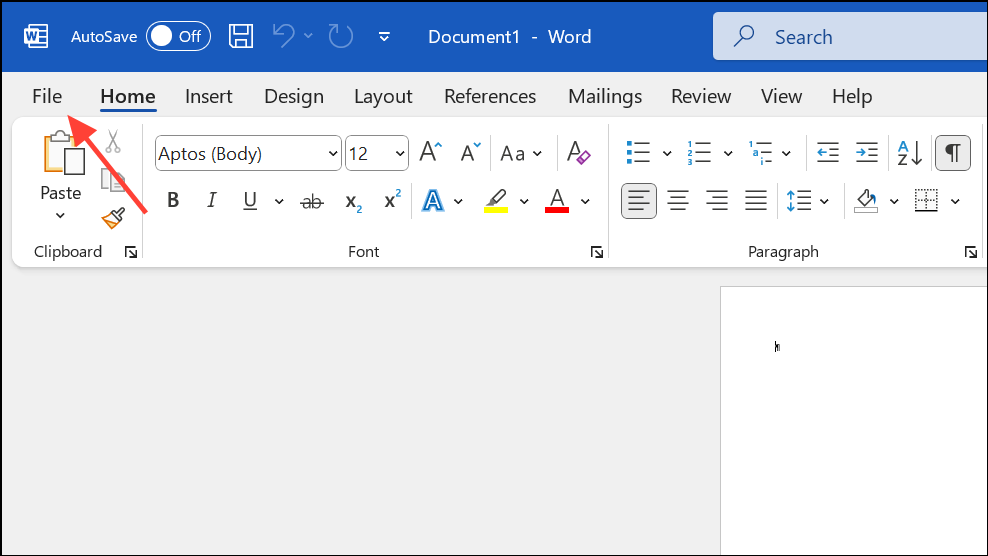
Step 1: Open Microsoft Word and go to the File tab.
Step 2: Select Open and browse to the location of the corrupted Word file.
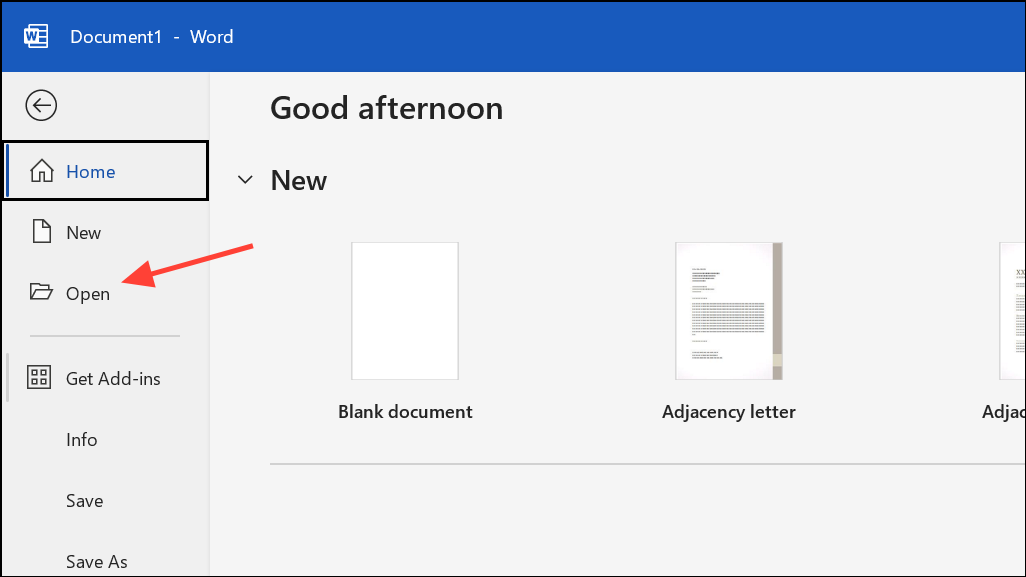
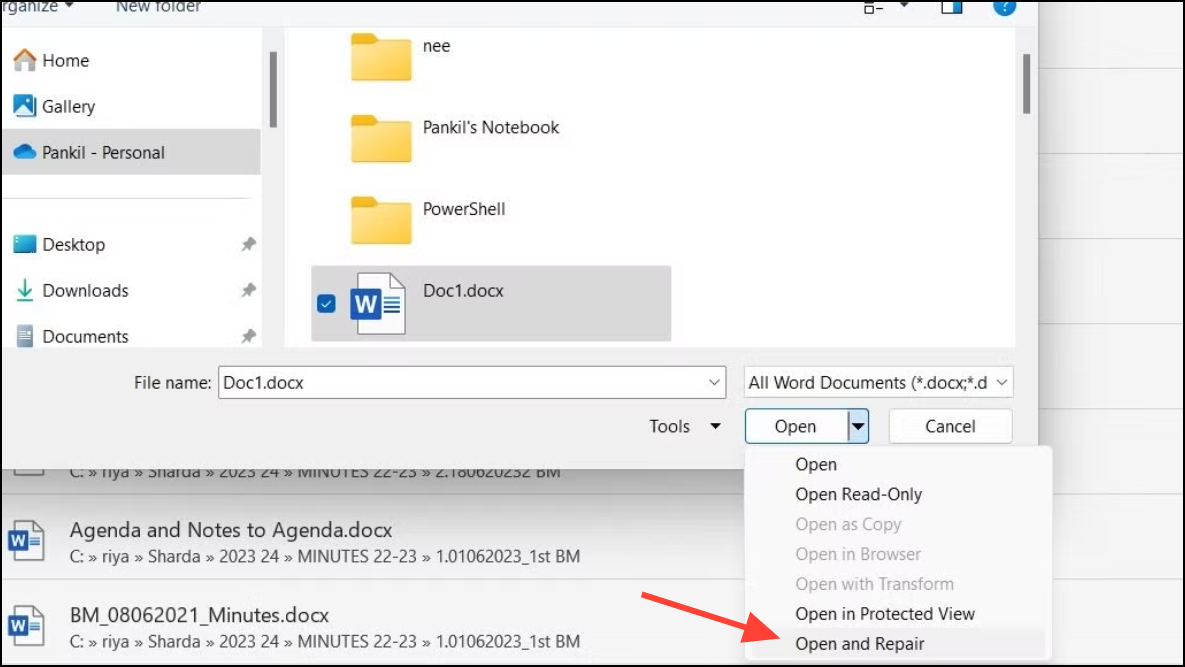
Step 3: Click once to highlight the file, then click the small arrow next to the Open button. Choose Open and Repair from the dropdown menu.
Step 4: Word will attempt to repair and open the document. If successful, review the content and immediately save the file under a new name to avoid further issues.
If the repair is only partially successful or if some content is missing, try the “Recover Text from Any File” option in the Open dialog’s file type dropdown. This may extract text, although formatting and images may be lost.
Repairing the Microsoft Office Installation
Problems within the Office application itself, such as incomplete updates or corrupted program files, can also cause the “file is corrupted and cannot be opened” error. Repairing the Office suite can resolve these underlying issues.
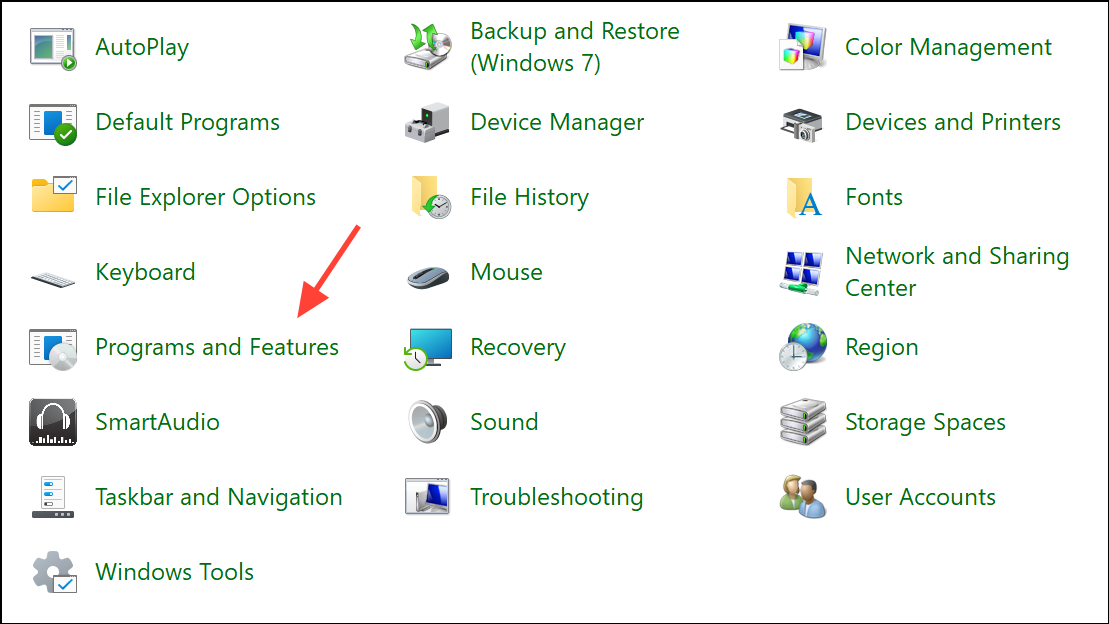
Step 1: Open the Control Panel on your computer and select Programs and Features.
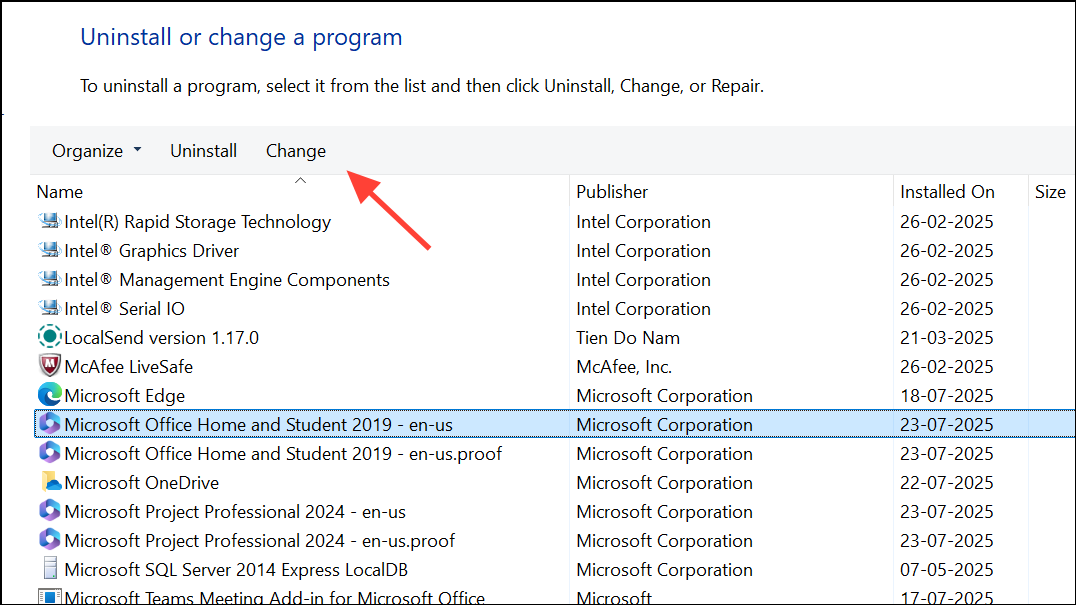
Step 2: Locate Microsoft Office in the list of installed programs. Click it once to highlight, then choose Change from the menu above.
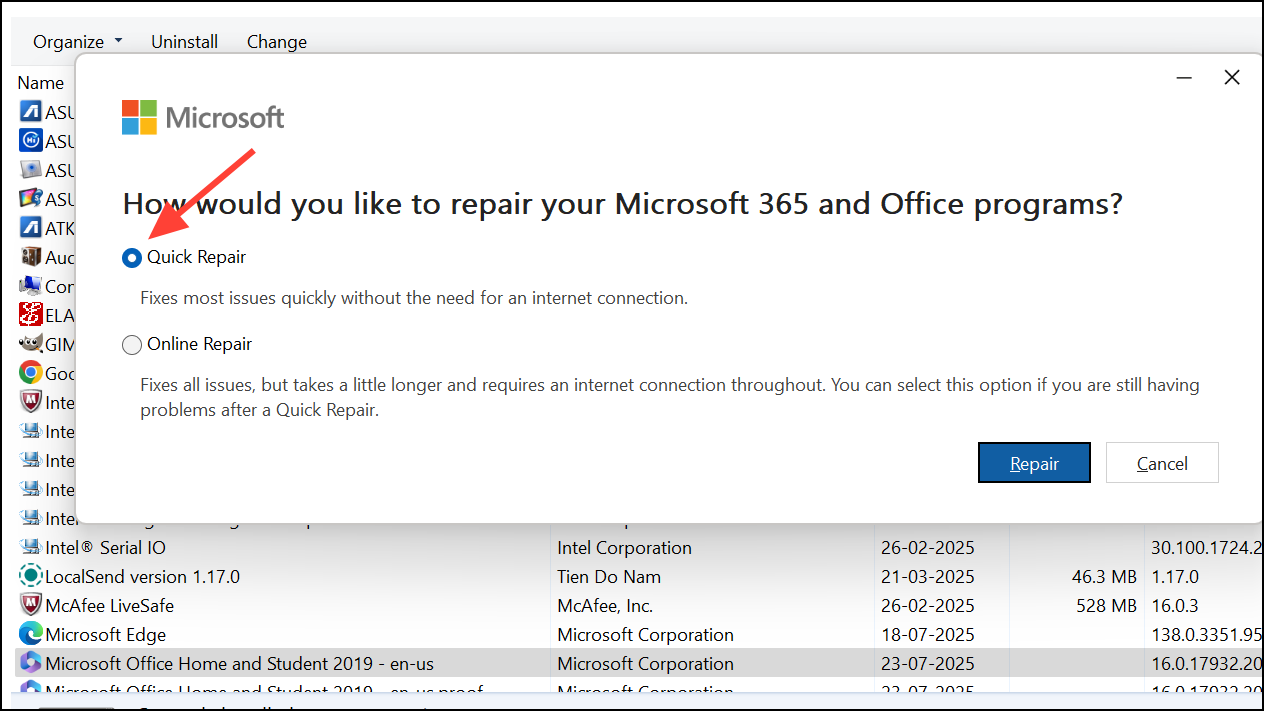
Step 3: In the dialog that appears, select Quick Repair and confirm your choice. The repair process will scan and fix any problems with your Office installation without affecting your documents.
Step 4: When the repair is complete, restart your computer and try opening the problematic Word file again.
If issues persist, consider running the Online Repair option, which is more thorough but requires an internet connection and may take longer.
Unlocking the Word Document File
Sometimes, Word files become locked by the operating system, preventing them from opening and causing error messages.
Step 1: Open File Explorer and navigate to the folder containing the corrupted Word file.
Step 2: Right-click the file and select Properties.
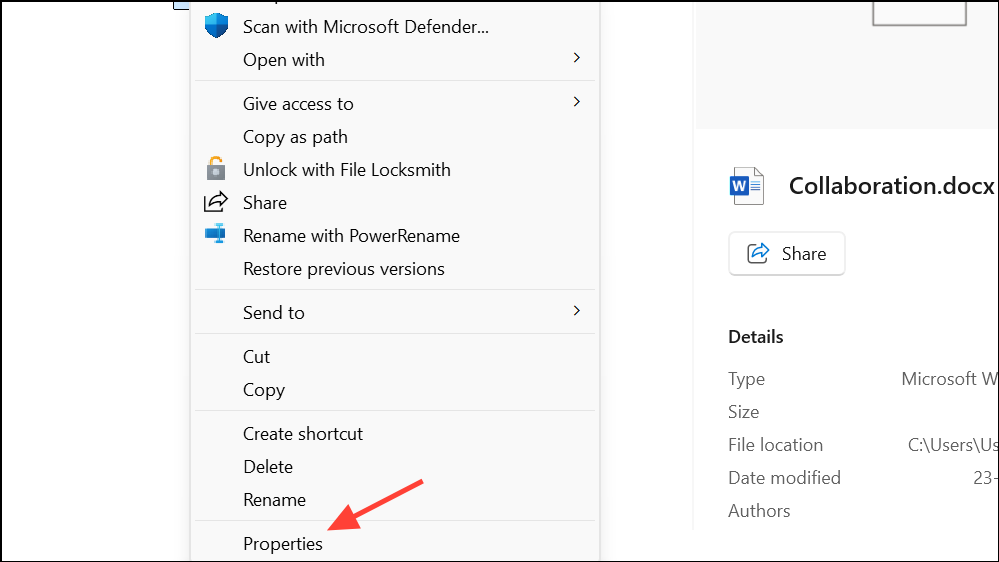
Step 3: In the General tab, look for an Unlock checkbox or a security warning about the file being blocked (such as “This file came from another computer and might be blocked to help protect this computer”).
Step 4: If present, check Unlock or click Unblock, then click Apply and OK.
After unlocking, attempt to open the file in Word again. This step is especially relevant for files downloaded from the internet or received as email attachments.
General Tips for Preventing Future File Corruption
- Save work frequently and use multiple backup copies stored in different locations.
- Keep antivirus software updated to prevent malware from damaging files.
- Close Word and shut down your computer properly to avoid abrupt interruptions.
- Be cautious with third-party add-ins, which can sometimes interfere with file operations.
- Stick to standard file formats (DOCX, DOC) and avoid editing files over unreliable network connections.
Fixing the “This file is corrupted and cannot be opened” error in Word usually comes down to adjusting security settings, repairing the Office suite, or using a dedicated recovery tool. With these methods, you can regain access to your important documents and reduce the risk of future file corruption.