
Having the correct time and date set on your computer is crucial for the smooth operation of apps and system functions. Incorrect time settings can lead to unexpected behavior in applications and may disrupt essential OS features. Additionally, it can result in files having inaccurate timestamps or degraded information due to time desynchronization.
Windows typically synchronizes time with an internet server using the Network Time Protocol (NTP). However, there are instances when synchronization fails. Fortunately, there are several methods to fix this issue on your Windows 11 PC.
1. Restart the Windows Time Service
The Windows Time service is responsible for maintaining date and time synchronization on your computer. If there’s a glitch or interference from a third-party app, restarting this service can resolve synchronization issues.
- Press
Win+Rto open the Run dialog box. Typeservices.mscand pressEnterto open the Services window.
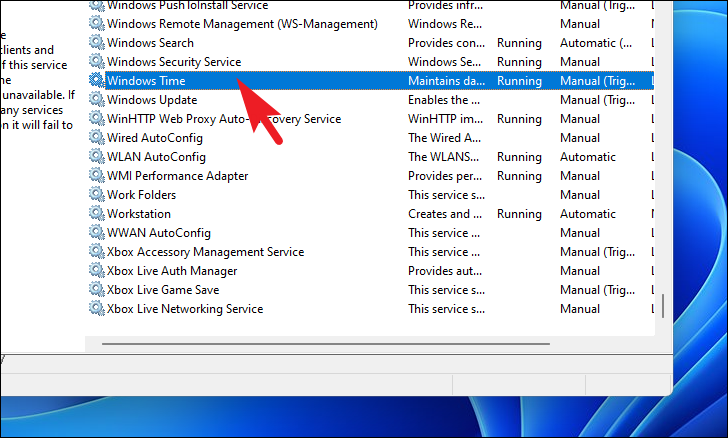
- In the Services window, scroll down and locate Windows Time. Double-click on it to open its properties.
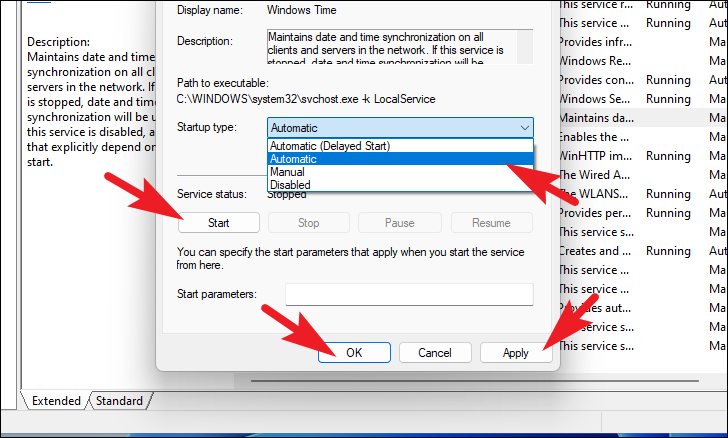
- In the properties window, ensure that the Startup type is set to Automatic. If it’s not running, click on the Start button. Then, click Apply and OK to save the changes.
2. Force Time Synchronization via Command Prompt
If the usual synchronization methods aren’t working, you can force your PC to sync time using Command Prompt.
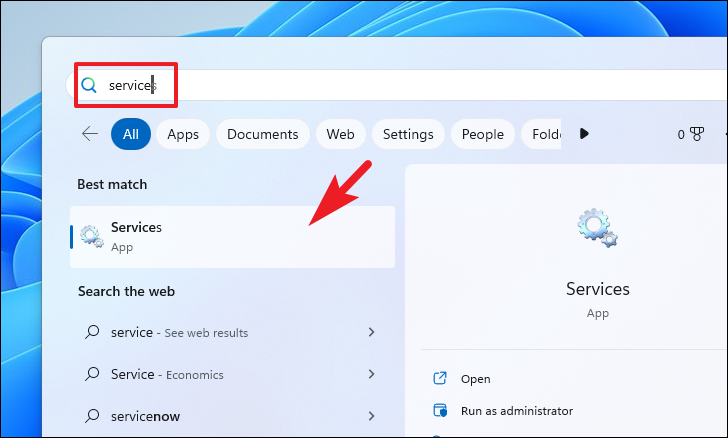
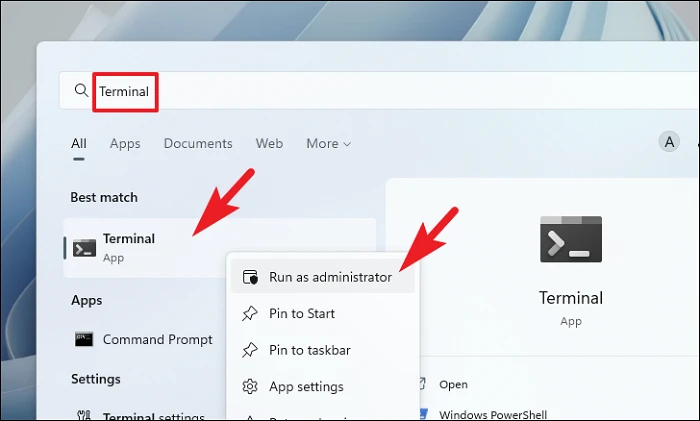
- Click on the Start menu, type
Terminal, right-click on the Terminal app, and select Run as administrator.

- If prompted by User Account Control (UAC), click Yes to grant administrative privileges.
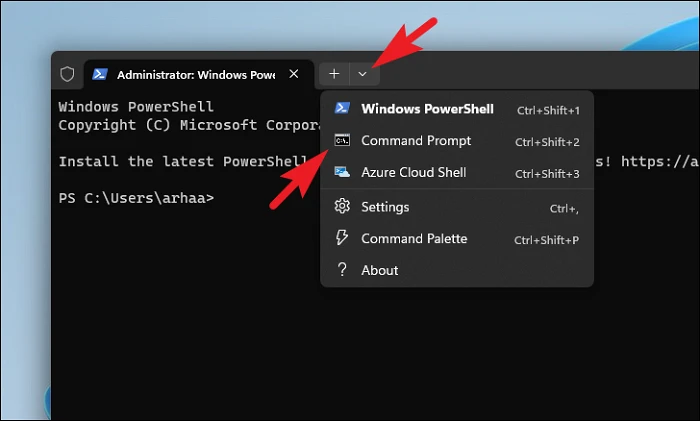
- In the Terminal window, click the downward arrow at the top and select Command Prompt to open it in a new tab.
- Execute the following commands one by one, pressing
Enterafter each:
NET STOP w32time
w32tm /unregister
w32tm /register
NET START w32time
w32tm /resync
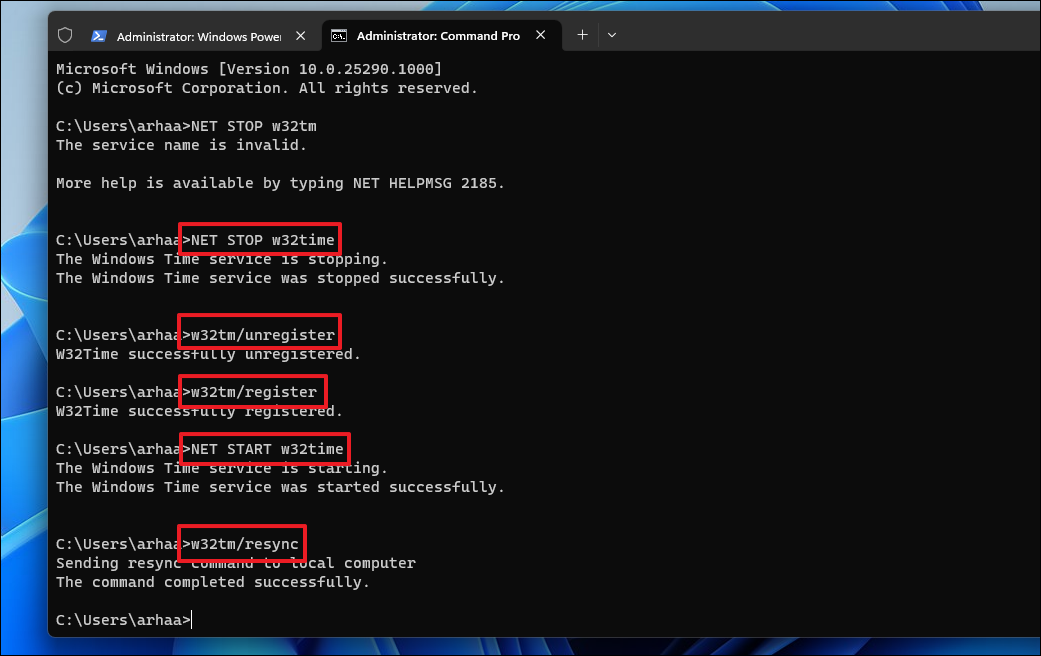
- Once all commands have been executed successfully, restart your PC to apply the changes.
3. Use a Different Time Server
Sometimes, your computer might have trouble connecting to the default time server. Changing to a different server can resolve the synchronization issue.
- Open Settings by pressing
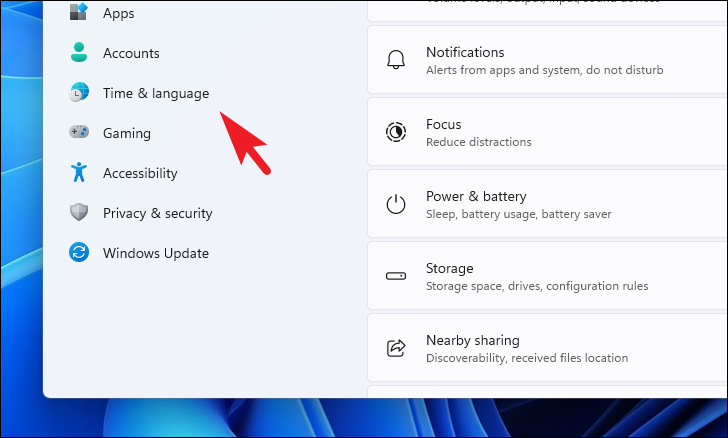
Win+I. Click on Time & language from the left sidebar.

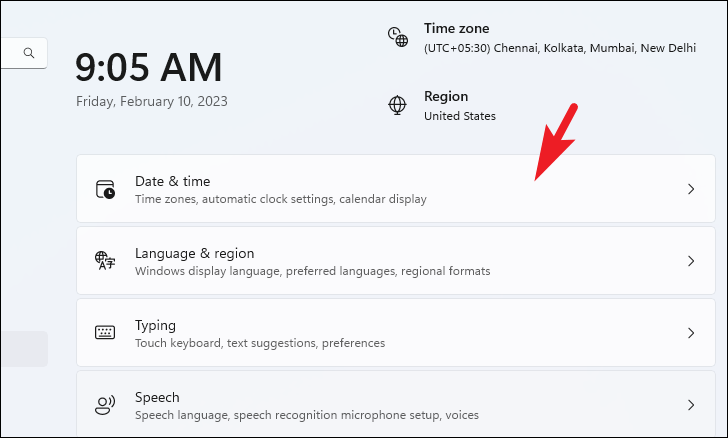
- Select Date & time on the right pane.

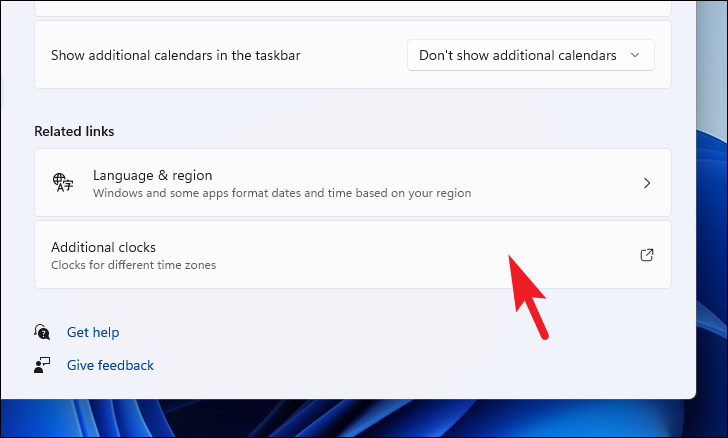
- Scroll down and click on Additional clocks to open the Date and Time settings.
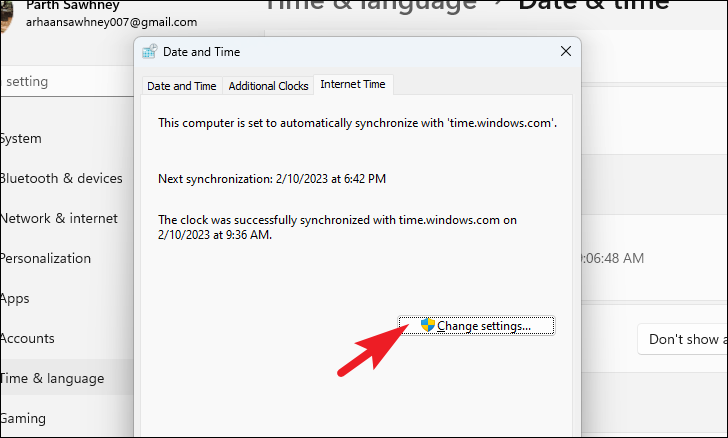
- In the Date and Time window, go to the Internet Time tab and click on Change settings.
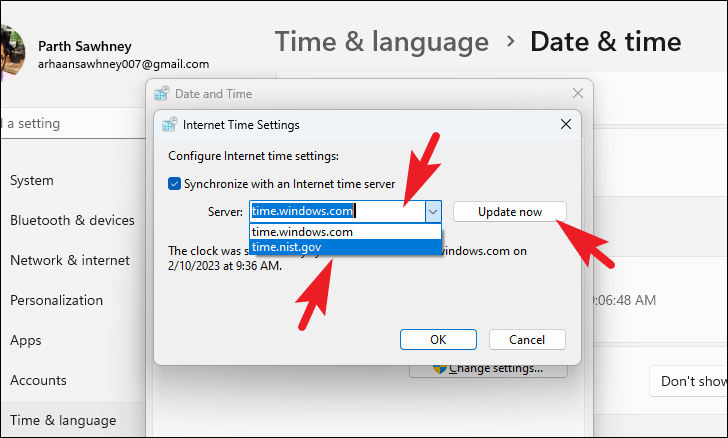
- In the Internet Time Settings window, select
time.nist.govfrom the Server dropdown menu. Click on Update now to synchronize, then click OK.
4. Ensure Automatic Time Settings Are Enabled
Windows can automatically update the time and time zone based on your location. If these settings are disabled, your system may not synchronize time correctly.
- Go to Settings by pressing
Win+I, then click on Time & language.
- Click on Date & time.
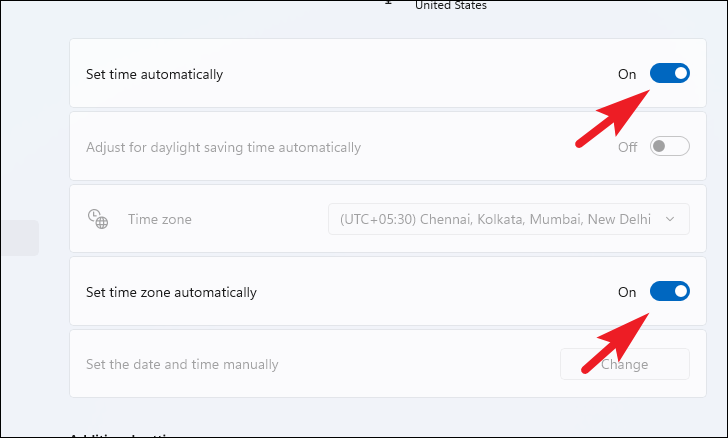
- Make sure both Set time automatically and Set time zone automatically toggles are turned on.
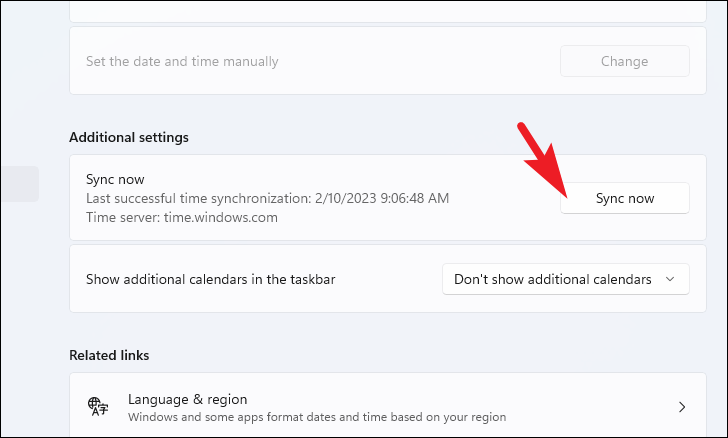
- Under the Additional settings section, click on Sync now to manually force a synchronization.
5. Run an SFC Scan to Repair System Files
Corrupted or missing system files can prevent time synchronization. Running a System File Checker (SFC) scan can detect and repair these files.
- Open the Terminal as an administrator. Press
Win, typeTerminal, right-click it, and select Run as administrator.
- Approve the UAC prompt by clicking Yes.
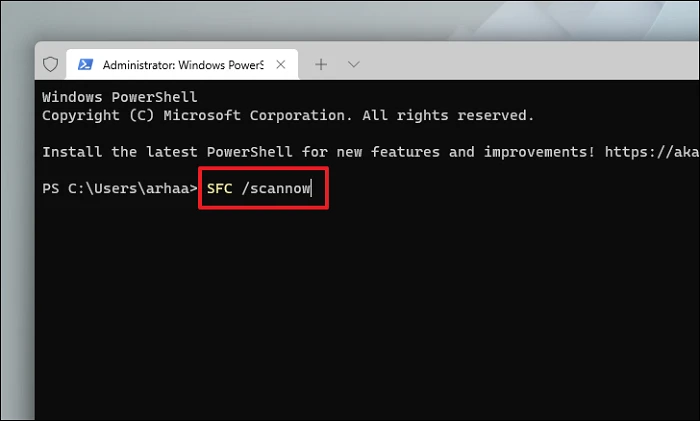
- In the Terminal, type the following command and press
Enter:
SFC /scannow
- Wait for the scan to complete. It will automatically repair any detected issues. Restart your PC afterward.
6. Edit Registry to Adjust Time Synchronization Frequency
Modifying the registry can help if the synchronization interval is causing issues. You can increase the update frequency to ensure your time stays accurate.
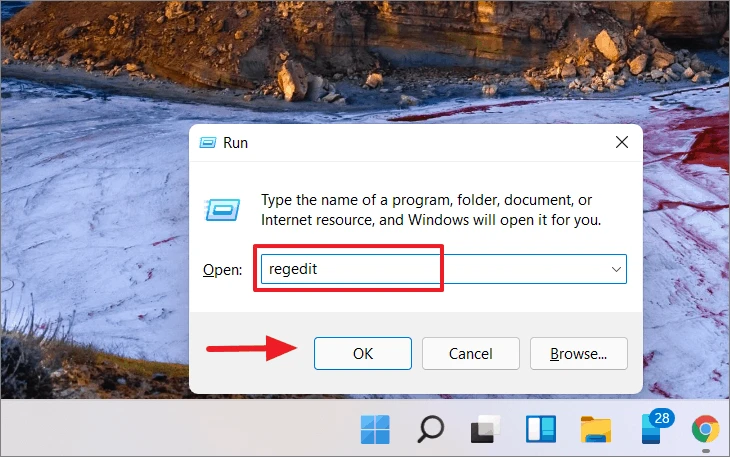
- Press
Win+R, typeregedit, and pressEnterto open the Registry Editor.
- Before making changes, back up your registry. Click on File > Export, choose a location, select All under Export range, name the file, and click Save.
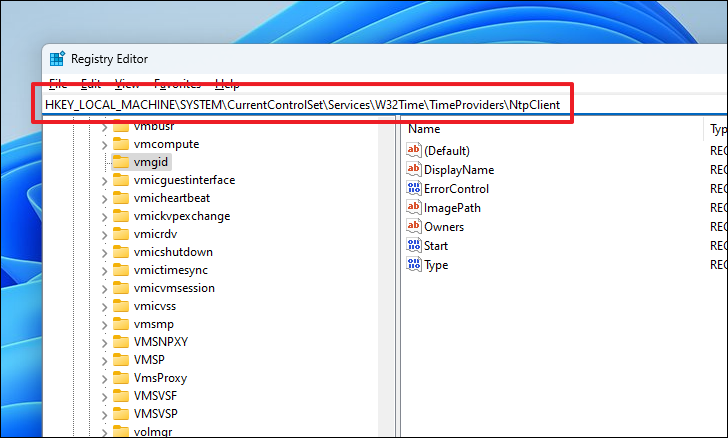
- Navigate to the following path by pasting it into the address bar and pressing
Enter:
HKEY_LOCAL_MACHINE\SYSTEM\CurrentControlSet\Services\W32Time\TimeProviders\NtpClient
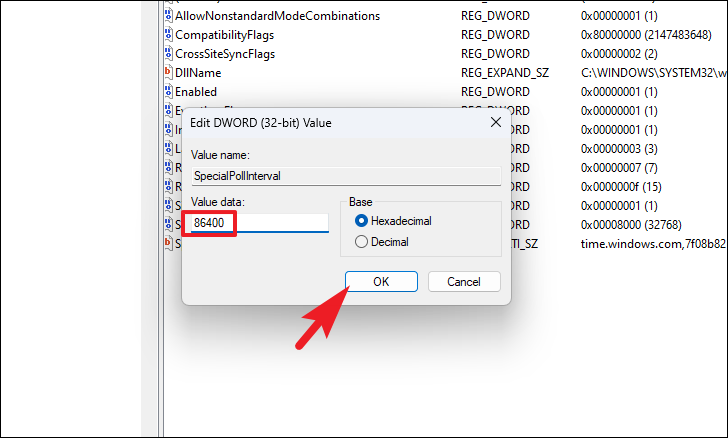
- In the right pane, double-click on SpecialPollInterval.
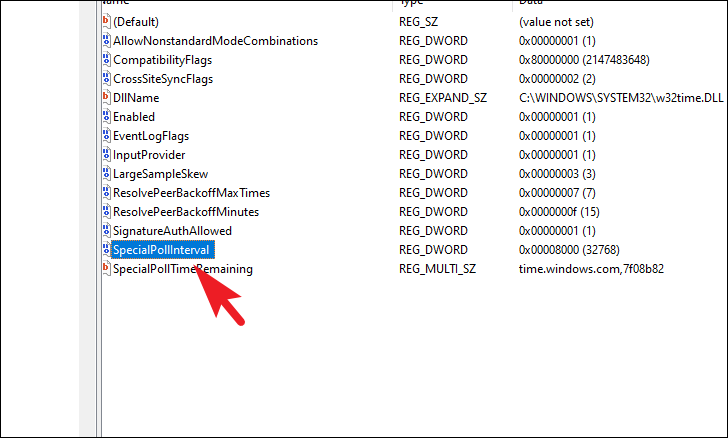
- Change the Value data to
86400(which represents 24 hours in seconds) and click OK.
- Close the Registry Editor and restart your computer.
7. Add Additional Time Servers
Adding more time servers can provide alternatives if the default servers are unreachable.
- Open the Registry Editor by pressing
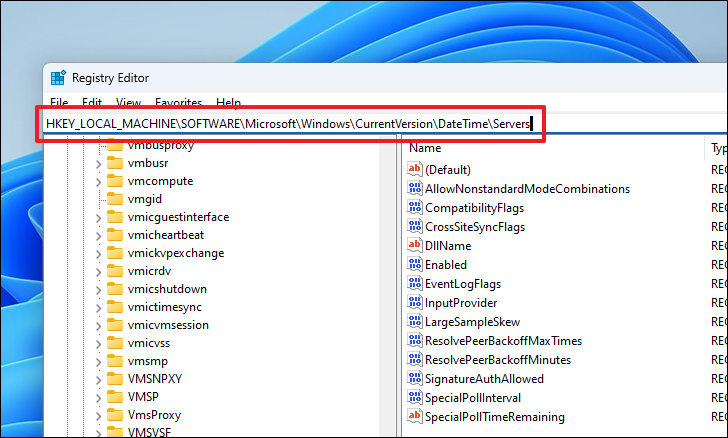
Win+R, typingregedit, and pressingEnter. - Navigate to the following path:
HKEY_LOCAL_MACHINE\SOFTWARE\Microsoft\Windows\CurrentVersion\DateTime\Servers
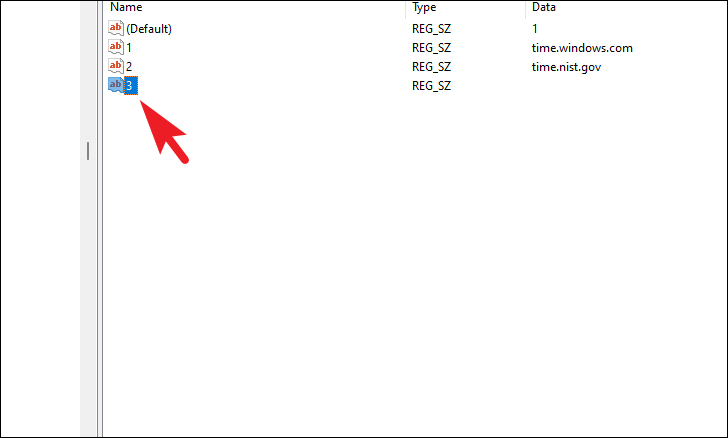
- Right-click in the blank space on the right, select New, then choose String Value.
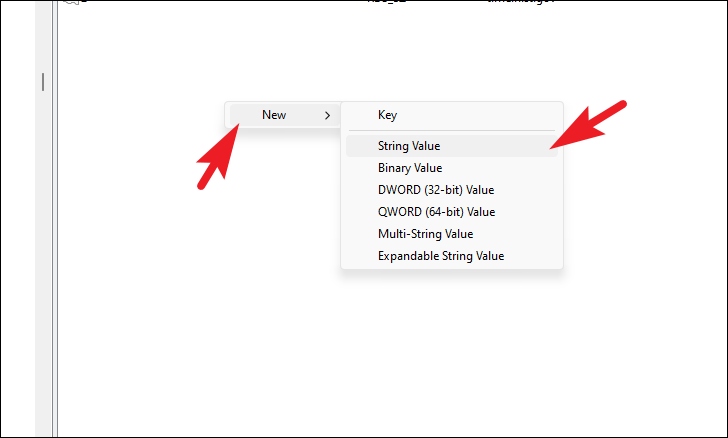
- Name this new string value as the next number in sequence (e.g., if the last one is
2, name this one3).
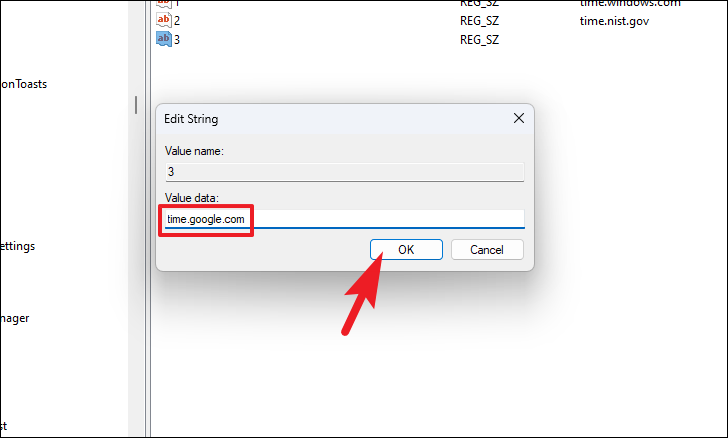
- Double-click the new string value, enter a new time server (e.g.,
time.google.com) into the Value data field, and click OK.
time.google.com
- Repeat the process to add more servers if desired. Close the Registry Editor when done.
- Restart your computer. Then, change the time server by following the steps in the earlier section “Use a Different Time Server,” selecting the new server you added.
8. Restore Your System to an Earlier Point
If the issue started recently, restoring your system to a previous state might help, especially if a recent update or software installation caused the problem.
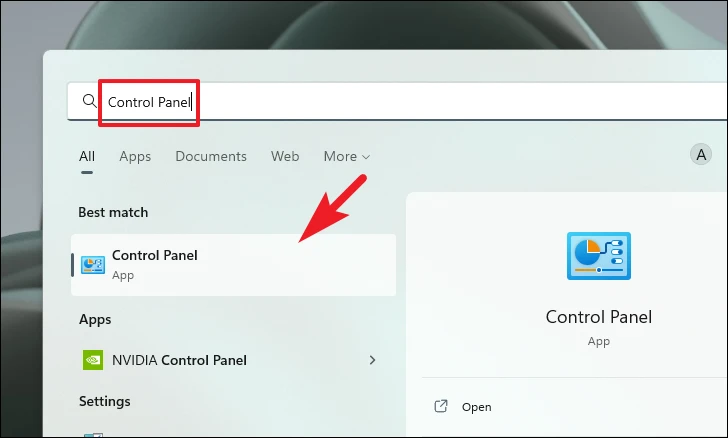
- Press
Win, typeControl Panel, and open it.
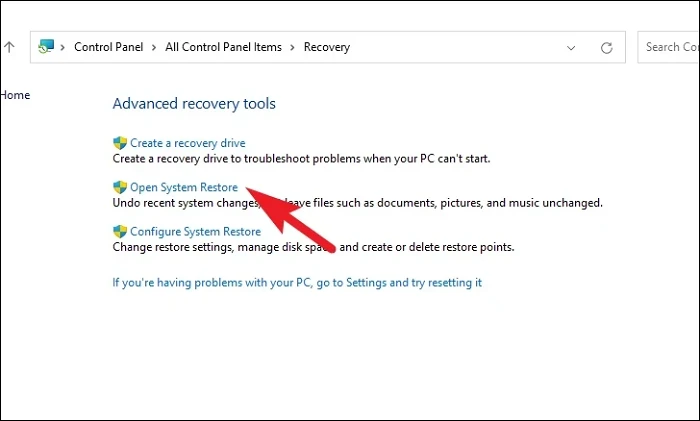
- In the Control Panel, set the View by option to Small icons, then click on Recovery.

- Click on Open System Restore.
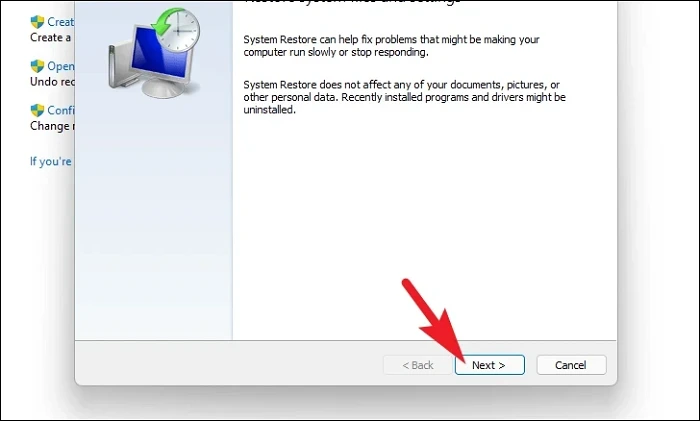
- In the System Restore window, click Next.
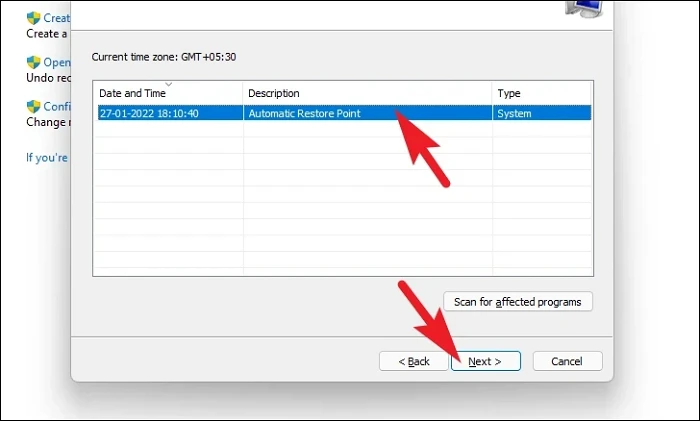
- Select a restore point from before the time synchronization issue began and click Next.
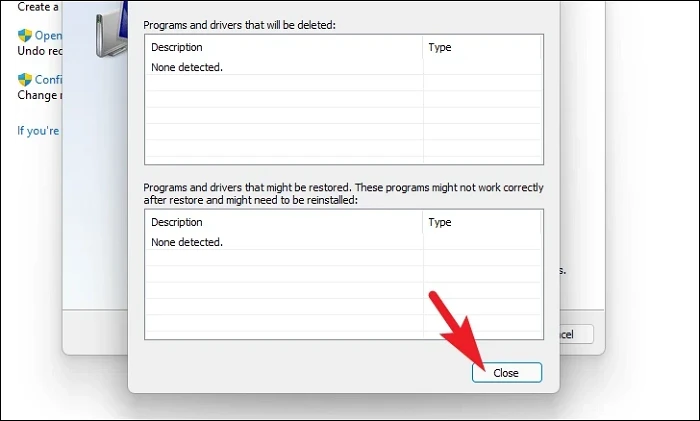
- To see which programs will be affected, click on Scan for affected programs. Review the list and close the window.
- Click Finish to start the restoration process. Your computer will restart to apply the restore point.
Time synchronization issues can be frustrating, but by following these methods, you should be able to resolve them and keep your system running smoothly.


