Protecting your Windows 11 computer from viruses and malware is crucial. While Windows Defender offers a user-friendly graphical interface, there are situations where running antivirus scans from the Command Prompt is more practical. Whether you’re facing issues accessing the GUI or you prefer using command-line tools, this guide will walk you through running various types of virus scans using Command Prompt.
Launch an Elevated Command Prompt
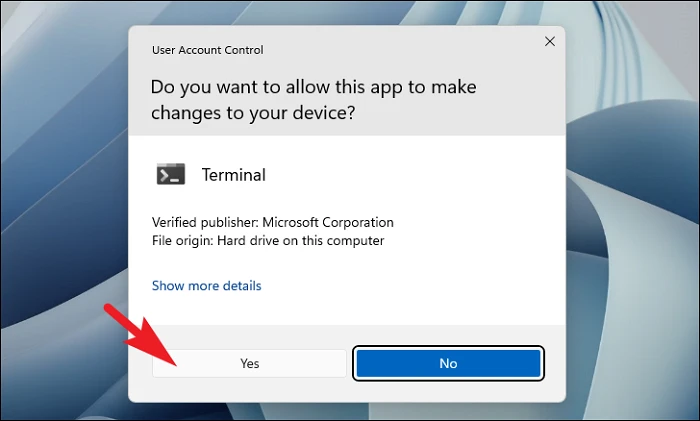
Before you can run any scans, you need to open Command Prompt with administrative privileges. Here’s how to do it:
Start menu and type Terminal in the search bar. From the search results, right-click on Terminal and select Run as administrator.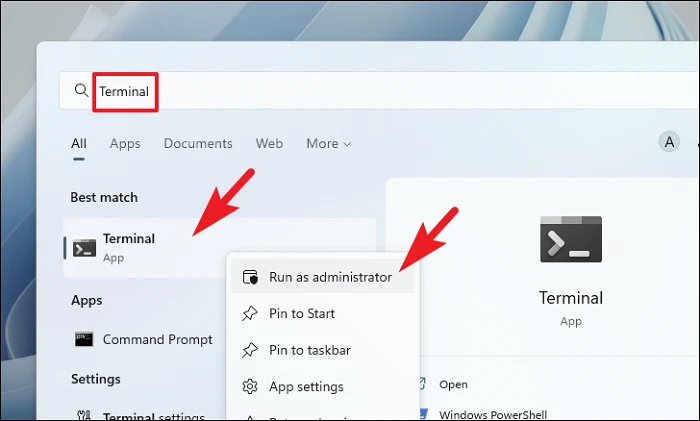
1. Run a Full Antivirus Scan
A full antivirus scan thoroughly examines all files and programs on your system, including system memory, startup programs, system backups, email databases, hard drives, network drives, and removable media. This is the most comprehensive scan to detect and remove malware.
Enter:cd C:\ProgramData\Microsoft\Windows Defender\Platform\4.18*
MpCmdRun -Scan -ScanType 2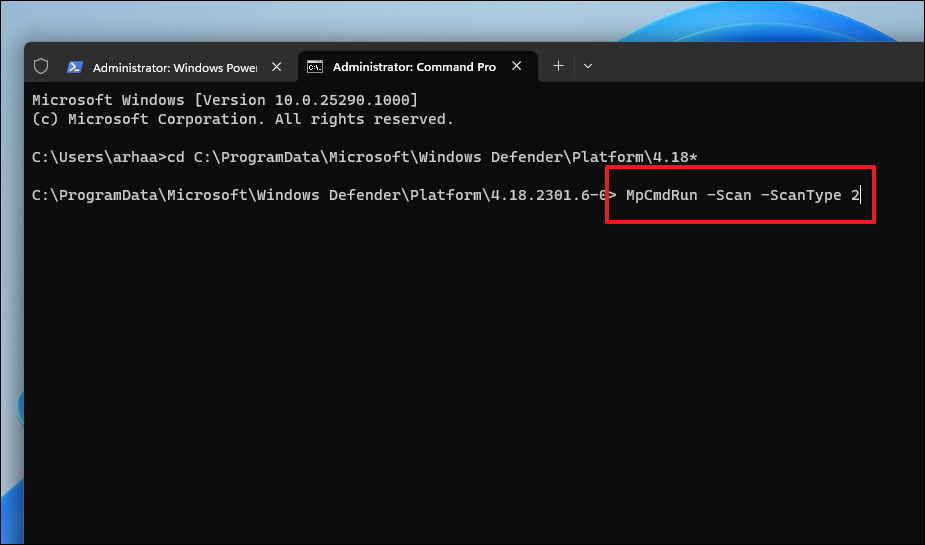
Note that a full scan may take several hours to complete, depending on the number of files on your system.
2. Run a Boot Sector Scan
The boot sector contains essential files and instructions for starting your system. Some malware targets this area specifically. Running a boot sector scan can help detect and remove such threats.
cd C:\ProgramData\Microsoft\Windows Defender\Platform\4.18*
MpCmdRun -Scan -ScanType -BootSectorScan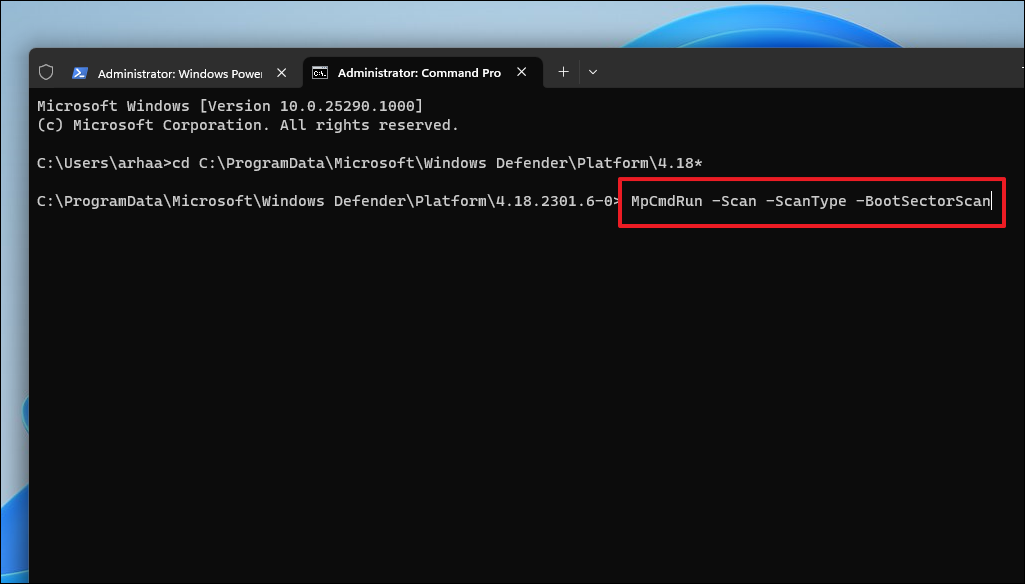
3. Run a Custom Scan
If you suspect malware in a specific folder or drive, you can run a custom scan to check only that location. This can save time compared to a full scan.
cd C:\ProgramData\Microsoft\Windows Defender\Platform\4.18*
Note: Replace <directory> with the actual path of the folder you want to scan.
MpCmdRun -Scan -ScanType 3 -File <directory>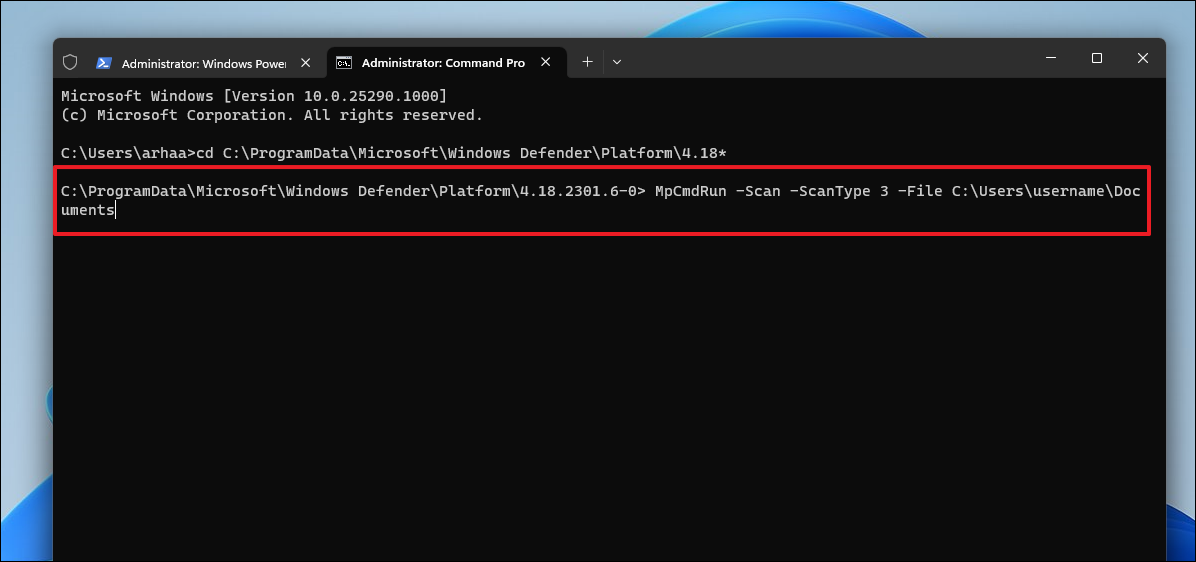
4. Run a Quick Scan
A quick scan checks the areas of your system that are most likely to be infected by malware, such as system memory and startup programs. This is faster than a full scan but less comprehensive.
cd C:\ProgramData\Microsoft\Windows Defender\Platform\4.18*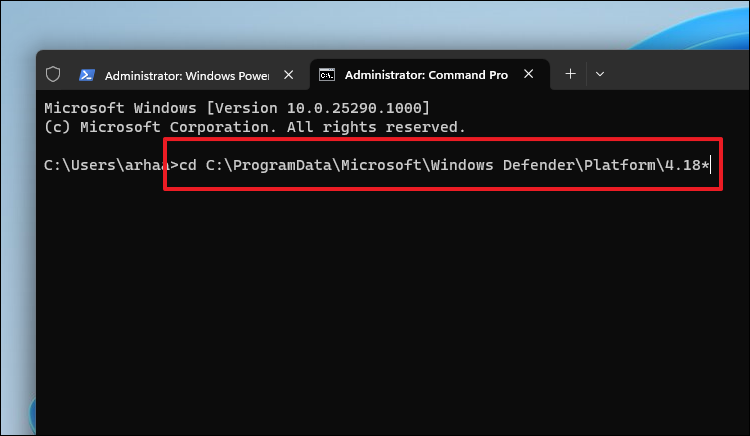
MpCmdRun -Scan -ScanType 1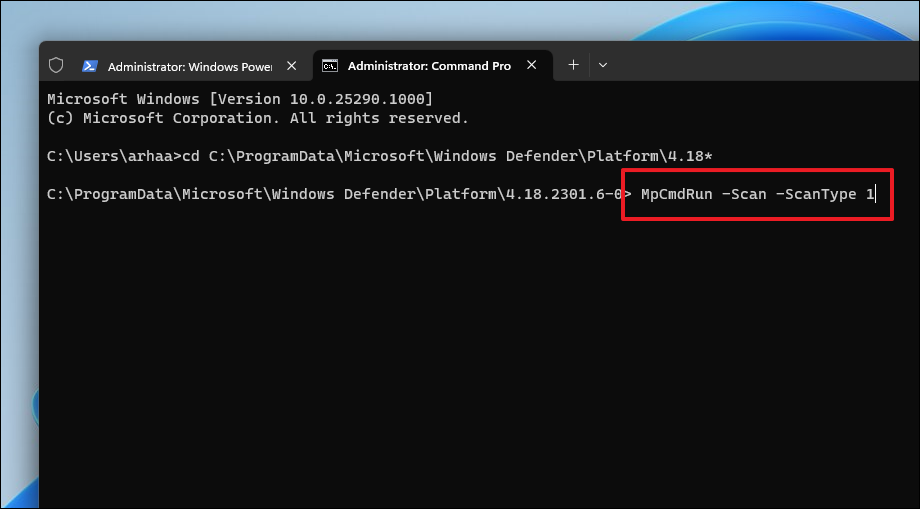
How to Update Windows Defender Using Command Prompt
Keeping Windows Defender’s virus definitions up to date is crucial for effective protection against the latest threats. You can update these definitions directly from the Command Prompt.
cd C:\ProgramData\Microsoft\Windows Defender\Platform\4.18*
MpCmdRun -SignatureUpdate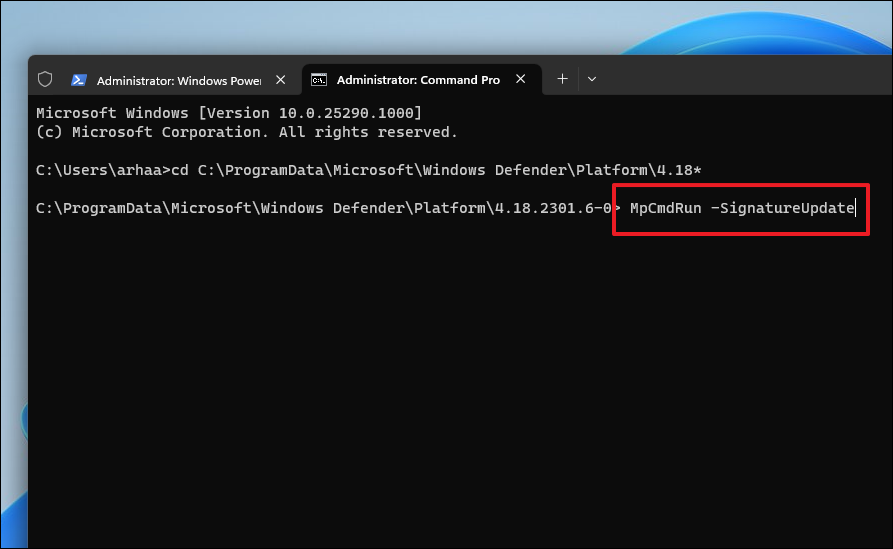
How to View or Restore a Quarantined Item
When Windows Defender detects a threat, it may quarantine the suspicious file. You can view and restore quarantined items using Command Prompt if you believe a file was mistakenly flagged.
cd C:\ProgramData\Microsoft\Windows Defender\Platform\4.18*
MpCmdRun -Restore -ListAll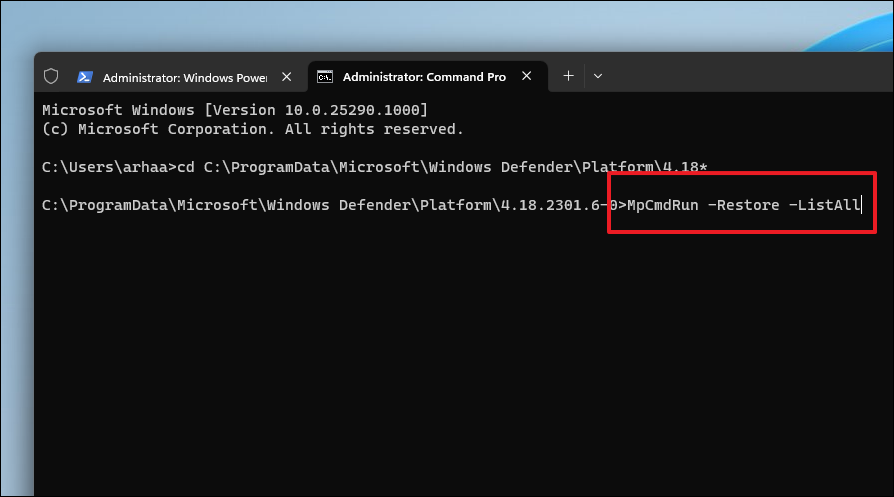
To restore all quarantined items, use this command:
MpCmdRun -Restore -All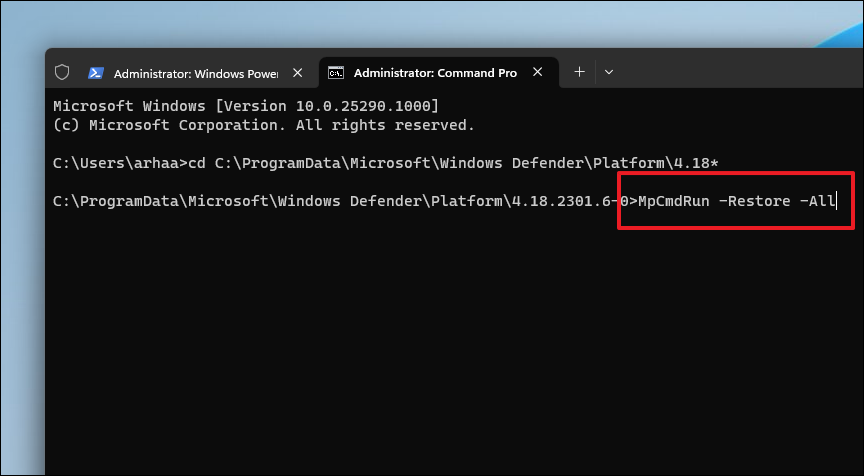
To restore a specific file, use the following command, replacing <filename.extension> with the actual file name:
MpCmdRun -Restore -Name <filename.extension>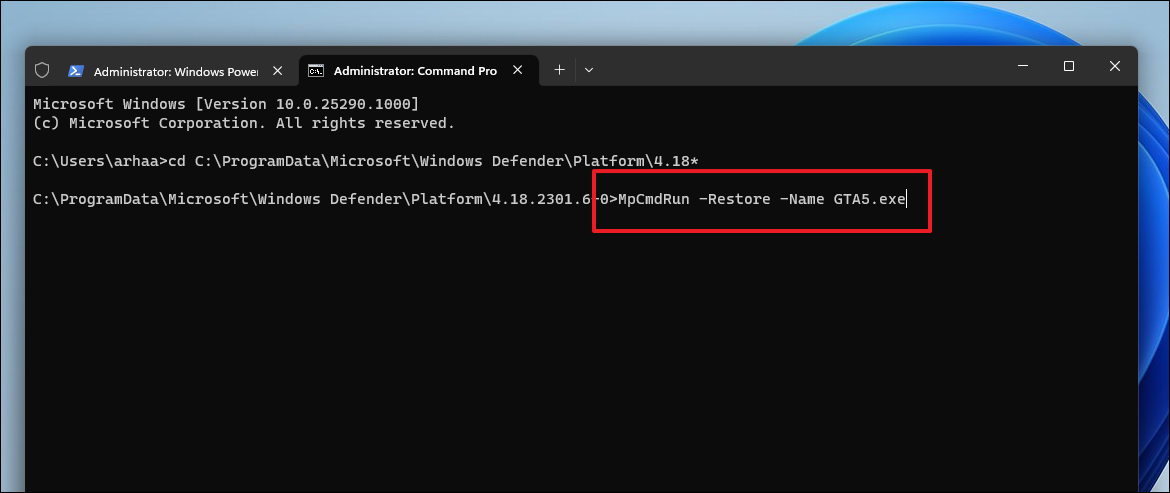
To restore a specific file to a specific path, use this command, replacing <filename.extension> with the file name and <file directory> with the desired restore path:
MpCmdRun -Restore -Name <filename.extension> -FilePath <file directory>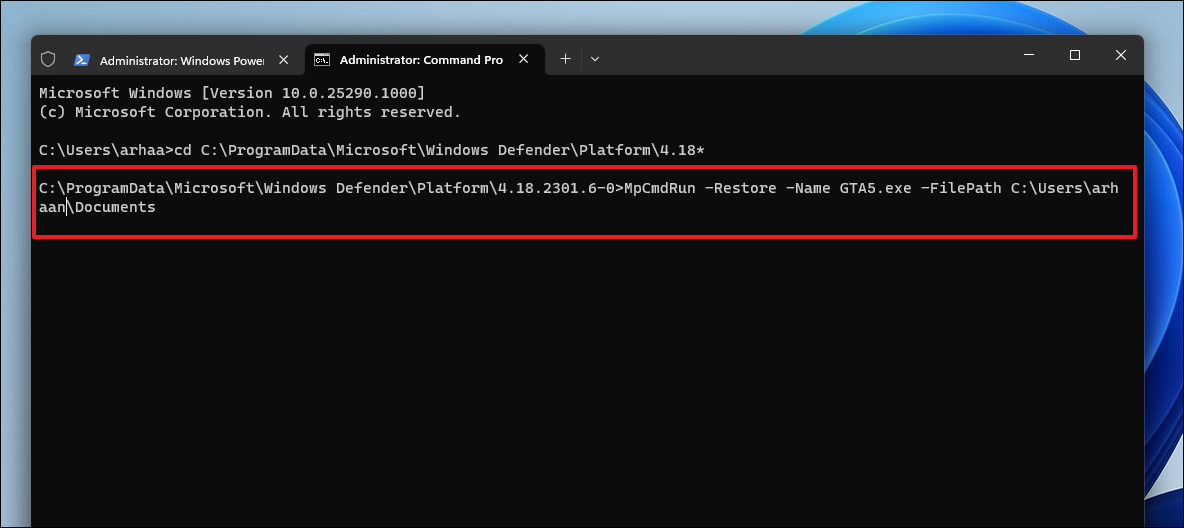
Even if you’re unable to use Windows Defender’s graphical interface, the Command Prompt provides powerful tools to protect your system from malware. By following these steps, you can effectively scan for threats, update virus definitions, and manage quarantined items directly from the command line.