
The error message We couldn't create a new partition or locate an existing one. For more information, see the Setup log files appears during Windows 11 installation when the setup cannot properly access or configure the target disk partition. This issue interrupts the installation process and can result from bootable media problems, conflicting drives, incorrect partition settings, or disk format mismatches.
Disconnect All Unnecessary Drives and Devices
Multiple connected storage devices often confuse the Windows installer, causing it to select the wrong disk for boot files or partitions. Removing unnecessary drives ensures the installer targets only the intended disk.
Step 1: Power off your computer and physically disconnect any external hard drives, USB flash drives (except your Windows installation media), SD cards, and additional internal drives. Leave only the target drive and your Windows installation USB or DVD connected.
Step 2: Boot your system and start the Windows 11 installation again. Select the unallocated space on your intended disk during setup. If the error does not appear, reconnect your other drives after installation completes.
Create or Prepare the Partition Using Diskpart
When Windows Setup cannot create or locate a partition, using the Diskpart command-line utility allows you to manually clean, create, and set up the target partition. This approach resolves issues caused by leftover partition tables or incompatible formats.
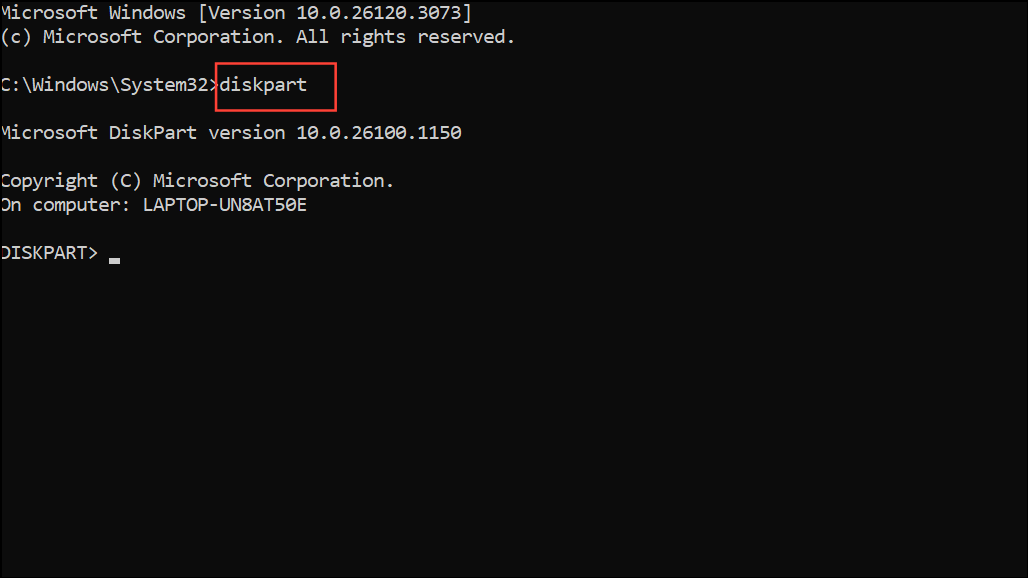
Step 1: Boot from your Windows 11 installation USB or DVD. On the initial setup screen, press Shift + F10 to open a Command Prompt window.
Step 2: Enter diskpart to launch the Diskpart utility.
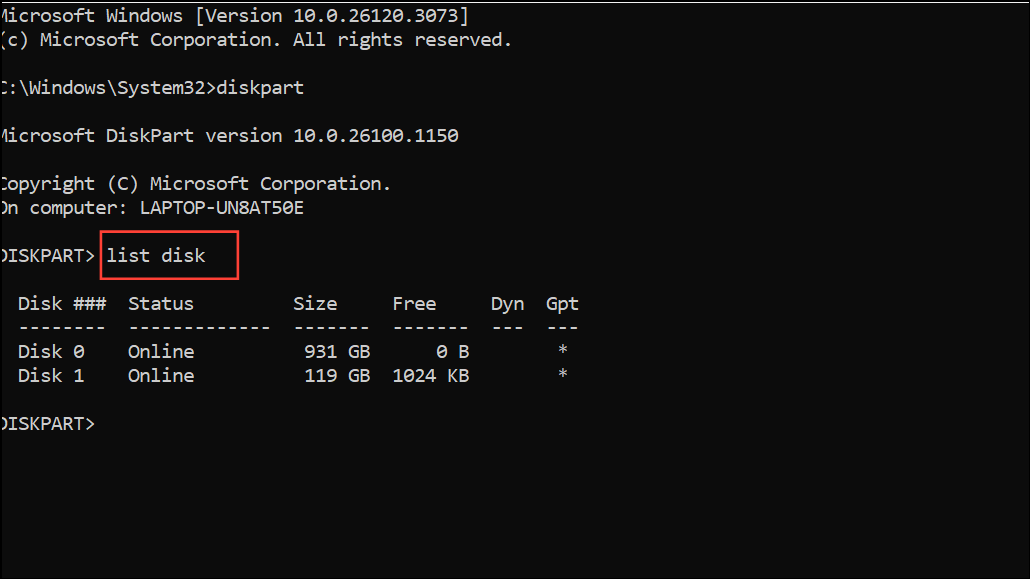
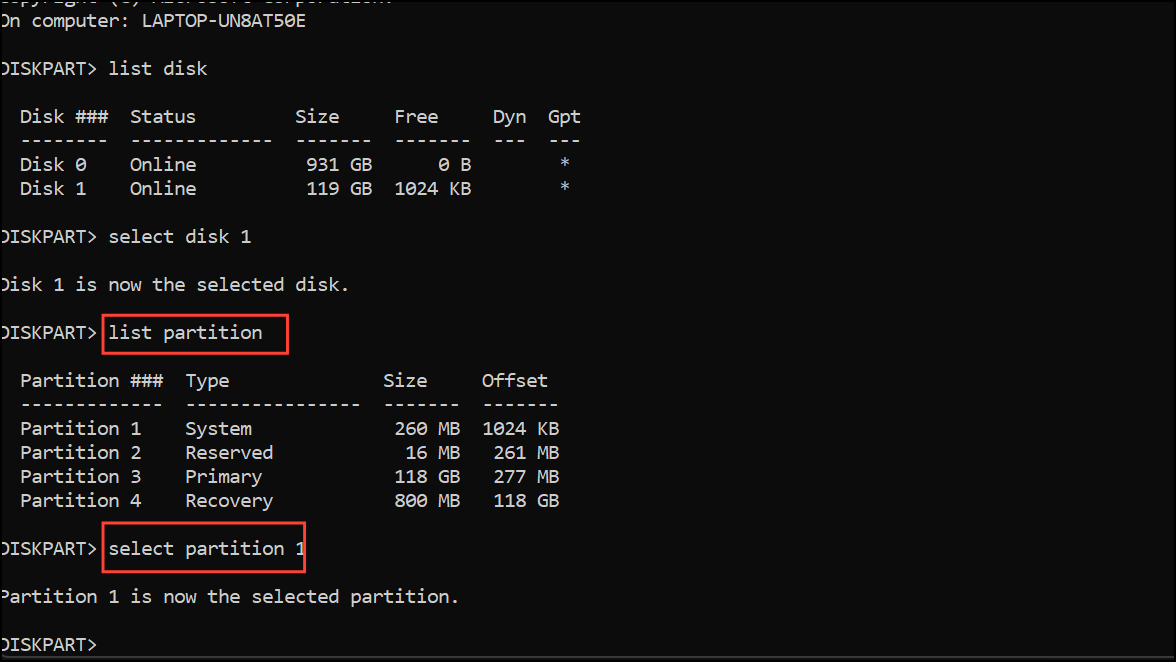
Step 3: Type list disk and press Enter to display all connected disks. Identify the disk number for your target drive.
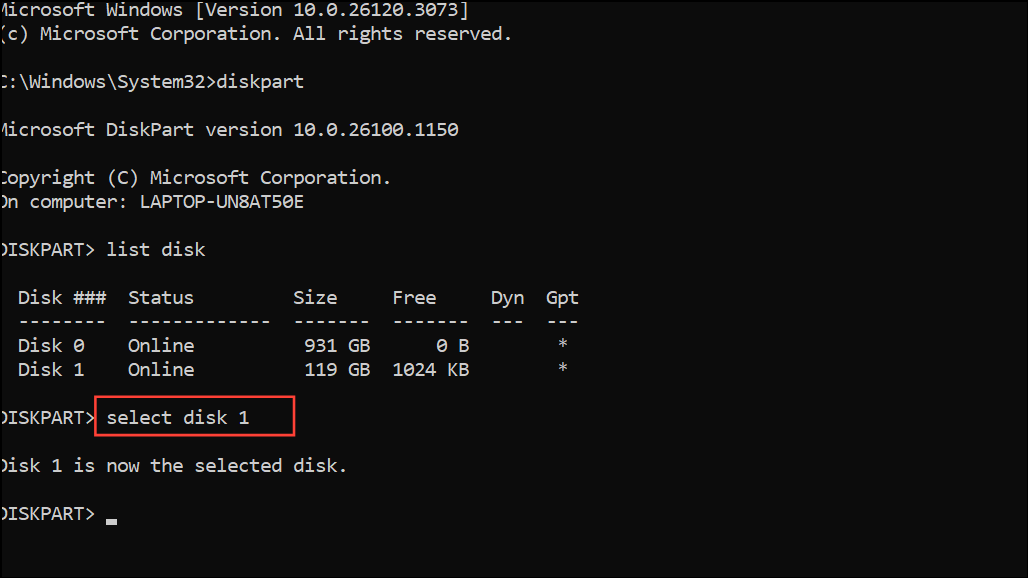
Step 4: Type select disk X (replace X with your disk number), then press Enter.
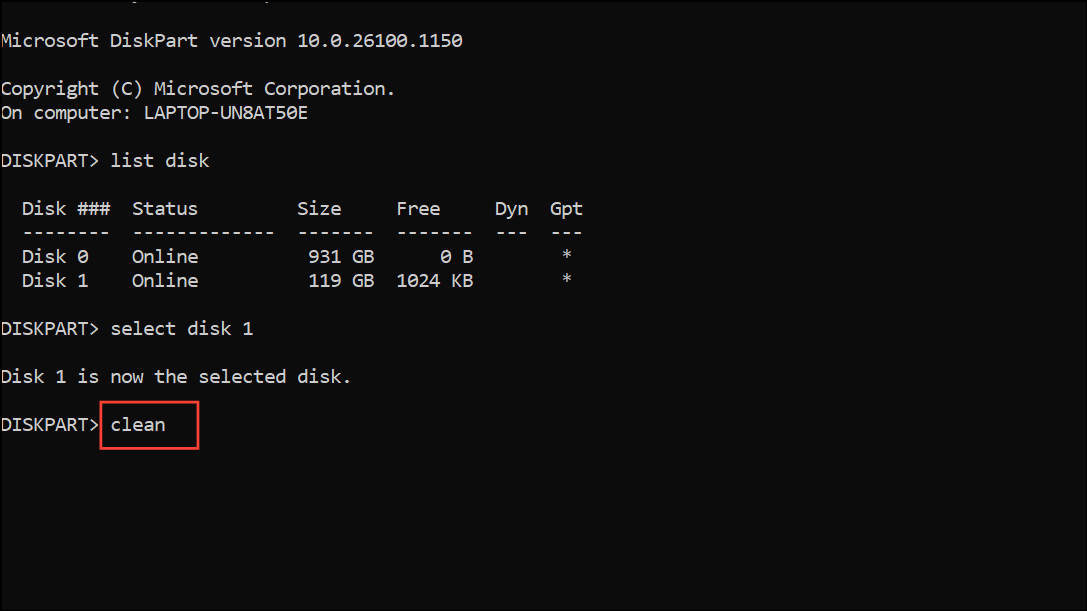
Step 5: To remove all partitions and data, type clean and press Enter.
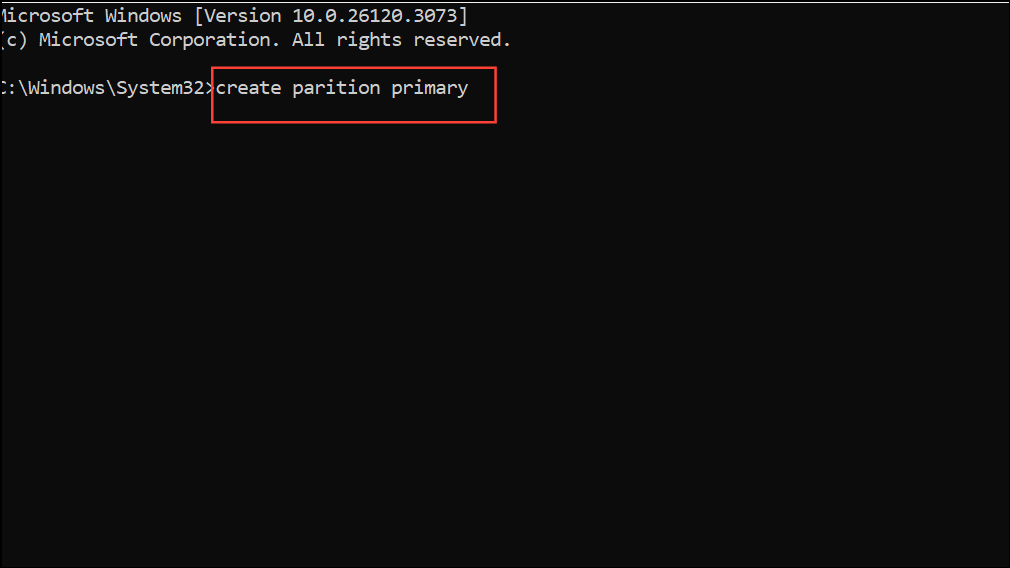
Step 6: Create a new primary partition by entering create partition primary, then press Enter.
Step 7: Format the partition with format fs=ntfs quick and assign a drive letter by typing assign letter=C (or another available letter).
Step 8: Set the partition as active (for BIOS/MBR installations) using active. For UEFI/GPT installations, this step is not required.
Step 9: Type exit twice to close Diskpart and the Command Prompt. Continue with Windows Setup and select the newly created partition for installation.
Switch to a USB 2.0 Drive for Installation Media
Some systems, especially older motherboards or those with limited USB 3.0 driver support during setup, may not recognize USB 3.0 installation media correctly. This can prevent Windows from accessing the target disk properly.
Step 1: If you are using a USB 3.0 flash drive for installation, recreate your Windows 11 installation media on a USB 2.0 drive using the official Media Creation Tool or a reliable ISO writing utility.
Step 2: Connect the USB 2.0 drive to a native USB 2.0 port on your computer. Restart and boot from this drive to begin Windows Setup.
Set the Partition as Primary or Active
Windows requires the installation partition to be set as primary and, in some legacy BIOS/MBR setups, as active. If the partition is not correctly flagged, the installer may display the partition error.
Step 1: Access the Command Prompt from Windows Setup as described above.
Step 2: Run diskpart and use list disk and select disk X to choose your target disk.
Step 3: Use list partition to display partitions, then select partition Y (replace Y with the partition number you want to install Windows on).
Step 4: Type active and press Enter. This marks the partition as active for BIOS/MBR systems. For GPT/UEFI installations, ensure the partition type is set to primary, which Diskpart does by default when creating a new partition.
Step 5: Exit Diskpart and Command Prompt, then retry the installation.
Convert Disk to GPT Format for UEFI Systems
Windows 11 requires UEFI boot mode and GPT partitioning for most modern systems. If your disk is set to MBR, the installer may fail to create the necessary EFI System Partition.
Step 1: Boot into the Command Prompt from Windows Setup.
Step 2: In Diskpart, select your disk as described above.
Step 3: Clean the disk with clean. Then, convert the disk to GPT by typing convert gpt and pressing Enter.
Step 4: Create a new primary partition and proceed with installation. Ensure your system firmware (BIOS/UEFI) is set to boot in UEFI mode, not Legacy/CSM.
Check and Adjust Boot Order in BIOS/UEFI
Incorrect boot order can cause the installer to misidentify the target disk or fail to access the installation media properly.
Step 1: Restart your computer and enter the BIOS or UEFI firmware settings (commonly by pressing F2, Del, or Esc during startup).
Step 2: Locate the boot order or boot priority menu. Move your Windows installation USB or DVD to the top of the list.
Step 3: Save changes and exit. Boot from the installation media and retry installation.
Following these targeted steps addresses the root causes behind the "We couldn't create a new partition" error 0x9cfc7550 in Windows 11. After installation, reconnect any additional drives and restore your data as needed.