
Windows 11 systems updated to version 24H2 may display a persistent “Activate Windows” watermark, refuse to accept previously valid license keys, or show error codes such as 0xC004F213. This issue disrupts access to personalization settings and can limit system features, especially for users with OEM or digital licenses tied to hardware IDs. The following approaches address the most reliable ways to restore activation, based on recent user experiences and technical support threads.
Run the Activation Troubleshooter
Microsoft’s Activation Troubleshooter is designed to automatically detect and resolve common activation problems, especially after major updates that alter hardware IDs or license data. This tool is most effective for digital licenses linked to your Microsoft account or device.
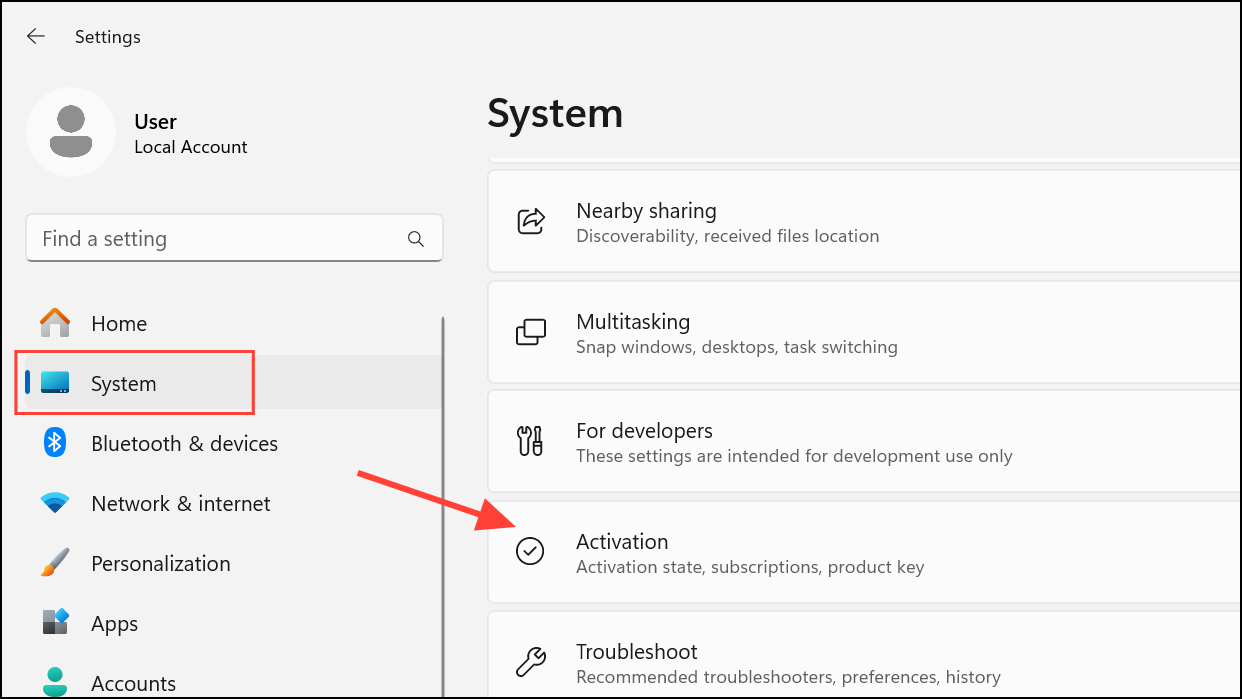
Step 1: Open Settings by pressing Win + I, then navigate to System and select Activation.
Step 2: Click the Troubleshoot button next to your activation state. Windows will scan for activation issues and attempt to resolve them. Some users report needing to run the troubleshooter multiple times before activation is restored.
Step 3: If prompted, sign in with your Microsoft account to match your device with its digital license. Follow any on-screen instructions.
Re-Enter Your Product Key
After the 24H2 update, Windows may lose track of your original product key or revert to a generic key. Re-entering your valid product key often restores activation, especially for OEM or retail licenses.
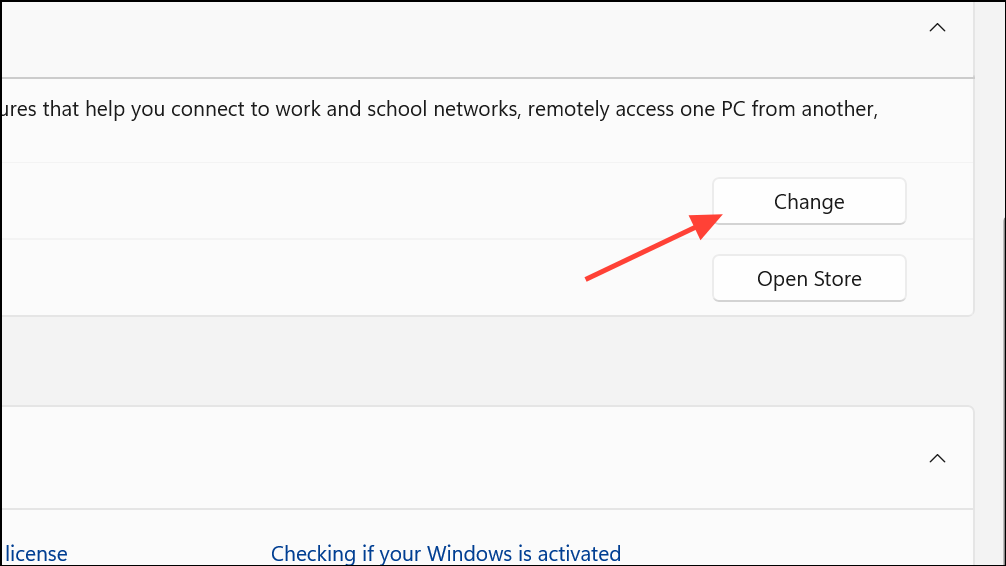
Step 1: In Settings > System > Activation, click Change next to Change product key.
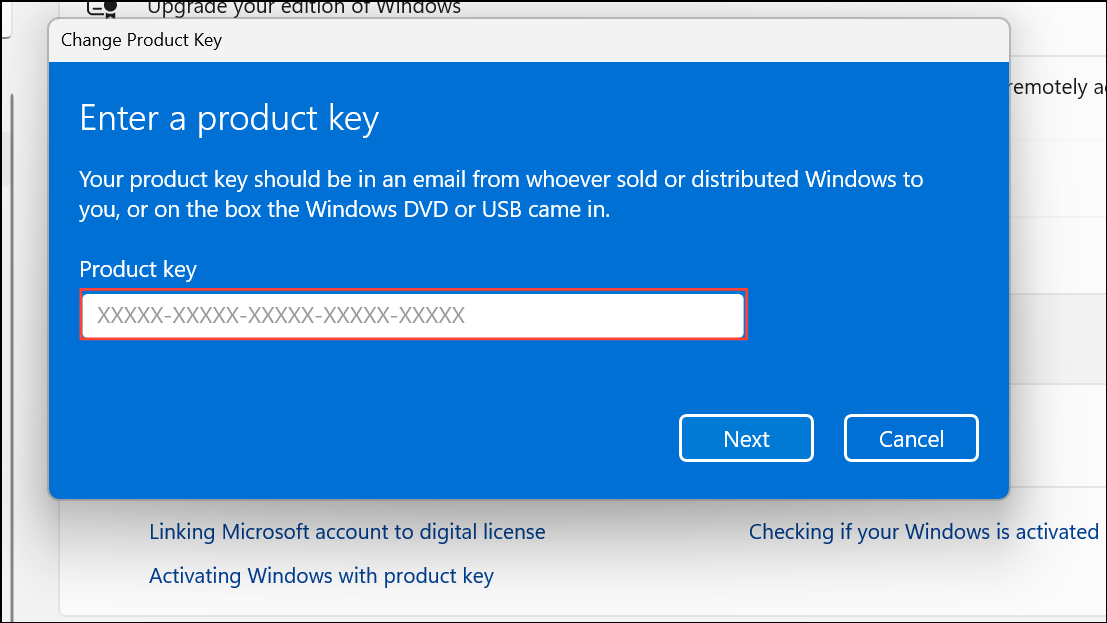
Step 2: Enter your original Windows 11 product key, which may be found on a sticker on your PC, in your documentation, or in purchase emails. If you have an OEM-COA-NSLP license, look for a label physically attached to your device.
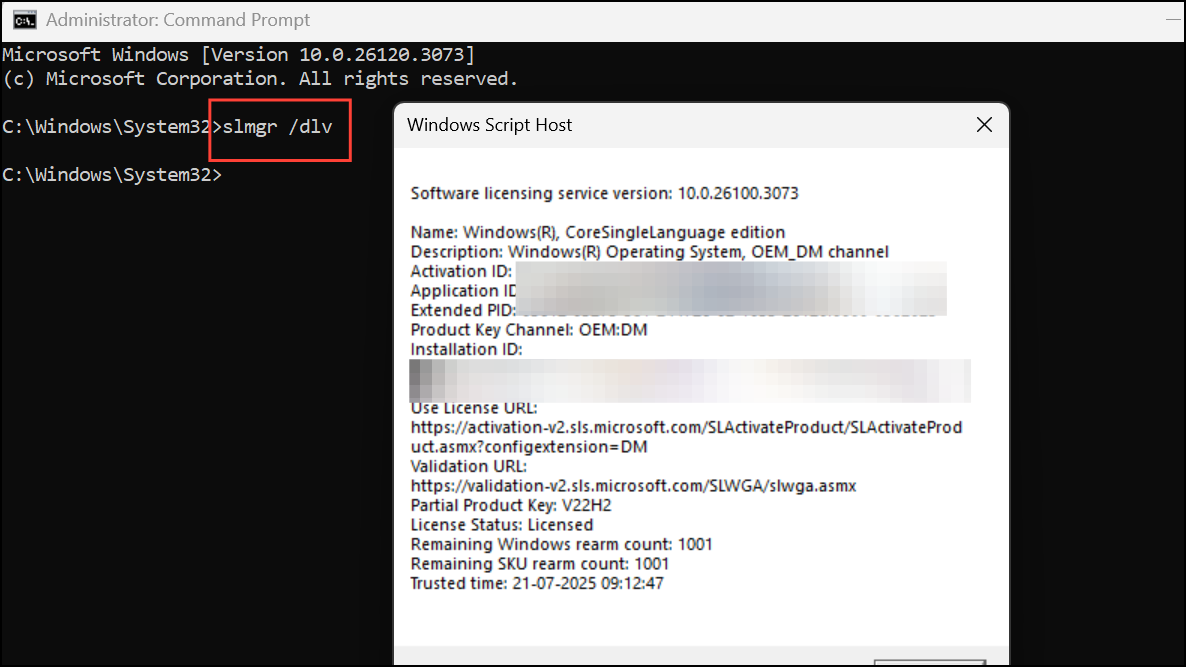
Step 3: If the key is accepted, Windows will immediately activate. If you receive an error about the key being used on another device, verify that you are entering the correct key for your hardware. For users managing multiple PCs, use the last five characters of the installed product key (shown with slmgr /dlv in Command Prompt) to match each PC with its proper license.
Reload the License Configuration File
The update process can sometimes corrupt or misplace the license configuration file. Reloading this file can restore activation without changing keys.
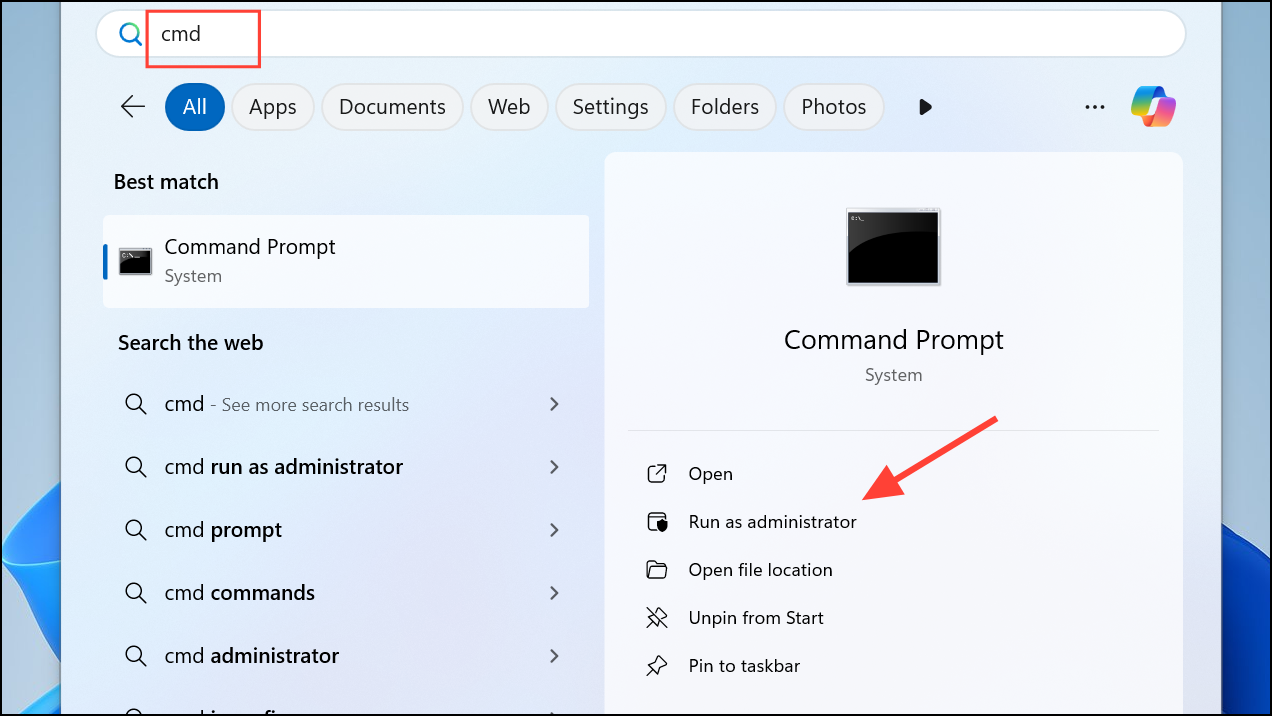
Step 1: Open Command Prompt as administrator by searching for cmd in the Start menu, right-clicking, and choosing Run as administrator.
Step 2: Type the following command and press Enter:
slmgr /rilcStep 3: Wait until the process completes, then restart your PC. Return to Settings > System > Activation and check your activation status. If still not activated, run the Activation Troubleshooter again.

Activate Using Slmgr Command
For some users, especially those with MAK (Multiple Activation Key) or KMS (Key Management Service) licenses, activating Windows via scripting tools provides a direct solution when the GUI fails.
Step 1: Open Command Prompt as administrator.
Step 2: Enter the following command to attempt online activation:
slmgr.vbs /ato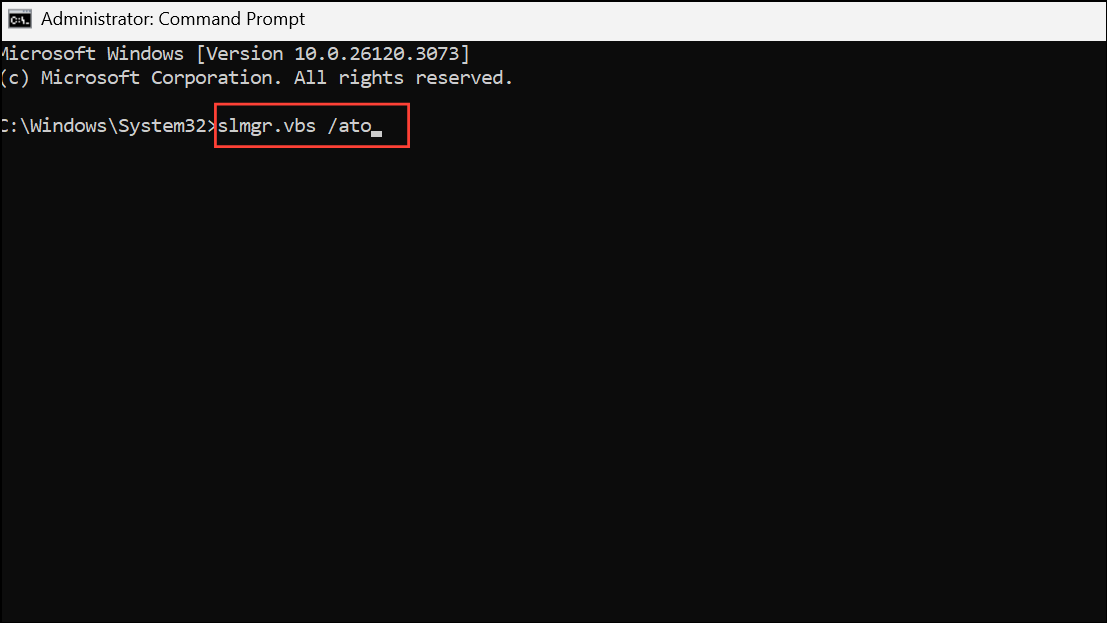
Step 3: Wait for the confirmation dialog. If successful, the watermark will disappear, and activation status will update in Settings. If you see an error about activation limits or MAK exhaustion, contact your license provider or Microsoft to request a reset.
Retrieve Your Product Key Using Command or Third-Party Tools
If you do not have your original key, you can attempt to retrieve it from your system’s firmware or registry—though this may not work for all OEM or digital licenses.
Step 1: Open Command Prompt as administrator and run:
wmic path SoftwareLicensingService get OA3xOriginalProductKey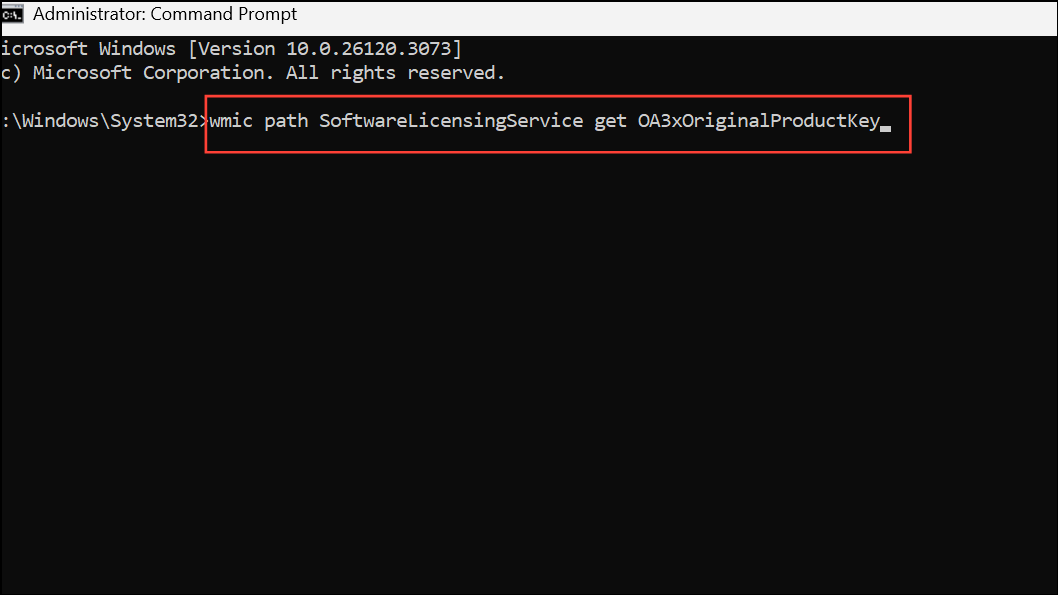
Step 2: If this returns a key, try entering it in the activation dialog. If it returns blank, your key may not be embedded in the firmware.
Step 3: Alternatively, use tools like ShowKeyPlus or Nirsoft ProduKey to scan for license keys stored in the registry. Be aware that keys found in the registry may not always be valid for reactivation after major updates.
Repair System Files
Corrupted system files can sometimes prevent activation. Running system scans can repair these files and resolve activation errors caused by update glitches.
Step 1: Open Command Prompt as administrator.
Step 2: Run the following command to scan for and repair system file corruption:
sfc /scannow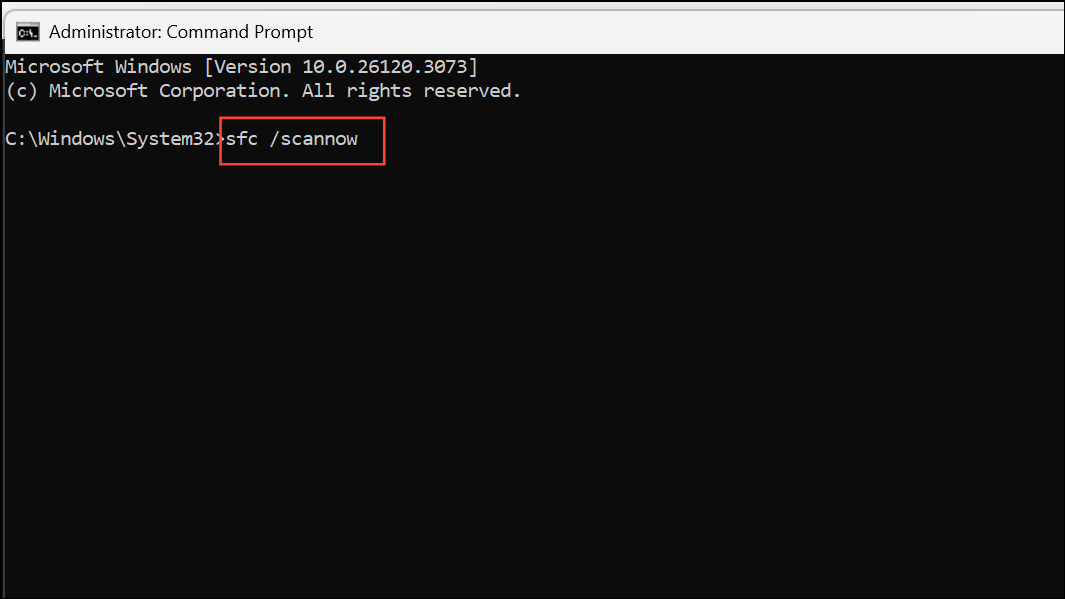
Step 3: After completion, run these commands one after the other to check and repair Windows image health:
DISM /Online /Cleanup-Image /CheckHealth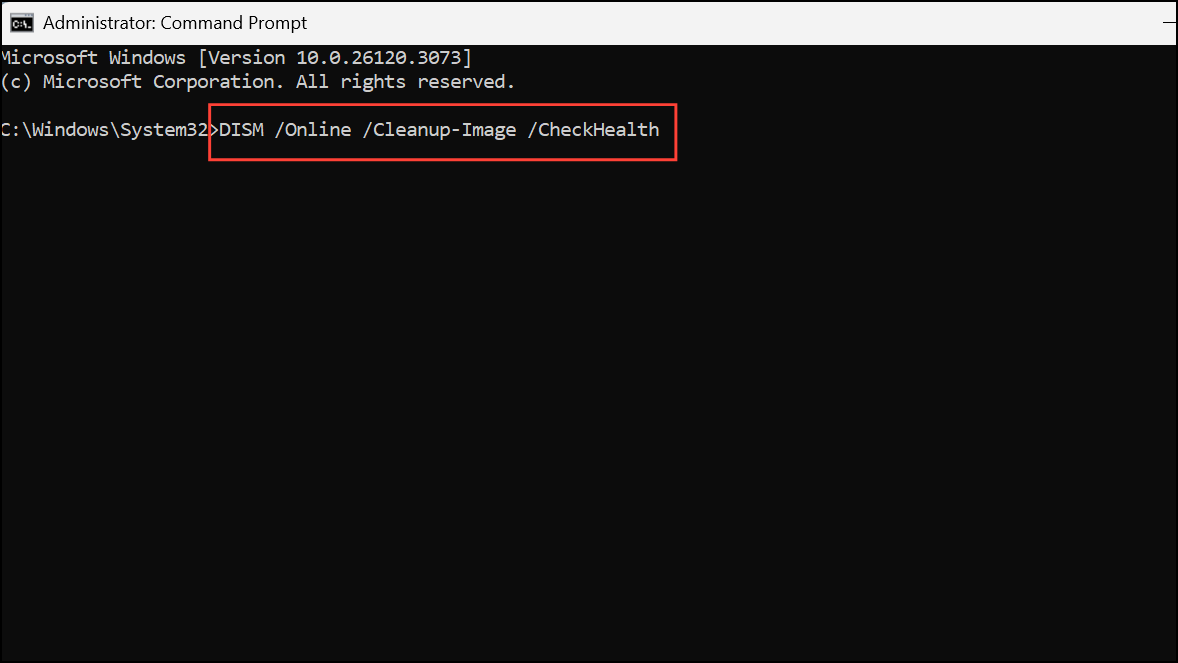
Step 4: Restart your computer and check the activation state again.
Revert to Previous Windows Version
If none of the above methods restore activation and you need immediate access to all features, rolling back to Windows 11 23H2 (or your previous version) will restore your original activation state.
Step 1: Open Settings > System > Recovery.

Step 2: Under Recovery options, select Go back and follow the prompts to roll back the update.
Step 3: After your PC restarts, confirm that Windows is activated in the Activation settings.
Contact Microsoft Support or Your Device Seller
If all self-service methods fail, especially for OEM or MAK licenses, contact Microsoft Support for reactivation. Provide your product key, proof of purchase, and error details. If your PC was built by a local shop or small business, reach out to them for your original license information, as they may keep records for such situations.
Restoring Windows 11 activation after the 24H2 update requires a mix of troubleshooting, command-line tools, and sometimes manual license entry. Keeping your product key accessible and backing up important files before major updates can save time if issues arise in the future.