
Experiencing slow response times, application lags, or unexpected system freezes on your Windows 11 computer? High disk usage might be the culprit behind these performance issues. When your disk usage stays persistently high, it can significantly hinder your system’s efficiency. Fortunately, there are several effective methods to reduce disk usage and enhance your Windows 11 experience.
What is disk usage?
Before exploring solutions, it’s essential to understand what disk usage means. Disk usage refers to the percentage of your hard drive’s capacity that the system utilizes to perform tasks such as running applications and reading or writing data. This is different from disk storage, which indicates the total amount of data your hard drive can hold.
Ideally, your disk usage should remain below 15% during regular operations. Temporary spikes are normal, but consistently high disk usage can lead to noticeable performance issues like lagging applications, slow program launches, and buffering videos.
You can monitor your disk usage using the Task Manager. High disk usage often correlates with poor system performance, so keeping an eye on it can help identify underlying problems.
To check disk usage: Open the Task Manager by searching for it in the Start Menu or by pressing CTRL + SHIFT + ESC. In the Processes tab, you’ll see the disk usage displayed in a separate column.

In the example above, the disk usage is at 6%, which is within the normal range.
Causes of high disk usage
Several factors can lead to persistently high disk usage on your system. Common causes include:
- Too many programs launching at startup.
- Malware or viruses infecting the system.
- Outdated drivers.
- Running numerous applications simultaneously.
- Specific services consuming excessive disk resources.
Understanding these causes can help you apply the appropriate solutions to reduce disk usage and improve system performance.
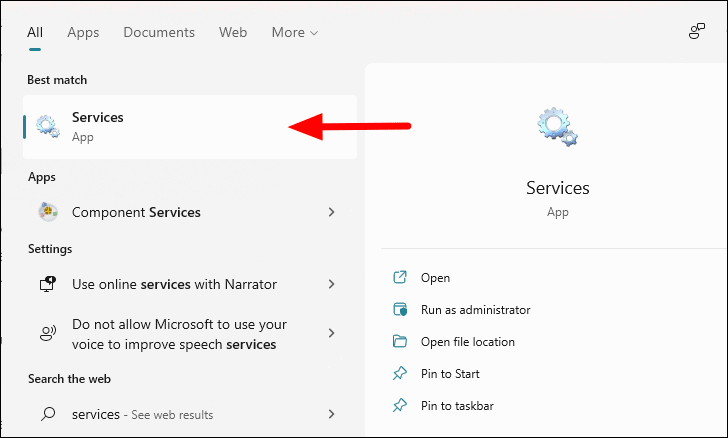
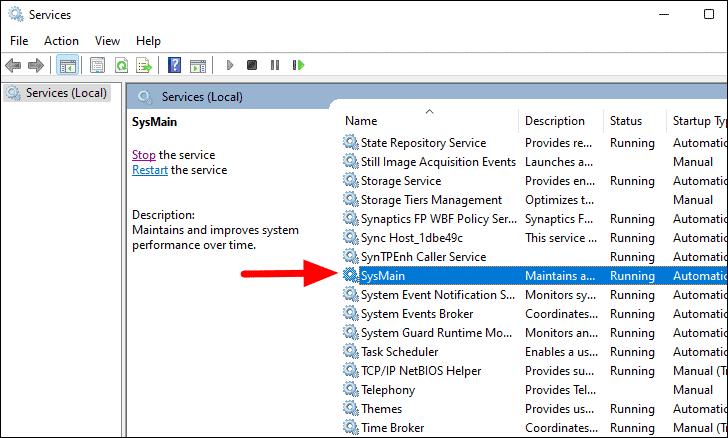
1. Disable SysMain service
The SysMain service, formerly known as Superfetch, preloads frequently used applications to enhance performance. However, it can sometimes cause high disk usage. Disabling it may help reduce disk activity.
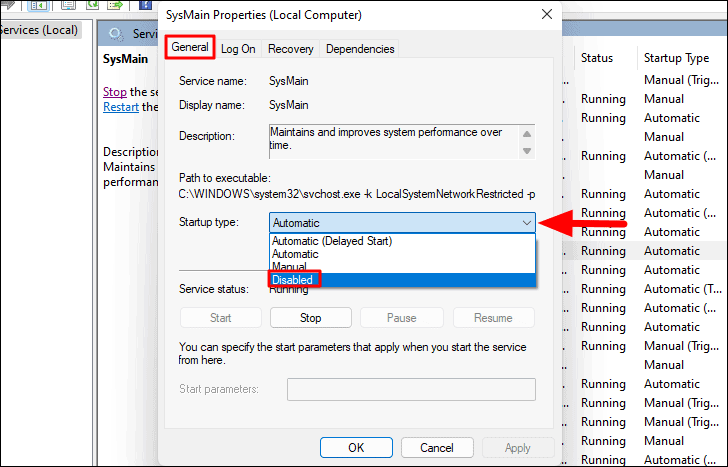
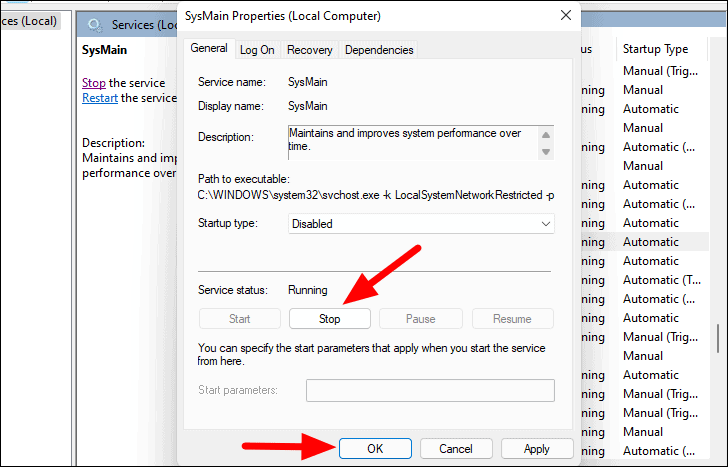
After completing these steps, restart your computer and monitor the disk usage. If it has decreased, the SysMain service may have been contributing to the high disk usage.
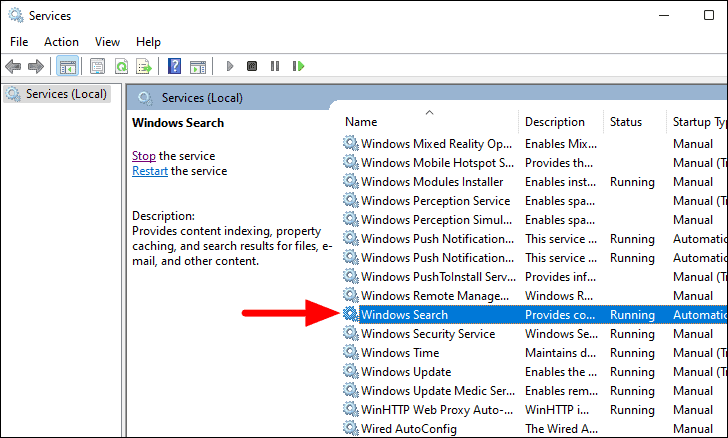
2. Disable Windows Search service
The Windows Search service indexes files on your computer to speed up search results. However, it can sometimes consume excessive disk resources. Disabling this service can help reduce disk usage.
Note: Disabling Windows Search may slow down file searches on your computer.

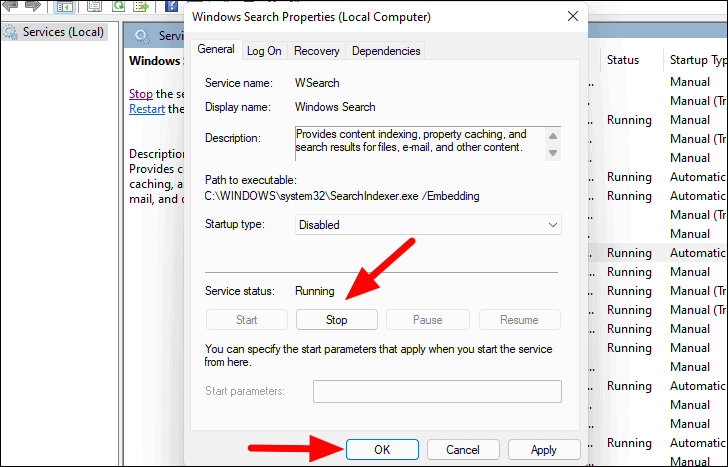
Restart your computer and check if disabling the Windows Search service reduces disk usage.
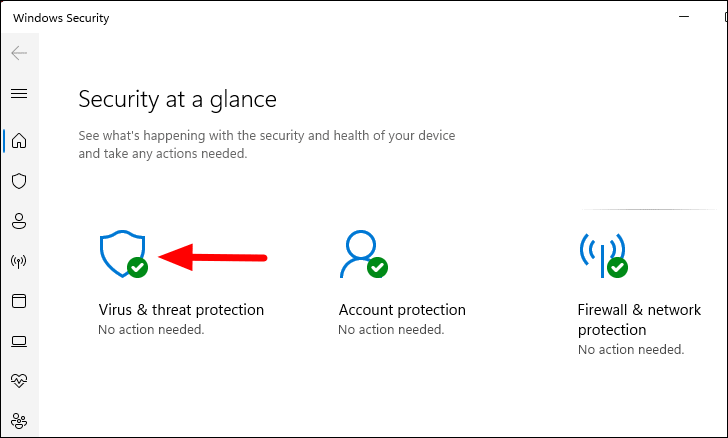
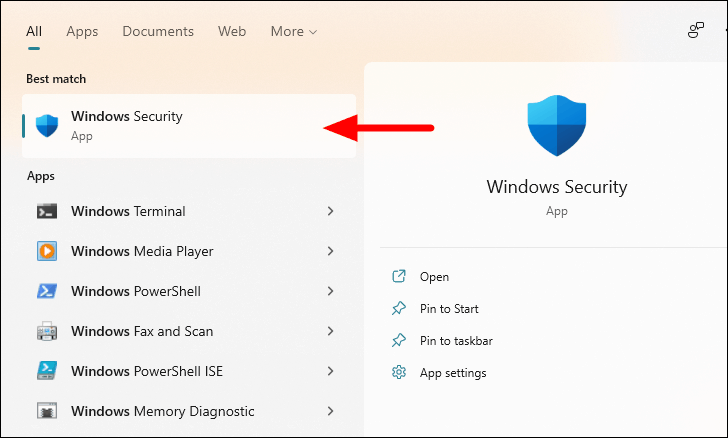
3. Run a virus and malware scan
Malware or viruses can cause high disk usage by running unwanted processes in the background. Running a full system scan can help detect and remove any malicious software.

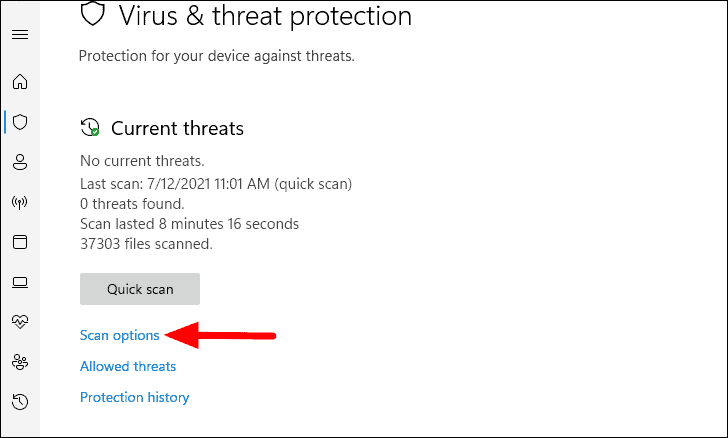
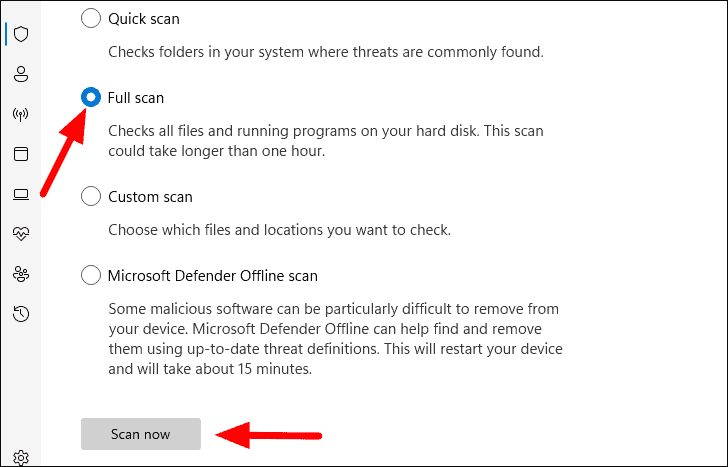
The scanning process may take some time. Once completed, follow any recommended actions to remove detected threats. This can help reduce unnecessary disk activity caused by malware.
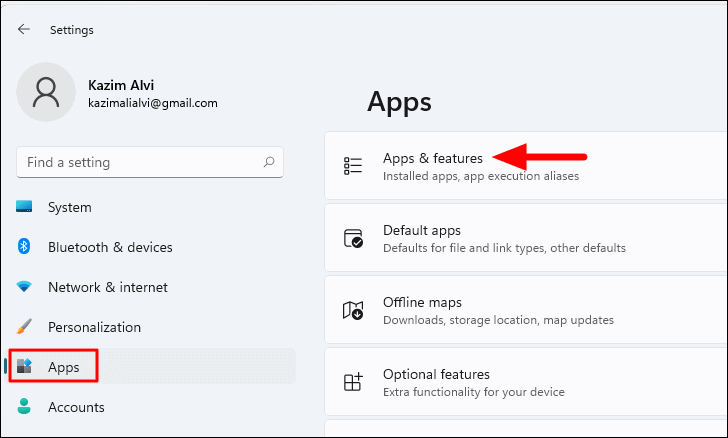
4. Disable background apps
Background applications can consume disk resources even when you’re not actively using them. Disabling unnecessary background apps can help lower disk usage.
WINDOWS + I.
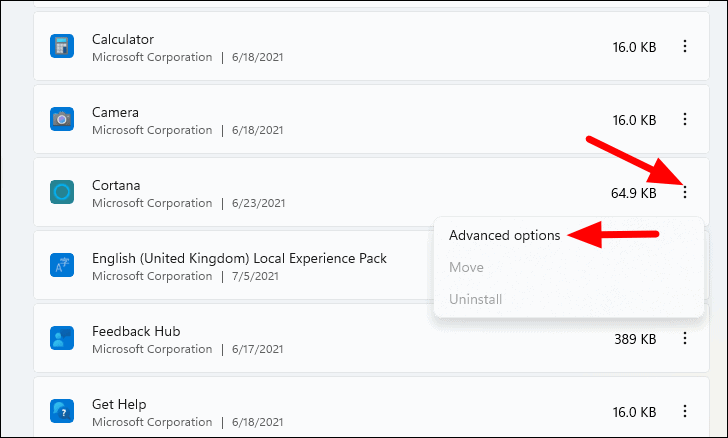
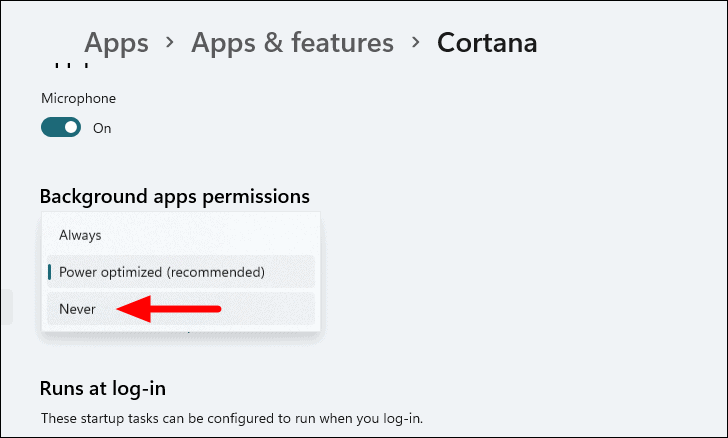
Repeat these steps for other apps you wish to disable. This can help free up disk resources and improve performance.
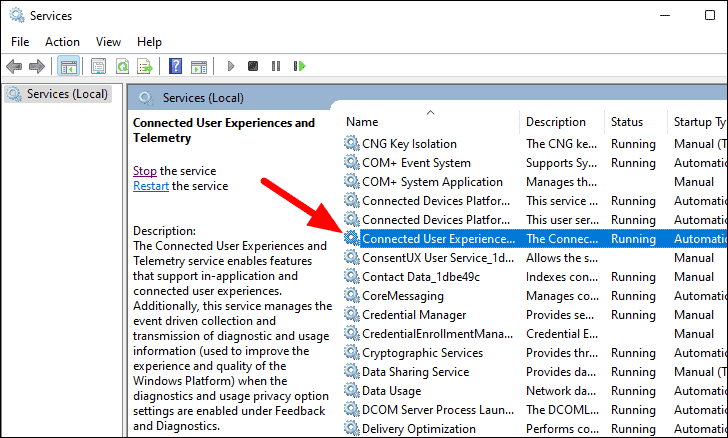
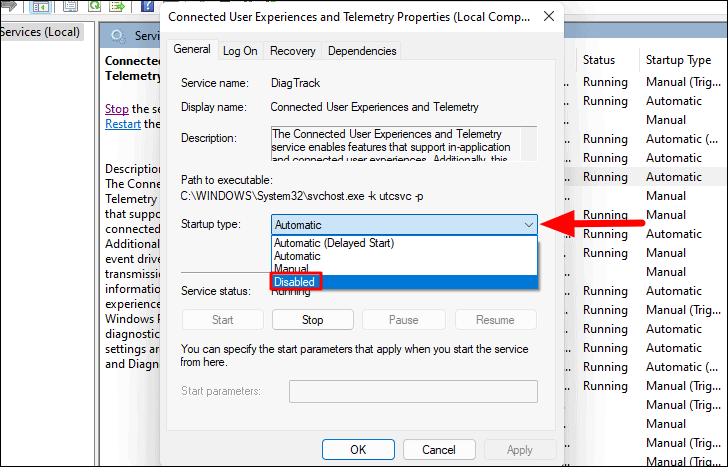
5. Disable telemetry
Telemetry services collect usage and diagnostic data to help improve Windows. However, they can contribute to high disk usage. Disabling telemetry can reduce disk activity.
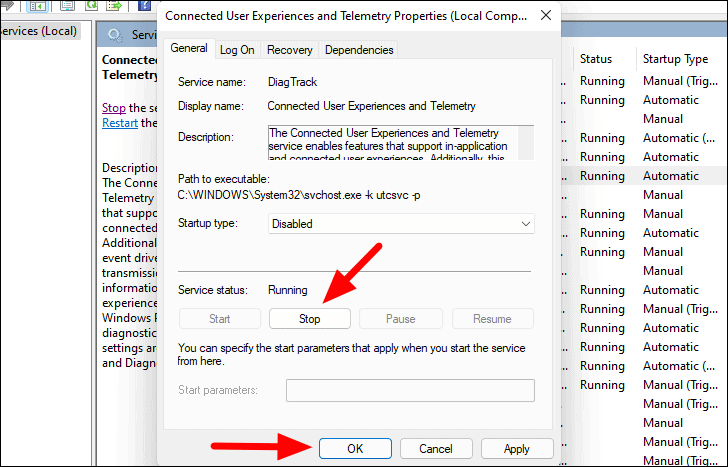
After disabling telemetry, restart your computer and observe if there’s a reduction in disk usage.
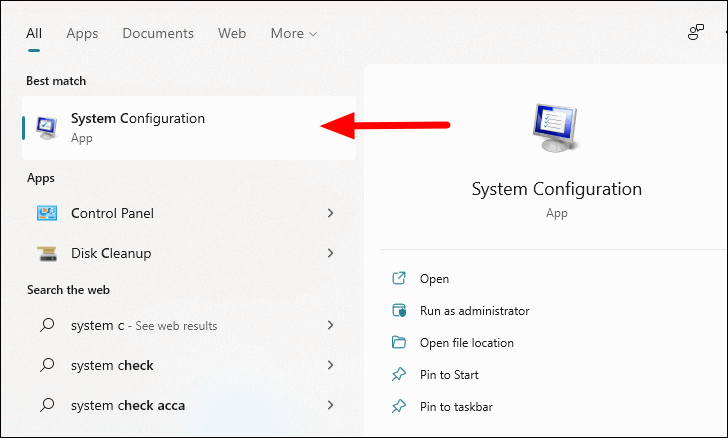
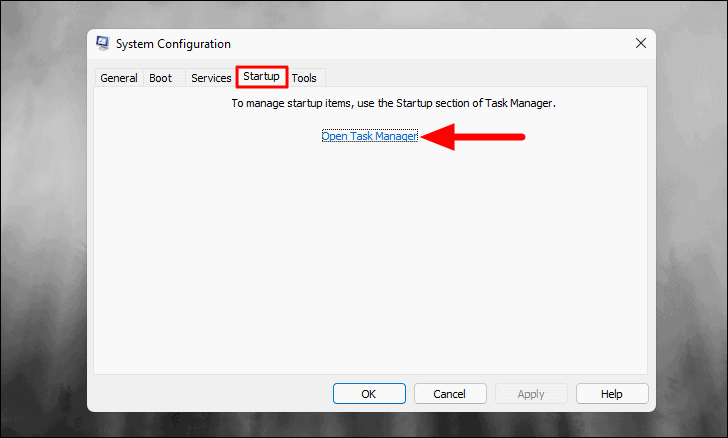
6. Perform a clean boot
A clean boot starts Windows with a minimal set of drivers and startup programs. This can help determine if background programs or services are causing high disk usage.
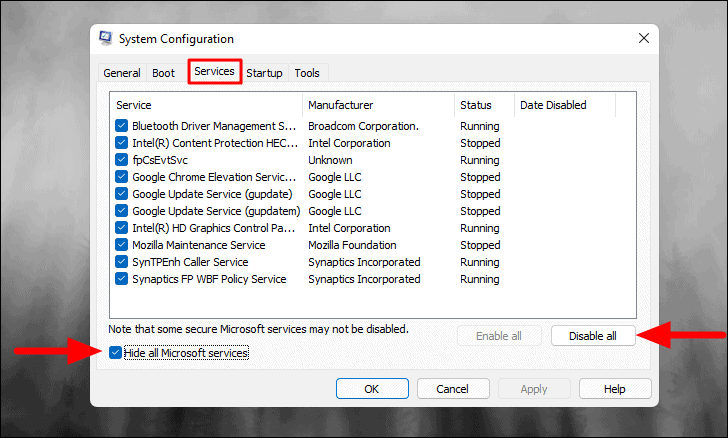
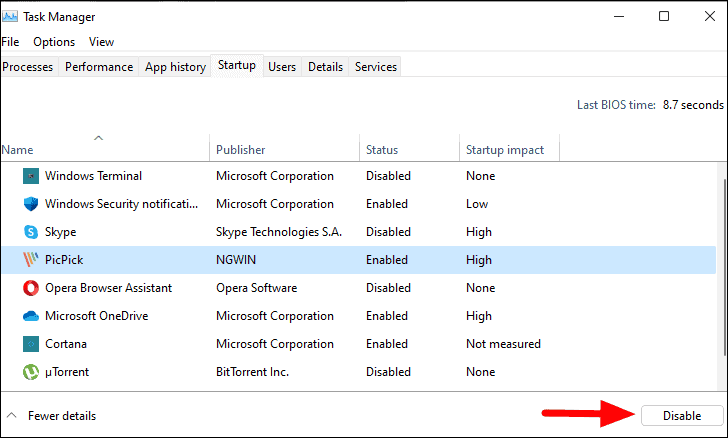
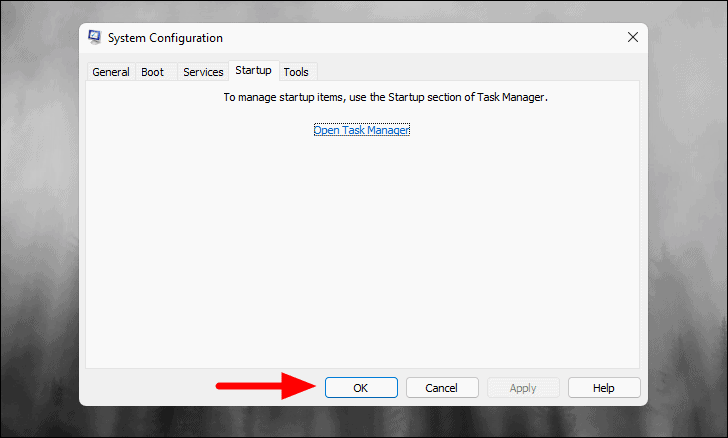
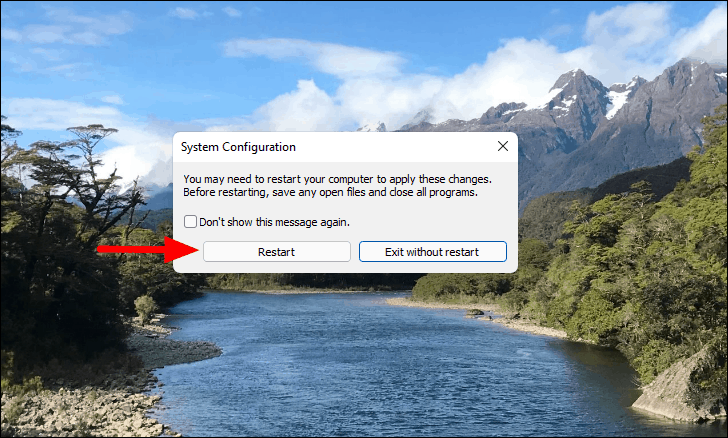
After the system restarts, monitor the disk usage. If it’s reduced, you can enable services and startup programs one at a time to identify the one causing the issue. Once identified, you can choose to disable or uninstall the problematic application or service.
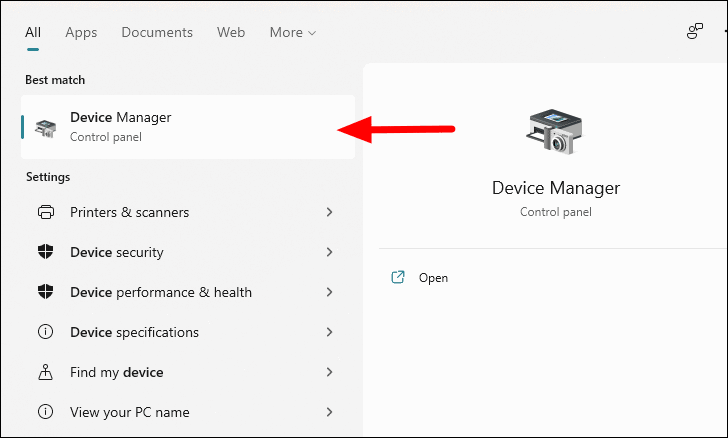
7. Update hard drive firmware
Outdated hard drive firmware can lead to performance issues, including high disk usage. Updating the firmware can help resolve these problems.
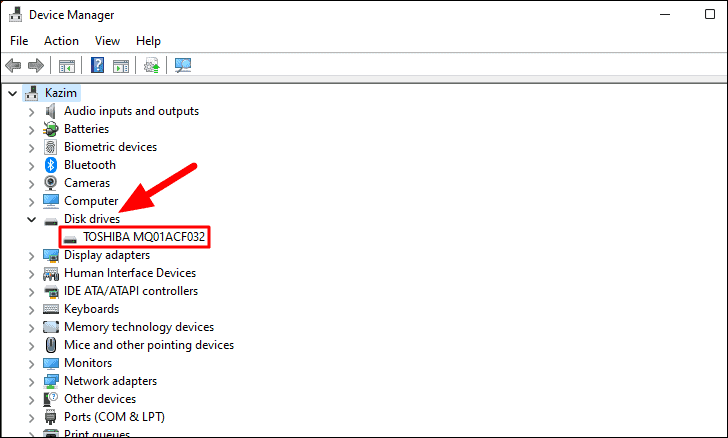
After updating the firmware, restart your computer and check if the disk usage has improved.
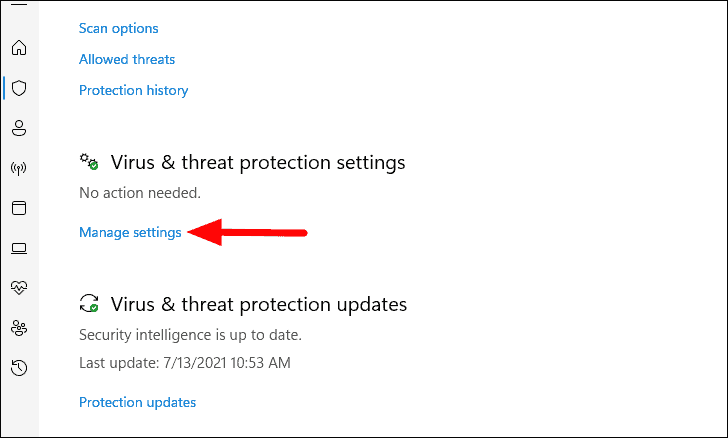
8. Disable antivirus software
Sometimes, antivirus programs can cause high disk usage, especially if they are running scans or updates. Temporarily disabling your antivirus software can help determine if it’s the cause.
Note: Disabling antivirus protection can expose your computer to security risks. Ensure you re-enable it after troubleshooting.
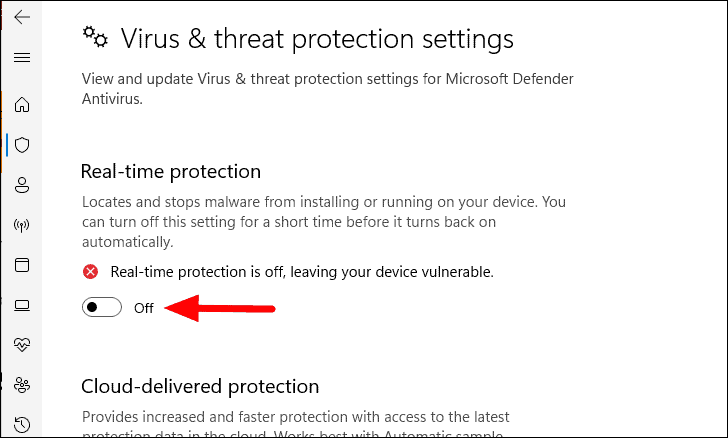
Monitor your disk usage after disabling the antivirus. If there’s a significant decrease, consider adjusting the antivirus settings or switching to a lighter alternative.
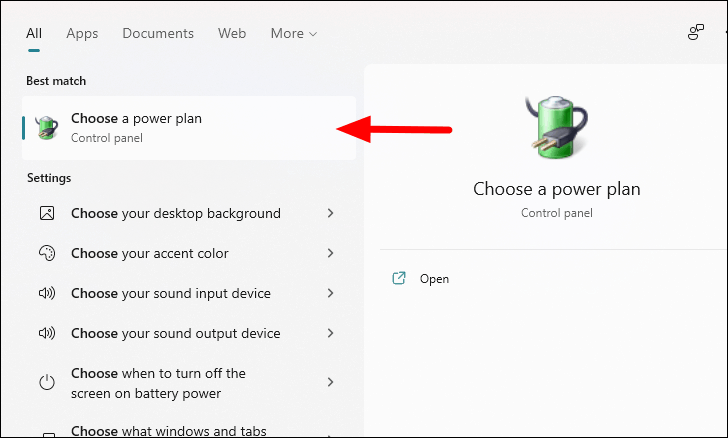
9. Change power plan
Switching your power plan to High performance can improve system responsiveness and reduce disk usage.
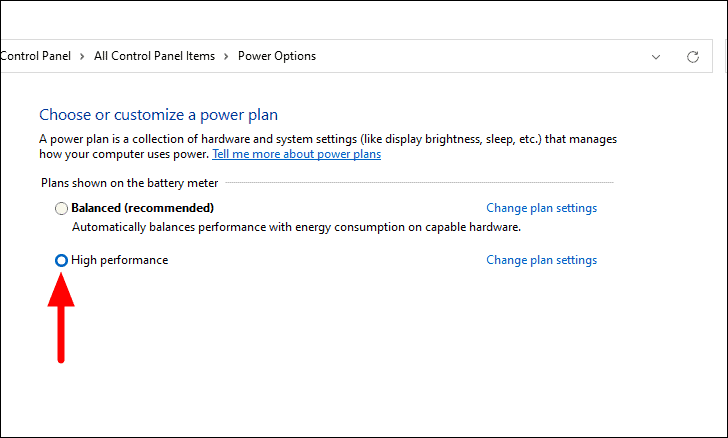
Note that the High performance plan can lead to increased energy consumption, which may reduce battery life on laptops.
10. Upgrade RAM
If your system frequently runs out of memory, it uses disk space for virtual memory, which can increase disk usage. Upgrading your RAM can alleviate this issue.
CTRL + SHIFT + ESC. Go to the Performance tab and select Memory.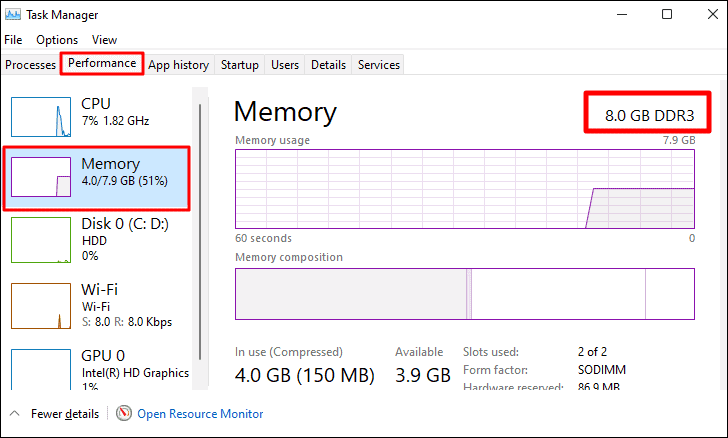
If your memory usage is consistently high, consider adding more RAM to your system. Consult your computer’s specifications to determine the compatible RAM type and maximum capacity.
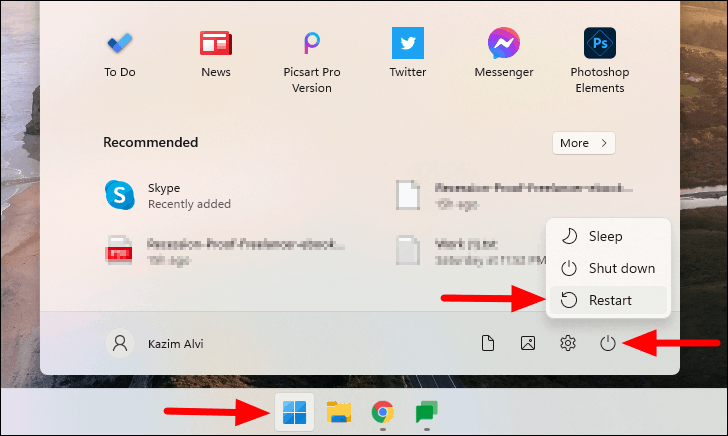
11. Restart your computer
Sometimes, a simple restart can resolve temporary glitches causing high disk usage. Restarting your computer forces the operating system to reload and can clear minor issues.
After restarting, check if the disk usage has decreased.
12. Disable tips and suggestions
Windows occasionally shows tips and suggestions, which can contribute to disk activity. Disabling them can help reduce disk usage.

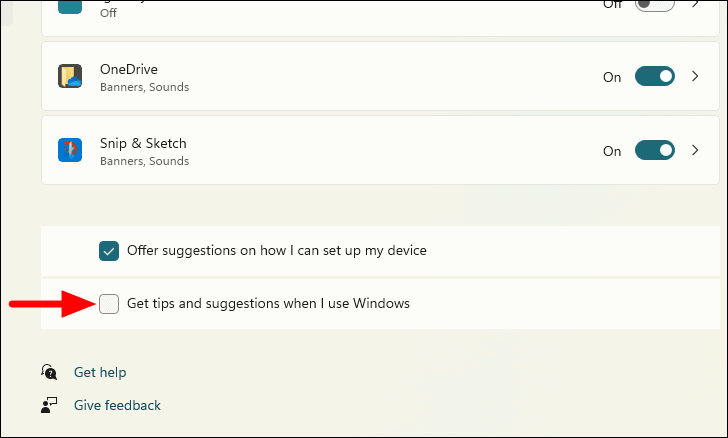
Disabling this feature can help minimize unnecessary disk activity.
By applying these methods, you should be able to reduce high disk usage on your Windows 11 computer, leading to a smoother and more responsive system.


