
The Windows Registry is a critical database containing essential data and settings for the proper functioning of your operating system, services, system apps, and processes. When registry items become broken or corrupted, it can lead to various issues, including application malfunctions, data loss, or even the dreaded blue screen error.
Registry problems can arise from various sources, such as:
- Fragmented registries due to uninstalled or upgraded applications
- Abrupt shutdowns or power failures
- Malware and virus infections
- Accumulation of useless entries over time
- Faulty hardware or devices
- Accidental modifications during manual registry editing
Before attempting to fix broken registry items, it’s crucial to create a backup of your current Windows Registry. This precautionary step ensures you can revert changes if needed.
Create a backup of Windows Registry
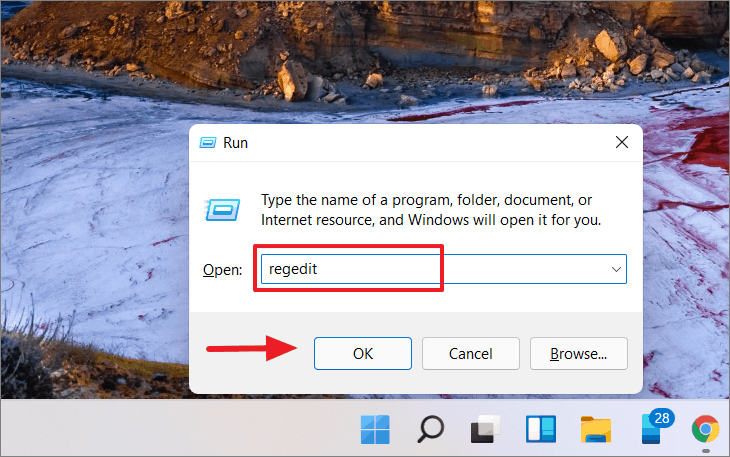
- Press
Win + R, typeregedit, and press Enter to open the Registry Editor.
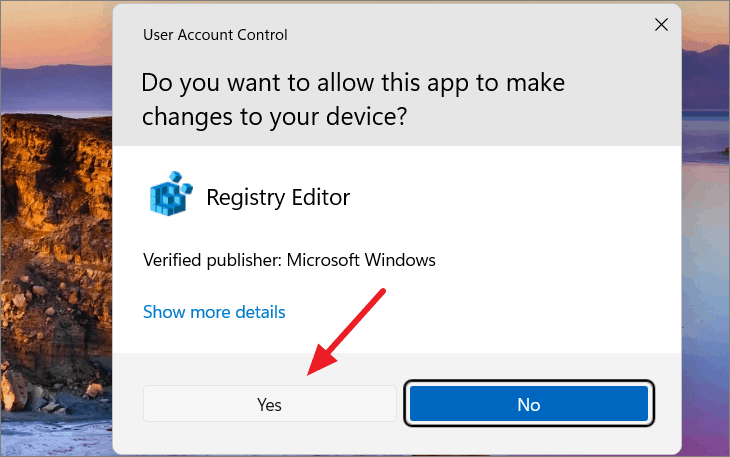
- If prompted by User Account Control, click ‘Yes’ to proceed.
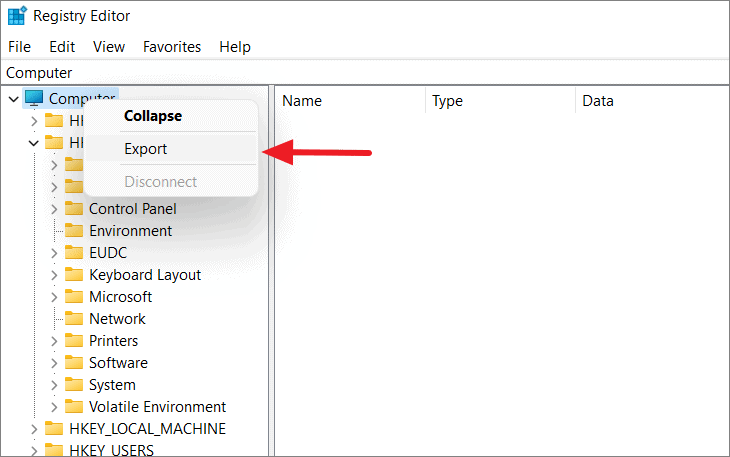
- In the Registry Editor, right-click on ‘Computer’ in the left panel and select ‘Export’.
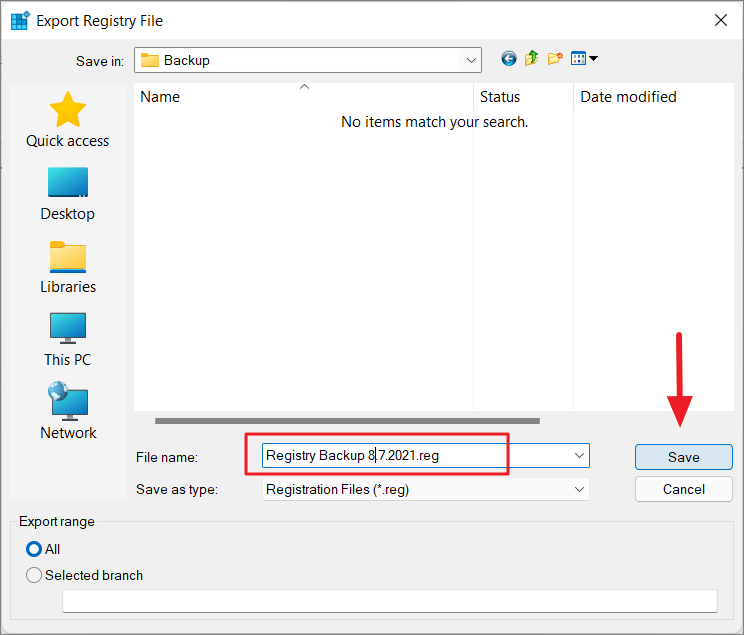
- Choose a name for your backup file and select a safe location to save it, such as an external drive or USB stick.
Restore Registry using a backup file
If you have a clean backup of your Registry from before the errors occurred, you can quickly resolve issues by importing it:
- Open the Registry Editor as described earlier.
- Click ‘File’ and select ‘Import’.
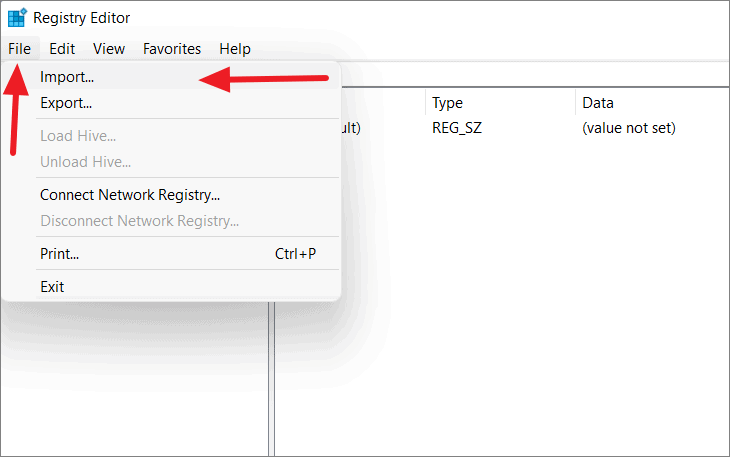
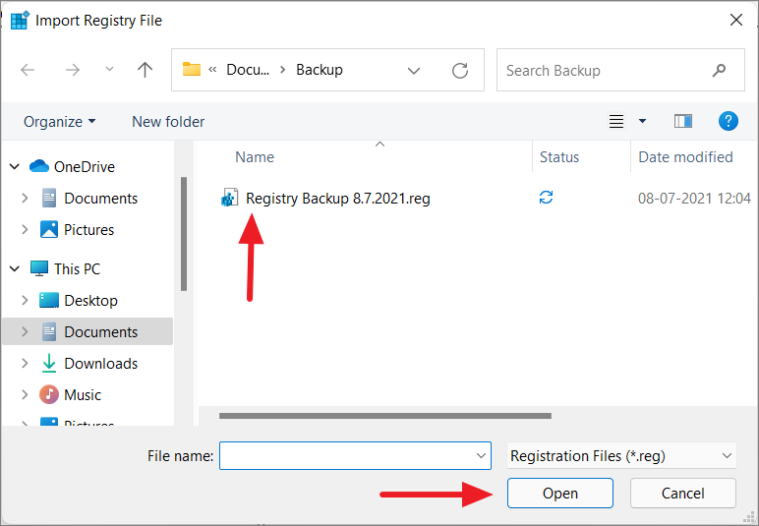
- Locate your backup file and click ‘Open’.
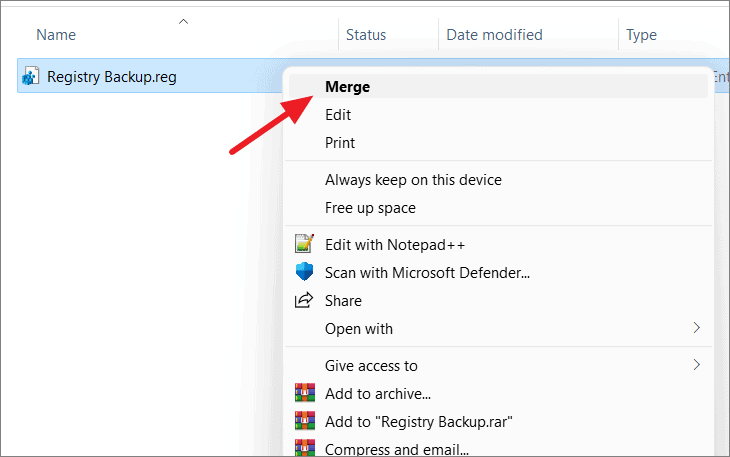
Alternatively, you can right-click the registry file and select ‘Merge’ to automatically import it.
Use Disk Cleanup to remove broken and unused registry items
Windows’ built-in Disk Cleanup utility can help remove unnecessary files, including broken registry items:
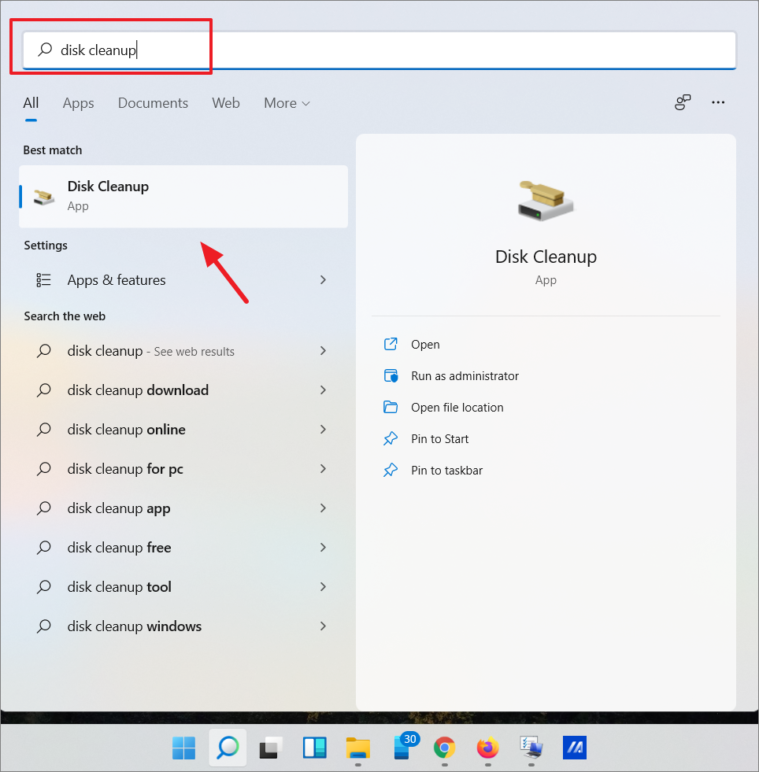
- Search for ‘disk cleanup’ in the Windows 11 Search bar and select the top result.
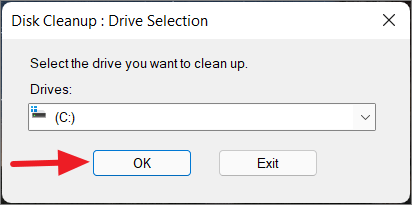
- Choose the drive where Windows is installed (usually C:) and click ‘OK’.
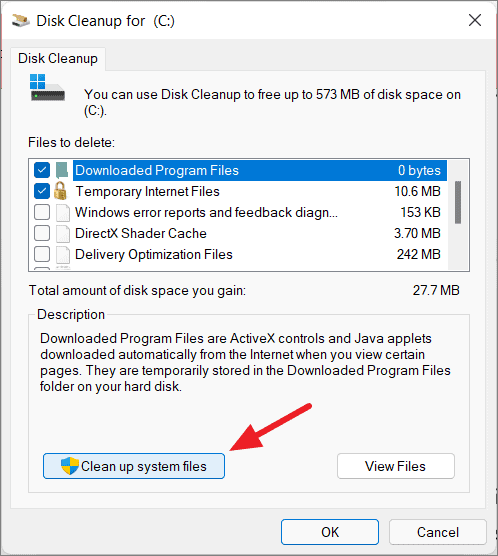
- Click ‘Clean up system files’ and select the same drive again for a deeper scan.
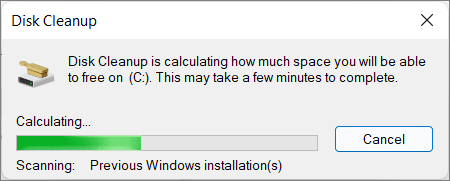
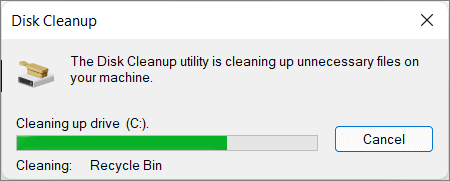
- Wait for the scan to complete.
- In the Disk Cleanup dialog, select the files you want to remove and click ‘OK’.
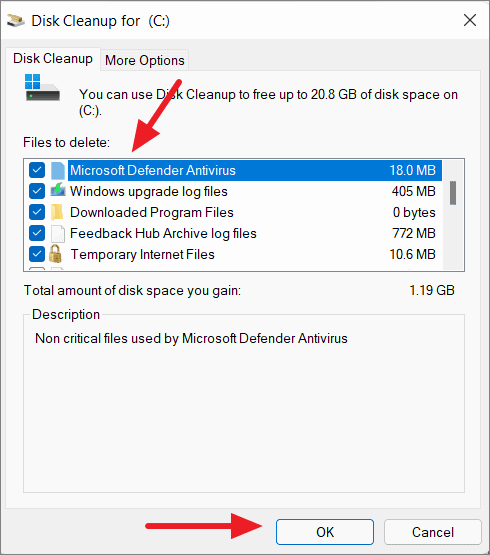
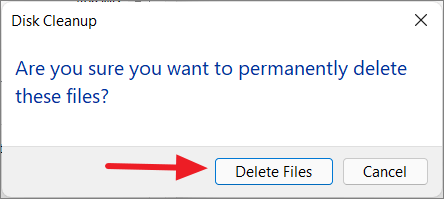
- Confirm the deletion by clicking ‘Delete Files’.
- Once the process completes, restart your computer to finalize the cleanup.
Fix broken registry files using System File Checker (SFC)
The System File Checker is a built-in Windows utility that can repair corrupted system files, including registry files:
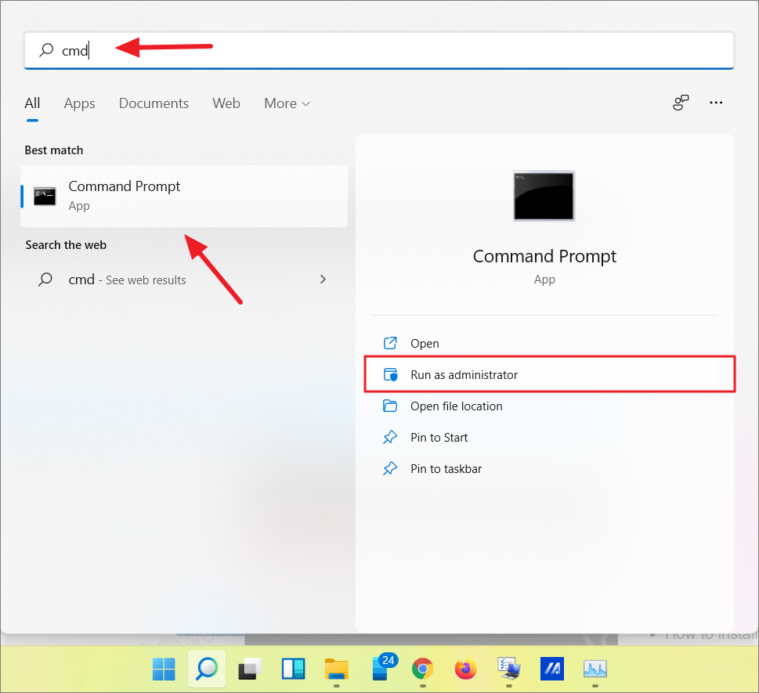
- Open Command Prompt as administrator by searching for ‘cmd’ in the Windows Search and clicking ‘Run as administrator’.
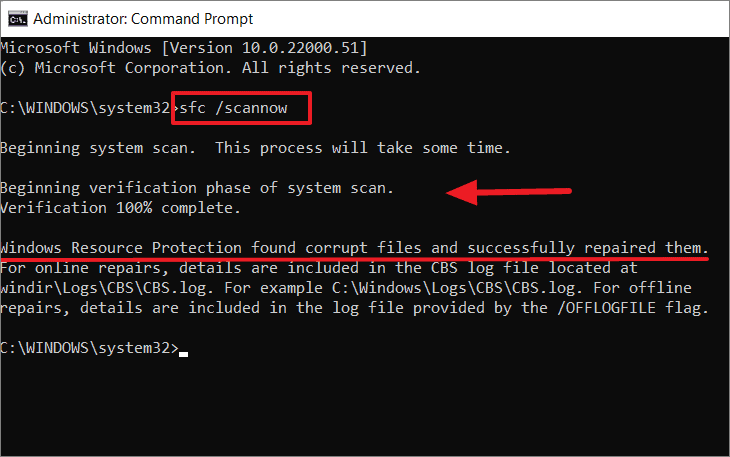
- Type the following command and press Enter:
sfc /scannow
- Wait for the scan to complete. Any corrupted files will be automatically repaired.
Fix broken registry files using DISM command
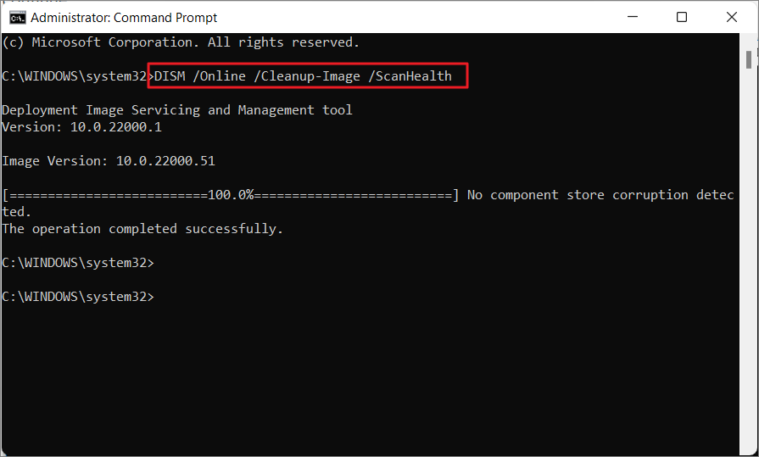
If SFC doesn’t resolve the issue, try using the DISM (Deployment Image & Servicing Management) command:
- Open Command Prompt as administrator.
- Run the following command:
DISM /Online /Cleanup-Image /ScanHealth
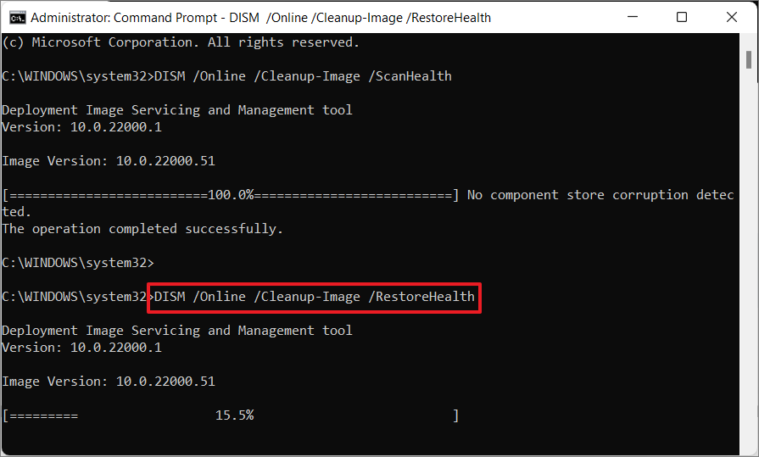
- If issues persist, run this additional command:
DISM /Online /Cleanup-Image /RestoreHealth
Use Windows Startup Repair
Windows Startup Repair can fix various system issues, including registry problems:
- Open Windows 11 settings by right-clicking the Start button and selecting ‘Settings’.
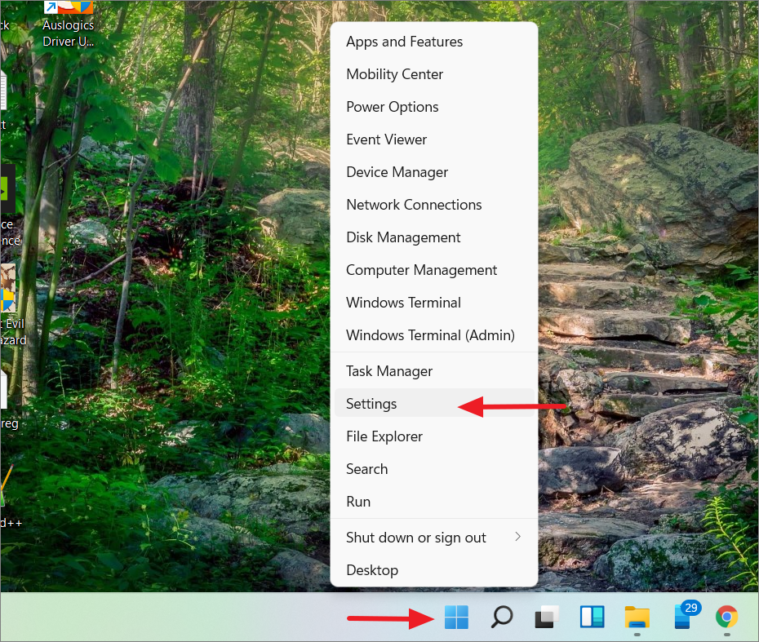
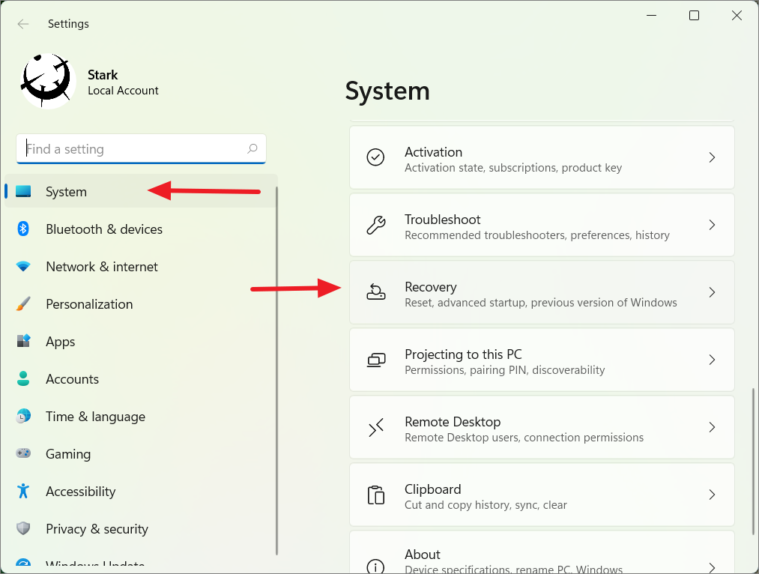
- Navigate to System > Recovery and click ‘Restart now’ under Advanced startup.
- In the Windows Recovery Environment, select Troubleshoot > Advanced options > Startup Repair.
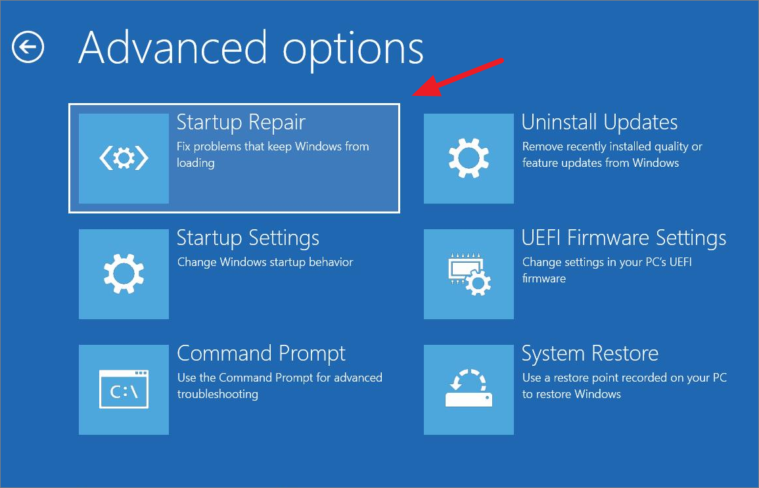
- Allow the tool to diagnose and fix registry errors.

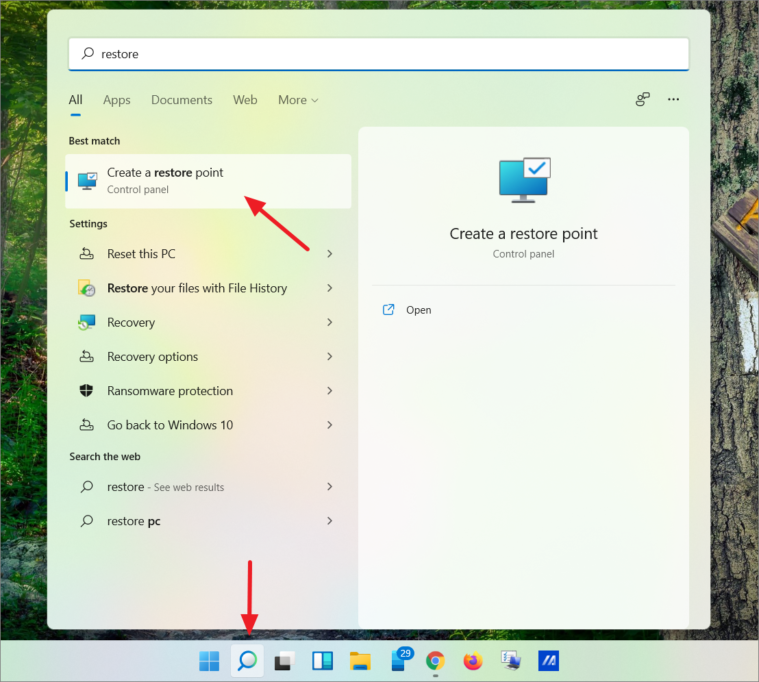
Restore Windows items with System Restore
System Restore can revert your system to a previous state, potentially resolving registry issues:
- Search for ‘create restore point’ in Windows search and open the result.
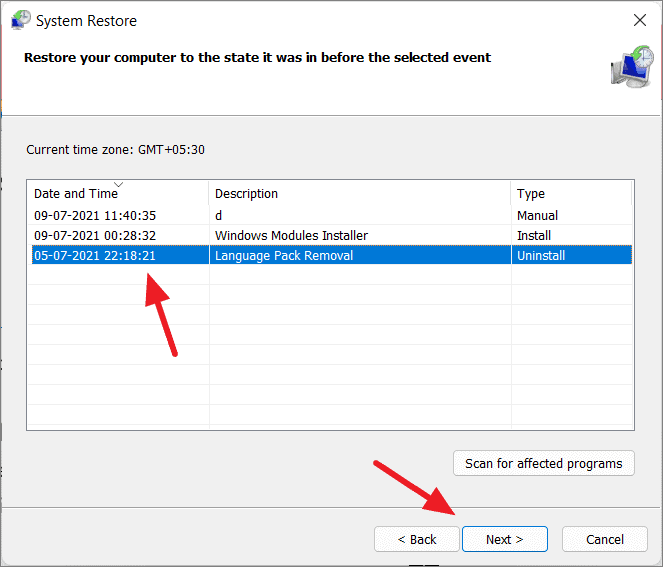
- In the System Properties window, click ‘System Restore’.
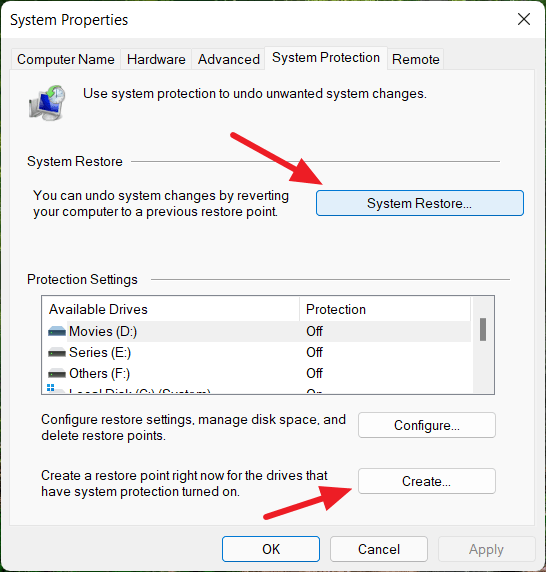
- Choose a restore point from before the errors occurred and follow the prompts to complete the process.
Restore Registry using the secret Registry backup
Windows maintains a secret backup of the registry, which can be used to restore it to a working state:
-
Boot into Command Prompt in Recovery mode by following the steps in the Startup Repair section, but selecting Command Prompt instead.
-
Identify the drive where Windows is installed (usually D: or E: in recovery mode).
-
Run these commands, replacing ‘F:’ with your Windows drive letter:
cd F:\windows\system32
mkdir configBackup
copy config configBackup
cd config\RegBack
dir
-
Verify that the files in RegBack are not 0 KB in size.
-
If the files are valid, run these commands to restore the registry:
copy /y software ..
copy /y system ..
copy /y sam ..
Use third-party Registry cleaner software
Several reputable third-party tools can help clean and repair your registry:
- CCleaner
- Auslogics Registry Cleaner
- Wise Registry Cleaner
- Glarysoft Registry Repair
- Eusing Free Registry Cleaner
Be cautious when using these tools and ensure you download them from official sources.
Fix registry errors using Windows Recovery
If all else fails, you can reset your PC while keeping your personal files:
- Go to Settings > System > Recovery and click ‘Reset PC’.

- Choose ‘Keep my files’ to preserve your personal data while resetting Windows.
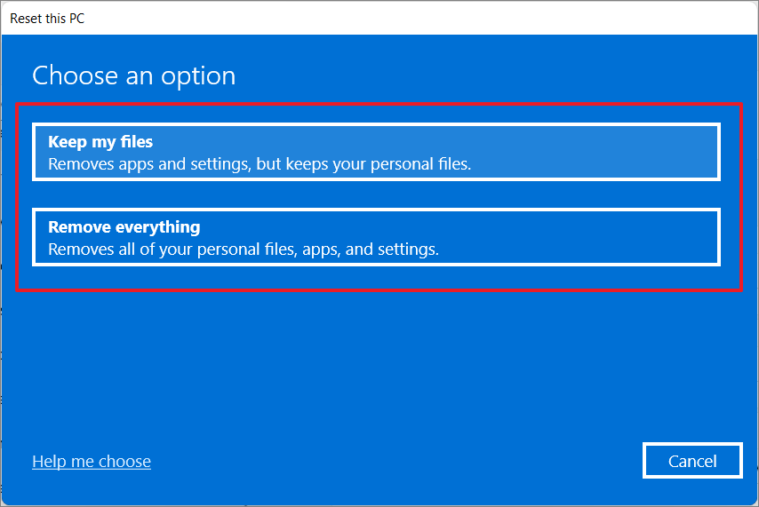
- Follow the on-screen instructions to complete the reset process.
Reinstall Windows 11
As a last resort, if none of the above methods resolve your registry issues, you may need to perform a clean installation of Windows 11. This will give you a fresh registry and Windows files, eliminating any persistent errors or problems.


