
Windows 11 has introduced Snap Layouts, making multitasking easier by allowing users to arrange open windows on their screen quickly. However, for those seeking more customization and control over window layouts, Microsoft PowerToys offers a solution with its FancyZones utility.
Understanding FancyZones
FancyZones is a feature within Microsoft PowerToys, a collection of utilities designed to enhance productivity for power users. With FancyZones, you can create custom window layouts that go beyond the default Snap Layouts in Windows 11. This tool is especially beneficial for users with large or multiple monitors, allowing for personalized and efficient workspace organization.
Installing Microsoft PowerToys
Before you can use FancyZones, you’ll need to install Microsoft PowerToys on your PC. You can either download it from the Microsoft Store or from the Github.
Microsoft Store link:
Or, you can also download MS PowerToys from Github:
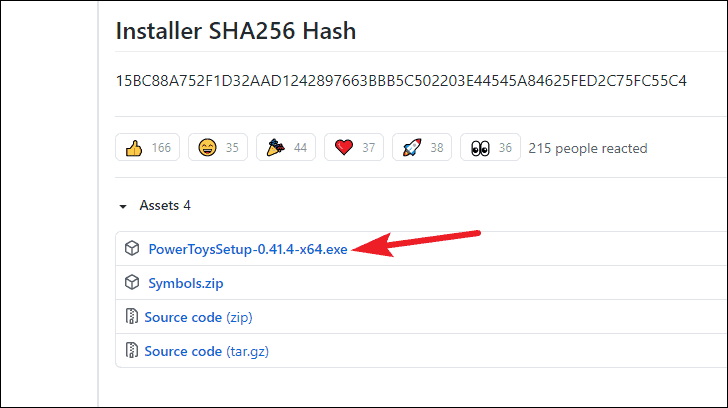
- Visit the Microsoft PowerToys GitHub page and download the ‘PowerToysSetup.exe’ file.
- Once the download is complete, run the setup file to install PowerToys.
- Follow the on-screen instructions in the installation wizard to complete the setup process.
Configuring FancyZones
After installing PowerToys, you’ll need to configure FancyZones to create and manage your custom layouts:
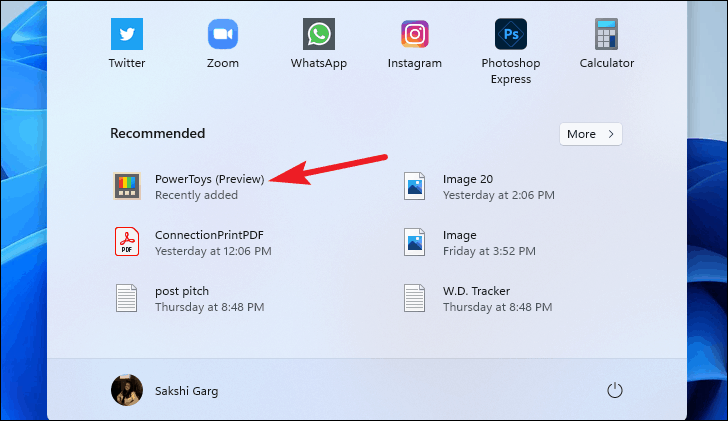
- Open Microsoft PowerToys from the Start menu, desktop shortcut, or system tray.
- Ensure that PowerToys is running in Administrator mode. On the General tab, if it says ‘Running as user,’ click on ‘Restart as administrator.’
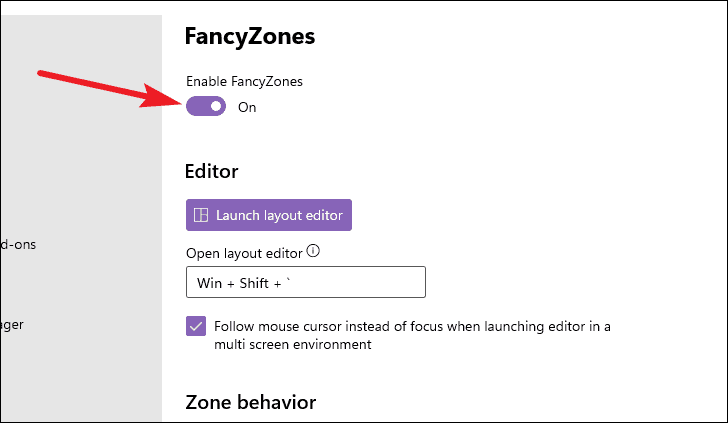
- Navigate to the ‘FancyZones’ section from the left sidebar.
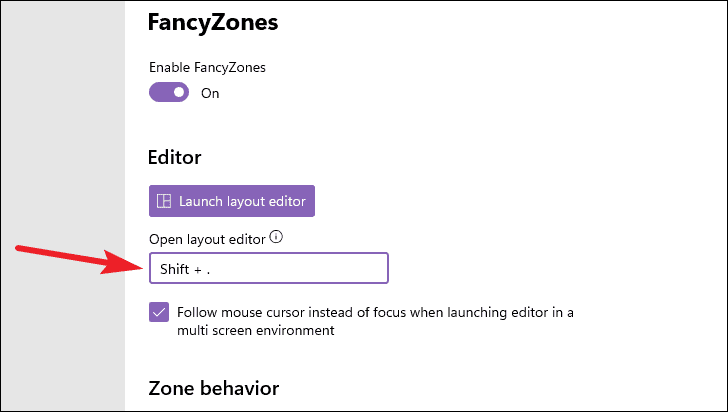
- Toggle on ‘Enable FancyZones’ if it’s not already enabled.
You can adjust various settings within FancyZones to tailor it to your preferences, such as zone behavior, window behavior, and appearance.
Customizing Shortcut Keys
FancyZones allows you to customize the key used for snapping windows into zones:
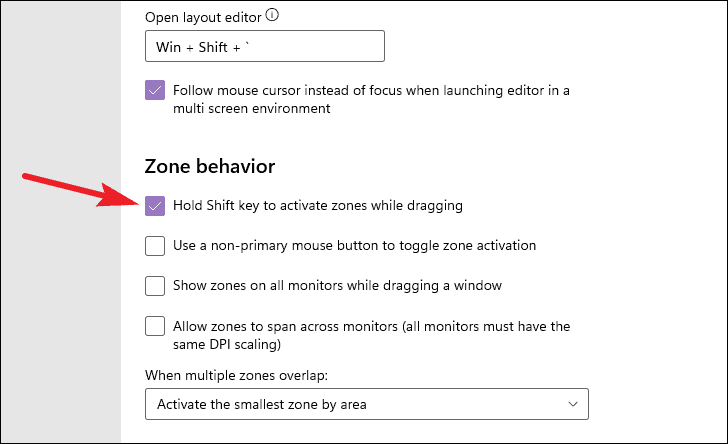
- In the ‘Zone behavior’ settings, you can choose which key to hold while dragging windows into zones. By default, it’s the Shift key.
- If you prefer windows to automatically snap into zones without holding a key, uncheck the option ‘Hold Shift key to enable zones while dragging.’
- You can also enable the option to override the Windows Snap shortcut (Windows + Arrow keys) to work with FancyZones.
Using the Layout Editor
Click on ‘Launch layout editor’ within the FancyZones settings.
Alternatively, you can use the default keyboard shortcut Windows + Shift + ` to open the layout editor. You can customize this shortcut by clicking on the textbox next to ‘Open layout editor’ and entering your preferred key combination using the Windows key, Alt, Ctrl, or Shift.
Creating Custom Layouts
In the layout editor, you can create new layouts or modify existing ones:
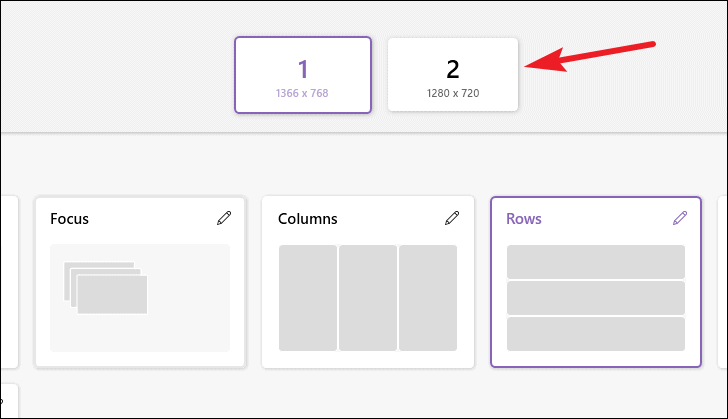
- Select the monitor you wish to customize if you have multiple displays connected.
- Choose from the pre-defined templates or click on ‘Create new layout’ to design your own.
Creating a Grid Layout
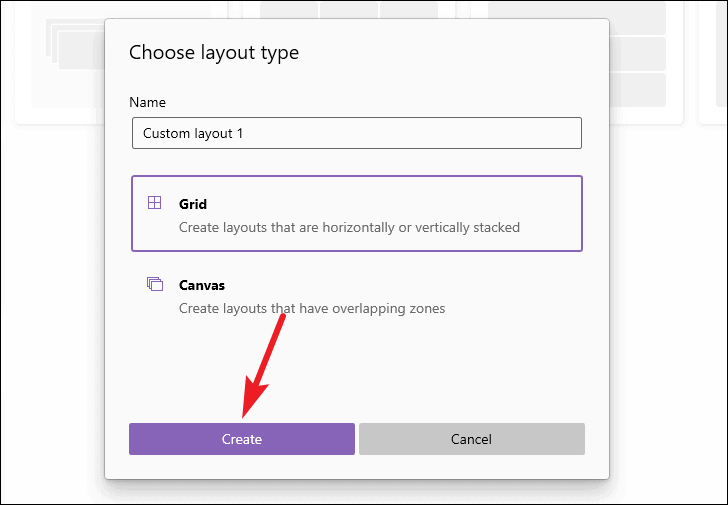
- When creating a new layout, select ‘Grid’ as the layout type and give it a name.
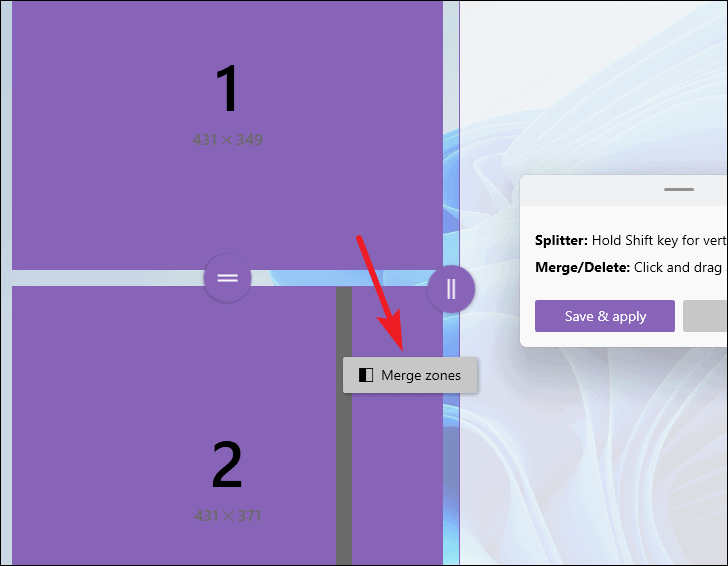
- In the grid editor, you can split zones horizontally by hovering between zones until a line appears and clicking to split.
- To split zones vertically, hold down the Shift key while hovering and click to split.
- You can merge zones by clicking and dragging across them, then selecting ‘Merge’ when prompted.
- Once satisfied with your layout, click ‘Save & apply.’
Creating a Canvas Layout
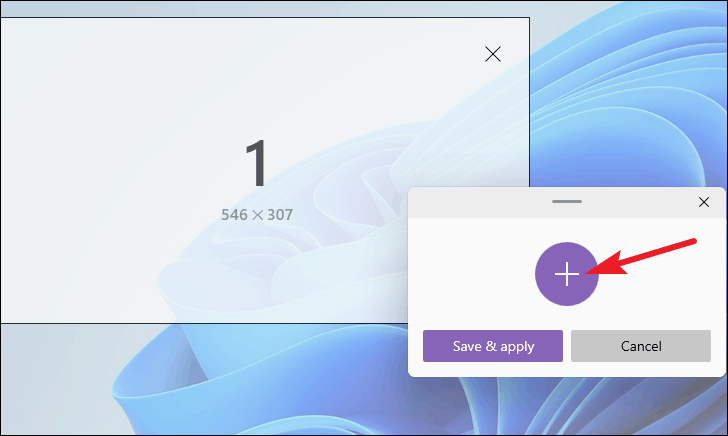
- Select ‘Canvas’ as the layout type when creating a new layout.
- Use the ‘+’ icon to add more zones. These zones can overlap, similar to manually resizing windows.
- Adjust the position and size of each zone as desired.
- Click ‘Save & apply’ to finalize your custom canvas layout.
Selecting and Switching Layouts
Your active layout will be highlighted in the layout editor. You can switch between layouts at any time:
- Open the layout editor using the keyboard shortcut or through PowerToys settings.
- Select the layout you wish to use by clicking on it.
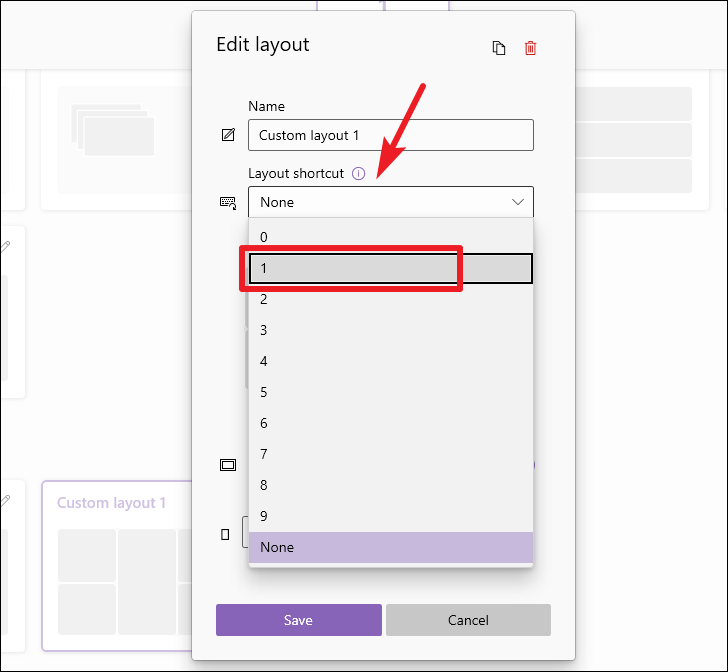
For quicker switching between custom layouts, you can assign a shortcut number to them:
- Click the ‘Edit’ icon on a custom layout.
- Assign a number (0-9) in the ‘Layout shortcut’ dropdown menu.
- Press Windows + Ctrl + Alt + Number to switch to that layout instantly.
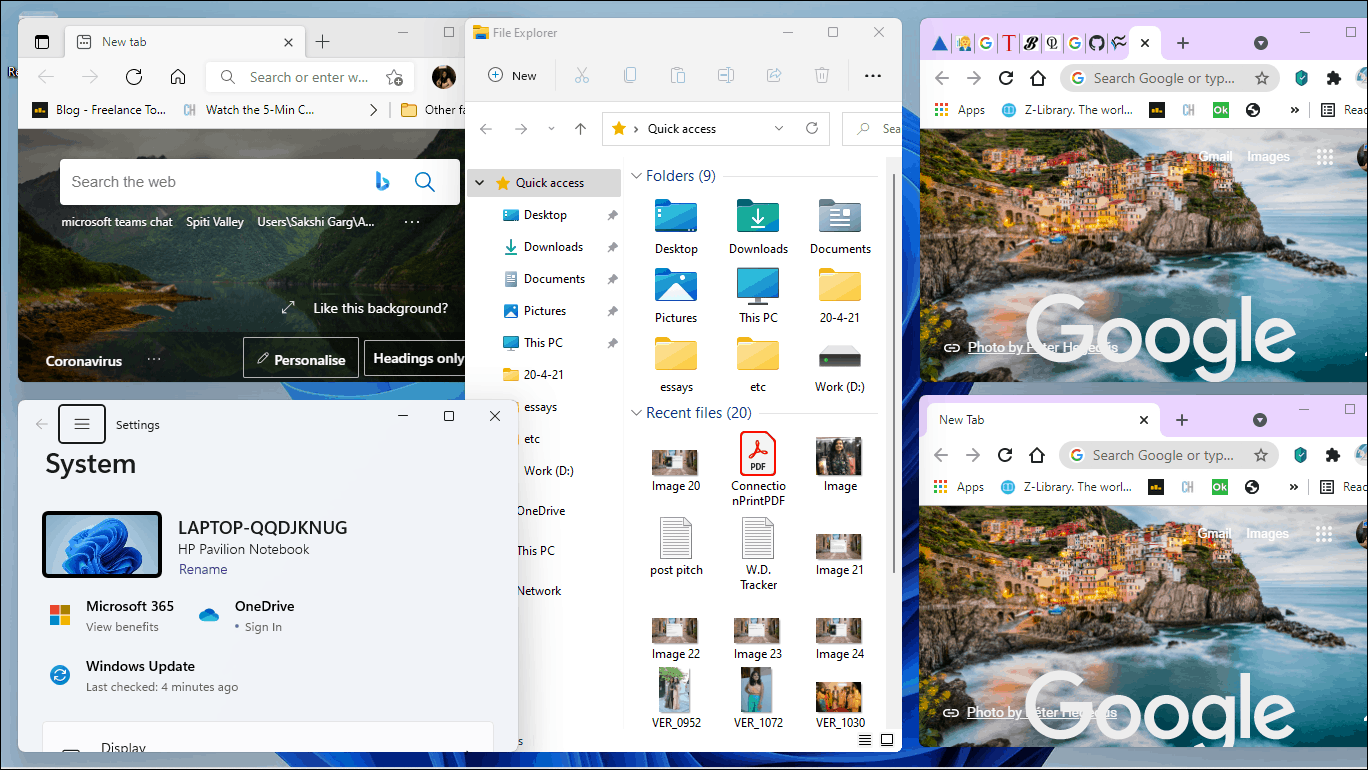
Snapping Windows into Zones
To snap your applications into the custom zones you’ve created:
- Click and hold the window you wish to snap.
- While dragging, hold down the Shift key (unless you’ve changed the modifier key or disabled it).
- Release the window over the desired zone when the layout appears on-screen.
Note that unlike the default Windows Snap, FancyZones doesn’t automatically suggest other open apps to fill remaining zones. You’ll need to drag each window into place manually.
By harnessing the power of FancyZones within Microsoft PowerToys, you can tailor your workspace to fit your specific needs, enhancing your multitasking capabilities and overall productivity.


