
Windows 11 restarting instead of shutting down typically occurs due to incorrect power settings, Fast Startup feature conflicts, or outdated drivers. This issue can interrupt your workflow by preventing your computer from completely powering off when you intend it to.
Method 1: Disable Fast Startup in Power Settings
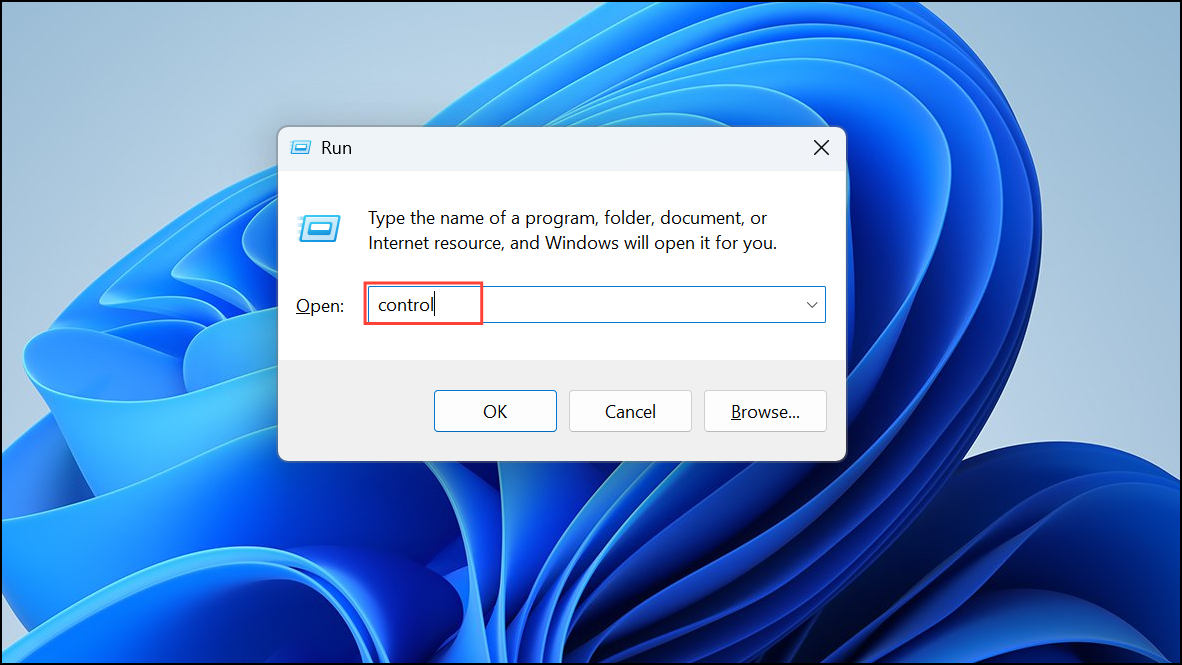
Step 1: First, open the Control Panel by pressing Windows key + R, typing control, and pressing Enter.
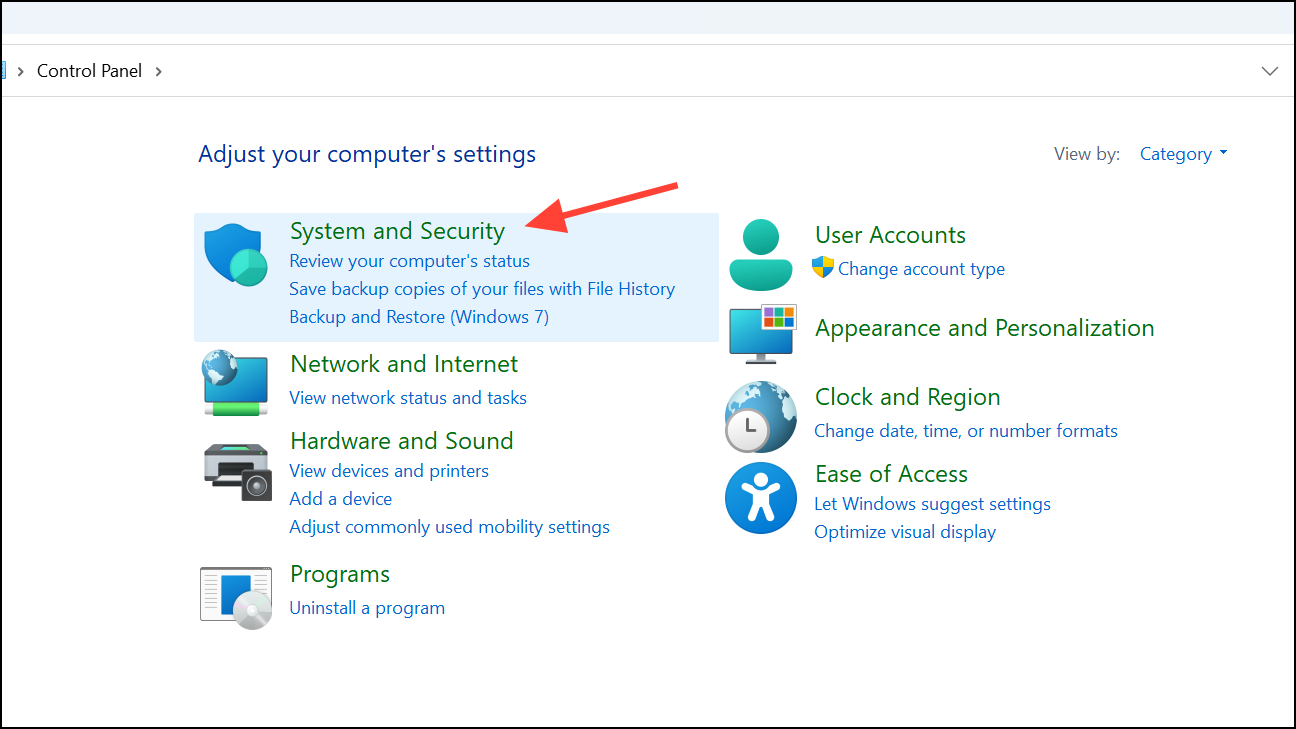
Step 2: Once the Control Panel opens, select "System and Security".
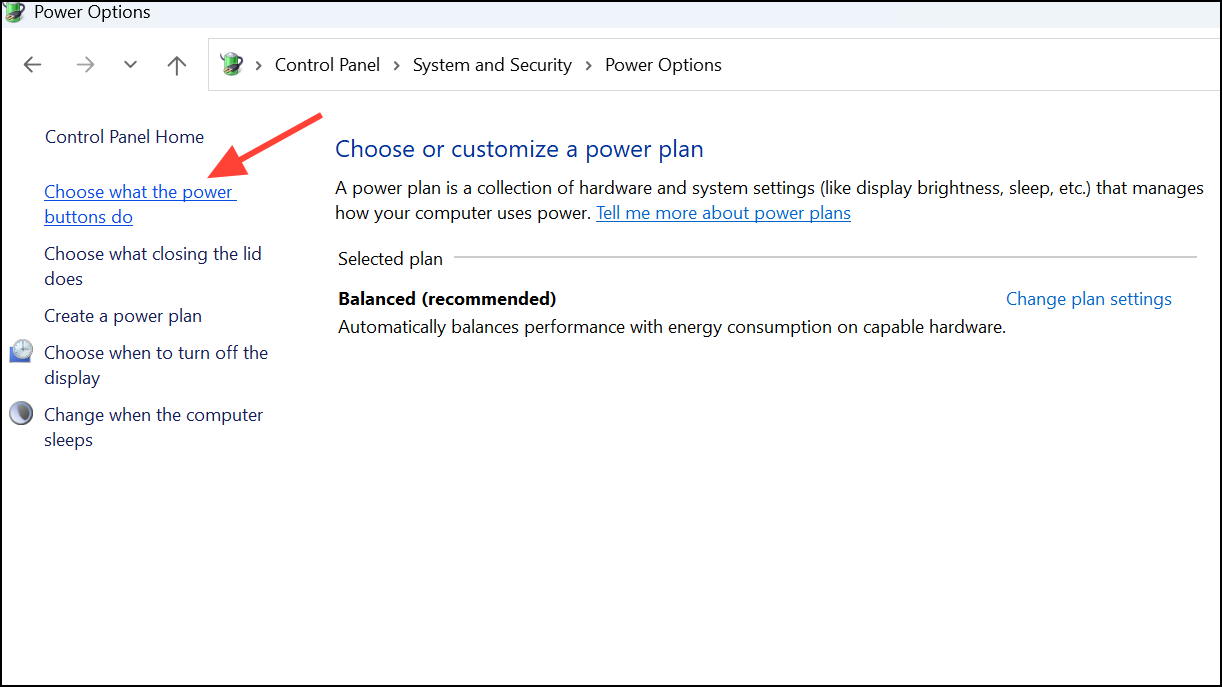
Step 3: Within the "System and Security" section, click "Power Options". On the left-hand side, select "Choose what the power buttons do".
Step 4: You'll see options that are currently greyed out. To make changes, click on "Change settings that are currently unavailable". Now, under "Shutdown settings", uncheck the option labeled "Turn on fast startup (recommended)".
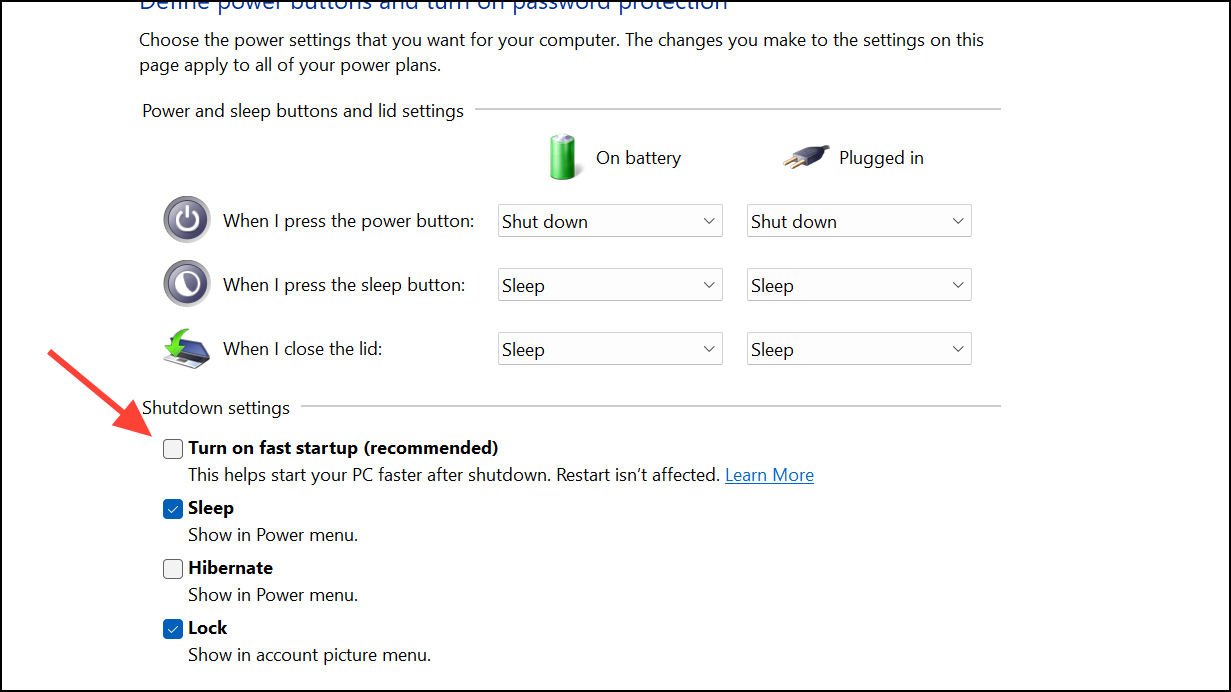
Step 5: Click "Save changes" at the bottom of the window. After saving, attempt to shut down your computer again to verify if the issue is resolved.
Method 2: Adjust the Power Management Settings for Network Adapters
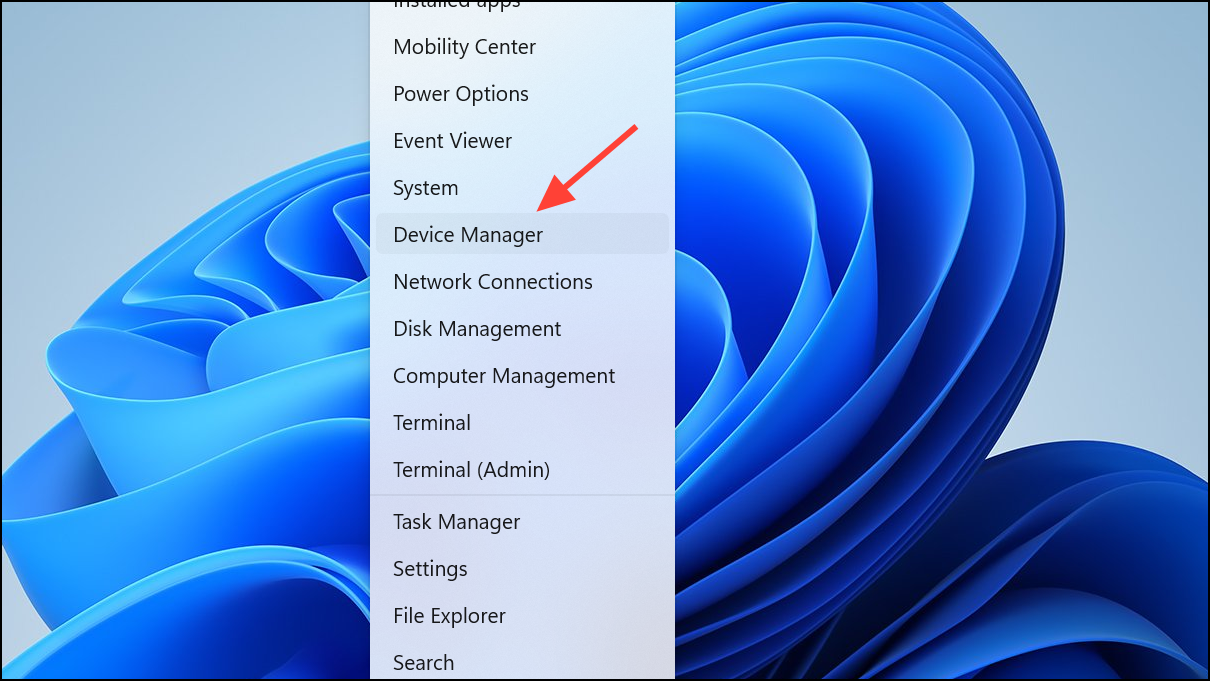
Step 1: Open Device Manager by right-clicking the Start button and selecting "Device Manager" from the menu.
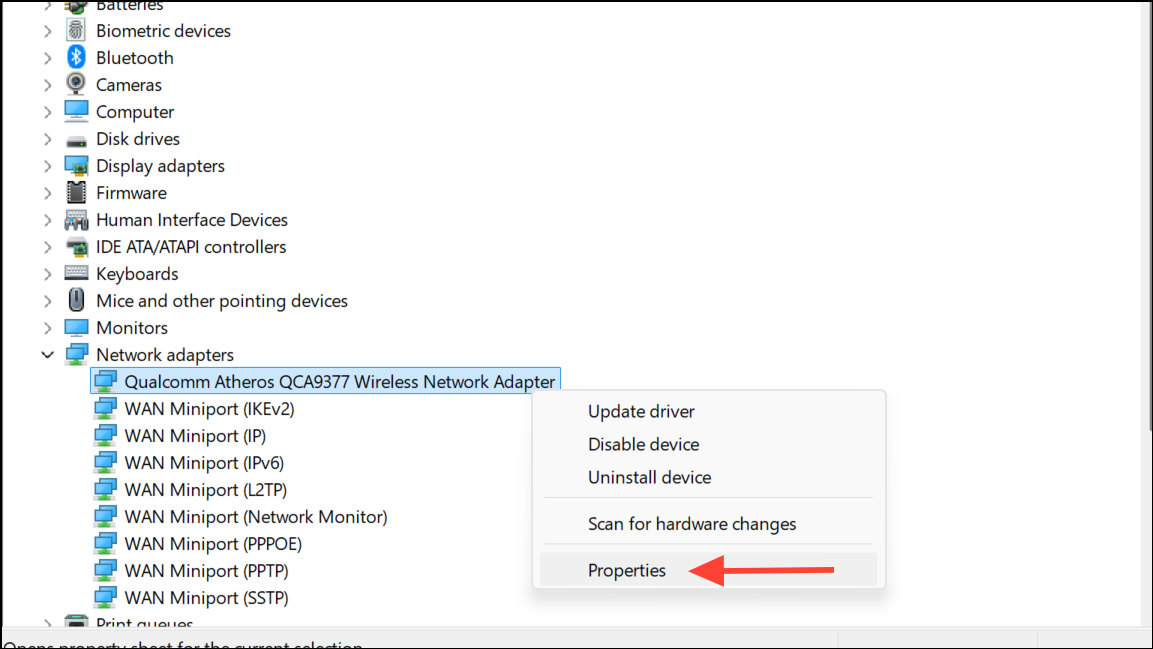
Step 2: Locate and expand the "Network adapters" section. Right-click your primary network adapter and select "Properties".
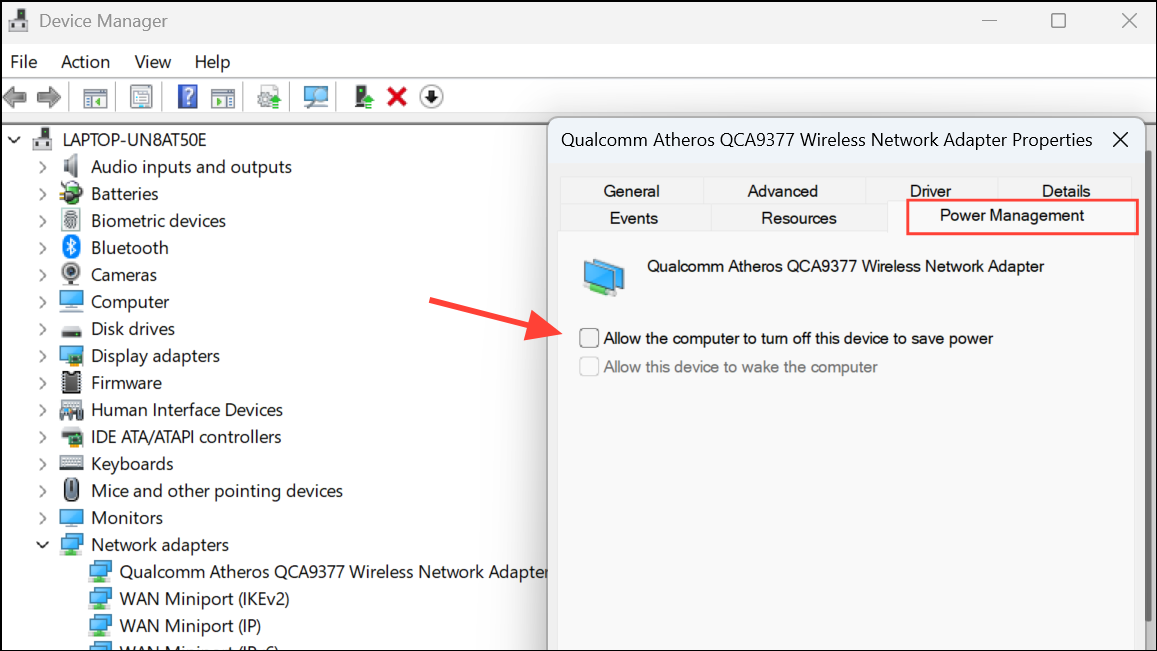
Step 3: Navigate to the "Power Management" tab. Here, uncheck the option "Allow the computer to turn off this device to save power". Click "OK" to apply the changes.
Step 4: Repeat this step for any additional network adapters you may have. After completing, try shutting down your computer again to see if the issue persists.
Method 3: Update System Drivers and Windows 11
Step 1: Outdated drivers or pending updates can cause conflicts leading to improper shutdown behavior. Press Windows key + I to open Windows Settings.
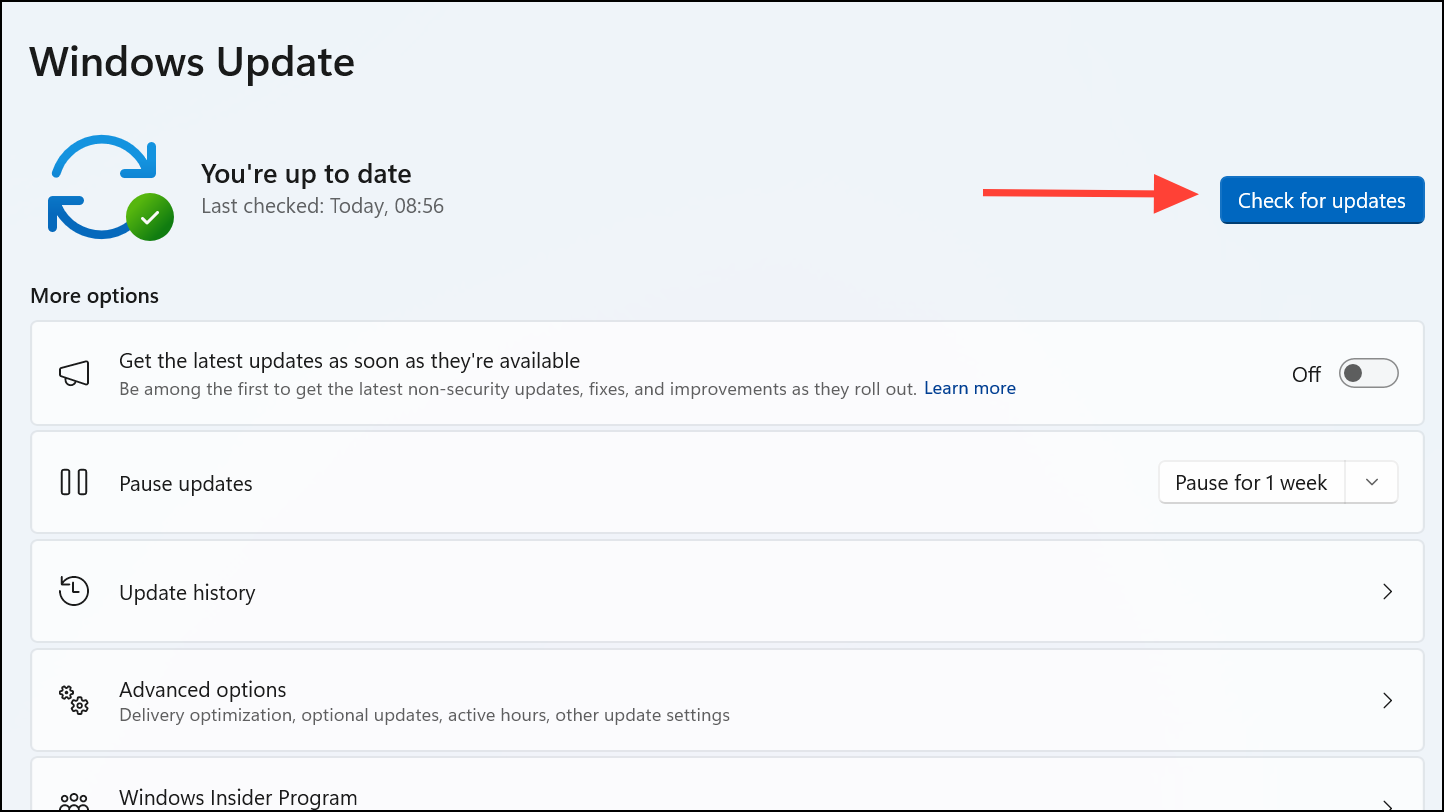
Step 2: Click on "Windows Update" from the left sidebar. Click "Check for updates". If any updates are found, install them and restart your system.
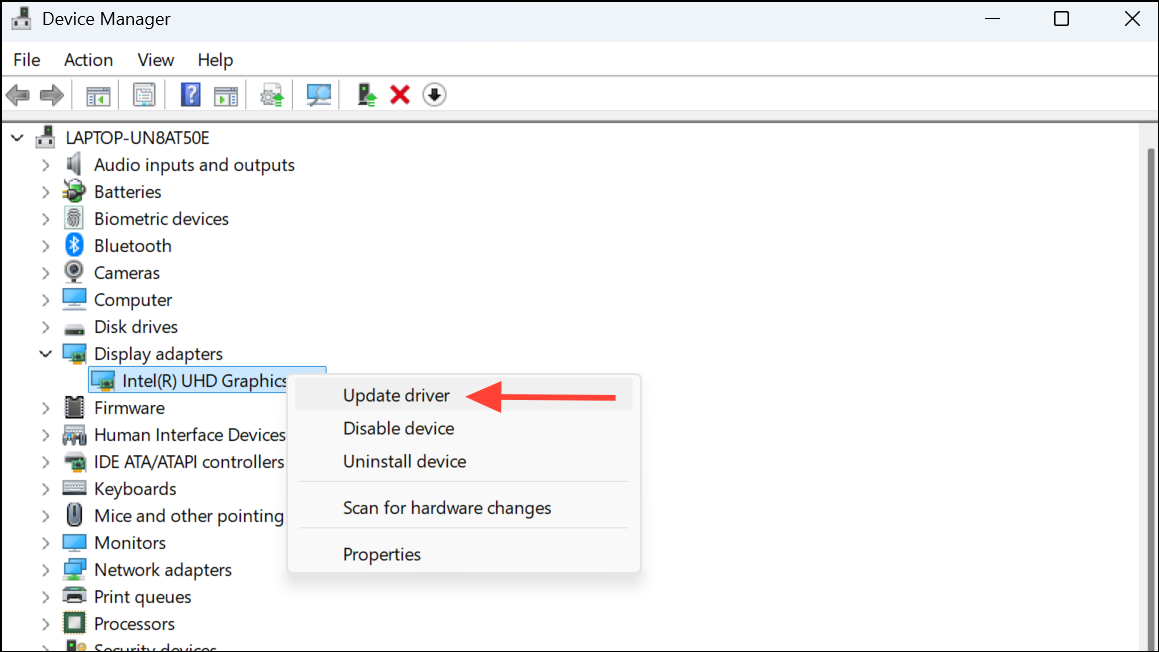
Step 3: To update drivers, open Device Manager again (as described in Method 2). Right-click each critical device (especially graphics card, chipset, and network adapters), select "Update driver", and choose "Search automatically for drivers". Follow the prompts to complete any driver updates.
Step 4: After updating, reboot your computer and test shutting down again to confirm the resolution of the problem.
Method 4: Perform a Full Shutdown Using Command Prompt
If the above methods fail, performing a full shutdown via Command Prompt can help temporarily resolve the issue.
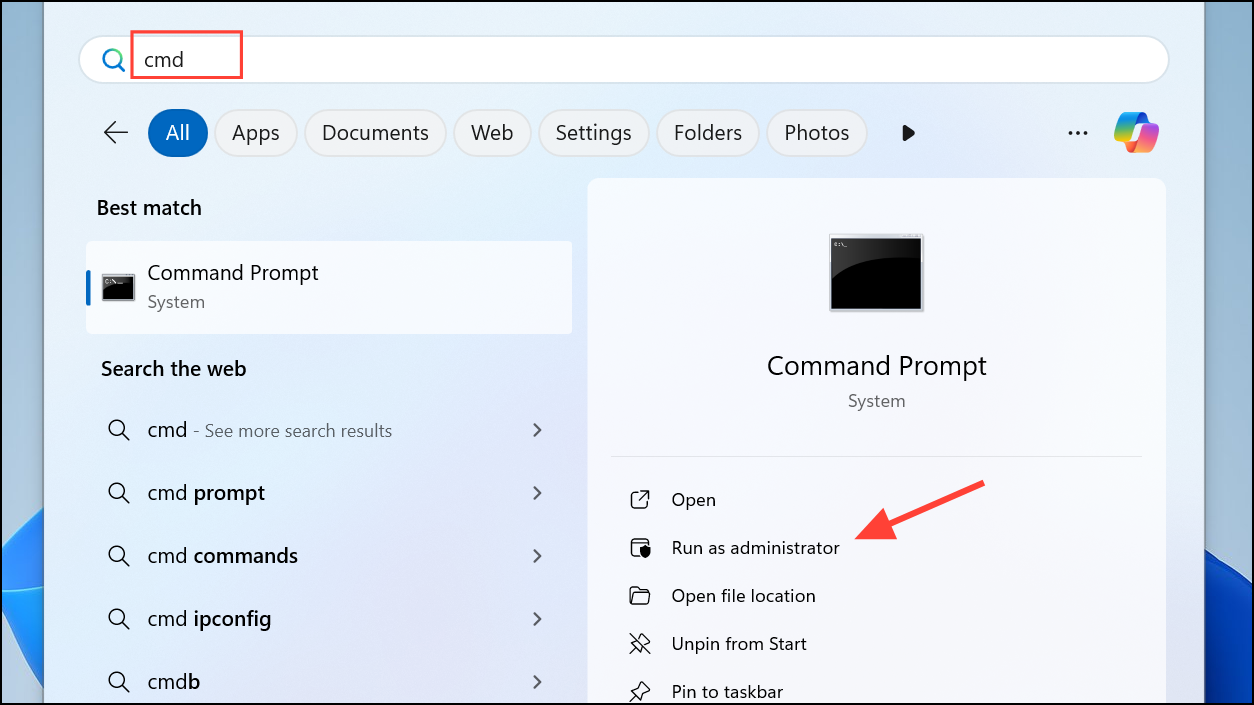
Step 1: Press Windows key + S, type cmd, then right-click "Command Prompt" and select "Run as administrator".
Step 2: In the Command Prompt window, type the following command and press Enter:
shutdown /s /f /t 0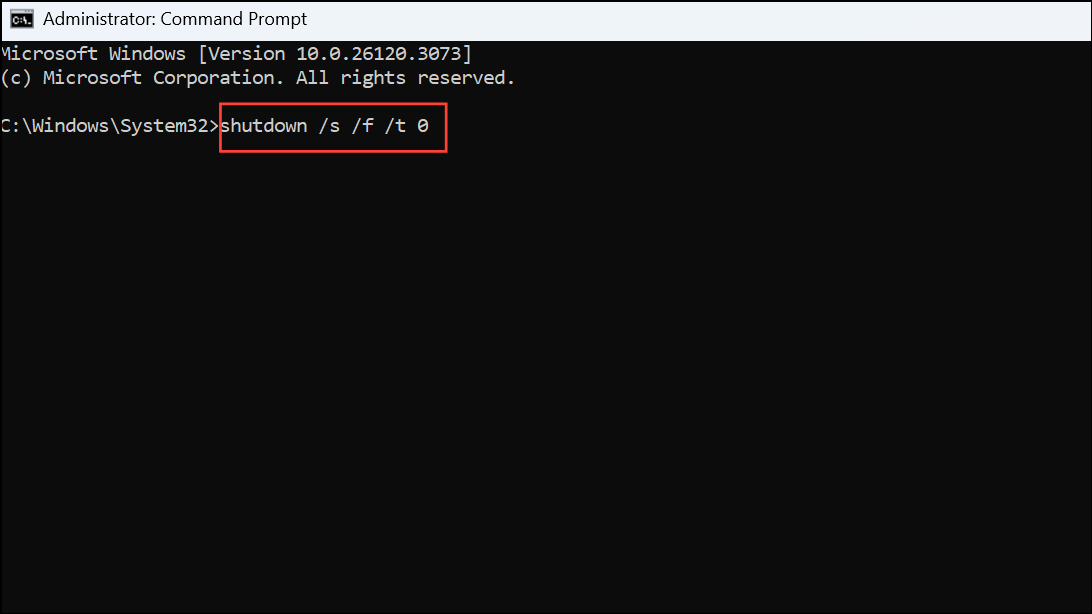
This command forces the system to fully shut down immediately, bypassing any conflicting settings or processes.
After applying these methods, your Windows 11 system should shut down correctly without restarting. Regularly updating your drivers and system software can help prevent similar issues in the future.