The Windows Update error 0x80248014 occurs when your Windows 11 system cannot successfully communicate with Microsoft's update servers. This issue prevents your PC from downloading and installing the latest updates, leaving your system vulnerable and potentially unstable. Fortunately, several effective solutions can resolve this error and get your updates back on track.
Method 1: Restart Windows Update and Related Services
One of the most effective ways to resolve the 0x80248014 error is to restart Windows Update and its associated services. Doing so clears temporary glitches or service interruptions that might be blocking updates.
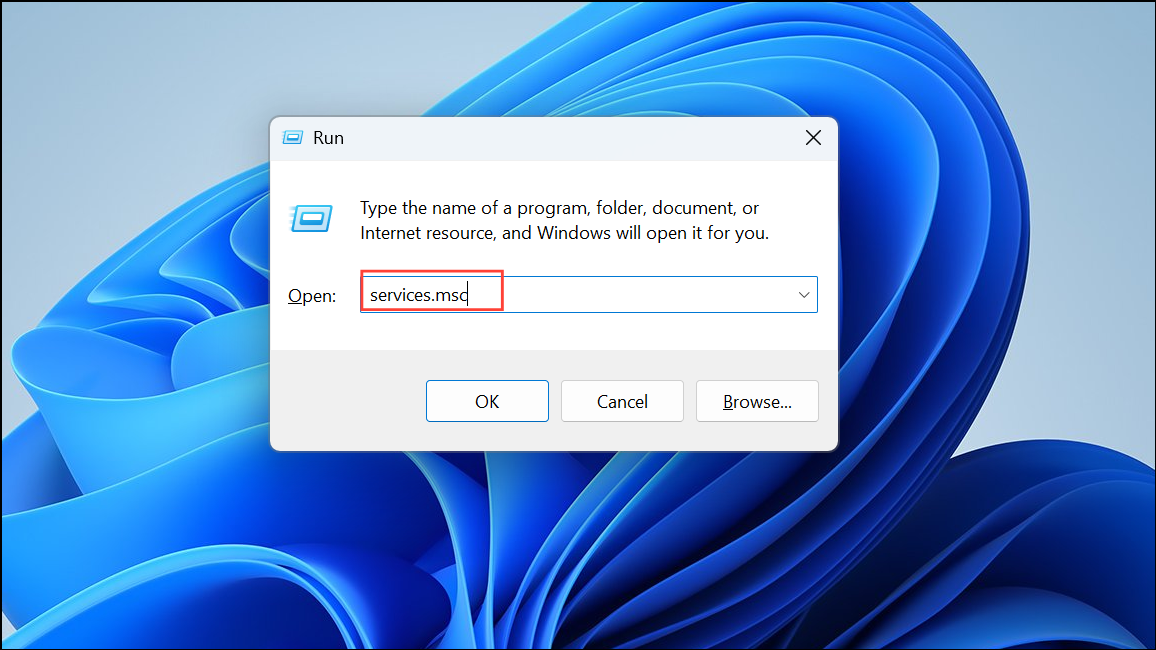
Step 1: Press Windows + R to open the Run dialog box. Type services.msc and press Enter to launch the Services app.
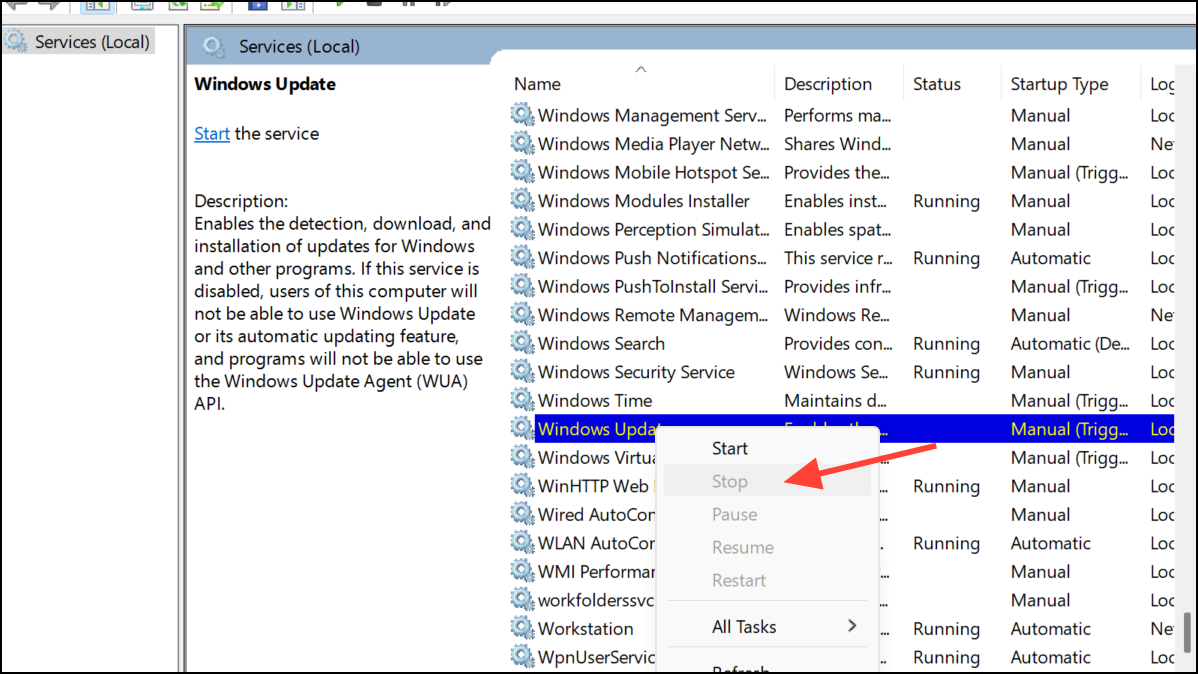
Step 2: In the Services window, locate the following services: "Windows Update," "Background Intelligent Transfer Service," and "Cryptographic Services." Right-click each service one by one, select "Stop," wait a few seconds, then right-click again and select "Start."
Step 3: Once completed, restart your computer and attempt the Windows Update again.
Method 2: Clear Windows Update Cache
Cached files from previous updates can sometimes become corrupted, causing the 0x80248014 error. Clearing these files can resolve the issue.
Step 1: Open Services again by pressing Windows + R, typing services.msc, and pressing Enter.

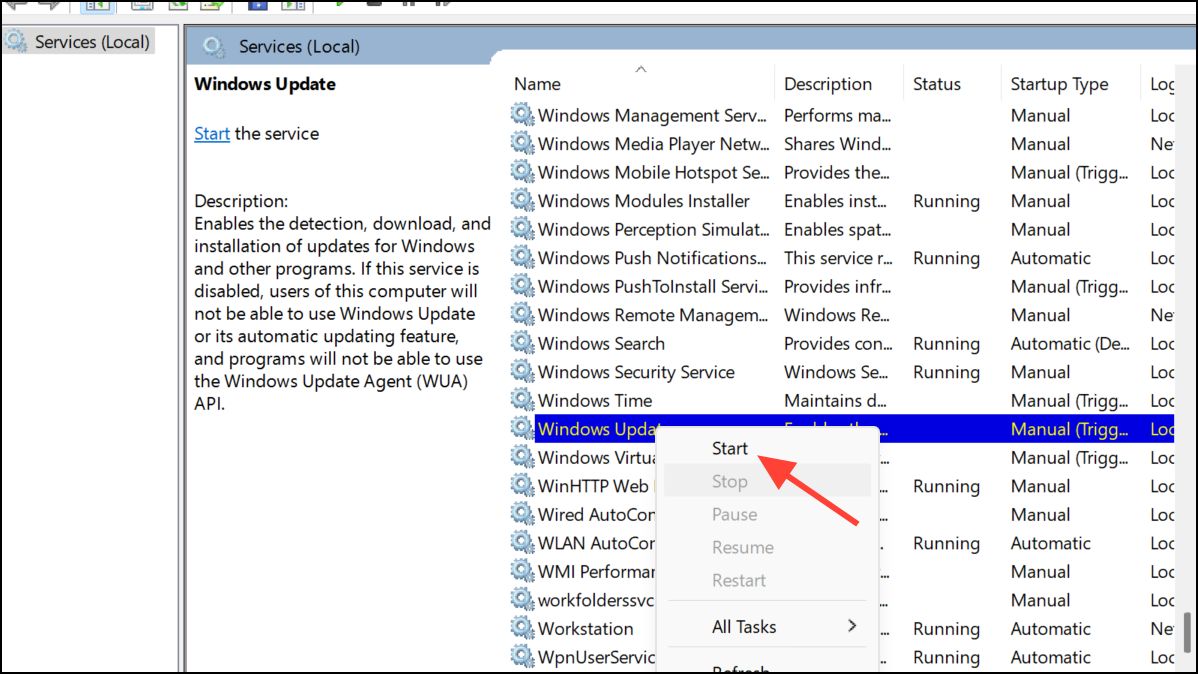
Step 2: Find "Windows Update," right-click on it, and select "Stop."

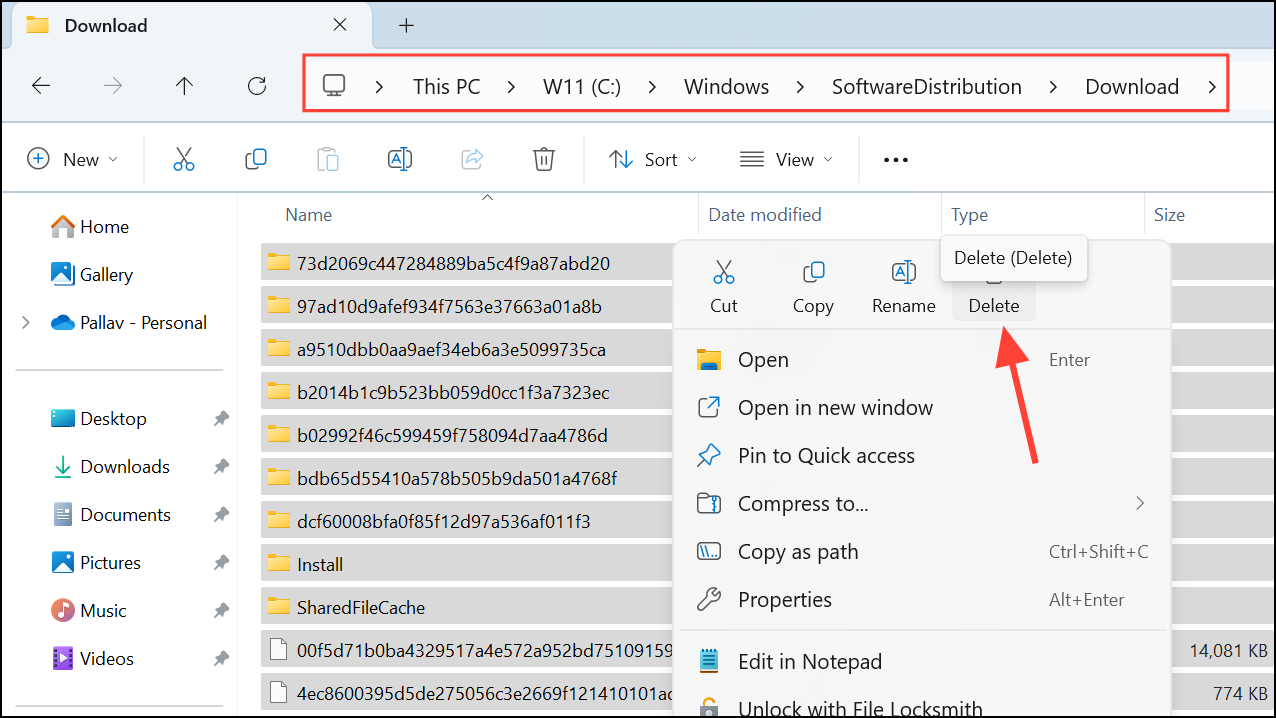
Step 3: Open File Explorer and navigate to C:\Windows\SoftwareDistribution\Download. Select all files and folders inside this directory and delete them.
Step 4: Return to the Services window, right-click "Windows Update," and select "Start." Restart your PC and try updating again.
Method 3: Run the Windows Update Troubleshooter
Windows 11 includes a built-in troubleshooter specifically designed to detect and automatically resolve common update-related issues.
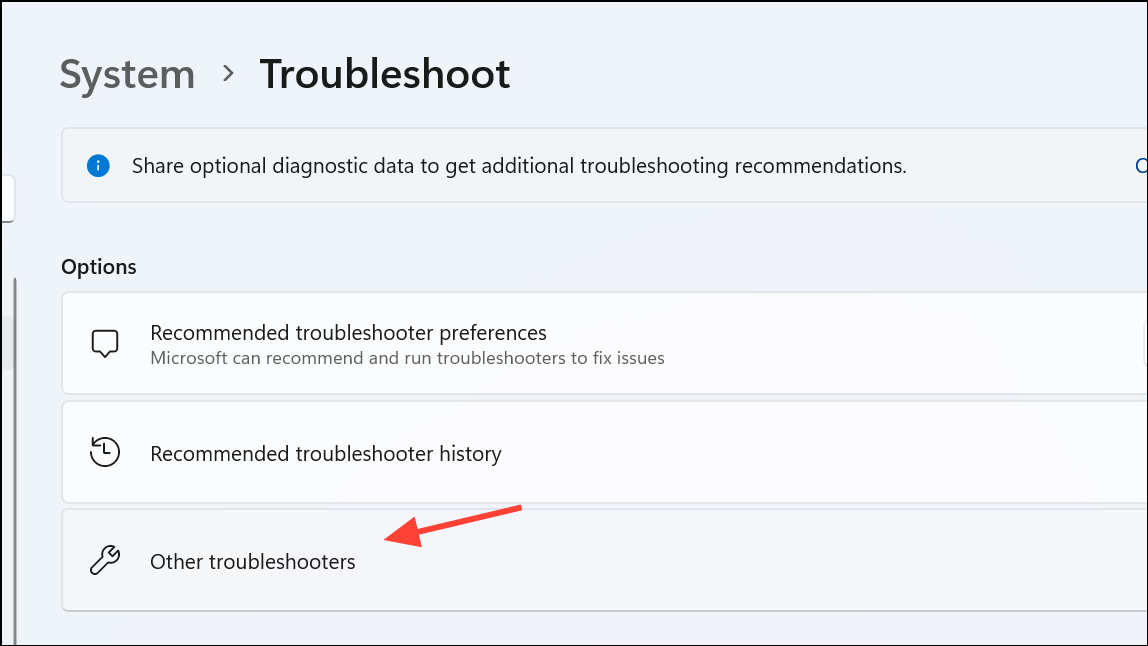
Step 1: Press Windows + I to open Settings. Navigate to System > Troubleshoot > Other troubleshooters.
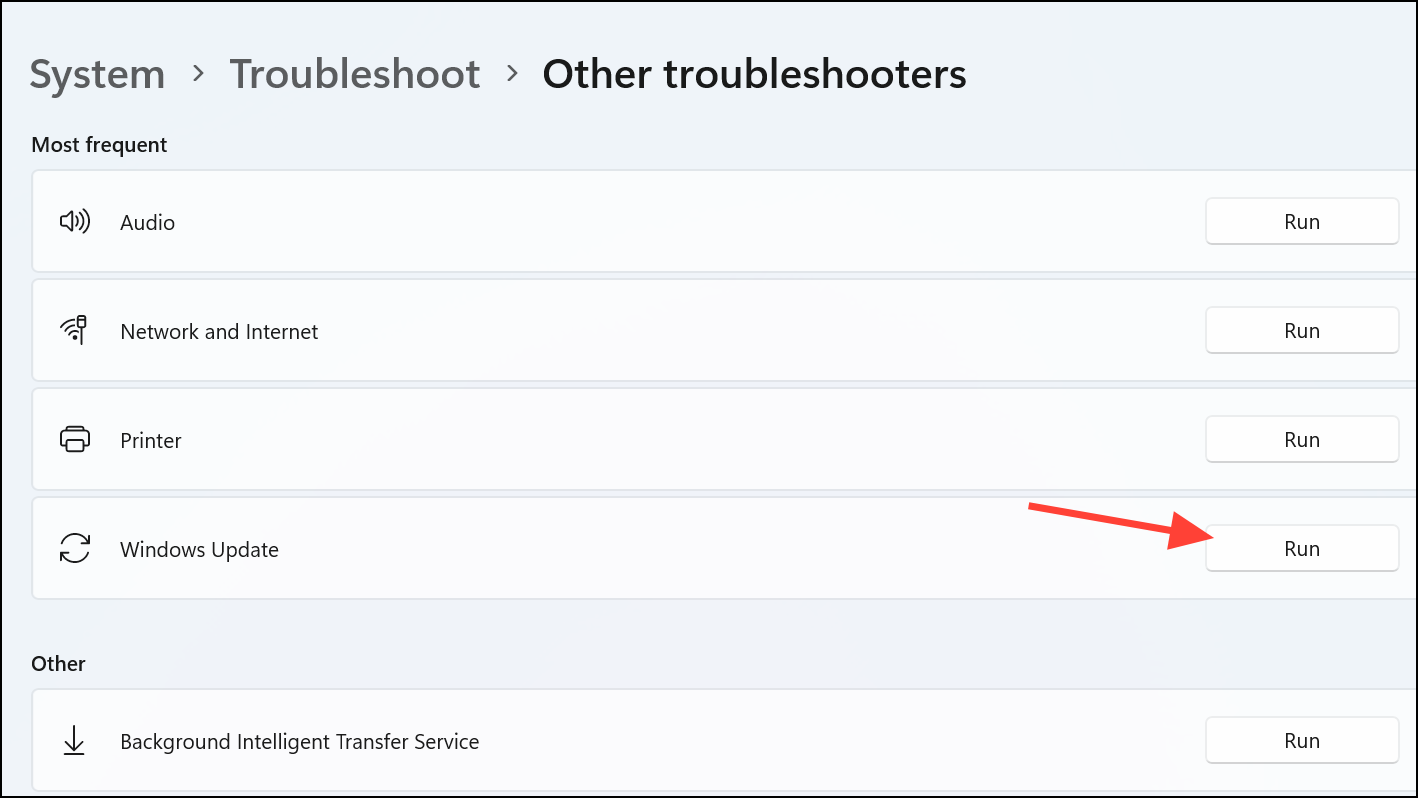
Step 2: Locate "Windows Update" in the list and click "Run." Follow the on-screen instructions to complete the troubleshooting process.
Step 3: Once the troubleshooter finishes, restart your computer and try running Windows Update again.
Method 4: Repair Windows System Files Using SFC and DISM
Corrupted or missing system files can also cause Windows Update errors. Using built-in tools like System File Checker (SFC) and Deployment Image Servicing and Management (DISM) can repair these issues.
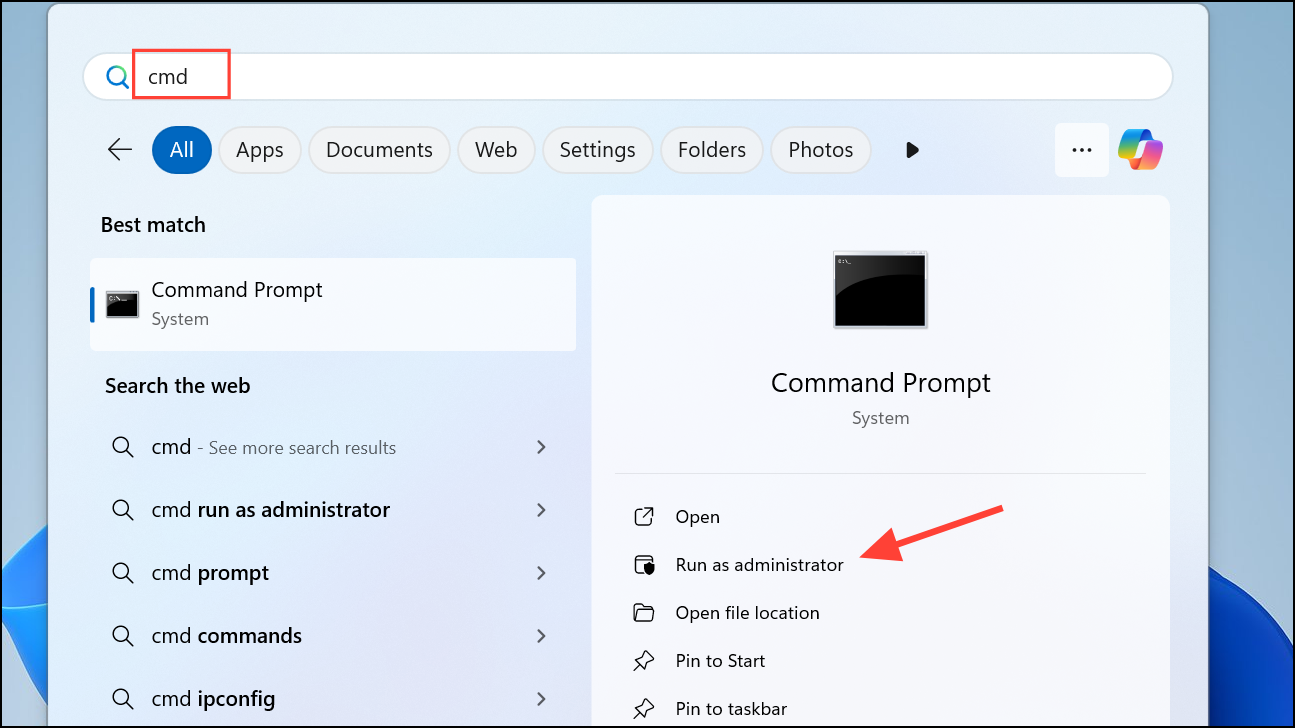
Step 1: Open Command Prompt as an administrator by pressing Windows + S, typing cmd, and selecting "Run as administrator."
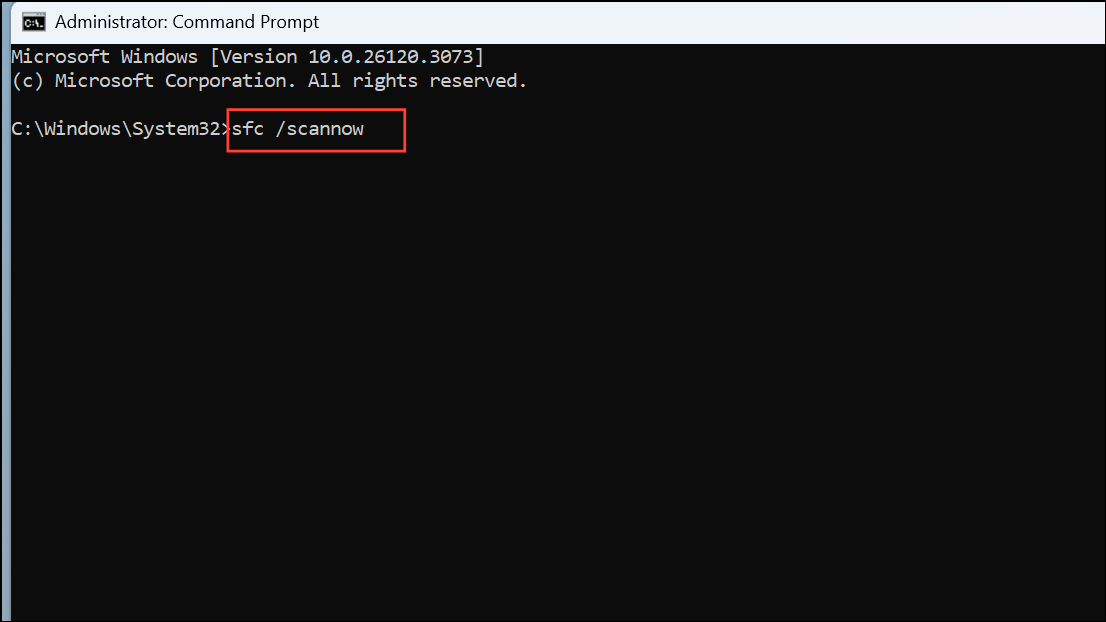
Step 2: Type sfc /scannow and press Enter. Allow the scan to complete fully.
Step 3: After the SFC scan finishes, run the following DISM commands one by one, pressing Enter after each:
DISM /Online /Cleanup-Image /ScanHealth
DISM /Online /Cleanup-Image /CheckHealth
DISM /Online /Cleanup-Image /RestoreHealth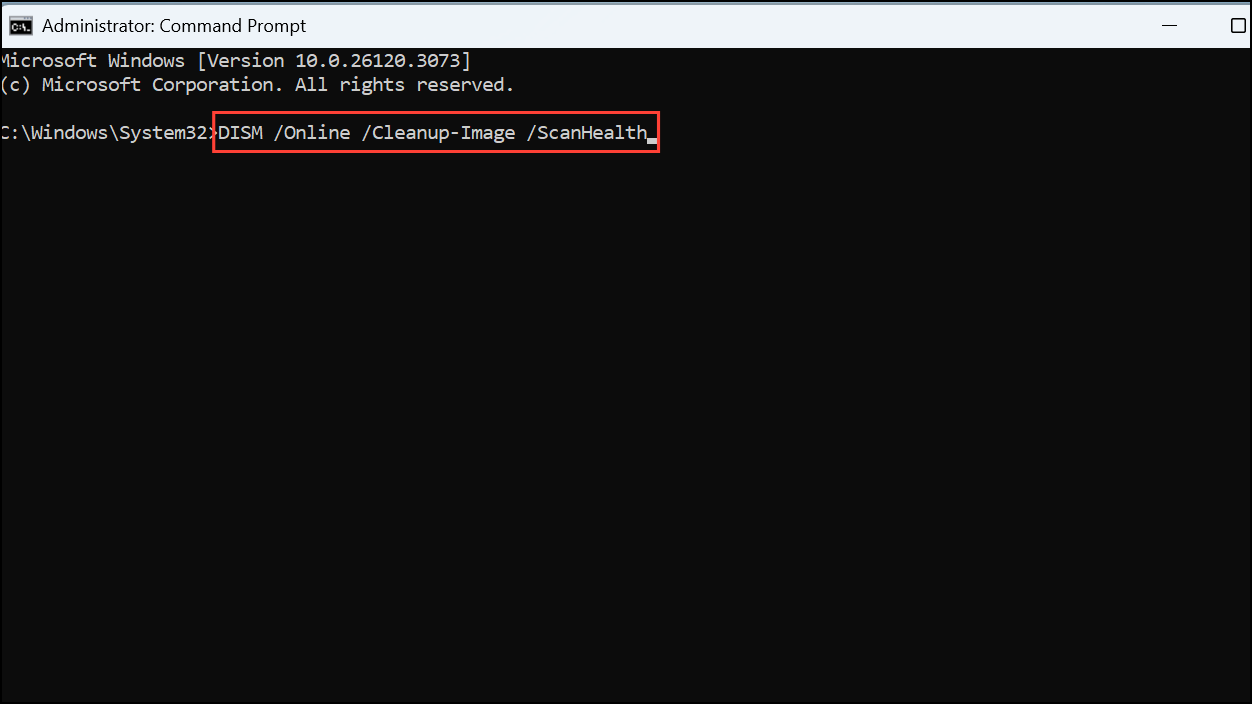
Step 4: Restart your computer after the scans finish. Attempt to download and install the Windows update again.
Method 5: Manually Install Windows Updates
If automatic updates continue to fail, manually downloading and installing the update from Microsoft's Update Catalog can bypass the issue.
Step 1: Note the KB number of the update that's failing to install from the Windows Update settings screen.
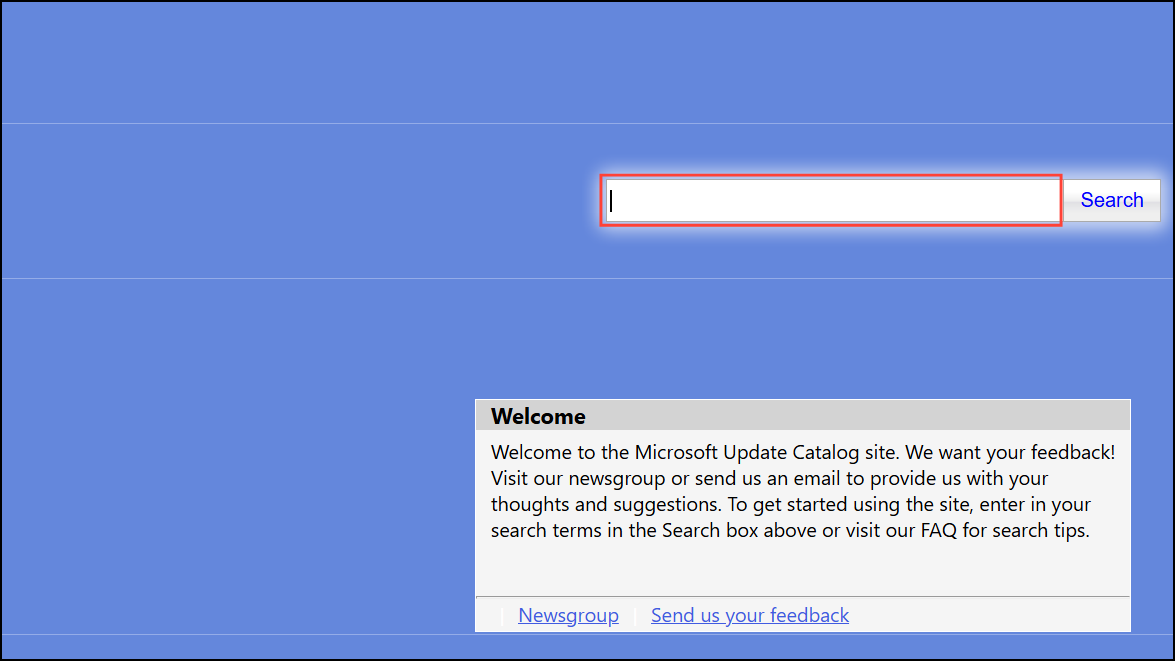
Step 2: Visit the Microsoft Update Catalog website, enter the KB number into the search bar, and locate the appropriate update version for your Windows 11 system.
Step 3: Download the update file, then double-click it to run the installer. Follow the prompts to complete the installation. Restart your computer afterward.
By following these detailed methods, you should successfully resolve the 0x80248014 error and keep your Windows 11 device updated and secure. If you continue facing issues, consider contacting Microsoft Support for additional assistance.

