
Microsoft Windows Search Indexer (SearchIndexer.exe) is a background process responsible for indexing files, emails, and other content on your PC, allowing you to quickly find them via Windows Search. While it's generally helpful, the Search Indexer can sometimes consume unusually high CPU resources, leading to sluggish performance, increased fan noise, and reduced battery life on laptops. If you're experiencing this problem, you can follow the methods below to resolve it efficiently.
Method 1: Restart the Windows Search Service
Restarting the Windows Search service can quickly resolve temporary glitches causing high CPU usage.
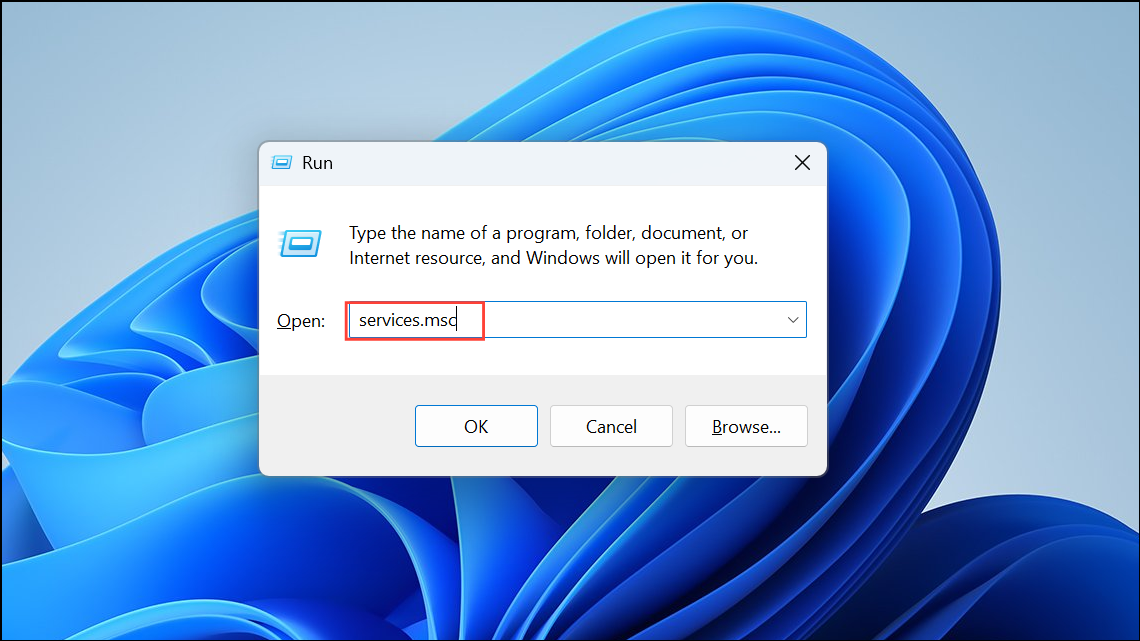
Step 1: Press Win + R to open the Run dialog box. Type services.msc and press Enter.
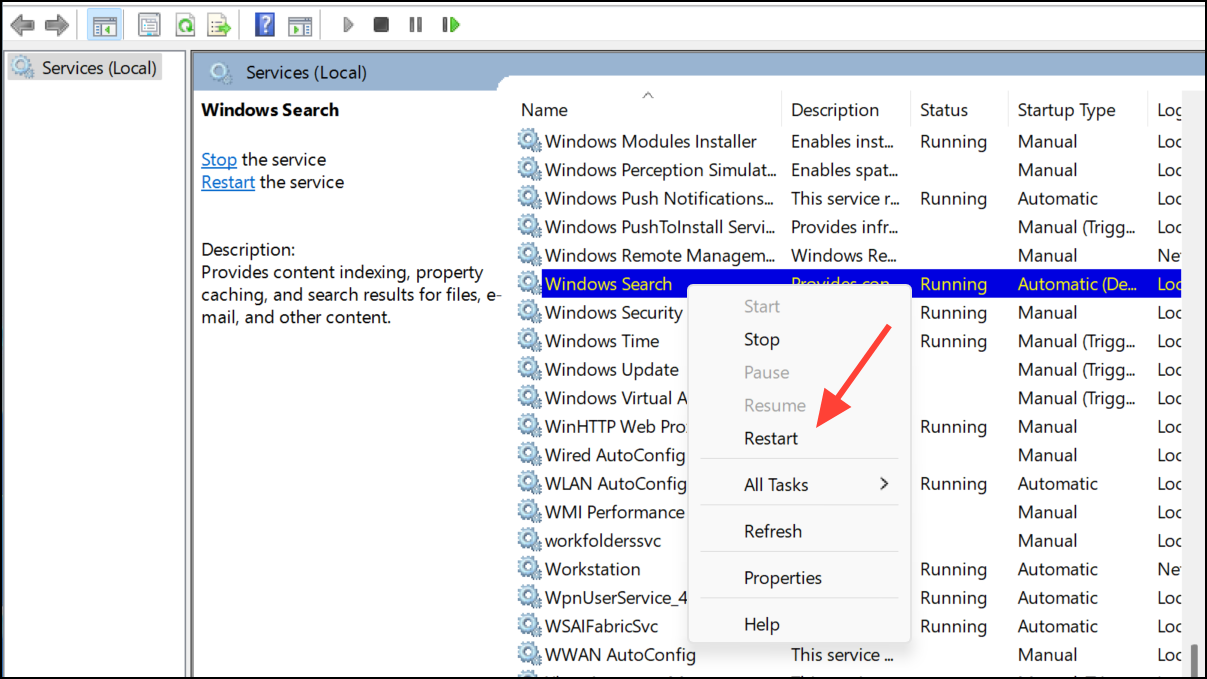
Step 2: In the Services window, find "Windows Search," right-click it, and select "Restart." If the option is greyed out, select "Stop," wait a moment, then select "Start."
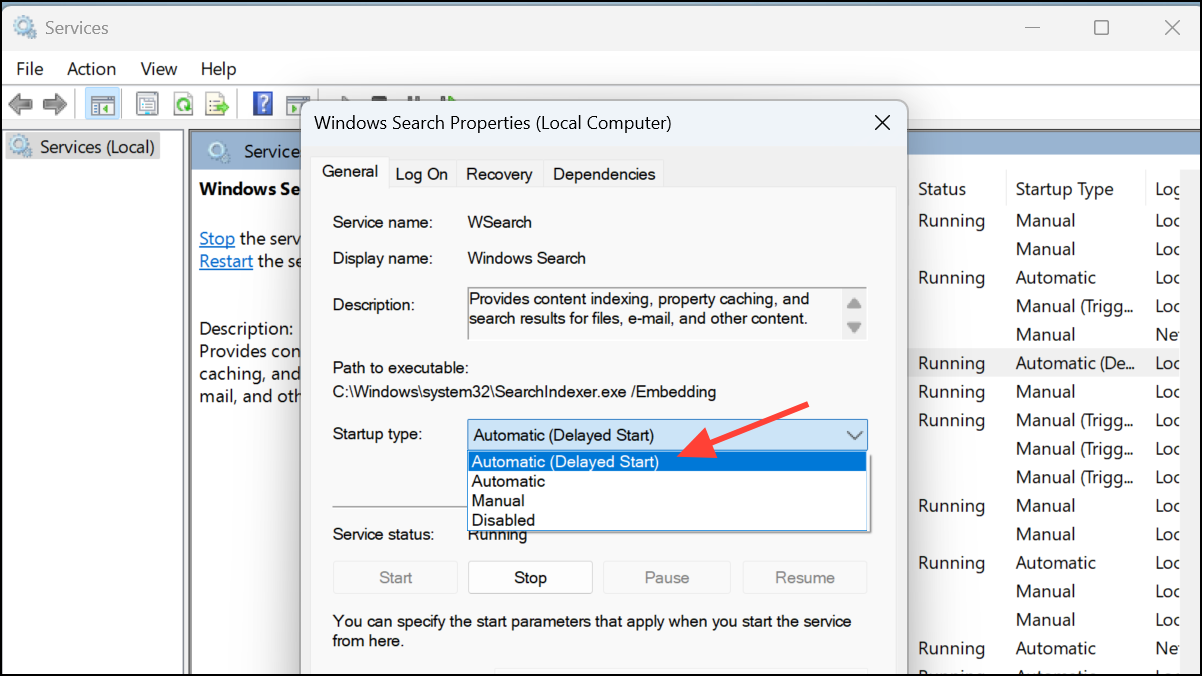
Step 3: Double-click "Windows Search" again, set the "Startup type" to "Automatic (Delayed Start)," then click "Apply" and "OK."
Step 4: Restart your PC and check if the CPU usage has decreased.
Method 2: Run the Search and Indexing Troubleshooter
Windows includes a built-in troubleshooter specifically designed to detect and fix issues with the Search Indexer.
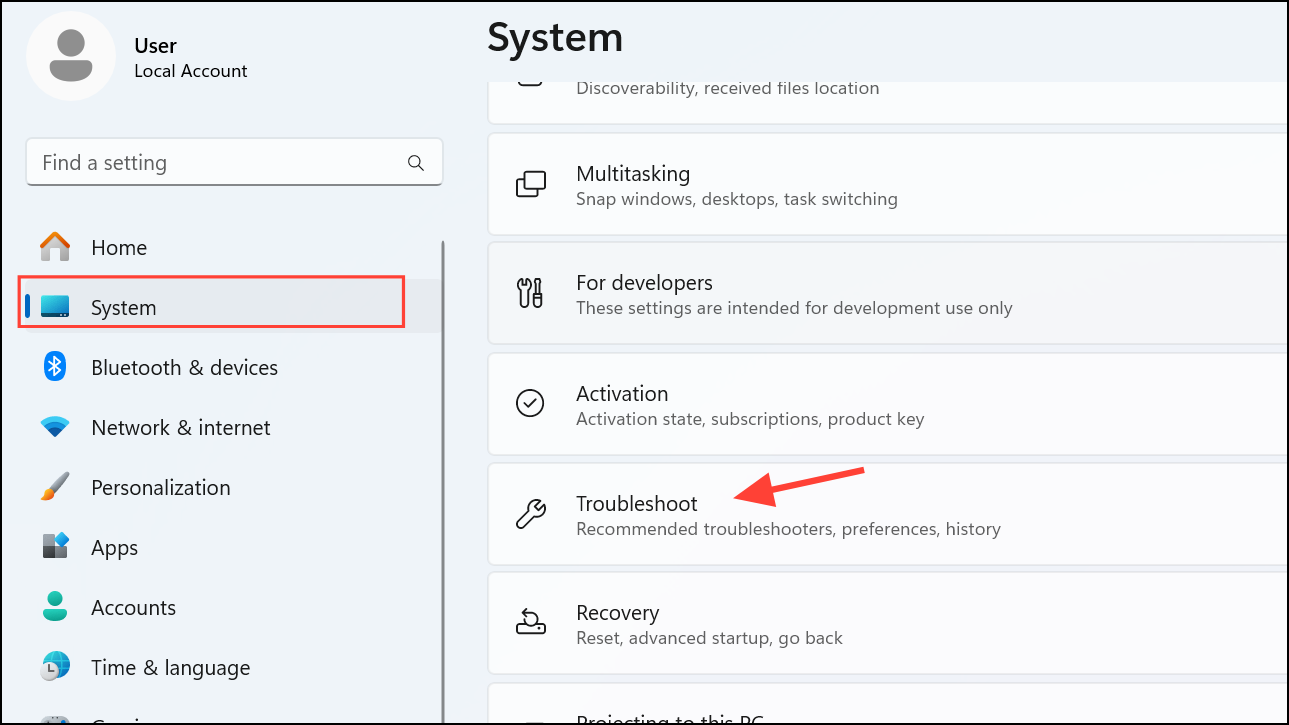
Step 1: Open Settings by pressing Win + I. Navigate to "System," then select "Troubleshoot."
Step 2: Click "Other troubleshooters," find "Search and Indexing," and select "Run."
Step 3: Follow the on-screen instructions. When prompted, select the issues you're experiencing and allow Windows to apply the recommended fixes.
After completion, restart your computer to ensure the changes take effect.
Method 3: Reduce Indexed Locations
Limiting the number of indexed locations can significantly reduce CPU usage.
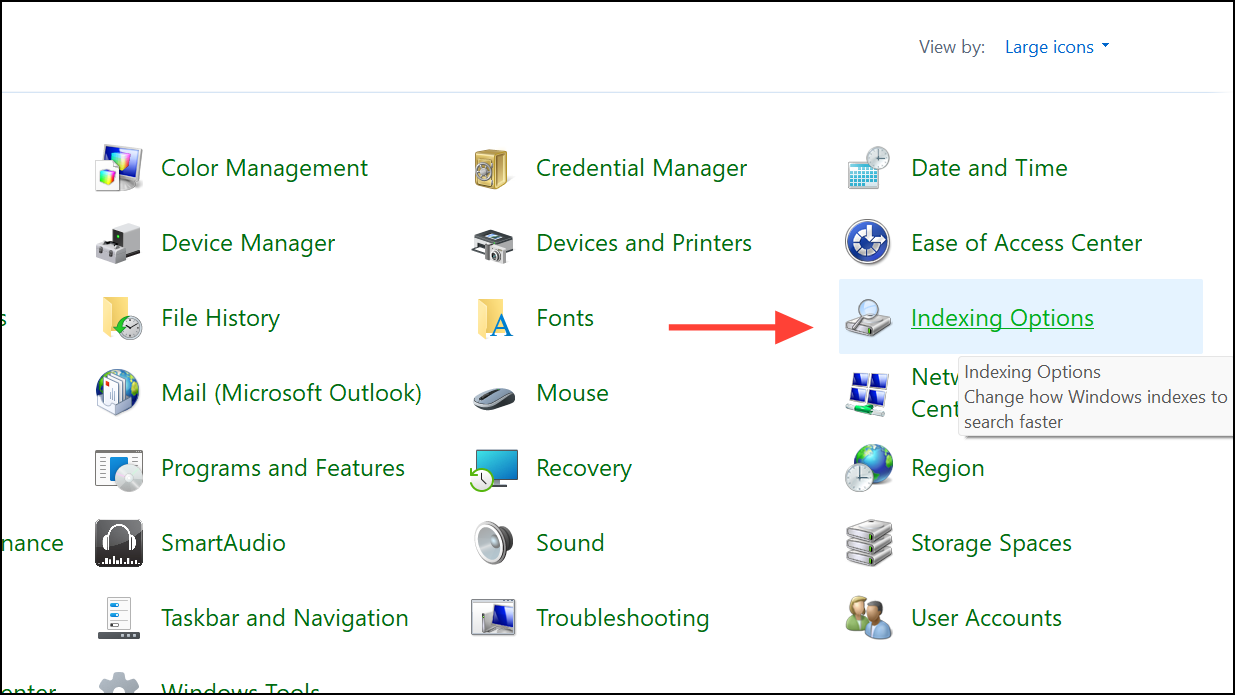
Step 1: Open the Control Panel by typing "Control Panel" in the Windows search bar and selecting it.

Step 2: Search for "Indexing Options" in the Control Panel and click on it.
Step 3: Click "Modify," then uncheck folders that don't require indexing. Typically, you can exclude temporary or rarely accessed folders.
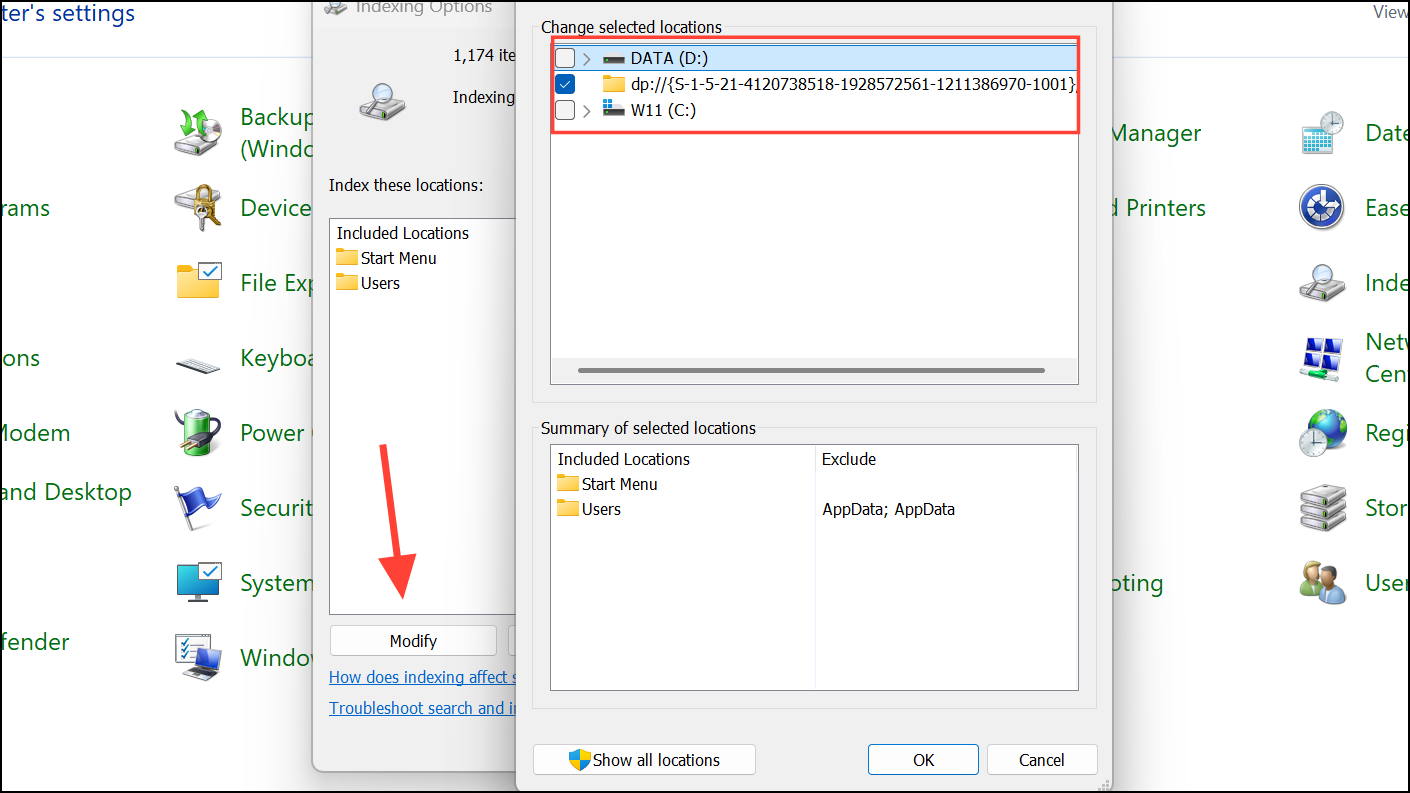
Step 4: Click "OK" to save your changes and close the window.
This adjustment should lower the workload on the Search Indexer, reducing CPU usage.
Method 4: Rebuild the Search Index
Corrupted or outdated indexes can cause the Search Indexer to constantly run. Rebuilding the index can fix this issue.
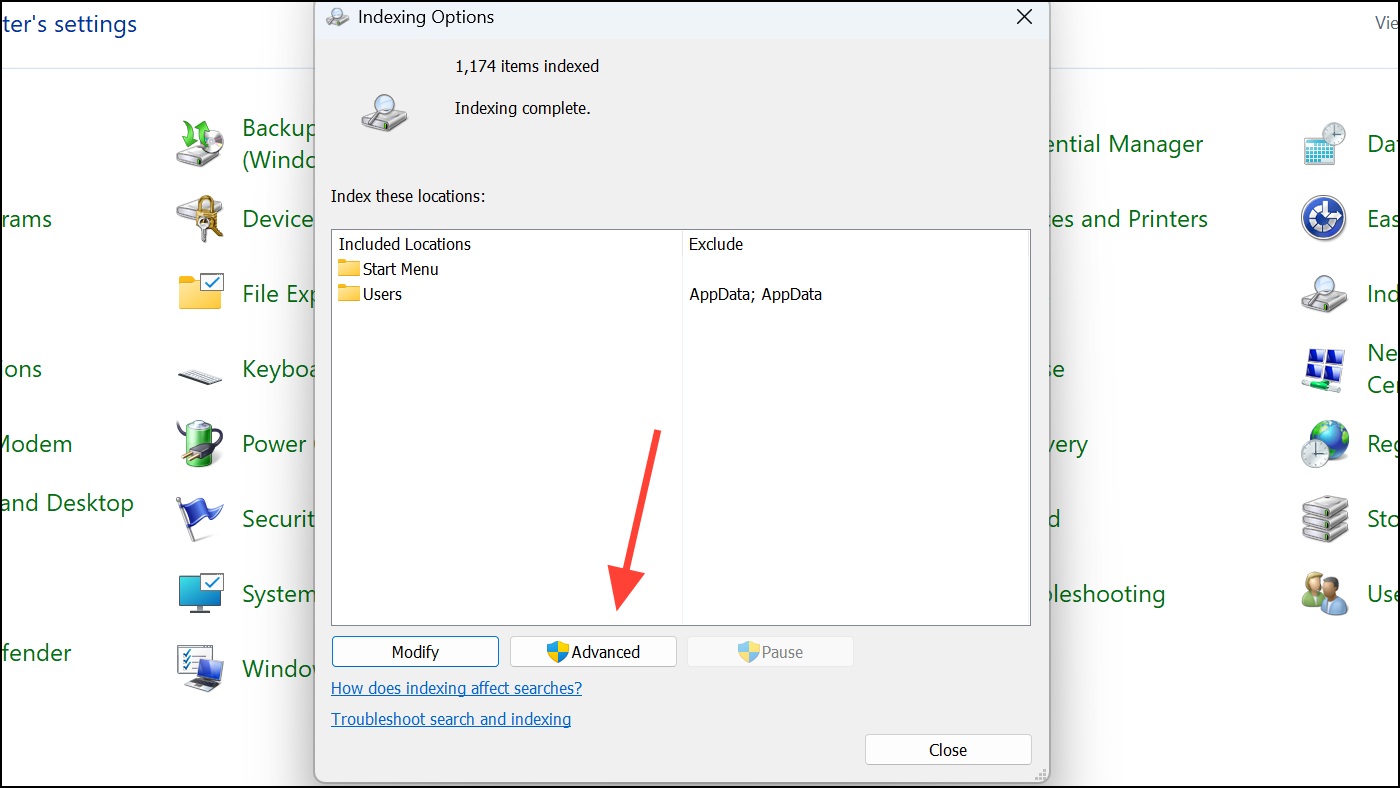
Step 1: Open "Indexing Options" as described earlier and click "Advanced."
Step 2: Under the "Index Settings" tab, click "Rebuild." Confirm the action when prompted.
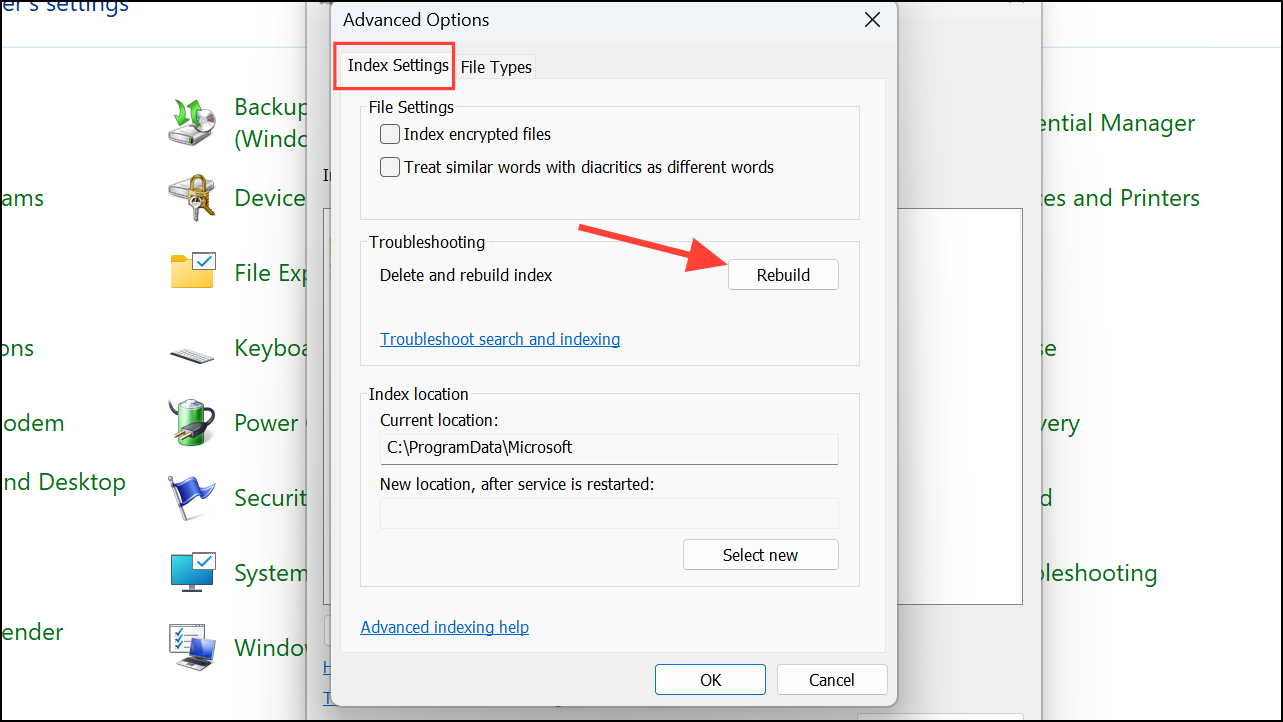
Step 3: Allow the process to complete. Depending on your system, this may take some time.
Once done, restart your PC and assess if the CPU usage has normalized.
Method 5: Run System File Checker (SFC) and DISM
These built-in tools help repair corrupted system files that may cause high CPU usage.
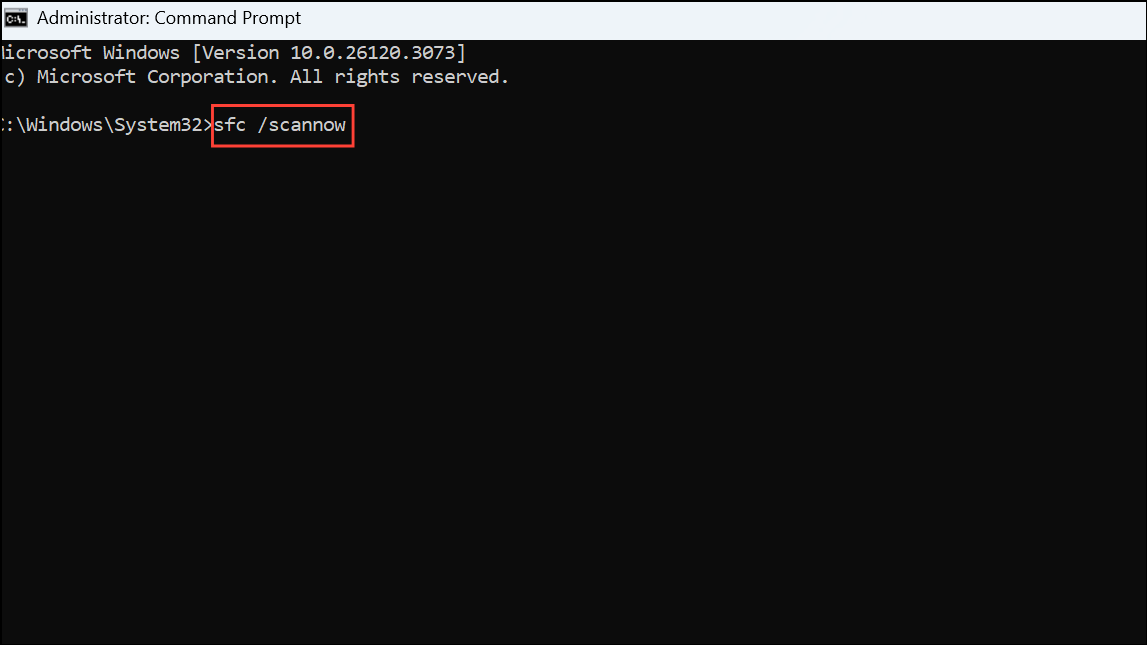
Step 1: Open Command Prompt as administrator. Type "cmd" in the search bar, right-click "Command Prompt," and choose "Run as administrator."

Step 2: Type sfc /scannow and press Enter. Allow the scan to complete.
Step 3: After SFC finishes, type the following command and press Enter:
DISM.exe /Online /Cleanup-image /Restorehealth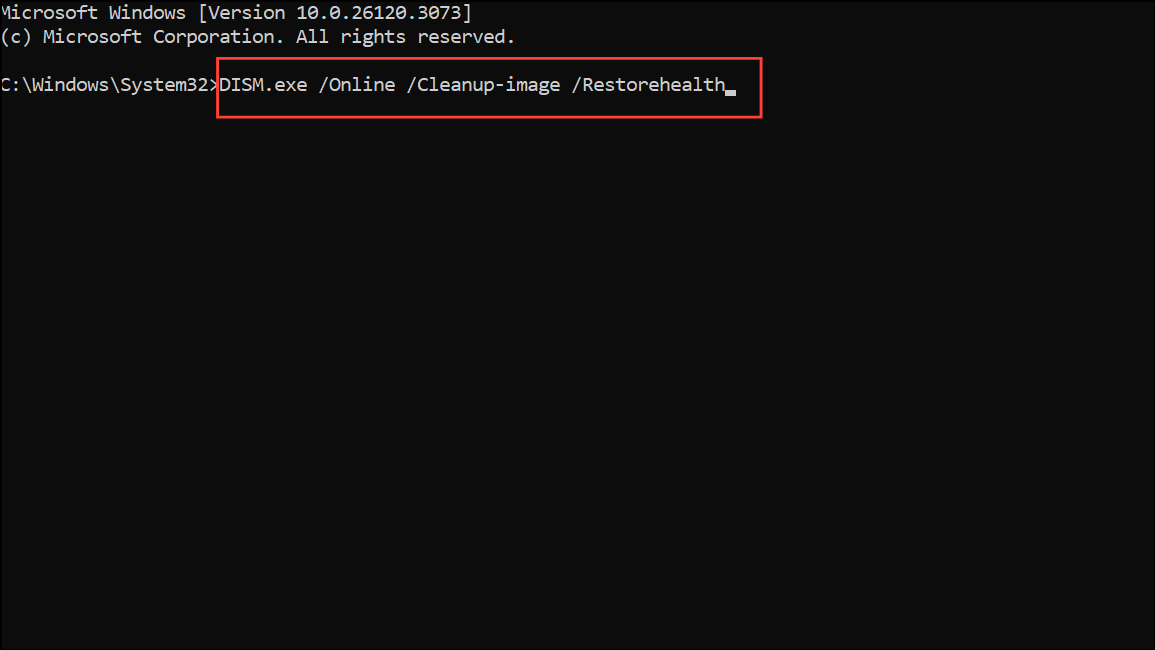
Step 4: After the process completes, restart your PC.
Method 6: Temporarily Disable Windows Search Indexing
If the above methods don't resolve the issue, temporarily disabling the Search Indexer might help.
Step 1: Press Win + R, type services.msc, and press Enter.
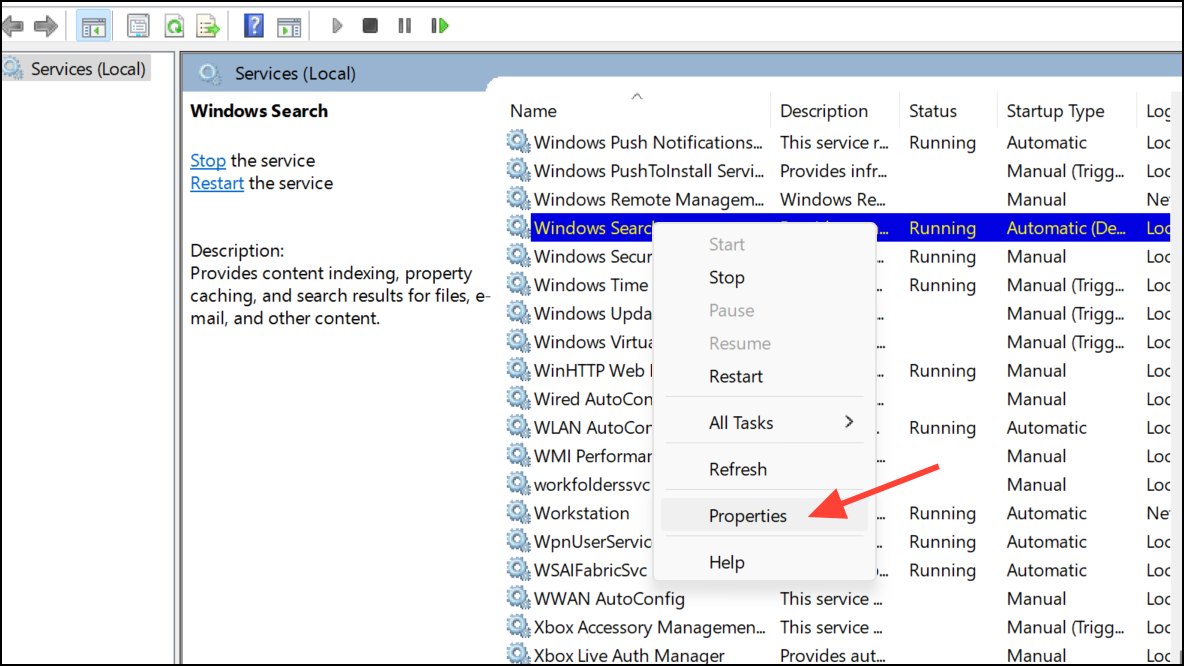
Step 2: Locate "Windows Search," right-click it, and select "Properties."
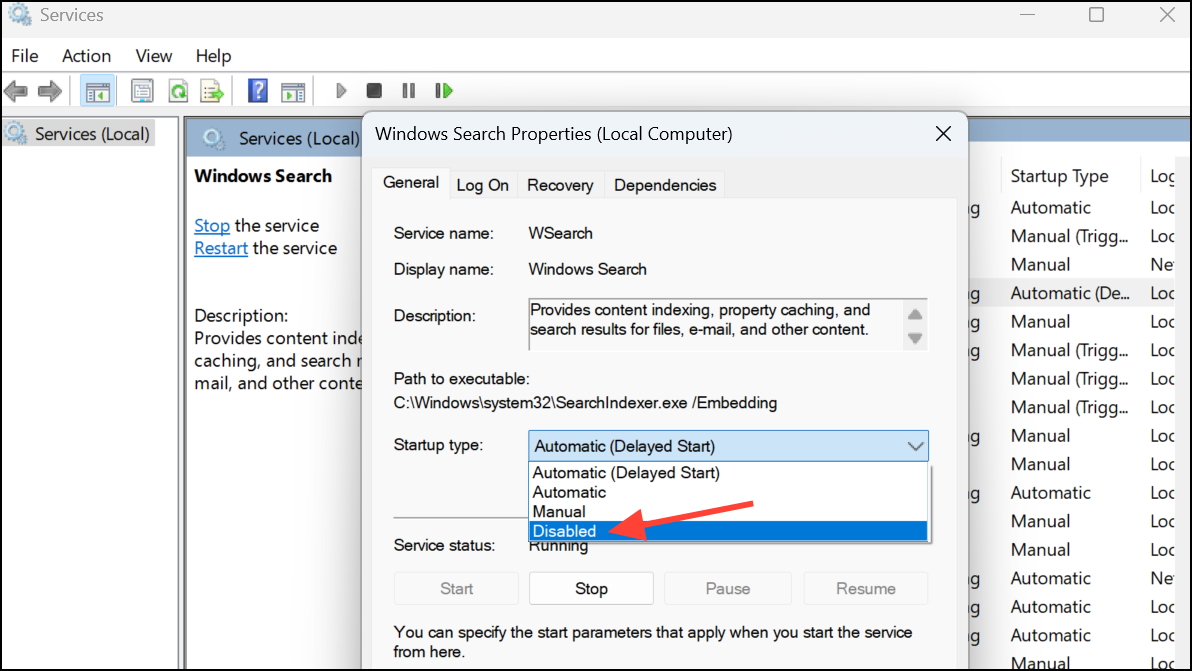
Step 3: Change the "Startup type" to "Disabled," then click "Stop," followed by "Apply" and "OK."
With these methods, you can effectively resolve the issue of high CPU usage caused by the Windows Search Indexer. Regularly checking your indexing settings and ensuring your system files are intact will help maintain optimal performance.