
Windows setup may display the message Windows was unable to locate required installation file [boot.wim]. Verify that the installation source is valid, and restart the installation. Error code: 0x80070002 when attempting to install or upgrade to Windows 11. This error halts the installation process and typically points to issues with installation media, missing or corrupted files, or system configuration problems.
Recreate the Bootable USB Drive Using Official Tools
Corrupted or incomplete installation media is a primary cause of the missing boot.wim file error. Creating a new bootable USB using the official Media Creation Tool or a reliable utility like Rufus improves the reliability of the installation process.
Step 1: Download the latest Windows 11 ISO or use the Microsoft Media Creation Tool from the official Microsoft website. This ensures you have an unmodified, complete copy of the installation files.
Step 2: If using the Media Creation Tool, follow the prompts to create installation media on a USB drive. If using Rufus, select the downloaded ISO and configure the partition scheme (GPT for UEFI systems is recommended for modern PCs). Make sure to select the correct USB drive to avoid overwriting other data.
Step 3: Safely eject the USB drive after the process completes, then insert it into the target PC and boot from the USB to start the installation.
This approach resolves most problems caused by incomplete or corrupted installation files, especially if previous attempts were made using third-party or outdated tools.
Check for Antivirus or Security Software Interference
Active antivirus or security software can block the setup process or prevent access to required files, resulting in the boot.wim error.
Step 1: Temporarily disable any antivirus or endpoint protection software before starting the installation. This includes both third-party and Windows Defender protections.
Step 2: Restart the installation process. Once Windows 11 is installed, re-enable your antivirus to maintain system security.
This step is especially important if you are running setup from within Windows or upgrading an existing installation, as security applications may block file operations required by the installer.
Verify the Presence of boot.wim in the Sources Folder
The boot.wim file should be present in the \Sources directory on your installation media. Missing or renamed files cause setup to fail.
Step 1: Open the USB drive or ISO file in File Explorer. Navigate to the \Sources folder.
Step 2: Confirm that boot.wim exists. If it is missing, the media is incomplete or corrupted. Recreate the USB using the official ISO as described above.
Step 3: If you see install.esd but not install.wim, this is normal for some media created by the Media Creation Tool. However, boot.wim must still be present for setup to proceed.
Change Registry Settings to Allow OS Upgrade (If Upgrading from Windows)
For users upgrading from within Windows, a missing registry value can prevent the upgrade process from accessing required files.
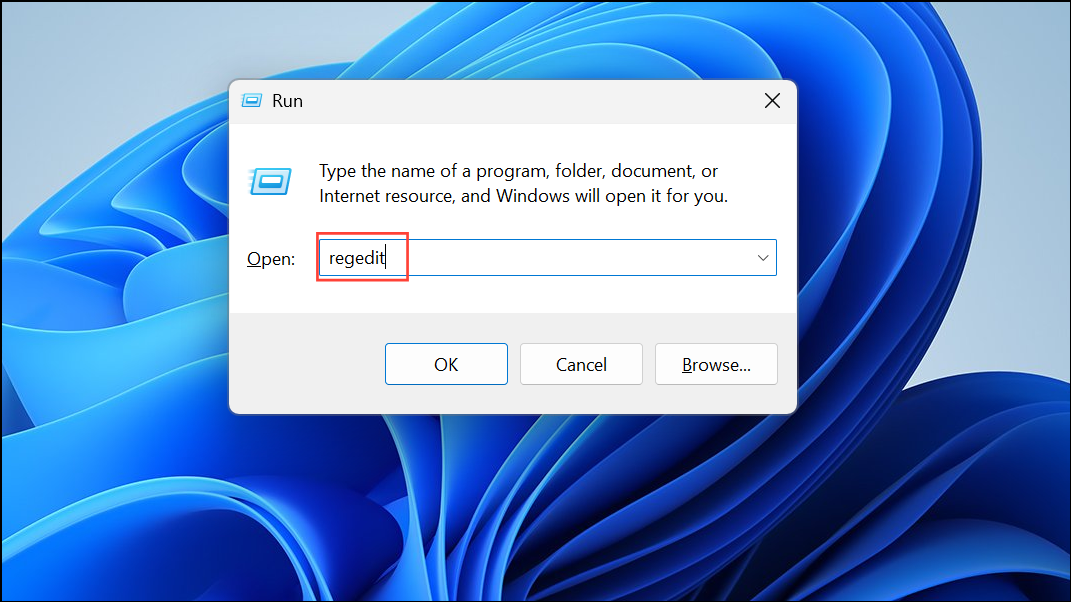
Step 1: Press Windows + R, type regedit, and press Enter to open the Registry Editor.
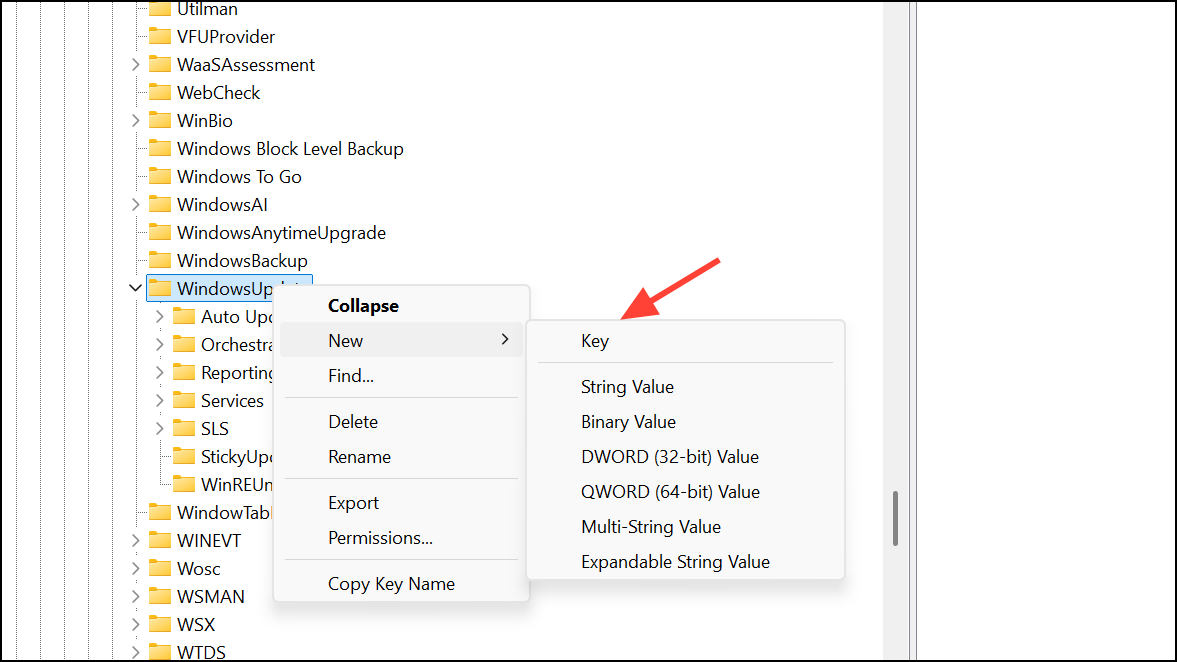
Step 2: Navigate to HKEY_LOCAL_MACHINE\SOFTWARE\Microsoft\Windows\CurrentVersion\WindowsUpdate\OSUpgrade. If OSUpgrade does not exist, create it by right-clicking on WindowsUpdate, selecting New > Key, and naming it OSUpgrade.
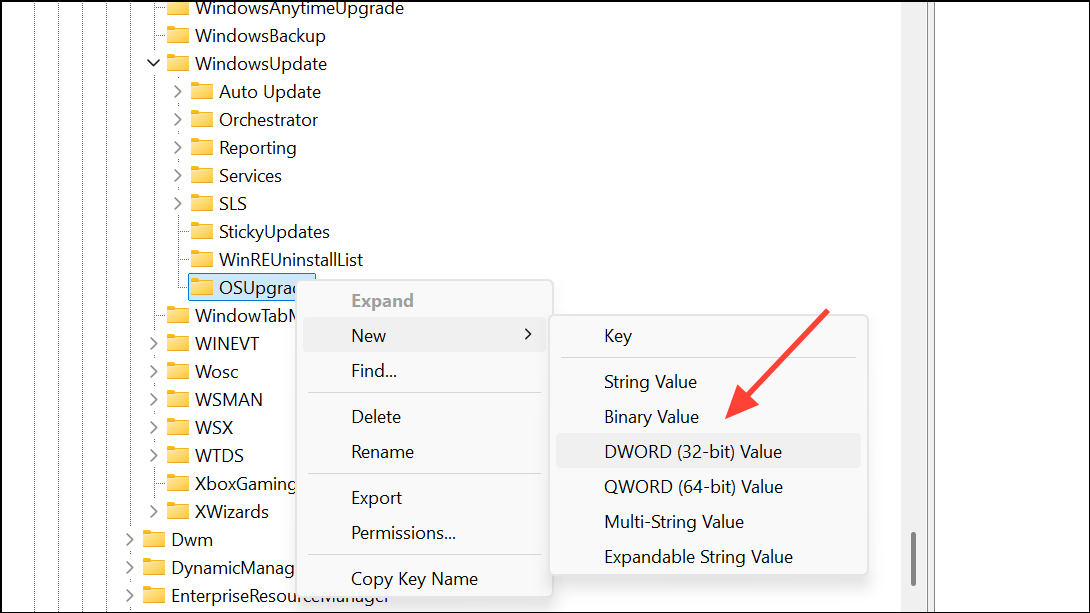
Step 3: Right-click the right pane, select New > DWORD (32-bit) Value, name it AllowOSUpgrade, and set its value to 1.
Step 4: Restart your PC and retry the upgrade process.
This registry change signals to Windows Update that upgrades are permitted, which can bypass certain restrictions that prevent setup from accessing the required files.
Check for Faulty USB Drives, RAM, or Hardware Conflicts
Hardware issues such as defective USB drives, faulty RAM, or conflicts with connected devices can interrupt the installation process and cause file read errors.
Step 1: If recreating the USB drive does not resolve the error, try a different USB drive and port—preferably a USB 2.0 port directly connected to the motherboard.
Step 2: Disconnect all non-essential hardware, including secondary drives, peripherals, and additional RAM sticks. Some users report successful installations after removing one memory stick or swapping RAM modules, especially if a stick is failing.
Step 3: If installing on a new PC with multiple storage devices, connect only the target SSD or HDD during installation. Add other drives after Windows is installed to avoid confusion or compatibility issues.
Step 4: If you encounter persistent errors, test your RAM using Windows Memory Diagnostic or MemTest86. Replace any faulty modules before proceeding with installation.
Convert install.esd to install.wim (Advanced, If Required)
Some custom installations or deployment tools may require install.wim instead of install.esd. If your process or tool demands install.wim, you can convert using the Deployment Image Servicing and Management (DISM) tool.
Step 1: Move the install.esd file to a working directory on your hard drive.
Step 2: Open Command Prompt as administrator and run:
DISM /Export-Image /SourceImageFile:install.esd /SourceIndex:1 /DestinationImageFile:install.wim /Compress:maximum /CheckIntegrity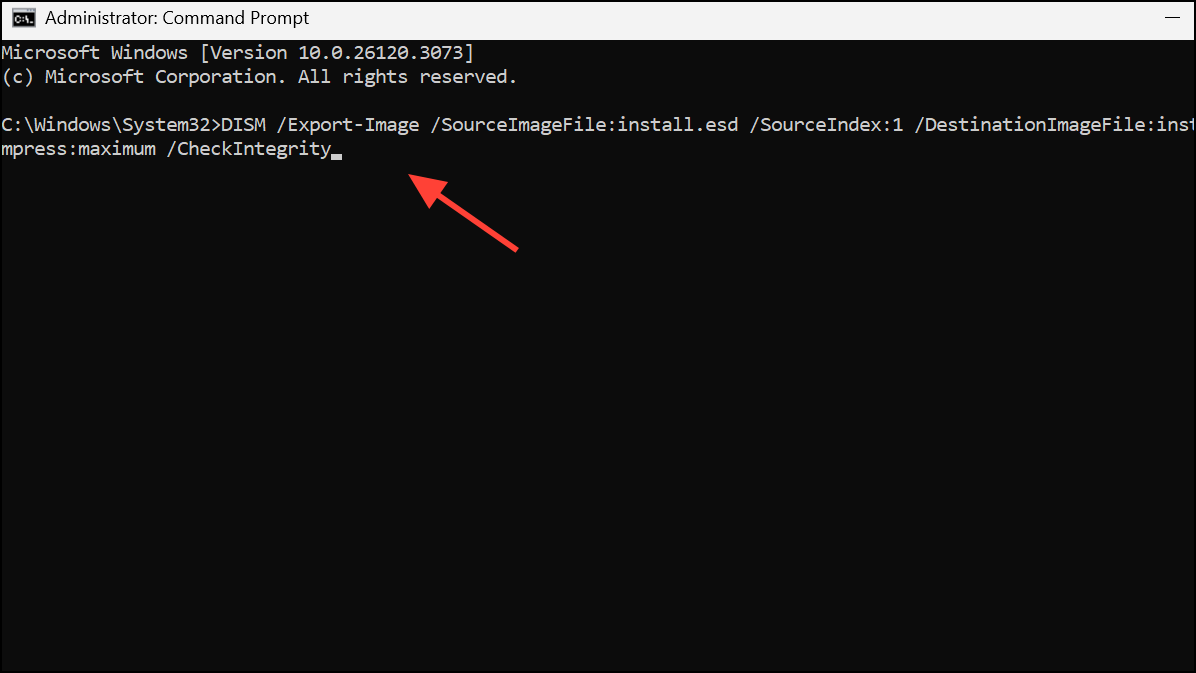
Step 3: Replace the original install.esd with the newly created install.wim in the \Sources folder, if needed for your deployment scenario.
This step is optional and only necessary for advanced custom installations where install.wim is specifically required.
Resolving the "Windows was unable to locate required install file boot.wim" error typically involves recreating your installation media, checking for hardware issues, and ensuring system settings permit the upgrade or installation. Taking these steps streamlines the process and gets your Windows 11 setup running smoothly.