
Microsoft Word documents sometimes fail to print or display correctly in Print Preview, leading to missing text, blank pages, or mismatched formatting between on-screen and printed output. This issue can stem from document settings, printer drivers, or corrupted user profiles. Addressing the problem involves a series of targeted adjustments to Word and Windows settings, as well as checking for hardware and software conflicts.
Reset Word User Profile Registry Keys
Corrupted registry settings in your user profile can prevent Word from sending print jobs or producing valid print previews. Removing these registry keys forces Word to rebuild them, often restoring print functionality.
Step 1: Close Microsoft Word completely. Make sure it is not running in the background or listed in Task Manager.
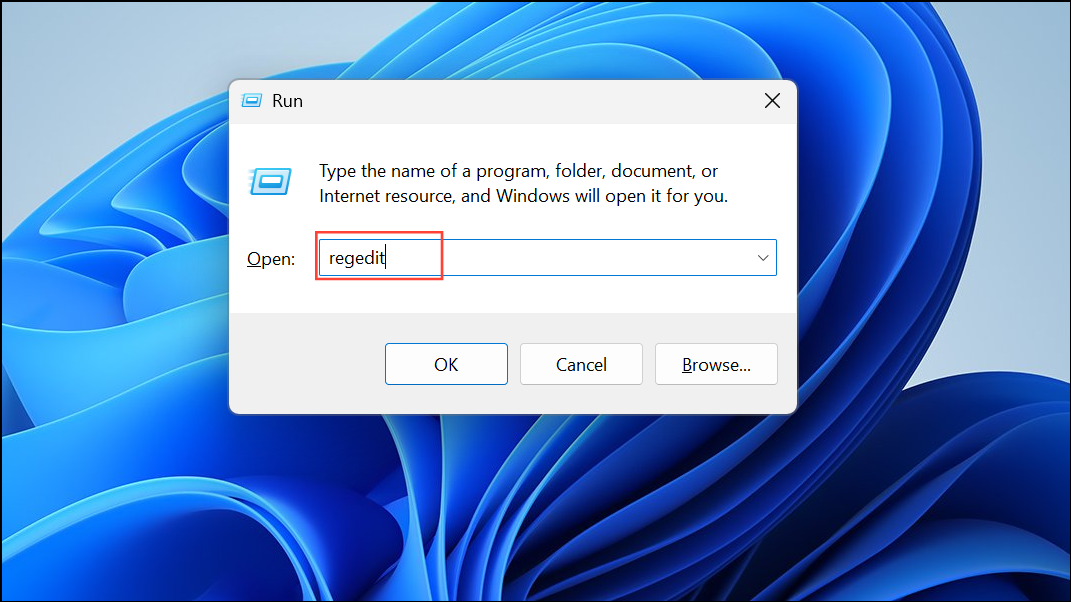
Step 2: Open the Windows Registry Editor by pressing Win + R, typing regedit, and pressing Enter.
Step 3: Navigate to these registry paths:
Computer\HKEY_CURRENT_USER\Software\Microsoft\Office\16.0\Word
Computer\HKEY_CURRENT_USER\Software\Microsoft\Office\Word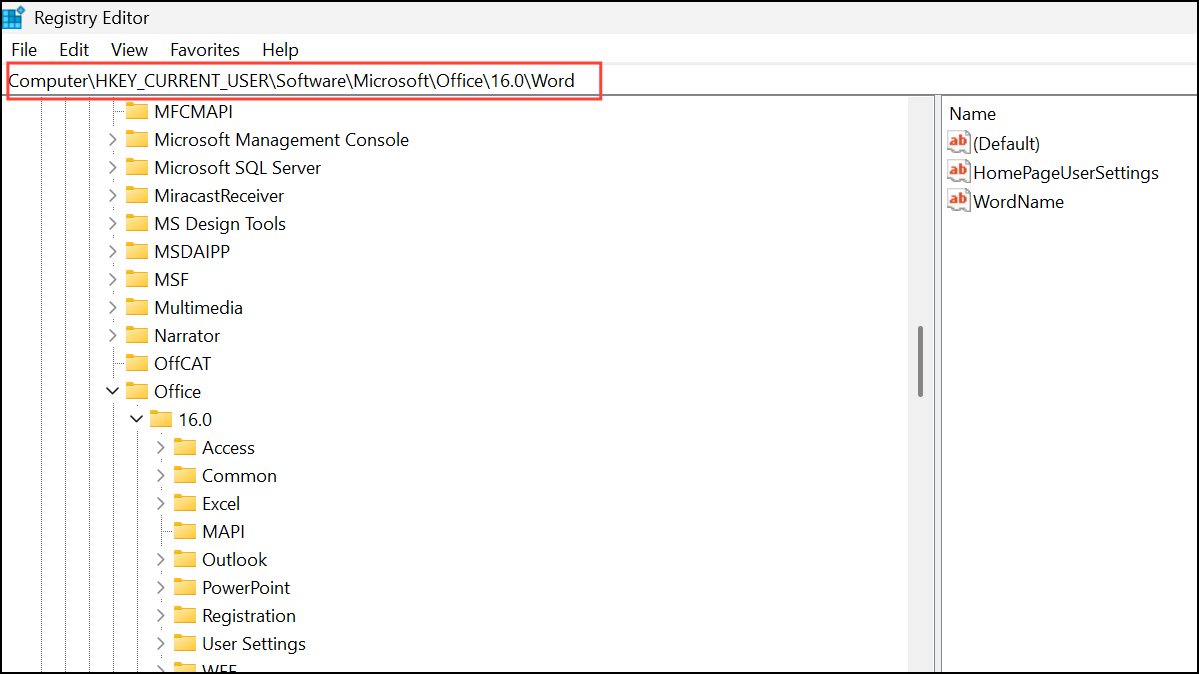
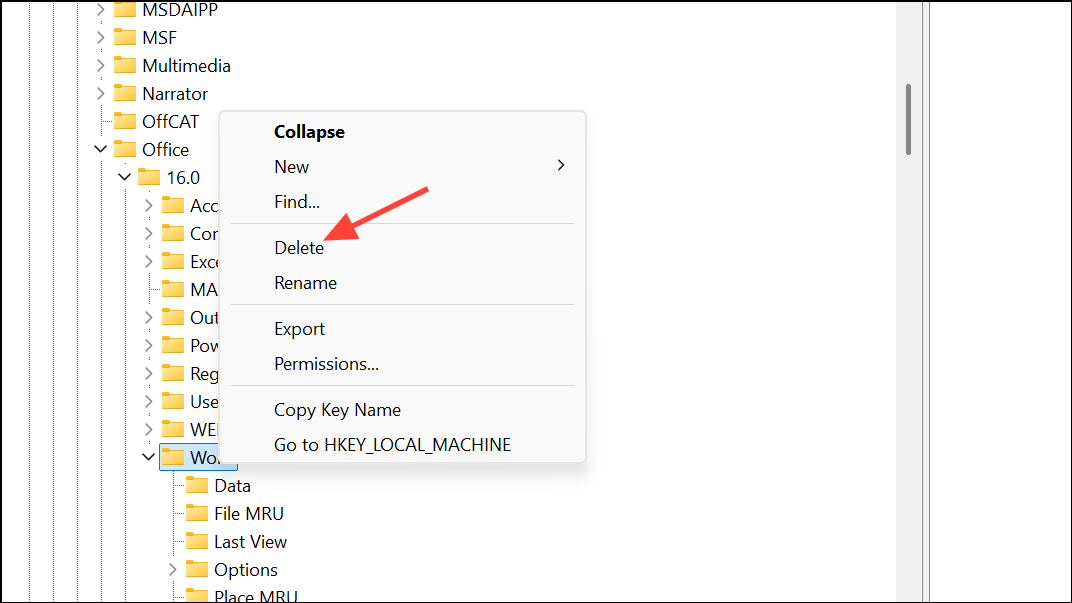
Step 4: Back up these keys before making changes by right-clicking each folder, selecting “Export,” and saving the backup file.

Step 5: Delete both Word folders listed above. Word will automatically recreate them with default settings the next time you launch the program.
Step 6: Relaunch Microsoft Word and attempt to print or use Print Preview. This reset often resolves print subsystem issues specific to Word.
Enable Printing of Drawings, Graphics, and Text Boxes
Word’s advanced settings determine whether graphics, shapes, and text boxes appear in Print Preview and on printed documents. Incorrect settings can cause content to be omitted.
Step 1: In Word, go to File > Options and select the Advanced tab.
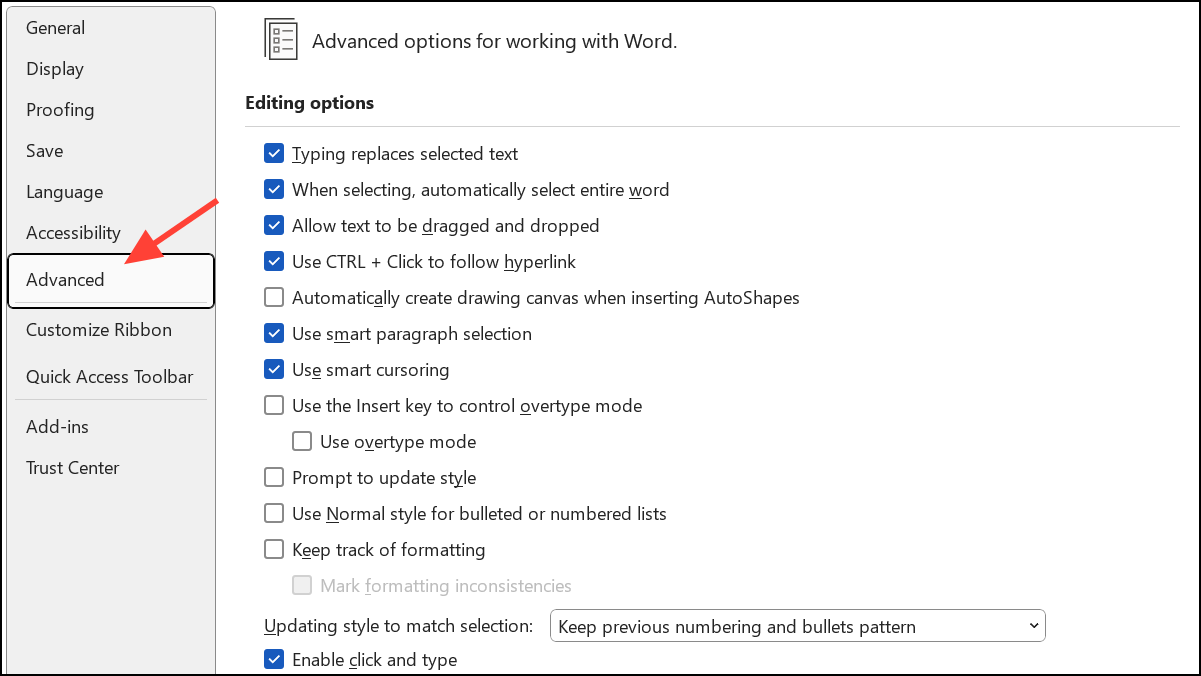
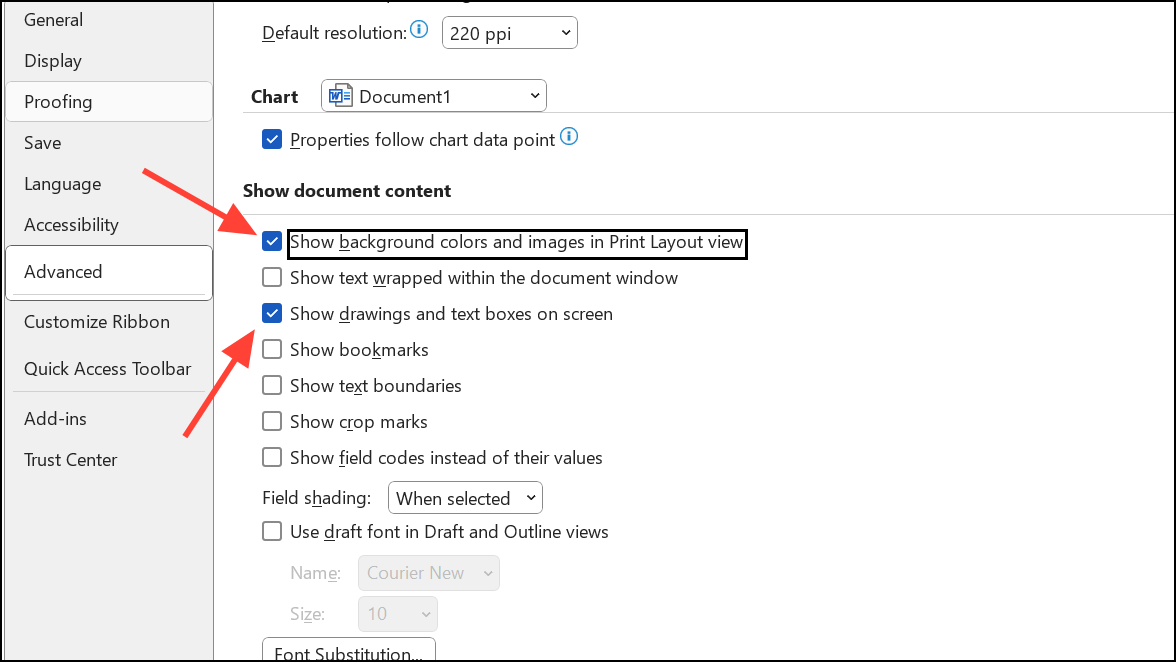
Step 2: Scroll to the Show document content section. Ensure that Show drawings and text boxes on screen and Show background colors and images in Print Layout view are checked. Uncheck Show picture placeholders.
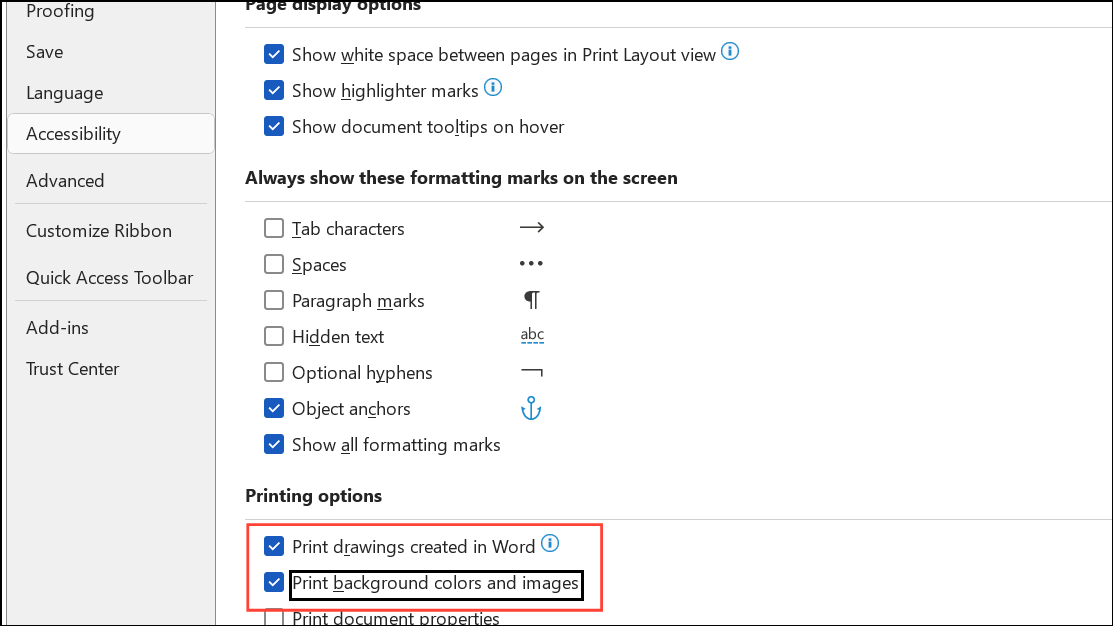
Step 3: Switch to the Display tab. Under Printing options, check Print drawings created in Word and Print background colors and images.
Step 4: If your document uses images pasted from the web, select the image and press Ctrl + Shift + F9 to break any links to external content, ensuring it prints correctly.
These adjustments ensure all visual elements are included in both Print Preview and the final printout.
Update Printer Drivers
Outdated or incompatible printer drivers can cause Word documents to print incorrectly or not at all. Updating your printer driver helps your computer communicate accurately with your printer hardware.
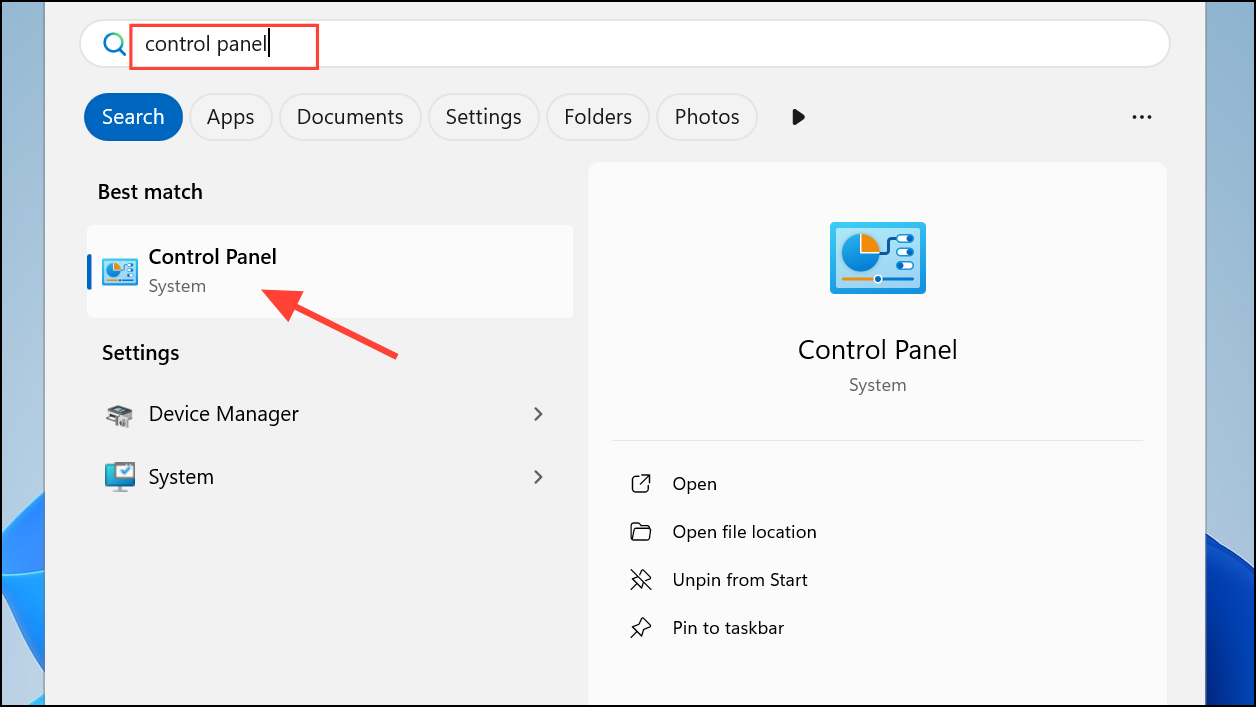
Step 1: Open the Windows search box and type Control Panel. Select it from the results.
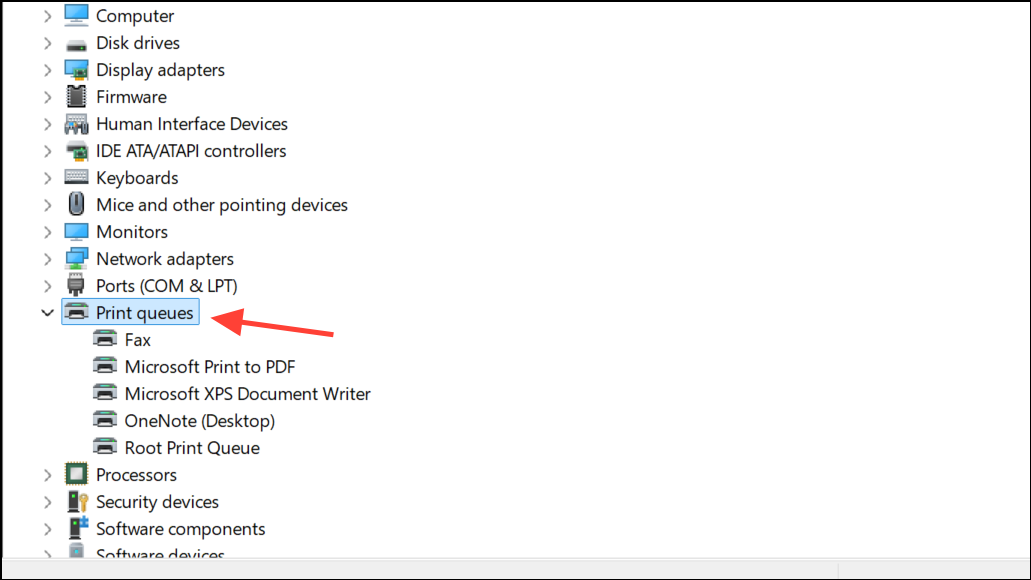
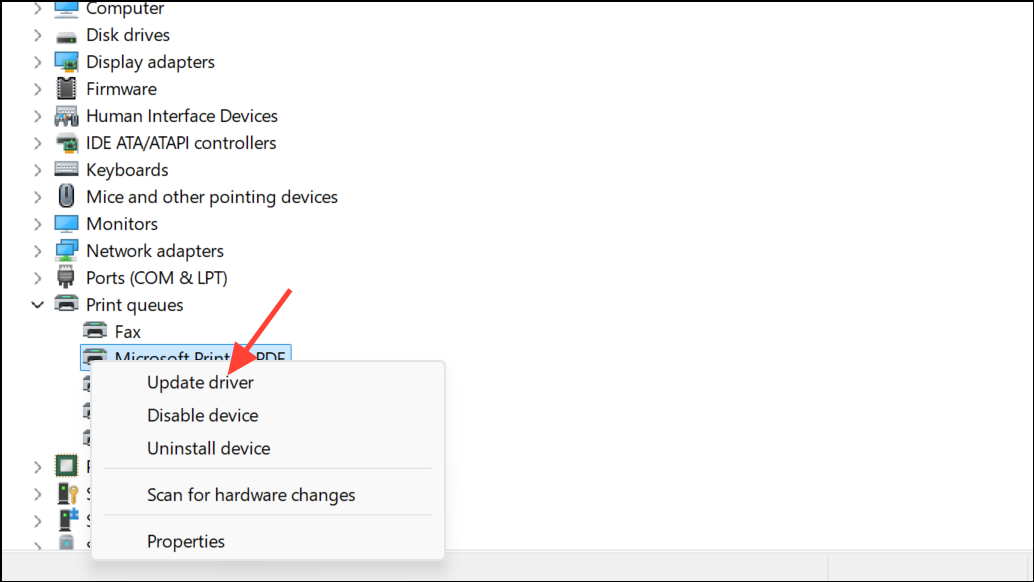
Step 2: Go to Device Manager and expand the Printer queue section.
Step 3: Right-click your printer and choose Update driver.
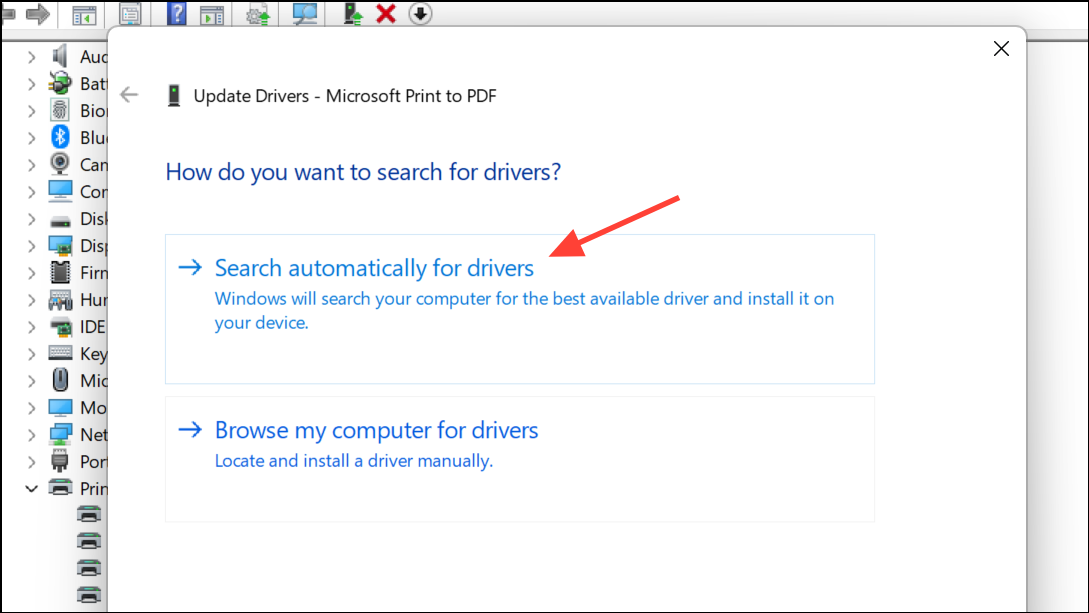
Step 4: Select Search automatically for drivers to let Windows search for updates, or Browse my computer for drivers if you have downloaded the latest driver from the manufacturer’s website.
After updating, print a test document from Word. If the issue persists, try rolling back to a previous driver version if the new one causes new problems.
Repair Microsoft Office Installation
Corrupted Office files can interfere with Word’s printing and preview features. Running the built-in repair utility often resolves persistent or unexplained issues.
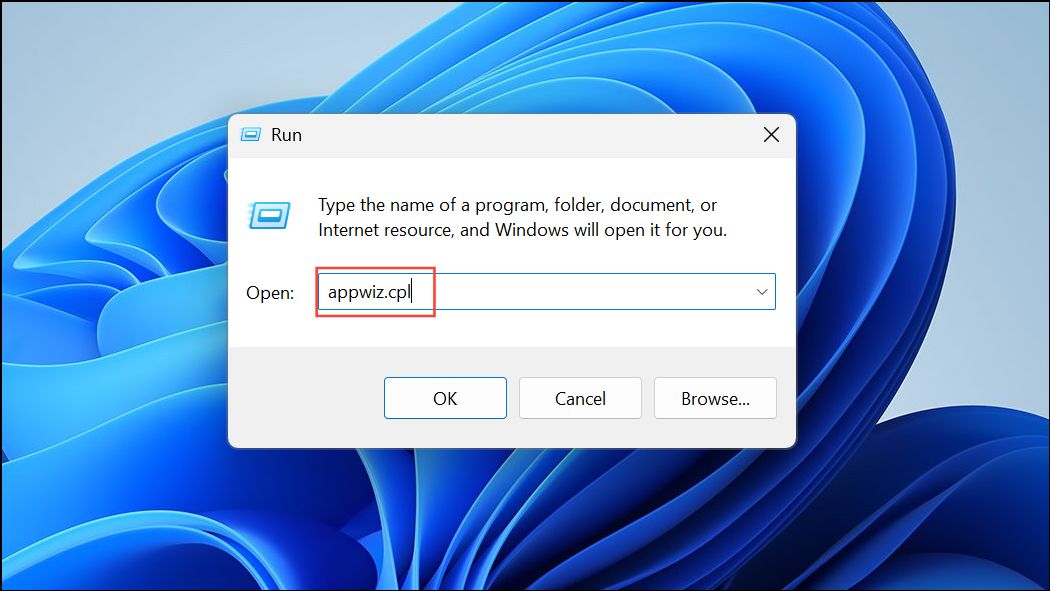
Step 1: Press Win + R, type appwiz.cpl, and press Enter to open Programs and Features.
Step 2: Locate Microsoft Office in the list, right-click it, and select Change.
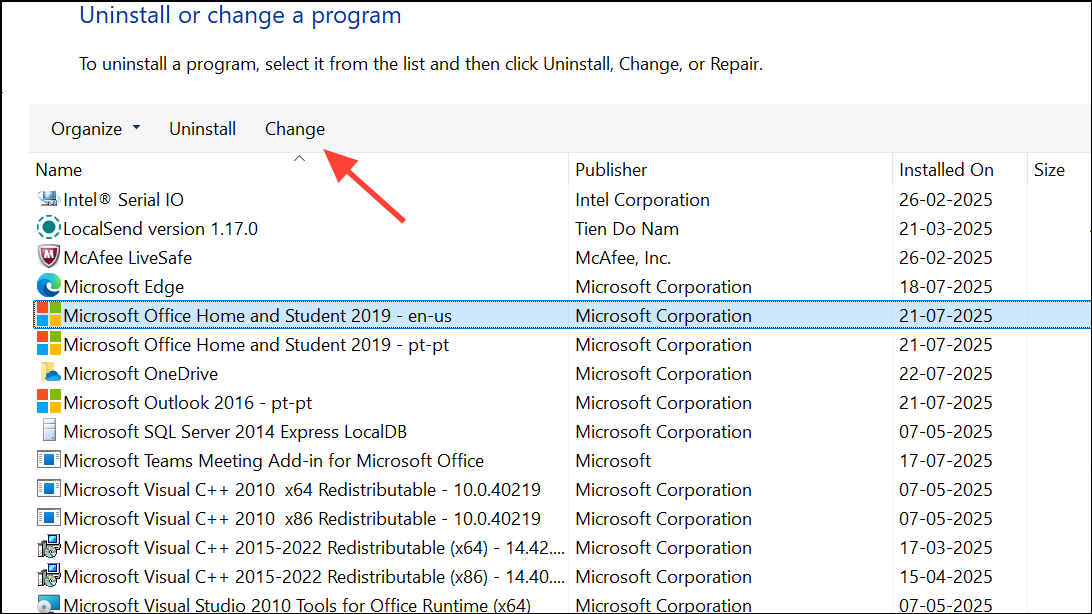
Step 3: Choose Quick Repair first. If the problem remains, repeat the steps and select Online Repair for a deeper scan and repair.

After the repair process completes, open Word and test printing again.
Check for Hidden or Formatted Text
Text formatted as hidden or with special paragraph settings may not appear in Print Preview or on printed pages. Adjusting these settings ensures all content is visible and printable.
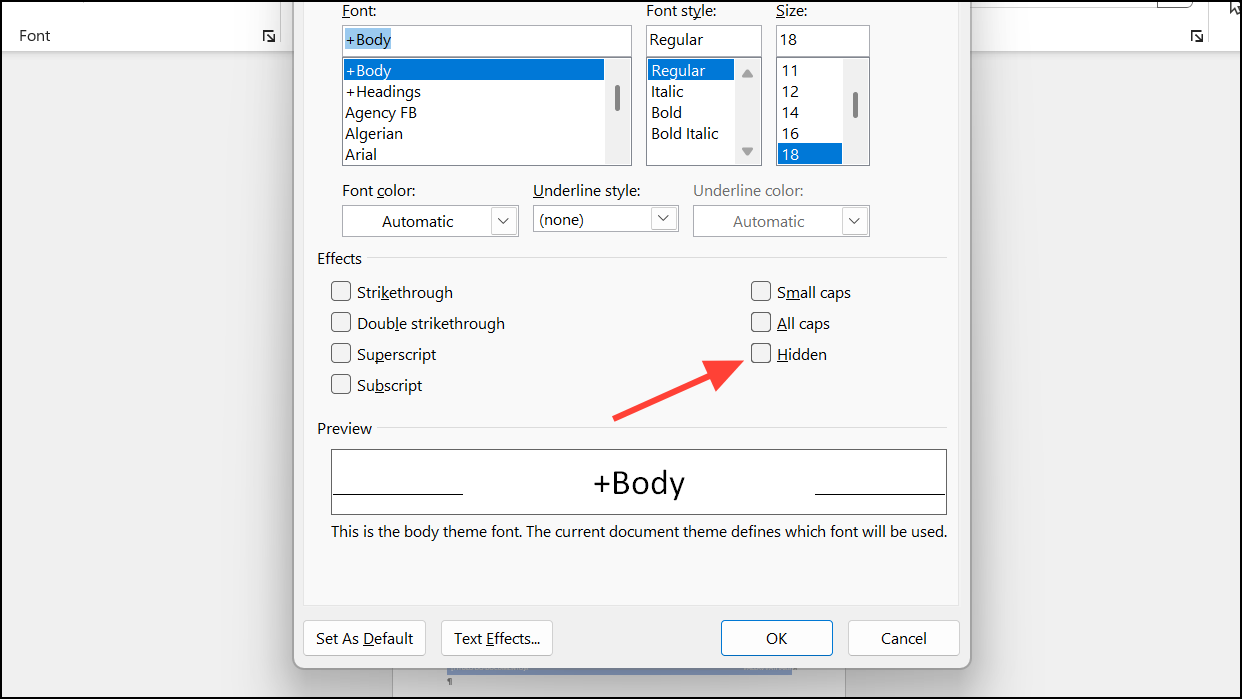
Step 1: Select the problematic text and open the Font dialog from the Home tab. Make sure Hidden is not checked.
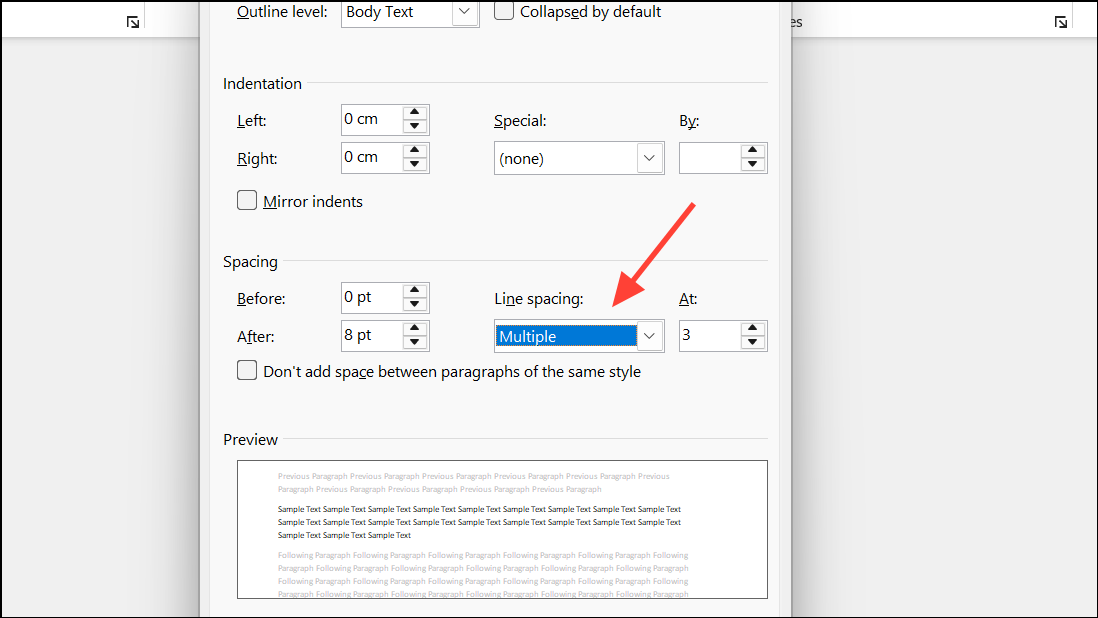
Step 2: Check paragraph settings by selecting the text and opening the Paragraph dialog. Ensure Line spacing is not set to Exactly with a value too small for the font size.
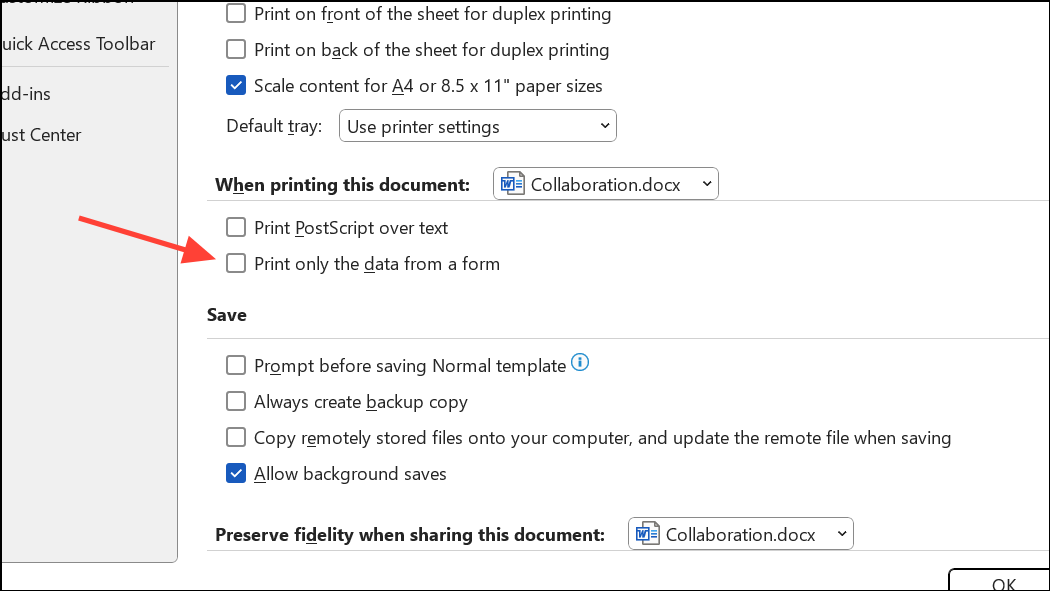
Step 3: For forms or templates, go to File > Options > Advanced and scroll down to ensure Print only the data from a form is unchecked.
These steps help restore missing or hidden text in both preview and printed output.
Adjust Margins and Page Setup
Printers have non-printable margins that Word must respect. If your document’s content appears cut off or surrounded by excess white space in Print Preview, adjusting margins can help.
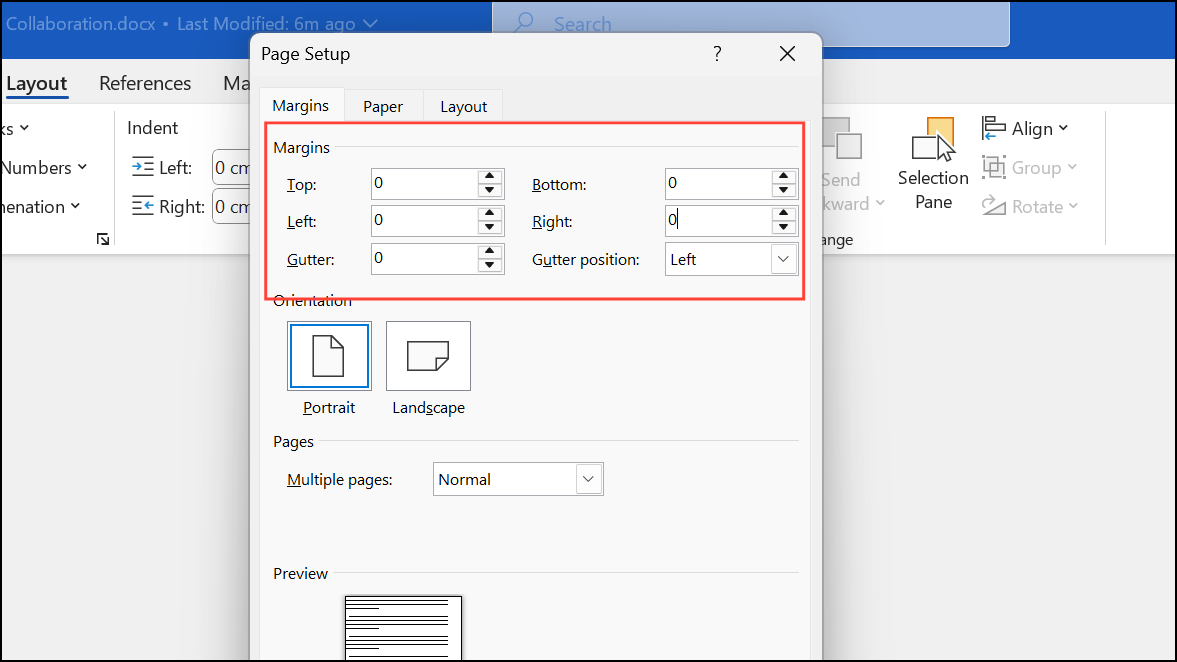
Step 1: Go to the Layout tab in Word and select Margins, then Custom Margins.
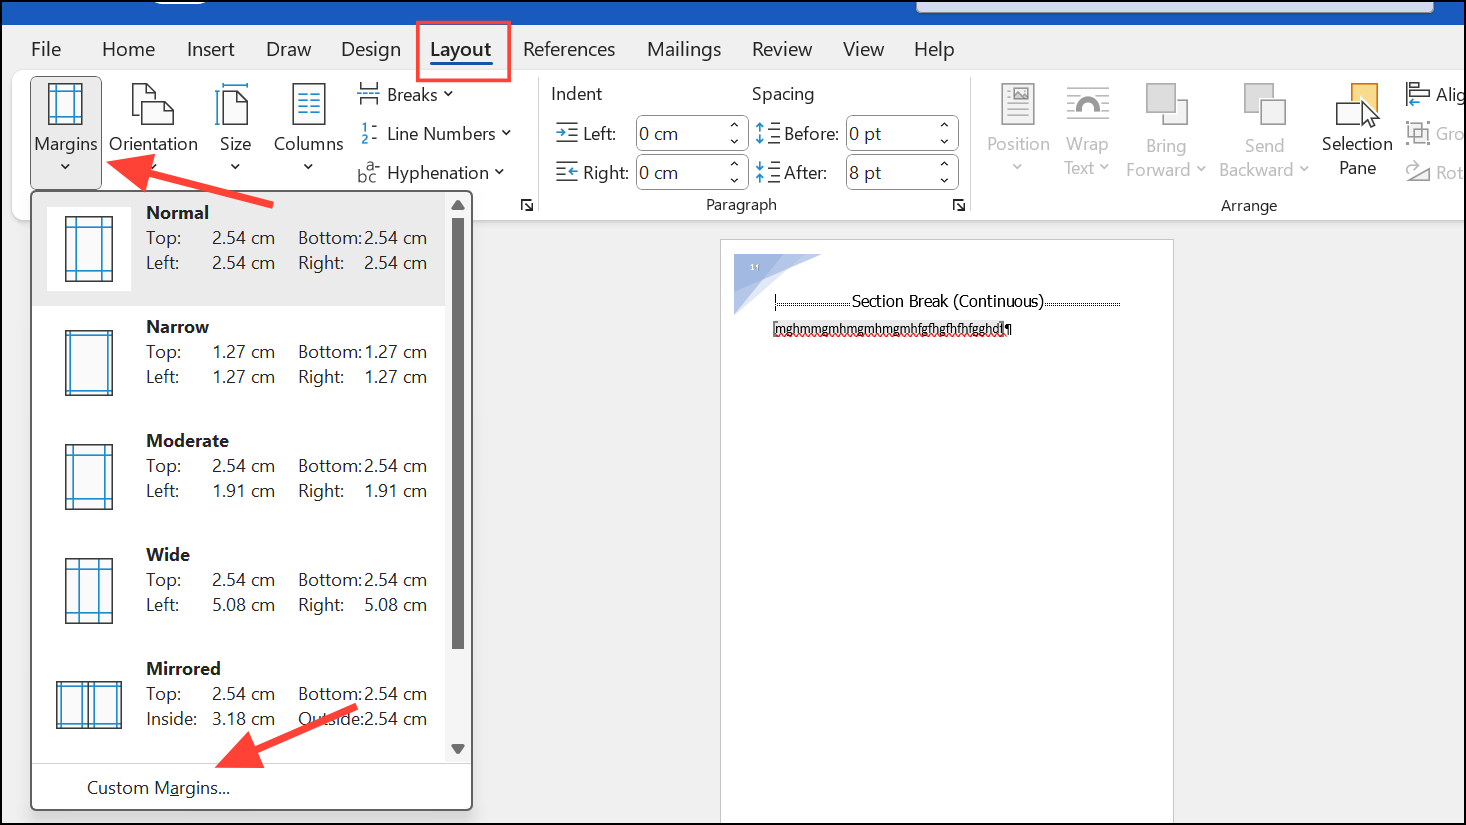
Step 2: Set all margins to 0 and click OK. Word will alert you if margins are outside the printable area and offer to fix them. Accept the suggested values for your printer.
Step 3: If you require borderless printing, check your printer’s manual to see if “borderless” or “full bleed” printing is supported and select the appropriate paper type and settings in the printer’s properties dialog.
Proper margin settings ensure that your printed output matches expectations and avoids unwanted blank areas.
Print Directly to the Printer
Printing directly to the printer bypasses the Windows print spooler, which can sometimes resolve issues with missing pages or incorrect formatting.
Step 1: Open Control Panel > Devices and Printers.

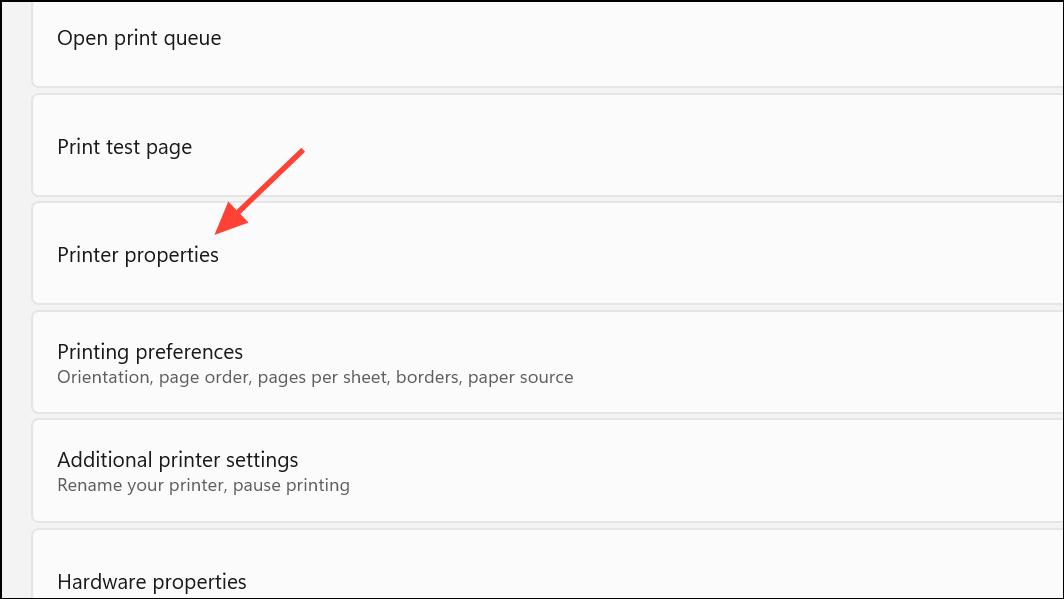
Step 2: Right-click your printer and select Printer properties.
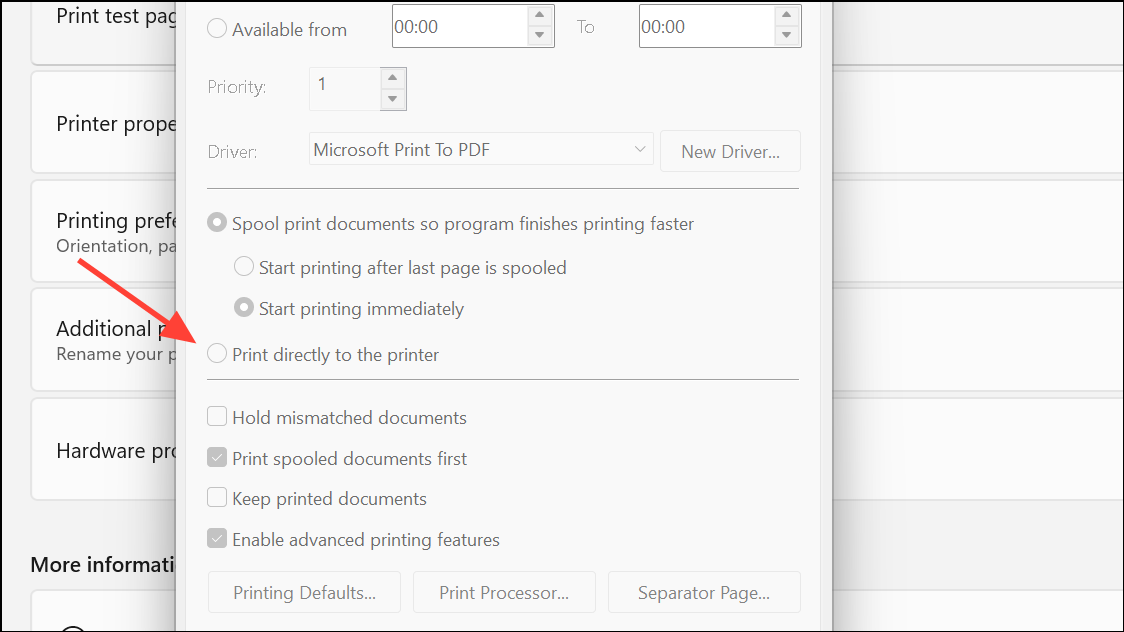
Step 3: Go to the Advanced tab and check Print directly to the printer. Click OK to save changes.
Step 4: Try printing your Word document again to see if the issue is resolved.
Careful adjustment of Word’s settings, updating drivers, and repairing Office usually restore reliable printing and accurate Print Preview. If problems persist, creating a new Windows user profile or testing on another device can help isolate the issue further.