4 ways to remove saved Wi-Fi networks on your Windows 11 PC.
4 ways to remove saved Wi-Fi networks on your Windows 11 PC.
by Parth Sawhney
When you connect to a Wi-Fi network on your Windows 11 PC, the system saves the network’s credentials, allowing it to reconnect automatically whenever it is in range. While this feature adds convenience, there may be times when you need to forget a network. Perhaps you’re having trouble connecting to a specific network, or you no longer want your device to connect to it automatically. In such cases, removing the network from your saved list can help resolve issues or prevent unwanted connections.
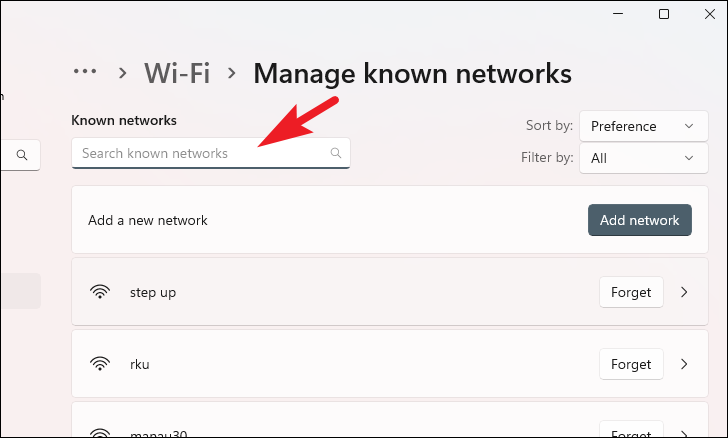
Method 1: Forget a Wi-Fi Network from the Settings App
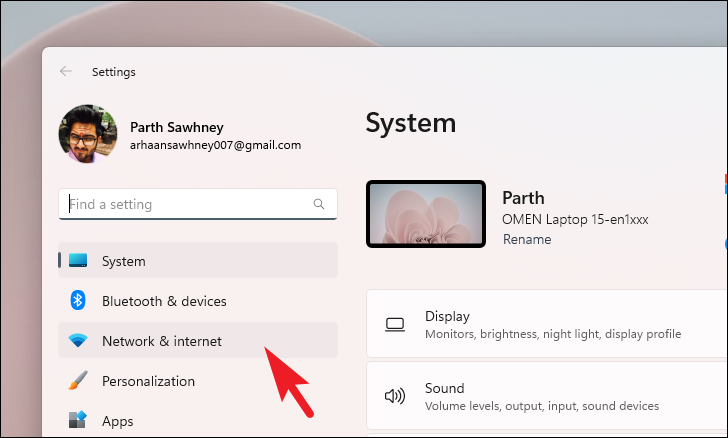
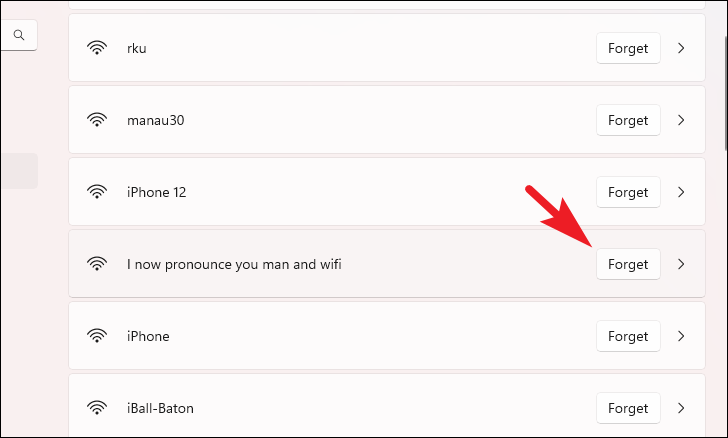
To remove any saved Wi-Fi network from your Windows 11 PC, even if it’s out of range, you can use the Settings app to access a list of all known networks and forget the one you no longer want.
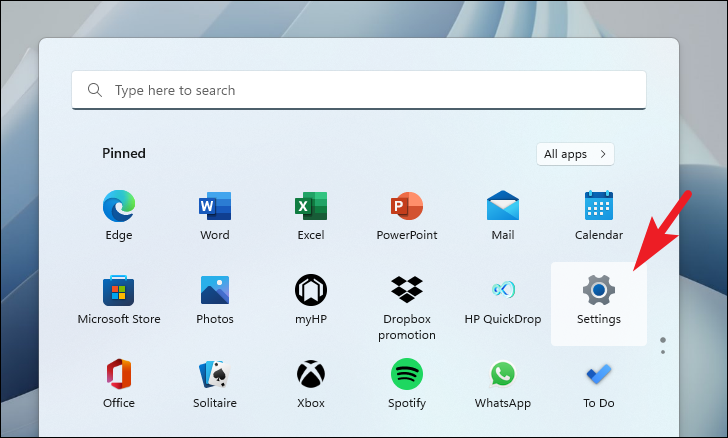
Open the Start Menu by clicking the Windows icon on the taskbar, then click on the ‘Settings’ tile from the ‘Pinned apps’ section. If you don’t see it there, type Settings into the search bar and select it from the results.
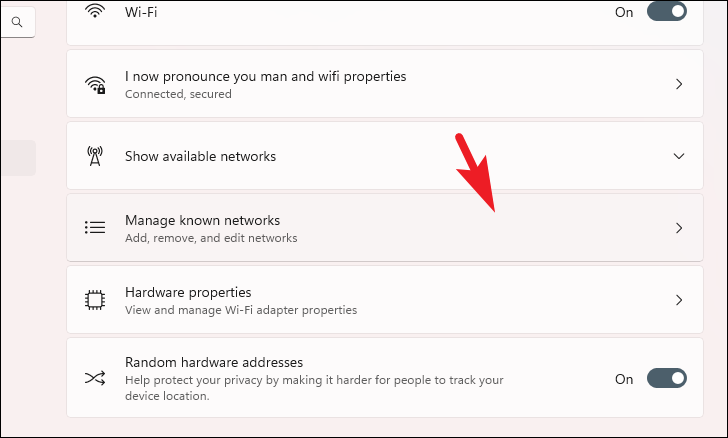
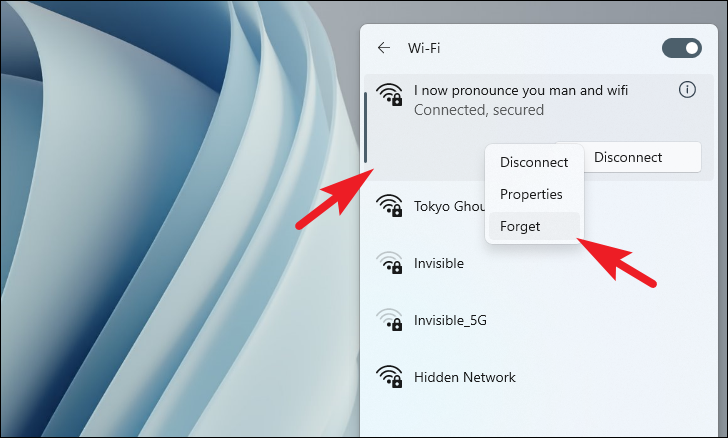
From the list of networks, right-click on the Wi-Fi network you want to forget. Then, select Forget from the context menu to remove it from your saved networks.
Note: Only currently connected or in-range Wi-Fi networks will appear in this list. To forget an out-of-range network, you need to use the Settings app.
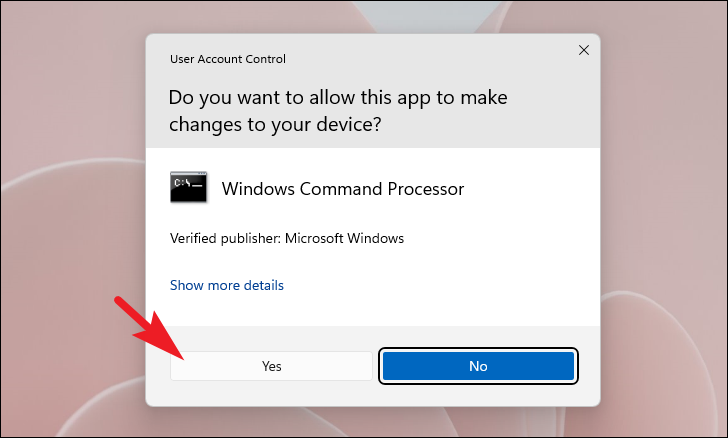
Method 3: Forget All the Saved Networks Using Command Prompt
If you’re experiencing persistent issues with your Wi-Fi connections, you can delete all saved networks using the Command Prompt and start fresh.
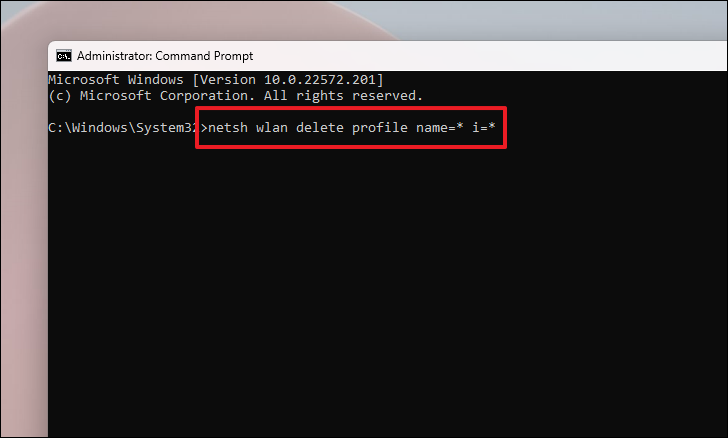
In the Command Prompt window, type or paste the following command and press Enter:
netsh wlan delete profile name=* i=*
This command will delete all saved Wi-Fi profiles from your system.
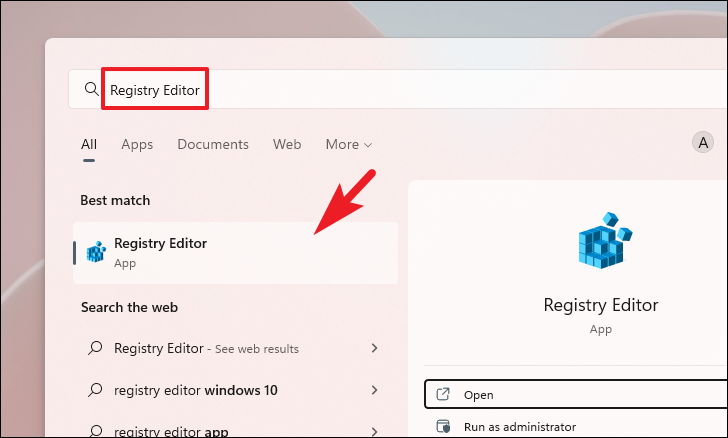
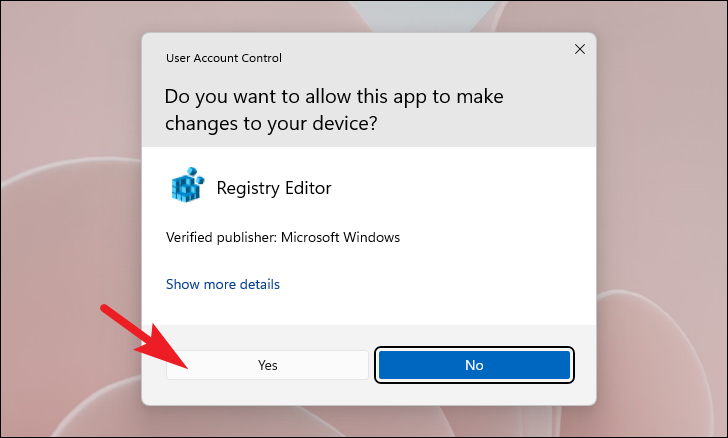
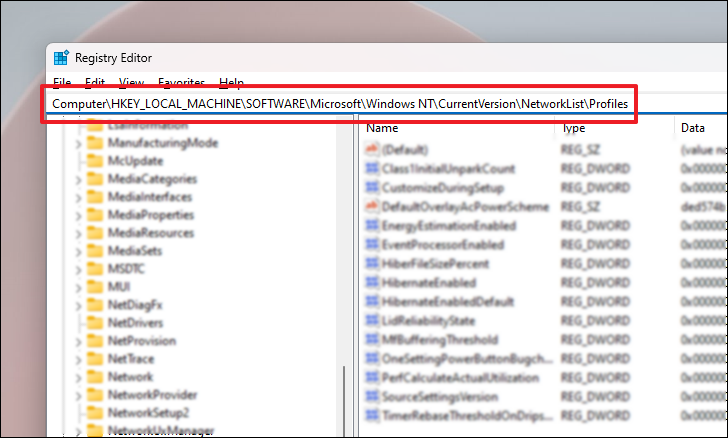
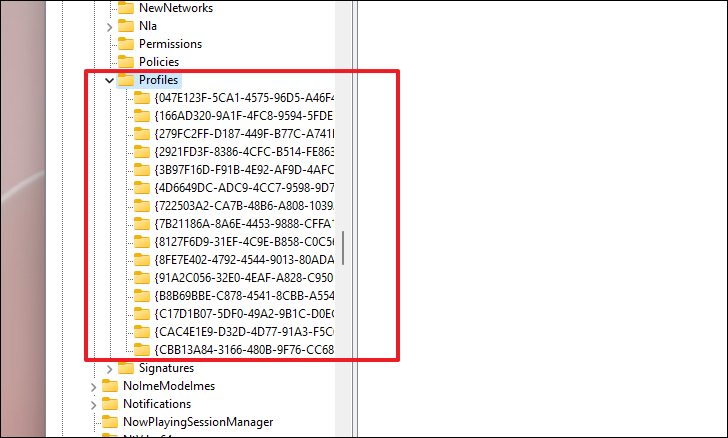
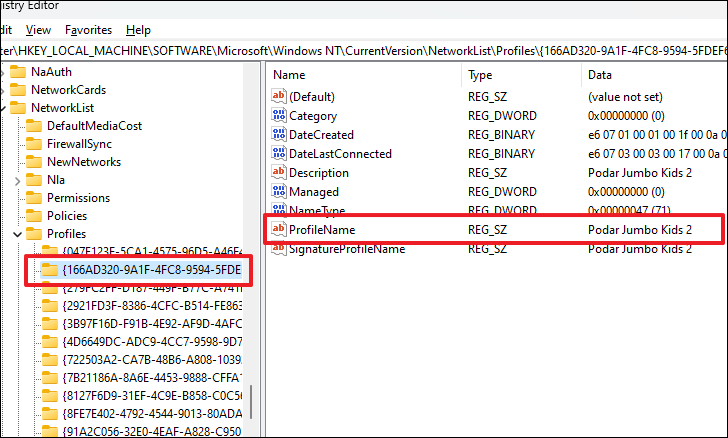
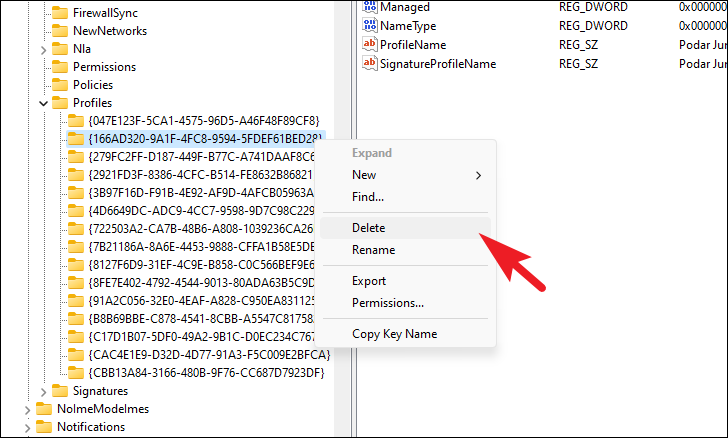
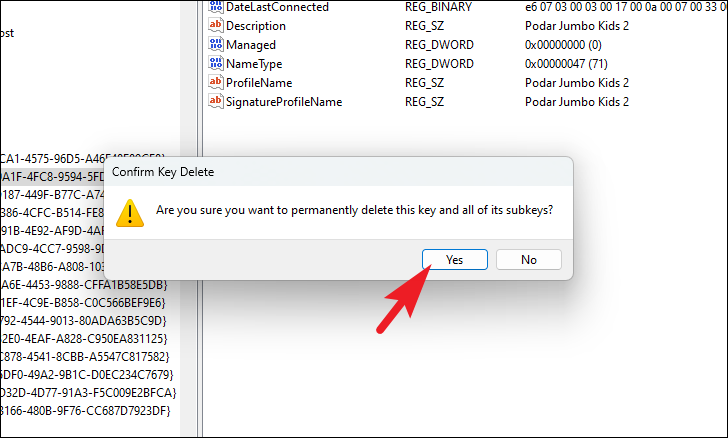
Method 4: Remove Saved Networks Using the Registry Editor
This method involves using the Registry Editor to remove saved Wi-Fi profiles. Use this method if you’re unable to forget networks using the previous methods.
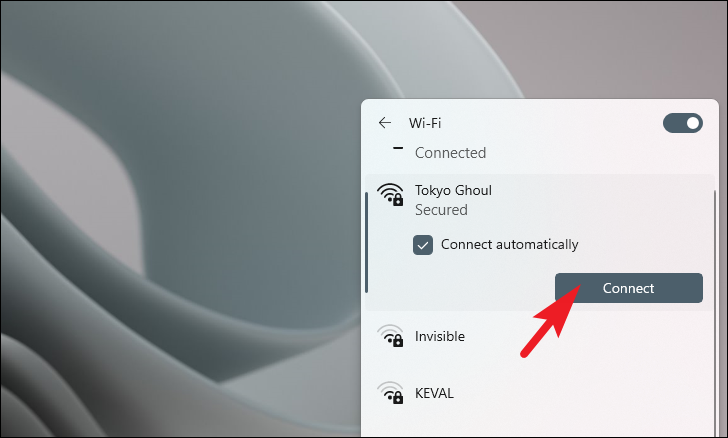
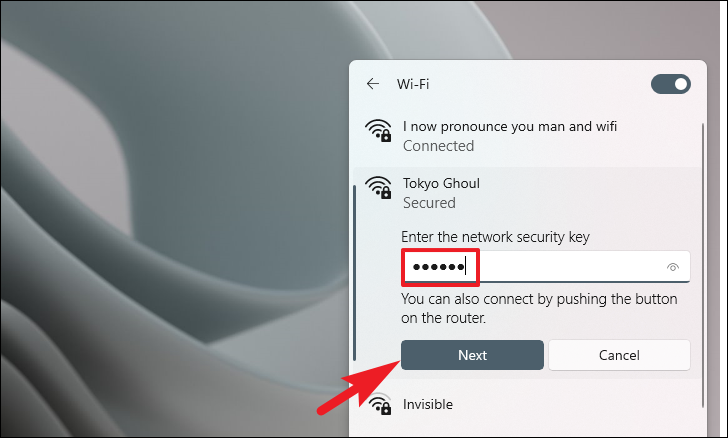
If the network is secured, you’ll be prompted to enter the password. Type the password and press Enter or click Next. The network will be added to your saved networks and your device will connect to it. If the network is unsecured, your device will connect automatically.
Removing saved Wi-Fi networks from your Windows 11 PC can help resolve connectivity issues and manage your preferred networks effectively. Whether you need to forget a single network or all of them, these methods provide simple solutions to keep your connections organized.