Vampire Crawlers keeps health tight on purpose. Early runs give you almost nothing to work with beyond roast chickens hidden in torches, and only later do real sustain options open up through power ups, a specific Crawler, card evolutions, Gems, and Arcanas.

Healing vs Recovery: the two stats that matter
Vampire Crawlers splits health restoration into two separate stats, and they do not behave the same way. Mixing them up is one of the fastest ways to waste a pickup or misread a card.
Healing restores HP instantly. If you are at full HP when it triggers, the effect is wasted. Floor chickens and the Clerici Crawler fall into this category, which is why they are useful mid-fight to prevent death on the spot.
Recovery fires at the end of a battle. You can stack Recovery while already at full HP and still get value from it, because the payoff comes after the fight resolves. The Recovery power up, Pummarola cards, and the Restore Health Gem all work this way, making Recovery a slower but more reliable defense against attrition across multiple encounters.

Floor chickens and the Chicken Stand
Torches and other light sources along the sides of a dungeon path can be smashed by walking into them. Most drop gold or single-use cards, but some contain a floor chicken worth 10 HP. Torch appearance changes per zone — pillars in the Mad Forest, candelabras in the Inlaid Library — so look for anything glowing on the edge of your route.
Drops are random, so you may clear a full floor without seeing one. If you find a chicken while at full HP, leave it on the ground and come back later in the same floor when you actually need it. Since chickens deal direct Healing, grabbing one at full HP gives you nothing.
Occasionally, a Chicken Stand will appear. It trades 30 HP for one card from your deck. It is the strongest burst heal in the early game and doubles as deck cleanup if you have a card you no longer want.
Recovery power up (Village Shop)
Collecting 250 coins unlocks the Power Ups Shop in the Village. Recovery is a permanent upgrade that heals a flat amount after every battle for the rest of your runs. It has three ranks, and prices scale slightly as you buy other power ups.
| Rank | Approx. cost | Effect per battle |
|---|---|---|
| Level 1 | 500 coins | +1 HP Recovery |
| Level 2 | 1,022 coins | +2 HP Recovery |
| Level 3 | 1,524 coins | +3 HP Recovery |
Because Recovery triggers post-battle, even 1 HP per fight compounds over a long floor. It is weaker than the Armor power up for raw survival, but running both gives you damage reduction going in and sustain coming out.

Pummarola cards (Gennaro Belpaese)
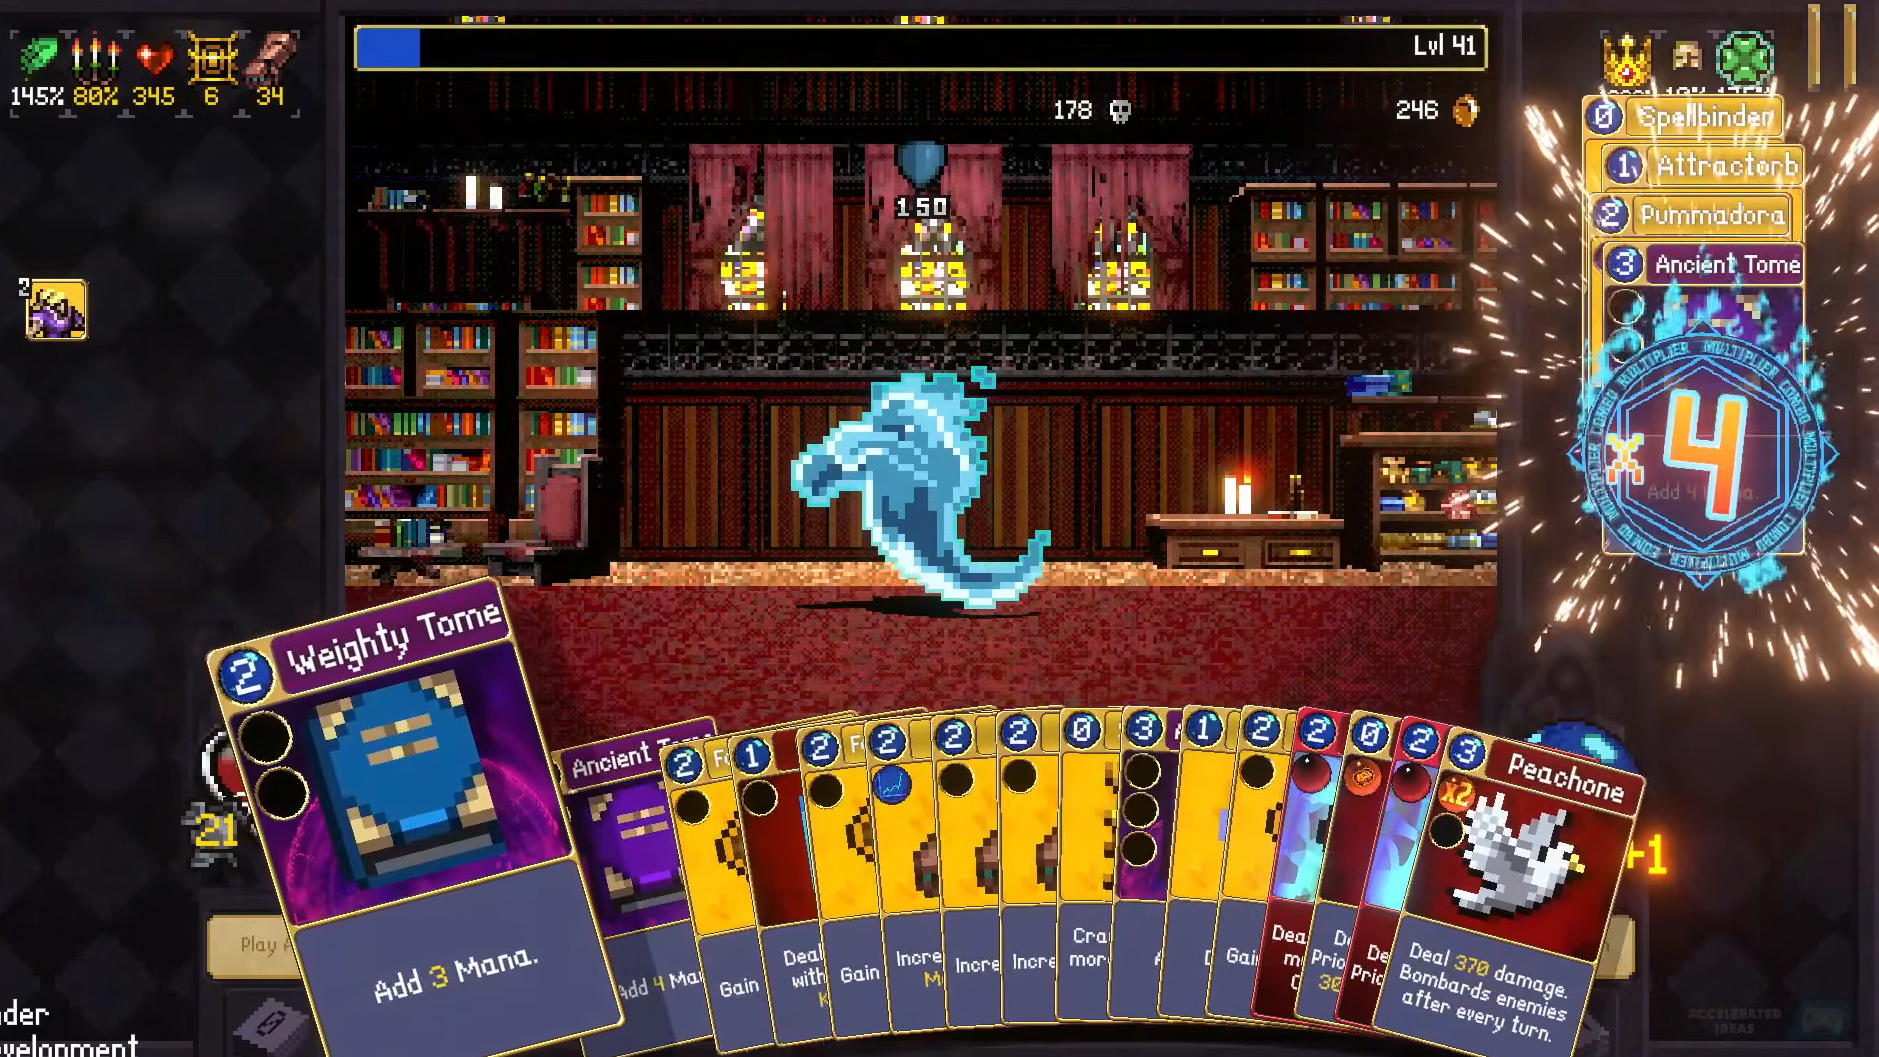
Pummarola is a healing card type that restores HP after a battle, with the effect stacking as you play it during the fight and scaling with Combo. Unlocking it takes a specific path:
After you have Pummarola, use it in battles 10 times to unlock the Restore Health Gem, which adds Recovery to whatever card you slot it into. High-tier Tome cards are the best home for it since they start with more sockets.
Bloody Tear and Soul Eater evolutions
Weapon-based healing comes from evolved cards. Evolution itself is a Gem, so the base card needs an open socket, and you need to reach an Evolution statue during a run while holding both component cards.
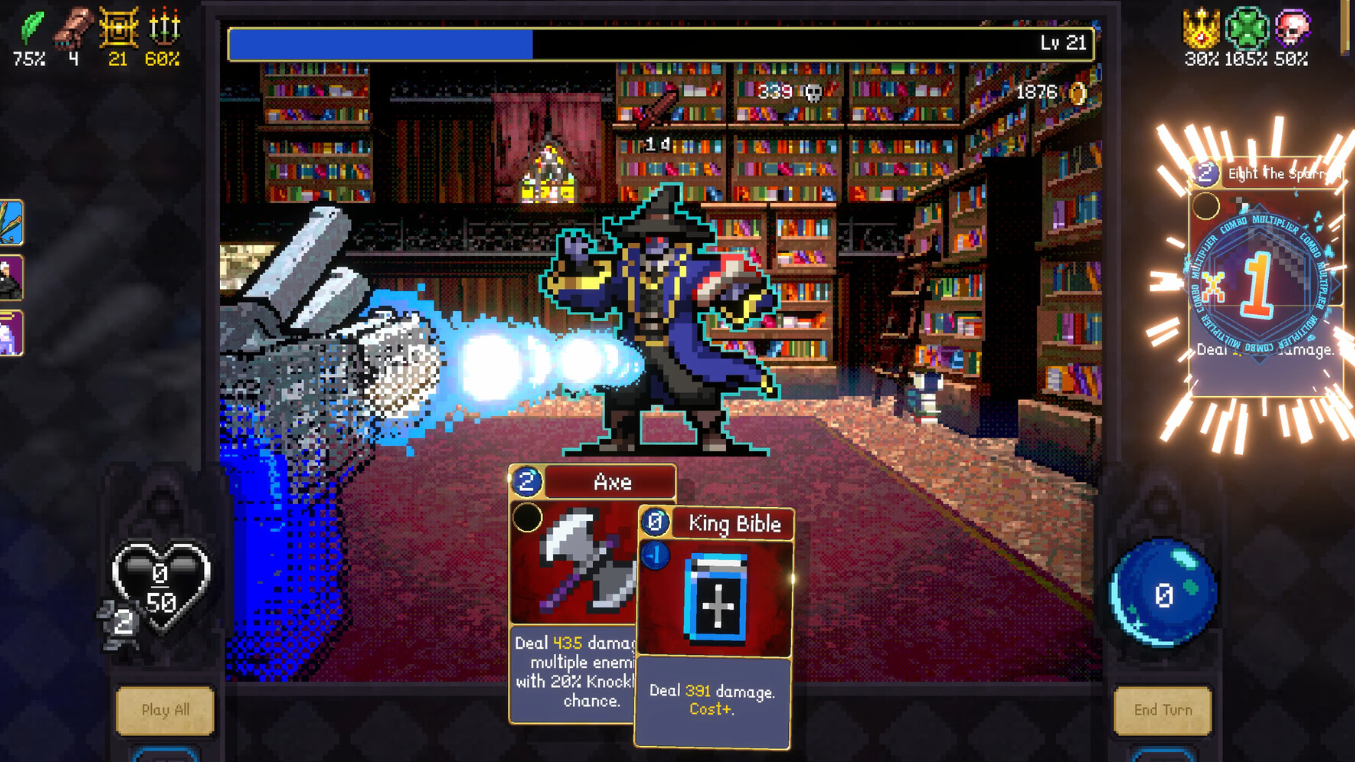
Bloody Tear evolves from Whip + Hollow Heart. It hits multiple enemies in one play and heals you each time it lands a critical hit. Any Heart card can be sacrificed for the Hollow Heart component when evolving. Bloody Tear rewards crit-focused builds — the more crits you trigger, the more sustain you get.
Soul Eater evolves from Garlic + Pummarola and restores 2 HP every time it is played, with no critical hit requirement. It also has a chance to Disarm enemies, removing one of their attacks outright. The tradeoff is a higher mana cost and lower damage than Bloody Tear, so it fits slower, control-leaning decks.
Gems, Crawlers, and the Experimental Medicine Arcana
Beyond the core four methods, several secondary sources of sustain become available deeper into progression:
| Source | Type | Effect |
|---|---|---|
| Clerici (Crawler) | Healing | Provides direct HP restoration during play |
| Restore Health Gem | Recovery | Adds Recovery when the slotted card is used |
| Drain Gem | Healing | Heals when the slotted card destroys an enemy |
| Experimental Medicine Arcana | Multiplier | Doubles the effectiveness of all healing from other sources |
Experimental Medicine does not heal on its own, but stacking it on top of Bloody Tear crits, Pummarola Recovery, or Clerici’s passive turns a moderate sustain build into something that can outpace incoming damage on most floors.
Preventing damage instead of healing it
Healing output in Vampire Crawlers is intentionally limited, so damage mitigation carries more weight than raw HP recovery. The Armor power up grants 1/2/3 Armor at the start of your turn, which is usually a stronger investment than Recovery rank for rank.
Crowd-control effects stop damage before it lands. Knockback pushes enemies out of attack range and appears on cards like King Bible and its evolution Unholy Vespers. Disarm cancels an enemy attack and is found on Garlic and Soul Eater. Freeze most commonly comes from the Clock Lancet. None of these are guaranteed, but stacking them reduces how often you need to heal in the first place.
Clearing the front row also prevents damage entirely, because back-row enemies need to advance before they can attack. Magic Wand and its evolution Holy Wand specifically target attackers, making them efficient at thinning whichever row is about to hit you.
Priority order for new players
If you are starting fresh and want sustain to come online as fast as possible, the order that pays off earliest is straightforward. Break every torch you pass for chicken RNG, save up 250 coins to unlock the Village shop, then put your first 500 coins into Recovery Level 1. From there, push through the Mad Forest, defeat the Mantichana, pick up Gennaro at the Inn, and grind him to Level 10 for Pummarola access. Once Whip and Hollow Heart naturally show up in your deck together, hunt Evolution statues for Bloody Tear.