
Installing the PL2303 driver on your Windows 11 PC is essential for enabling communication with devices that use USB-to-Serial cables. These devices can include industrial equipment, sensors, telescopes, GPS units, and more. If Windows doesn’t automatically recognize your device, manually installing the driver can resolve connectivity issues.
Download & install the PL2303 driver from the official website
To get started, you’ll need to download the PL2303 driver from the official Prolific website before installing it on your computer.
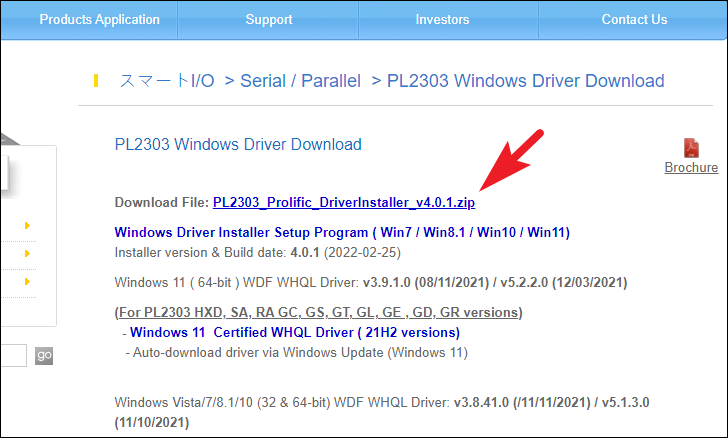
Open your preferred web browser and navigate to the Prolific website at prolific.com.tw. Once the page loads, find the ‘PL2303 Driver’ zip file that’s compatible with Windows 11—it’s usually the first file listed. Click on the link to begin the download.
After the download completes, navigate to your default Downloads folder. Locate the downloaded
.ZIP file, right-click it to open the context menu, and select ‘Extract All’. This will extract the contents into a new folder and open a separate window.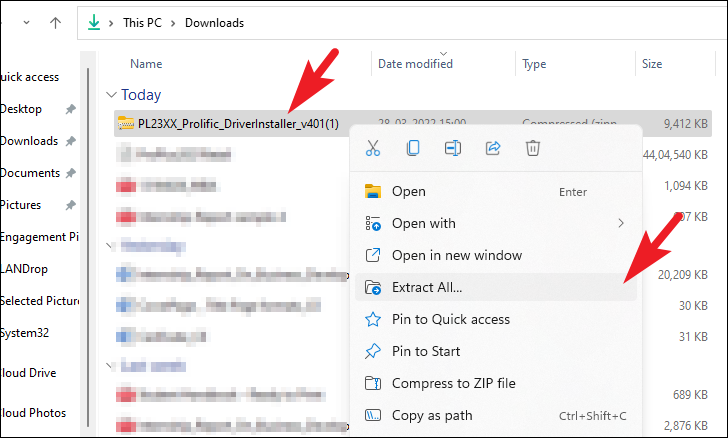
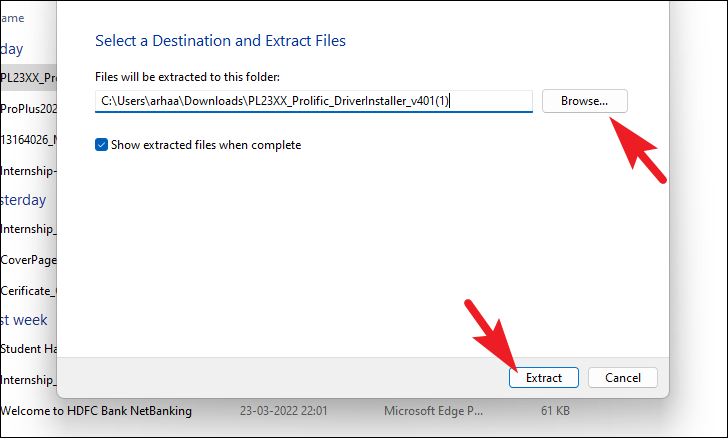
In the extraction window, click on the ‘Extract’ button at the bottom right to unpack the files into the current directory. If you wish to choose a different destination, click ‘Browse’ to select your preferred folder.
Once the files are extracted, open the new folder and locate the
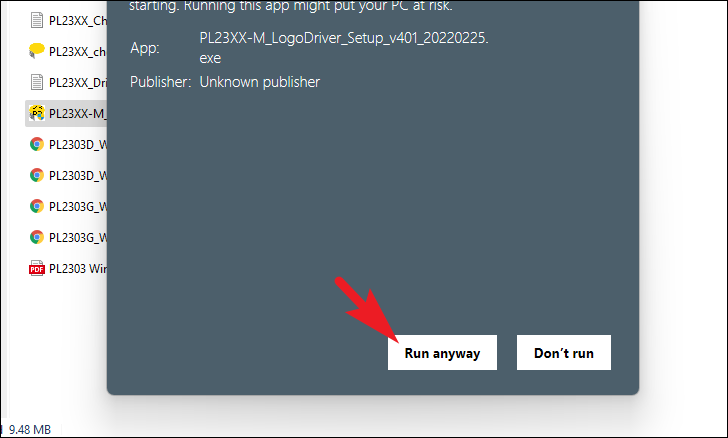
.EXE file. Double-click this file to start the installation process.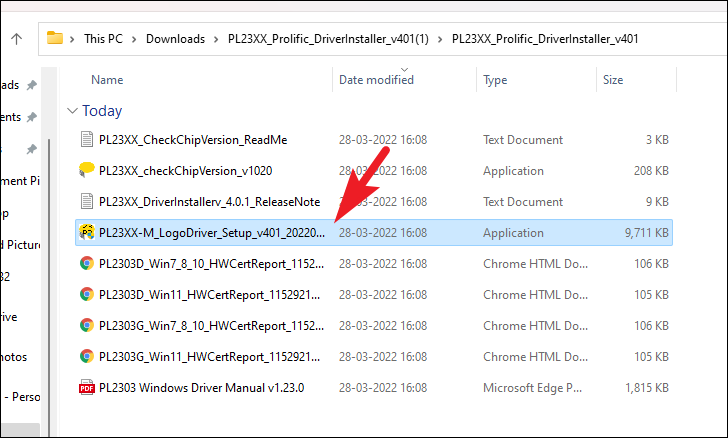
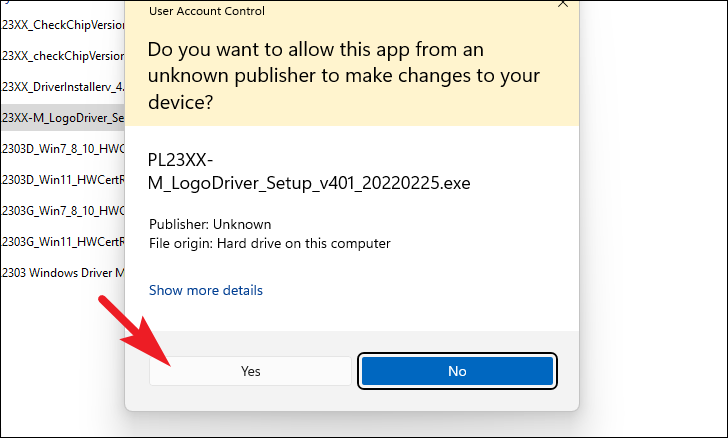
A User Account Control (UAC) prompt may appear. If you’re not logged in as an administrator, enter the admin credentials. Otherwise, click ‘Yes’ to continue.
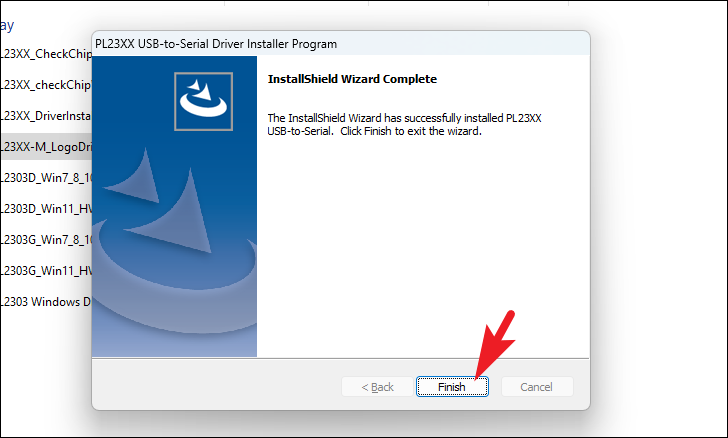
Once the installation is finished, the wizard will display a confirmation message. Click ‘Finish’ at the bottom right to exit the installer.
You’re all set! The PL2303 driver is now installed on your Windows 11 PC, and you should be able to use USB-to-Serial cable devices without any issues.


