How to Install Virtual Machine Platform in Optional Windows Features on Windows 11
A simple and easy-to-follow guide for installing Virtual Machine Platform on your Windows 11 PC so you can use other subsystems on it.
A simple and easy-to-follow guide for installing Virtual Machine Platform on your Windows 11 PC so you can use other subsystems on it.
by Parth Sawhney
Enabling the Virtual Machine Platform on your Windows 11 PC allows you to run multiple operating systems and is essential for features like the Windows Subsystem for Linux (WSL2) and Android emulation. This guide will walk you through the steps to enable virtualization in your system’s BIOS settings and subsequently activate the Virtual Machine Platform through the Control Panel.
Note: If your PC came with Windows 11 pre-installed, virtualization is likely already enabled. However, if you upgraded from Windows 10 to Windows 11, you’ll need to ensure virtualization is activated.
Enable Virtualization in BIOS
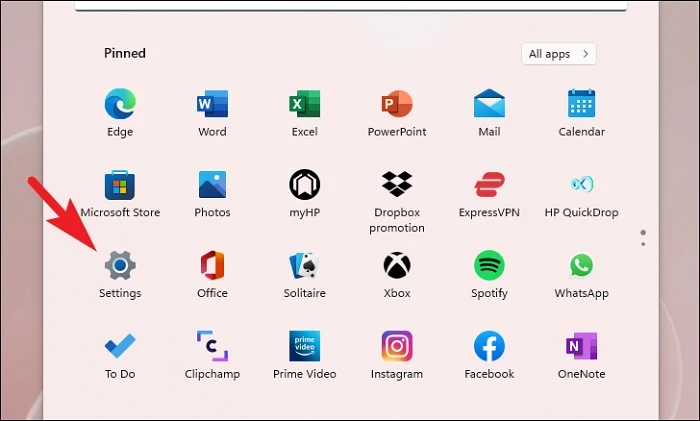
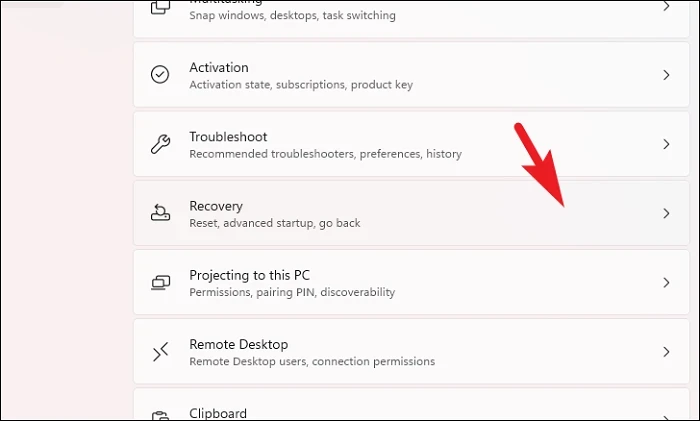
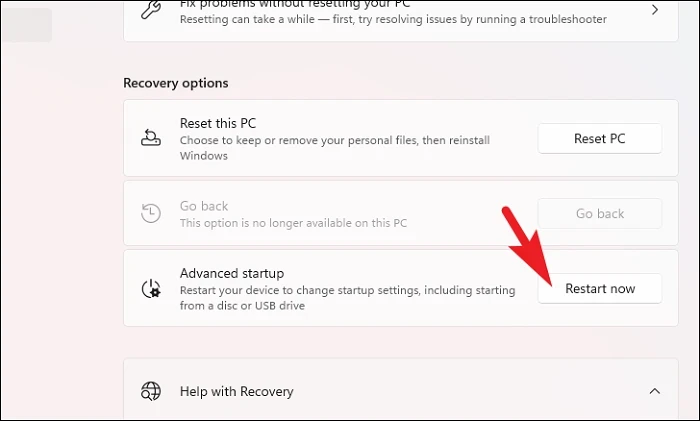
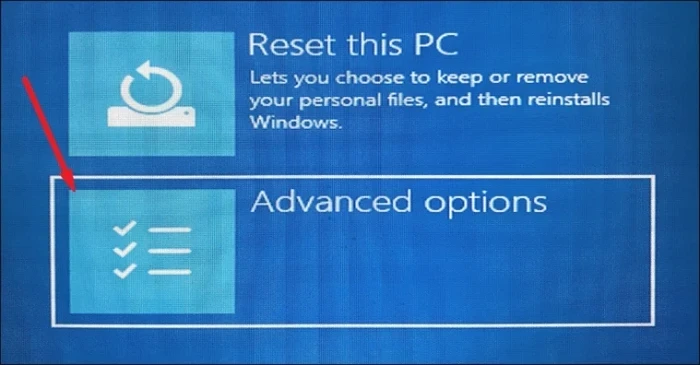
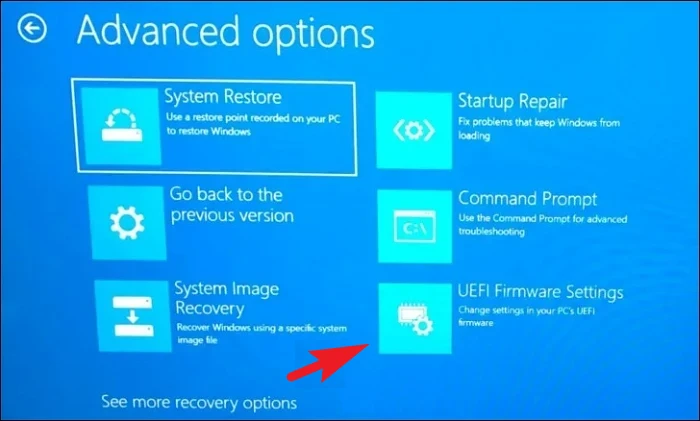
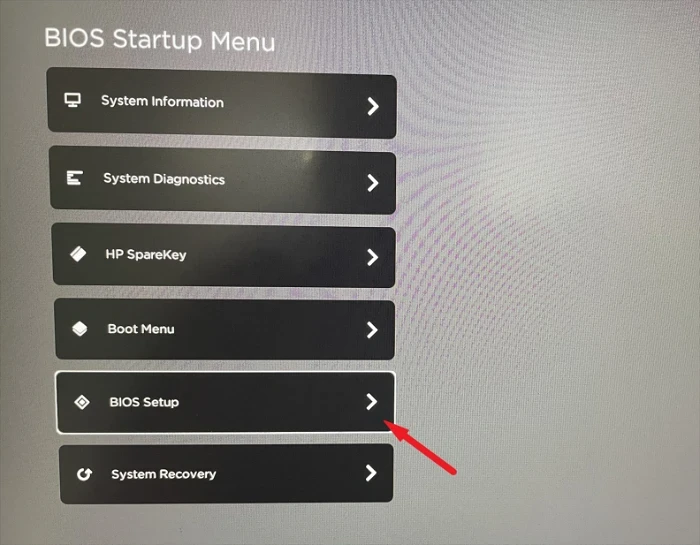
Before you can enable the Virtual Machine Platform feature, virtualization must be enabled in your computer’s BIOS settings. The easiest way to access the BIOS is through the Settings app in Windows.
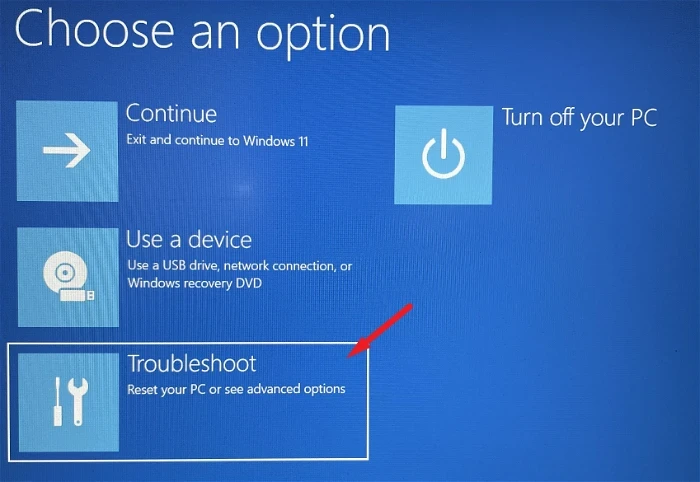
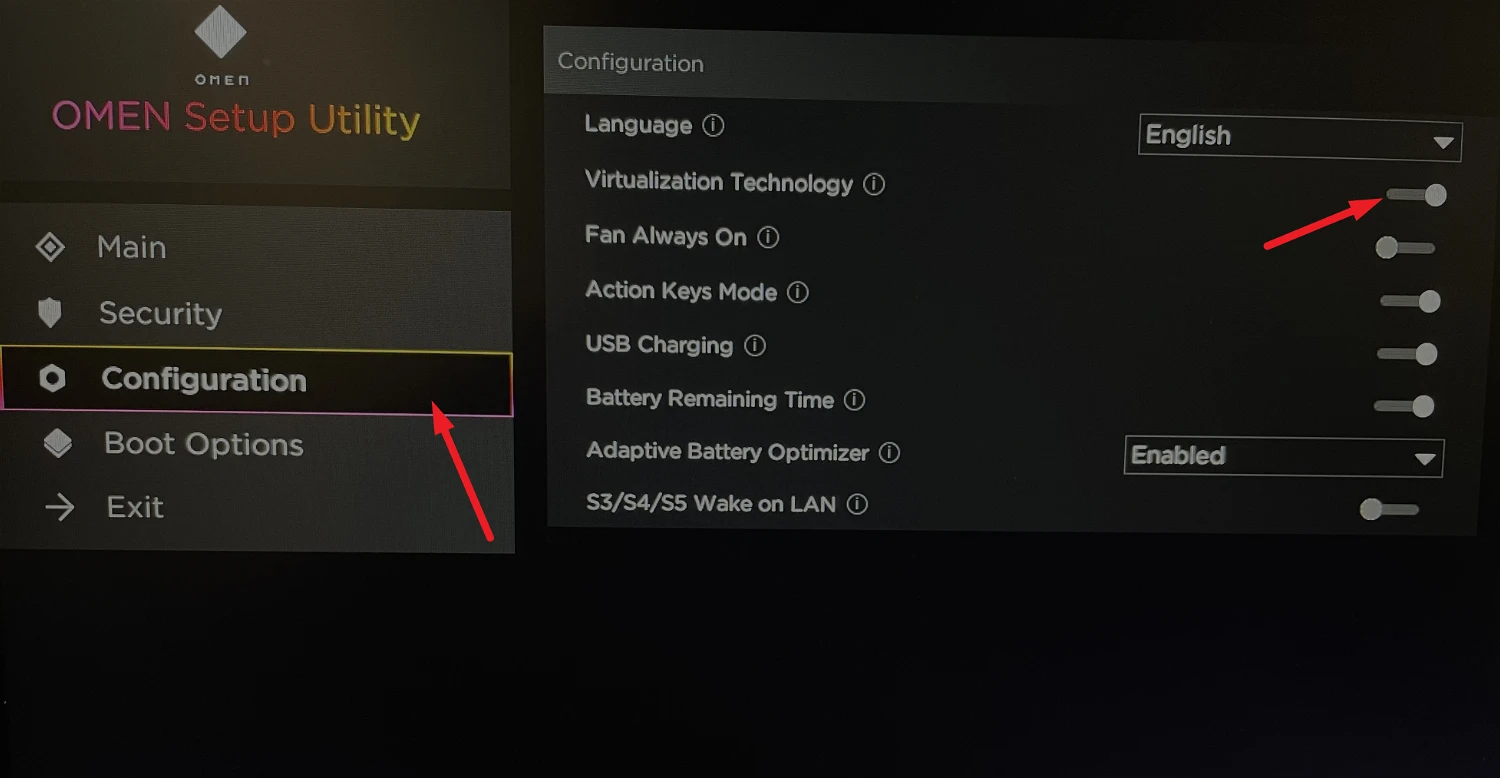
Save your changes by pressing the F10 key or selecting the ‘Save and Exit’ option, then confirm if prompted. Your computer will restart with virtualization enabled.
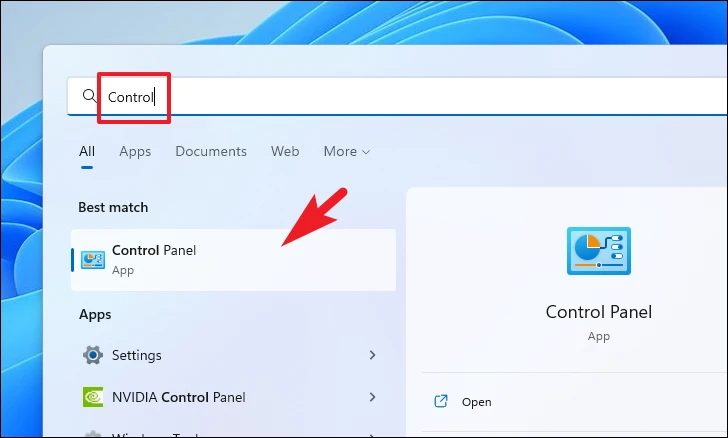
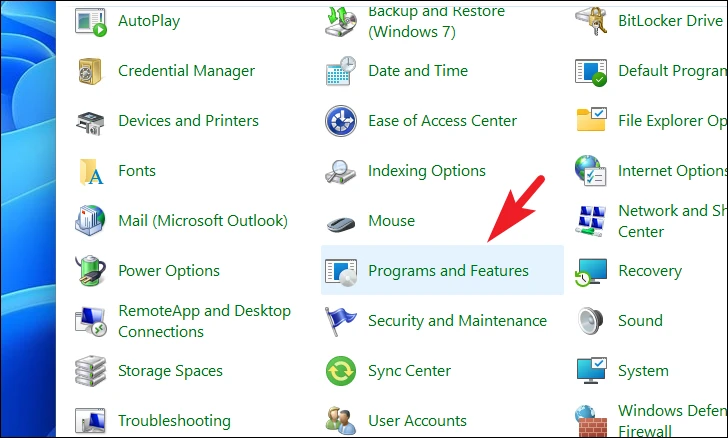
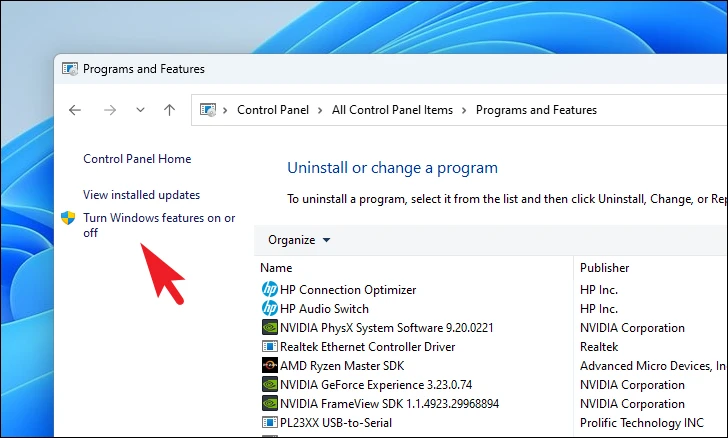
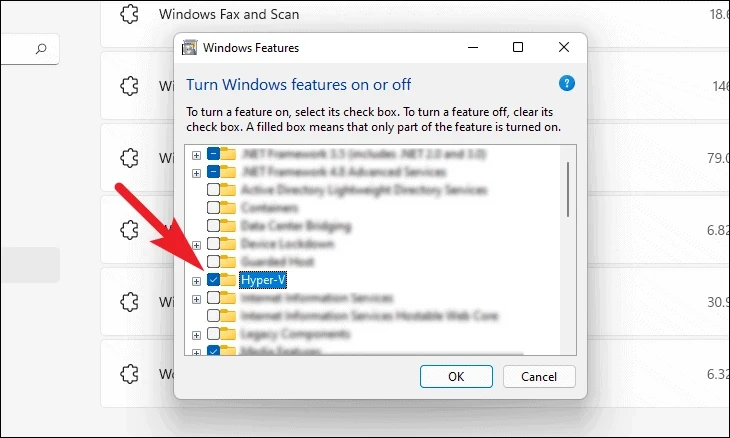
Enable Virtual Machine Platform from Control Panel
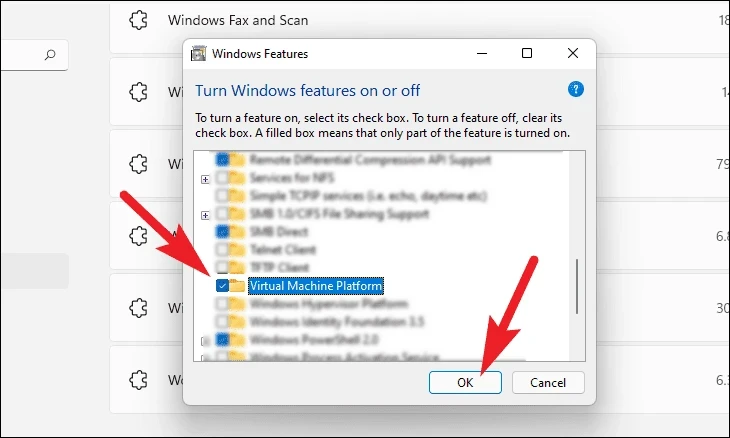
With virtualization enabled in the BIOS, you can now activate the Virtual Machine Platform feature in Windows 11.
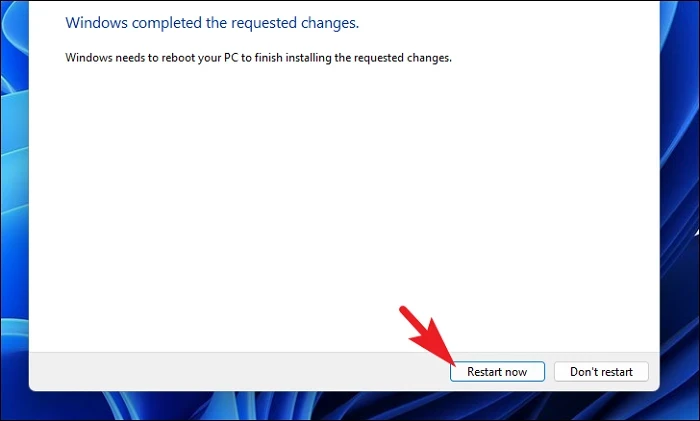
After the process completes, you’ll be prompted to restart your computer. Click on ‘Restart now’ to reboot and apply the changes.
By following these steps, you’ve successfully enabled the Virtual Machine Platform on your Windows 11 PC, preparing your system to host other subsystems like WSL2 or Android emulators.