iMessage is an Apple-exclusive instant messaging service that not only supports sharing of media but you can also play games, exchange digital artwork, and much more through it. Moreover, if you have multiple contacts using Apple devices, chances are you are probably using iMessage more than any other messaging service.
Since messaging is much more convenient than calling, people rely on it a lot to reach out to friends or have a conversation. Even formal conversations take place on iMessage these days, and you definitely don’t want to miss that conversation.
Unfortunately, iMessage acts up sometimes. One of the issues users are facing with iMessage is with notifications not working. And when your iPhone is not pushing notifications for messages, the other parties involved might think you are either ghosting them or are not interested in the conversation, which can create a huge misunderstanding.
Fortunately, notification not working is a problem that you can easily fix in a matter of minutes; simply follow the instructions listed in this article and you will be done before you know it.
1. Restart iPhone
Many times a simple deadlock of processes can cause this issue and the easiest way to fix it is by restarting your iPhone. You can either restart or force restart your iPhone; both will work the same.
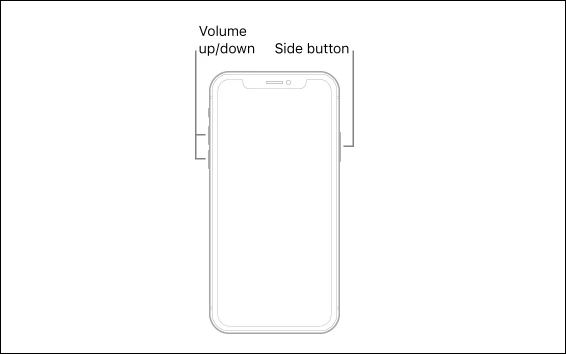
Force Restart iPhone with Face ID, iPhone 8, and SE (2nd Gen)
The newer iPhone has a different process of force restarting them when compared to the earlier released models from Apple.
To force restart the aforementioned iPhone models, first, quickly press and release the ‘Volume up’ button located on the left side of your iPhone. Then, similarly, quickly press and release the ‘Volume down’ button. After that, press and hold the ‘Lock/Side’ button until the Apple logo appears on your screen. Once the logo appears, release the side button.
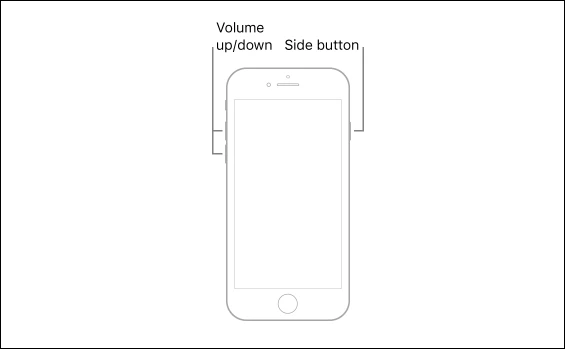
Force Restart iPhone 7
This generation of iPhone receives special treatment by being the only one not sharing the process of force restarting the phone with any other generation of iPhones. However, it is as simple to force restart an iPhone 7 as it is to restart any other model of an iPhone.
To force restart an iPhone 7, press and hold the ‘Lock/Side’ button and ‘Volume down’ button together until the Apple logo appears on your screen. Once the logo appears, release both buttons.
Force Restart iPhone 6, 6s, and SE (1st Gen)
These iPhones are the last ones that need the ‘Home’ button to force restart. That being said, using the ‘Home’ button to force restart the iPhone only makes the matter much simpler.
To do so, press and hold the ‘Lock/Side’ button and the ‘Home’ button together on your iPhone until the Apple logo appears. Once you see the logo on your screen, release both buttons.

2. Make Sure iMessage is Enabled
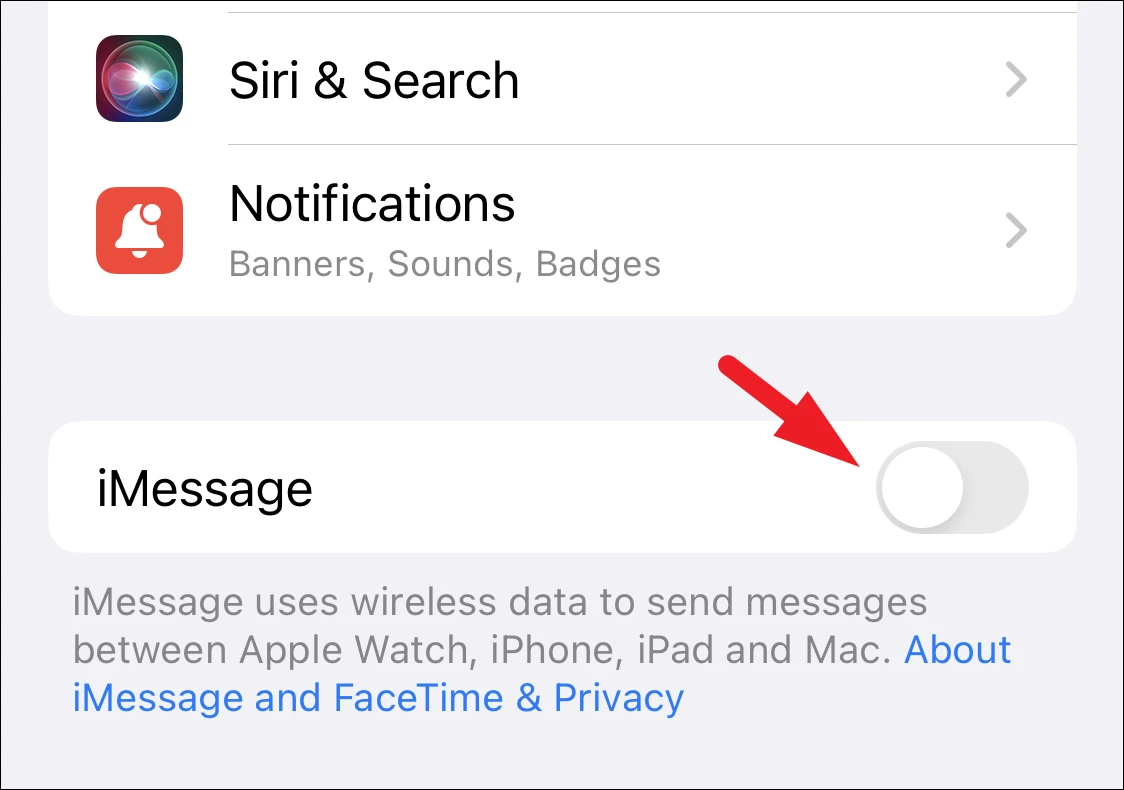
If restarting didn’t help, the next thing you should do is to make sure you have iMessage enabled on your Apple device and can send and receive iMessage on it. Many times, iMessage can turn off when you change your iPhone or update the software.
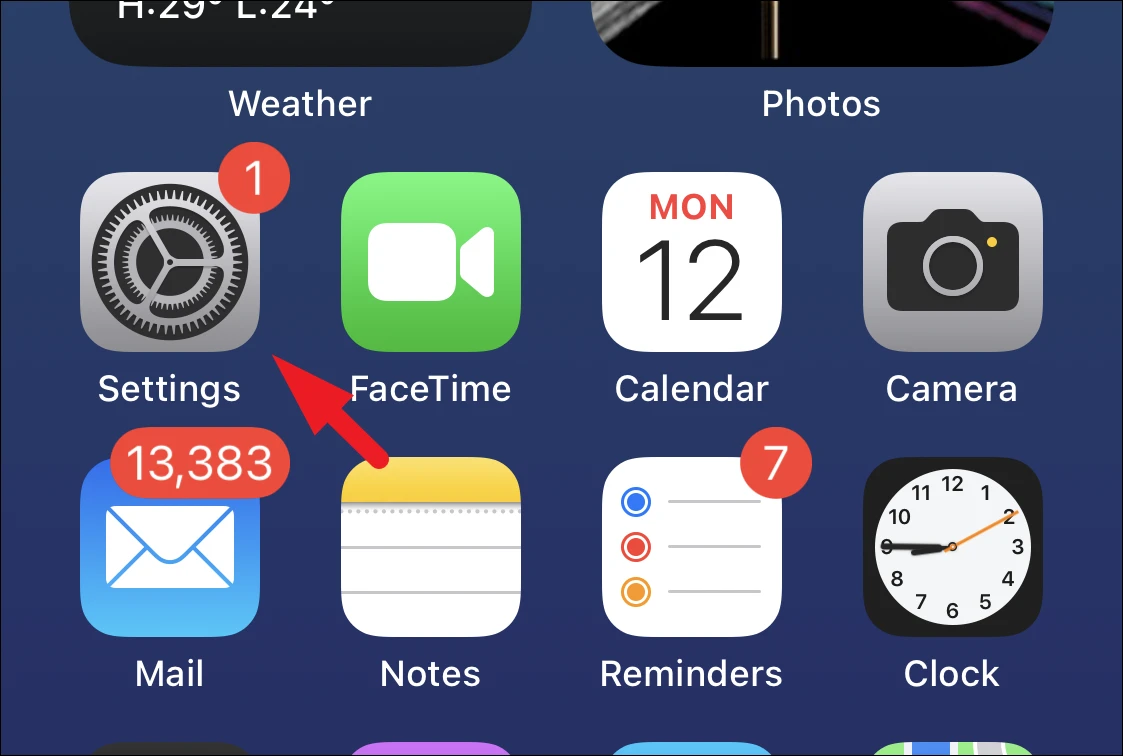
First, head to the Settings app, either from the home screen or the app library of your device.

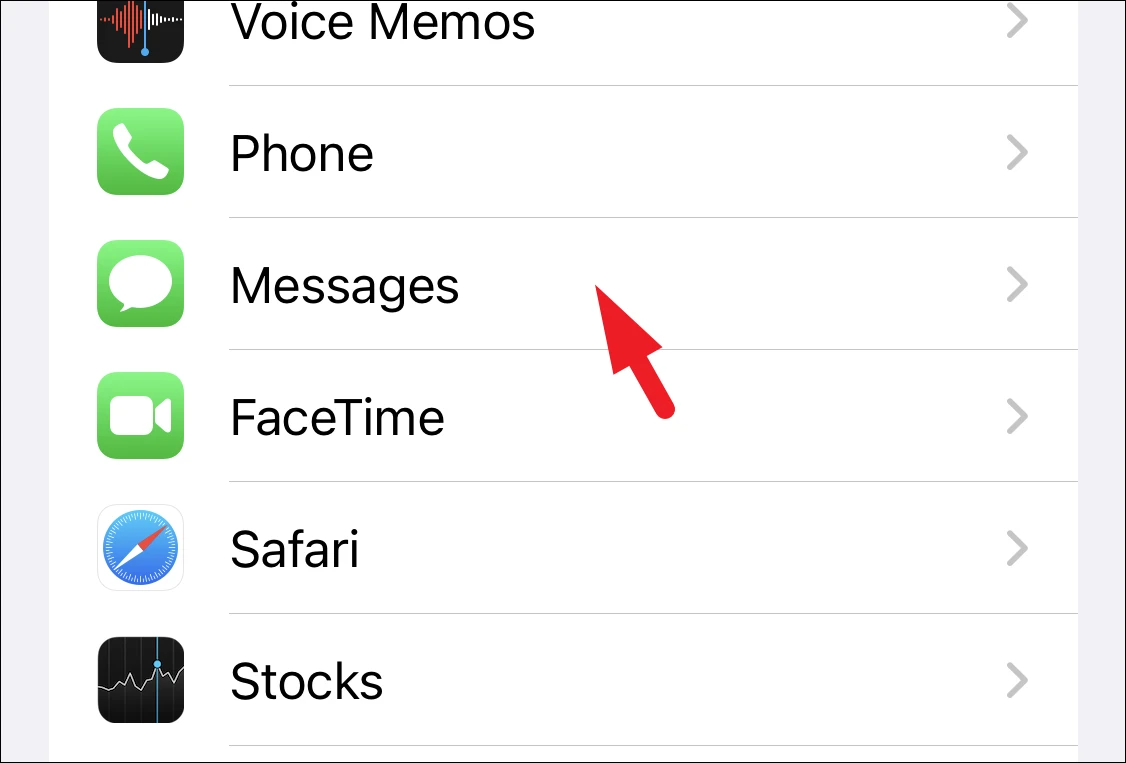
Next, tap on the ‘Messages’ option from the list to continue.

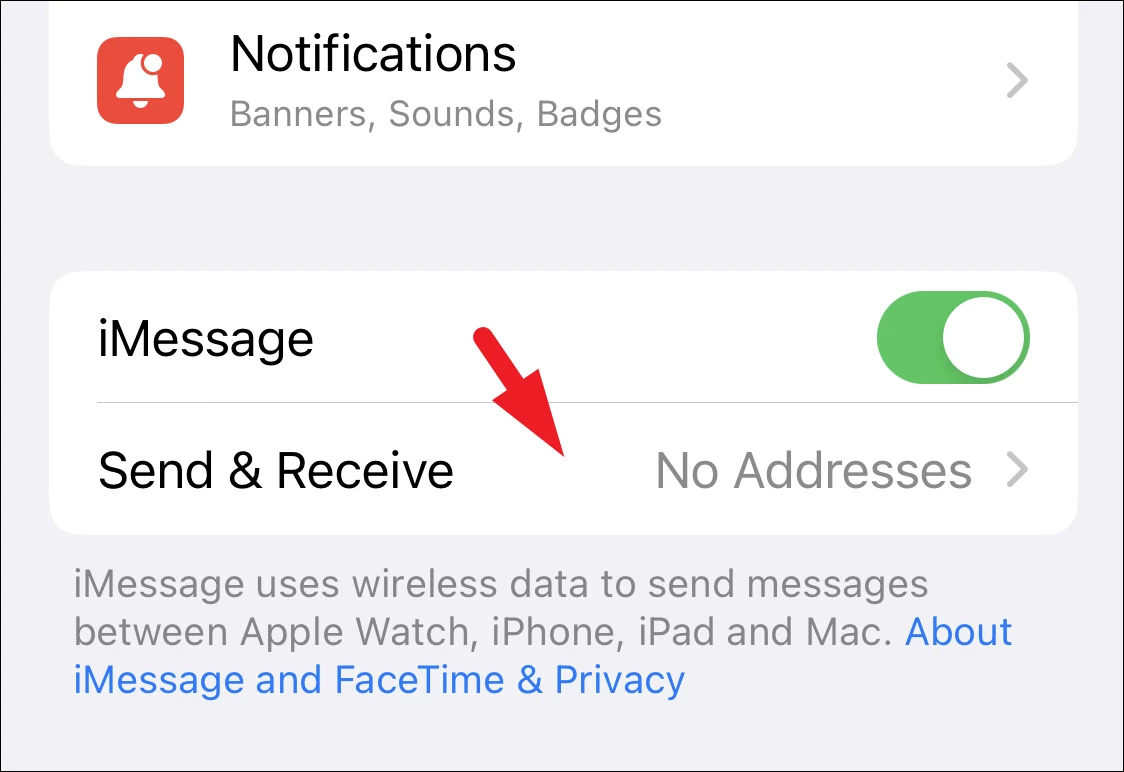
Now, tap on the toggle switch following the ‘iMessage’ option to bring it to the ‘On’ position.
Once turned on, tap on the ‘Send & Receive’ option to continue.
Now, tap on the phone number and the email address listed on the screen where you wish to receive iMessage. The exact address will be showcased to your contacts.
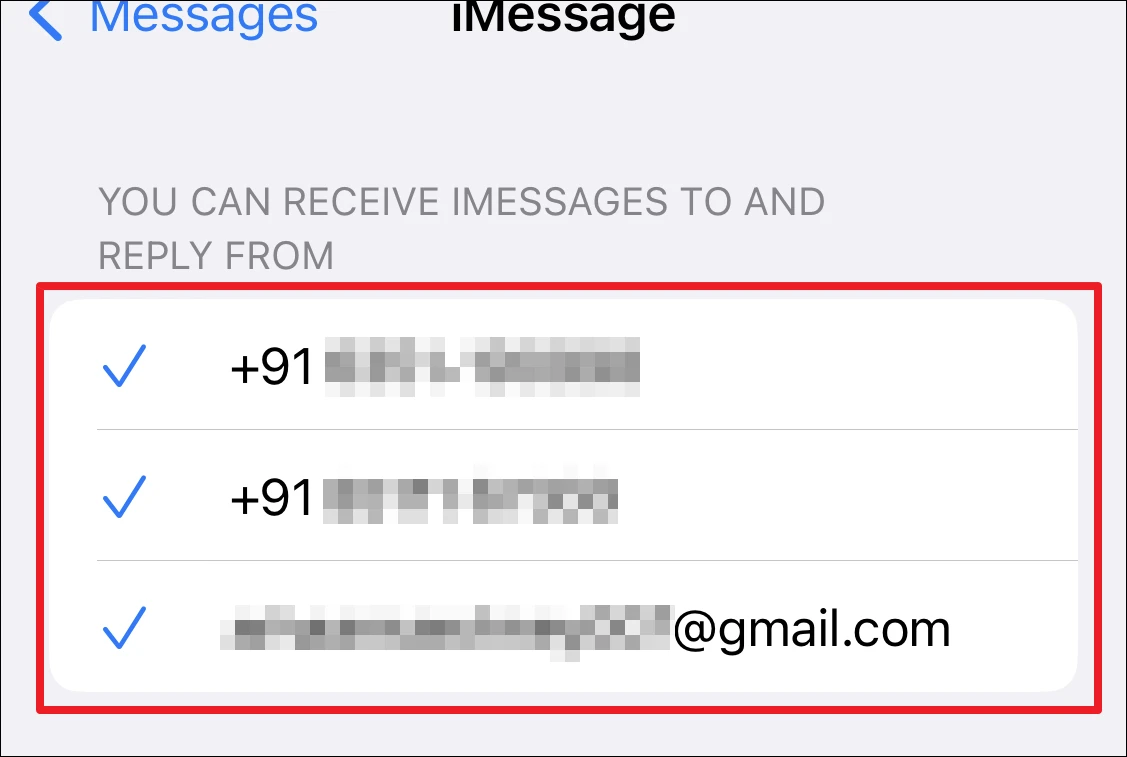
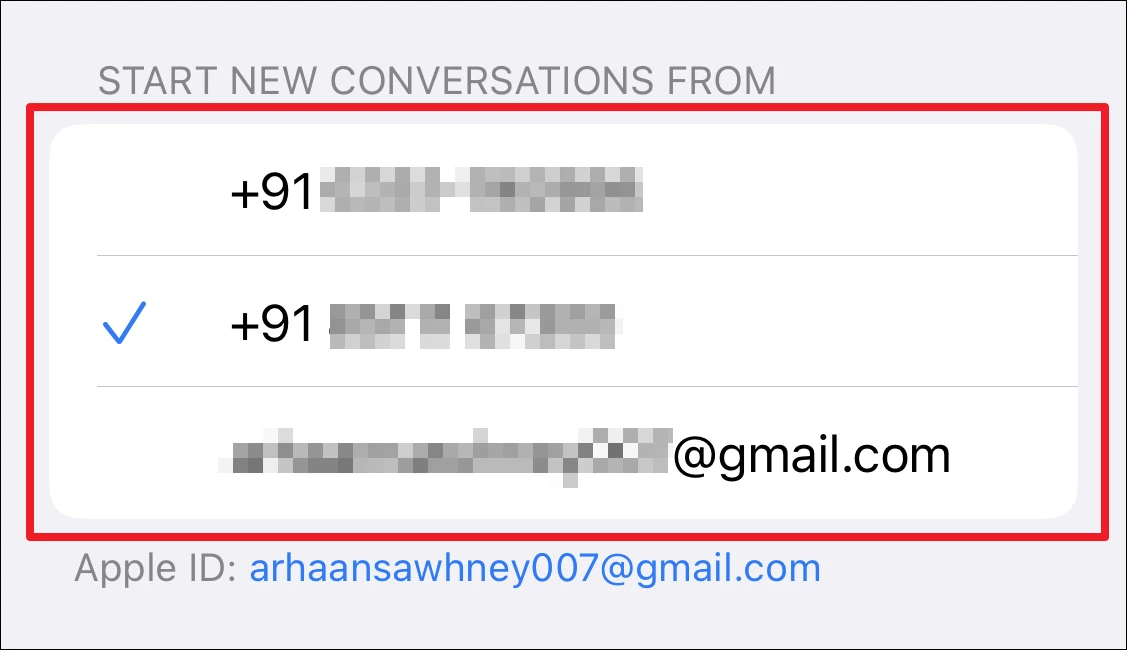
In case you have multiple addresses, you can select one which you would like to use to start a new conversation. You can receive and reply to the iMessage received at every address.
3. Make Sure Do Not Disturb (DND) is turned Off
In case you are not receiving any notifications at all or are receiving notifications only from a specific group of contacts, you might have your DND focus mode on. Turning it off will fix this issue.
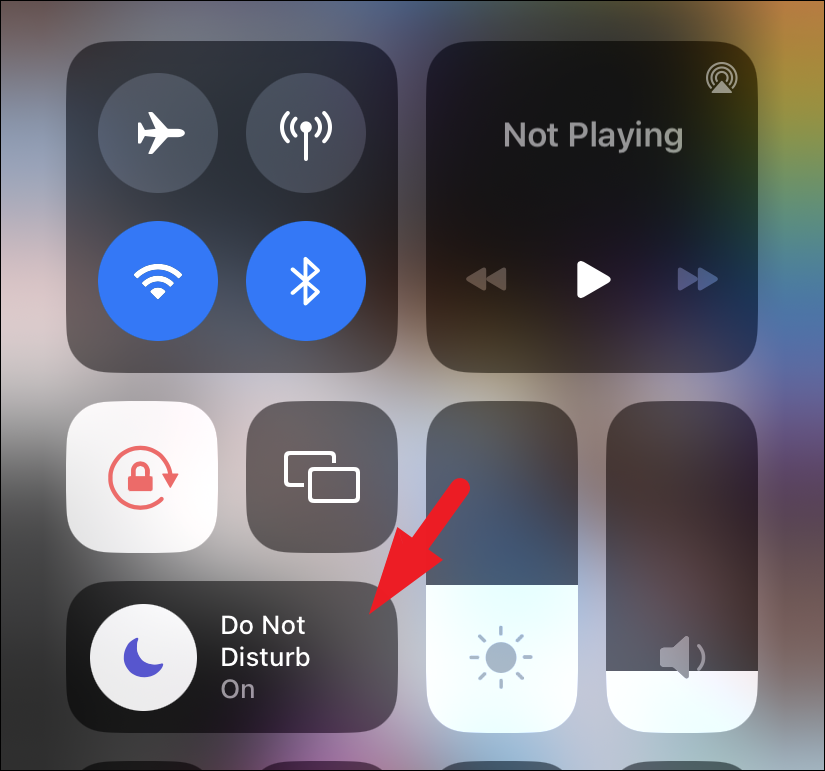
First, swipe down from the top right corner of the screen.
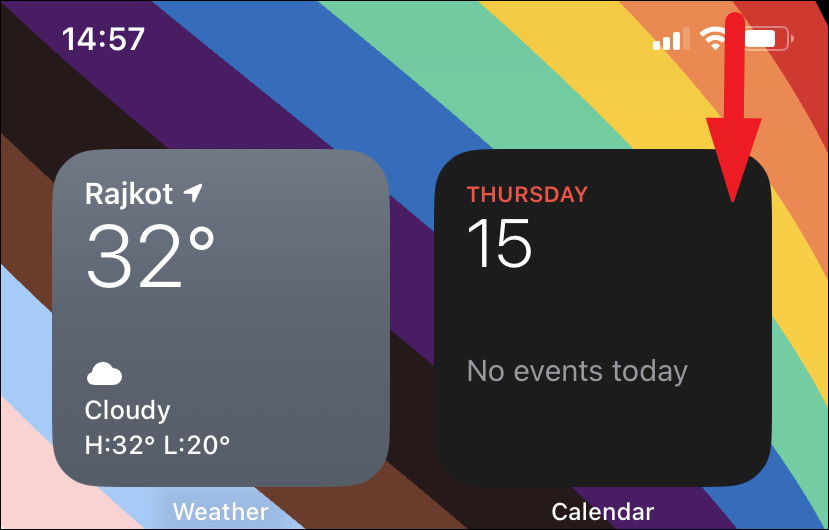
Then, tap on the ‘Do not Disturb’ tile if turned on. This will expand the section.
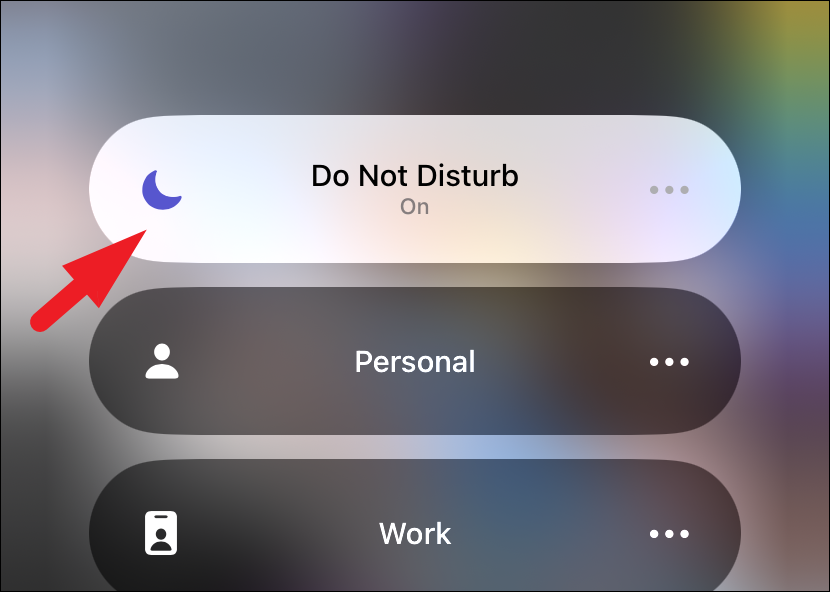
Next, tap on the ‘Do Not Disturb’ tile again to turn it off.
4. Turn Off the Filter Unknown Sender Setting
The messages app allows you to filter all unknown senders. When the filter is on, you will not receive notifications for incoming messages from people who are not in your contact list. If that’s the case you’re trying to fix, turn this setting off.
To do so, head to the Settings app, either from the Home Screen or the App Library.
Then, tap on the ‘Messages’ option from the list to continue.
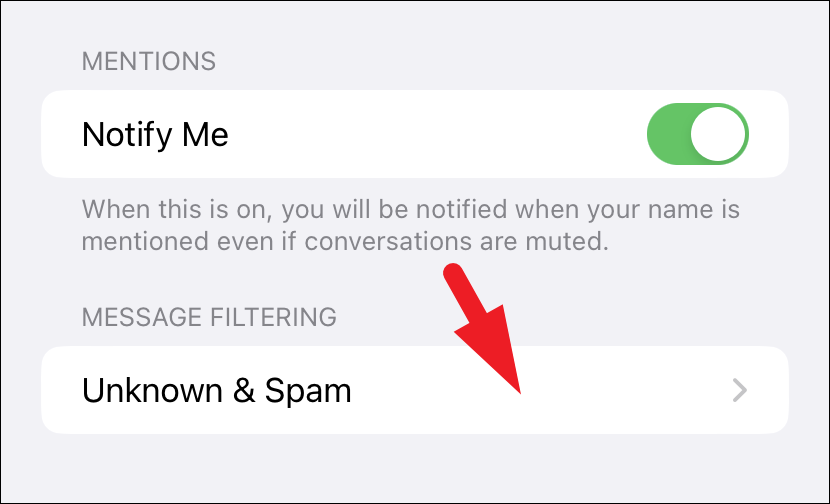
Next, tap on the ‘Unknown & Spam’ option.
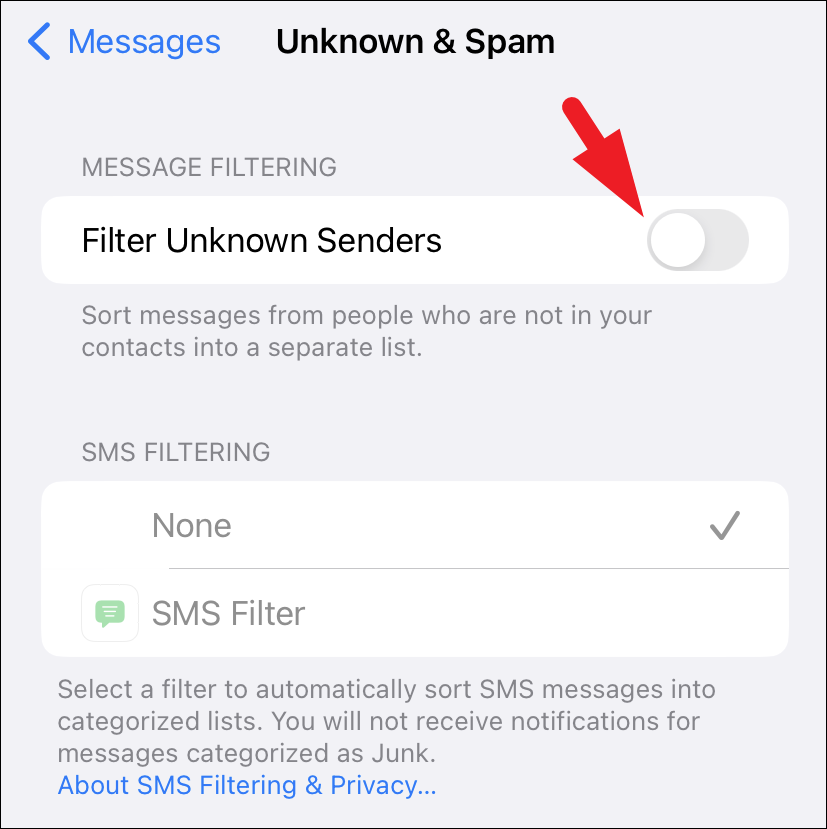
After that, tap on the toggle switch following the ‘Filter Unkown Senders’ option to bring it to the ‘Off’ position.
5. Check App Notification Settings
iOS allows you to turn off the visual and audio clues when a notification arrives on a per-app basis. Hence, it makes sense to confirm that you have the correct settings configured for the Message app notifications, i.e., you have them turned on.
First, head to the Settings app, either from the Home Screen or the App Library of your device.

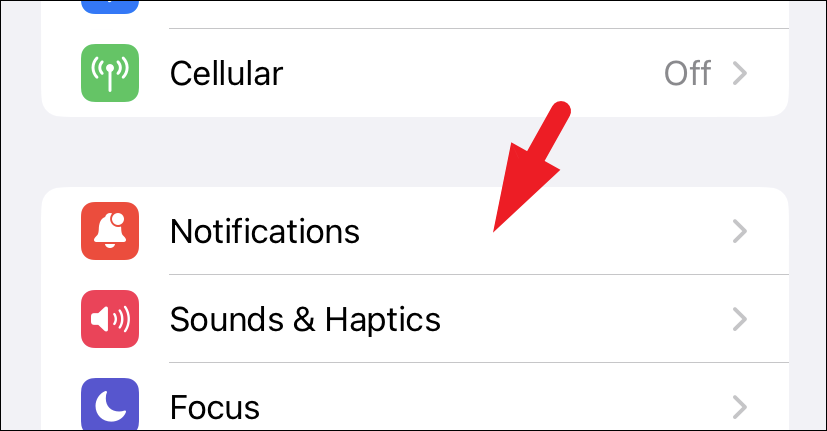
Then, tap on the ‘Notifications’ option from the list.
Next, tap on the ‘Messages’ option from the list to proceed.

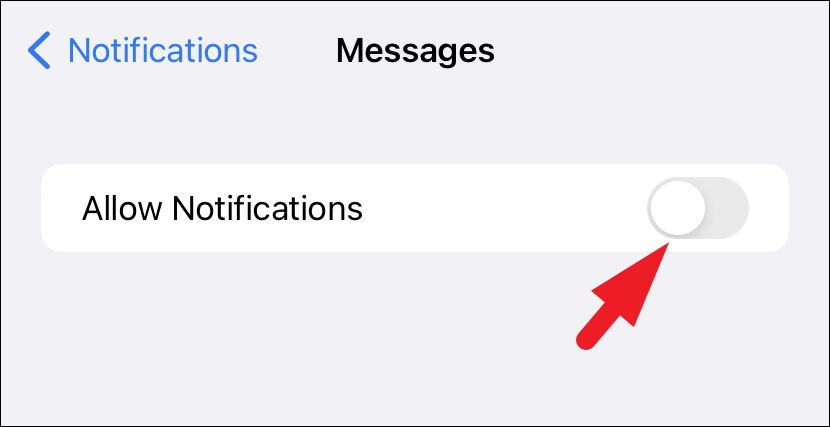
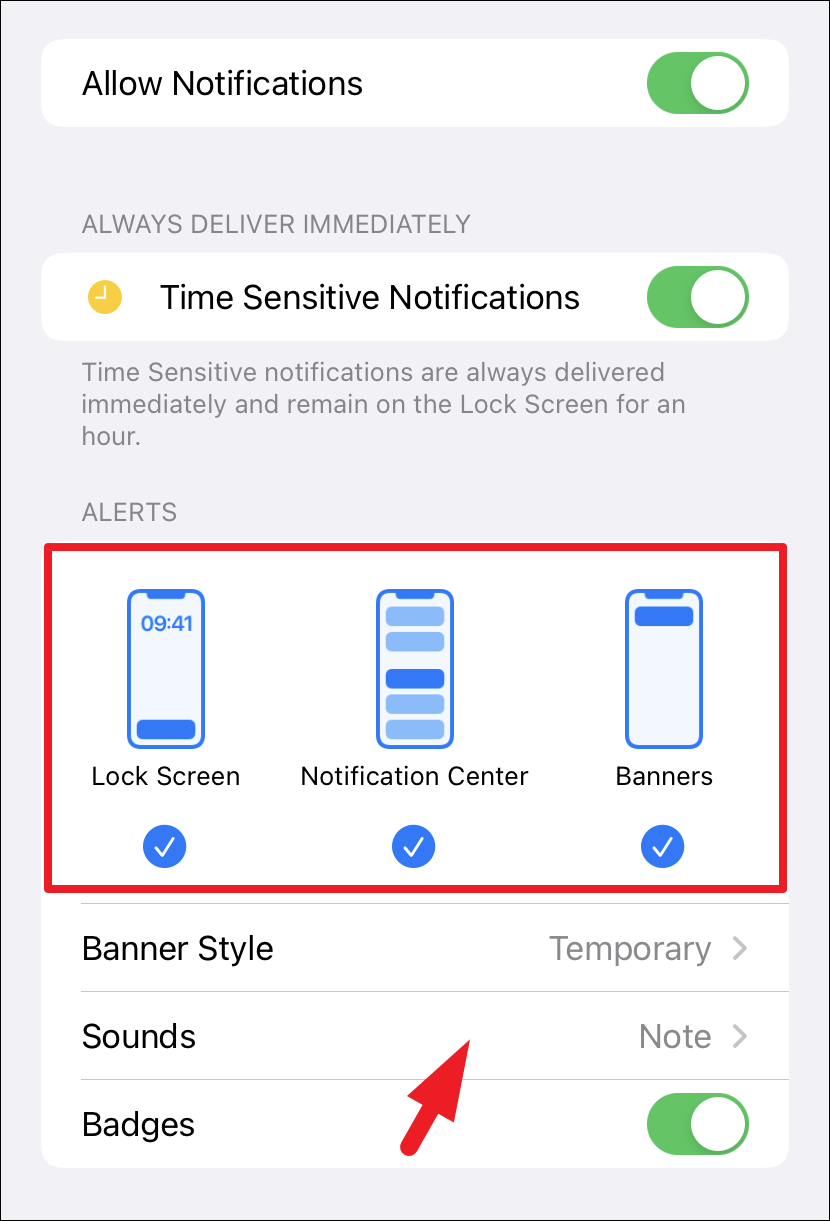
Then, tap on the toggle switch following the ‘Allow Notifications’ tile to bring it to the ‘On’ position if not already turned on.
After that, make sure you have selected all three types of alerts, ‘Lock Screen’, ‘Notification Centre’, and ‘Banners’ to make sure you receive a visual cue for arriving notifications. Also, make sure you have a tone selected for incoming messages. If there’s no tone selected, the ‘Sounds’ option will display ‘None’ in the field.
6. Check Contact Notification Settings
If you are facing an issue with a particular contact, you could have notifications turned off for the particular contact only. It’s easy to turn them on again, if that’s the case.
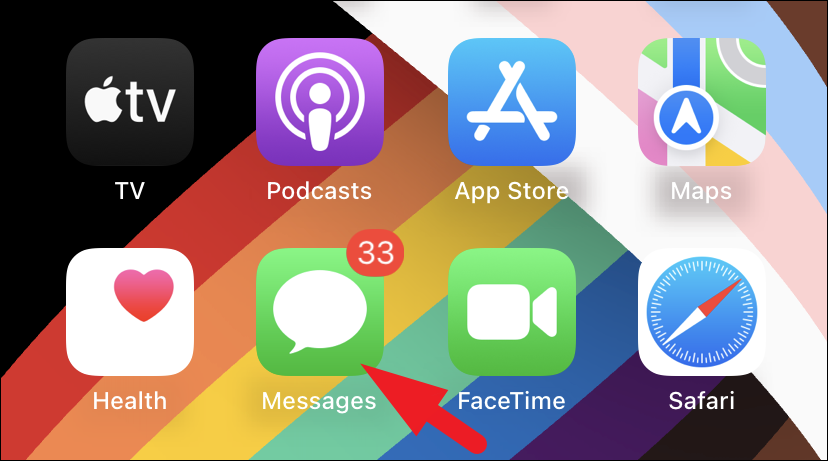
First, head to the ‘Messages’ app, either from the Home Screen or the App Library.
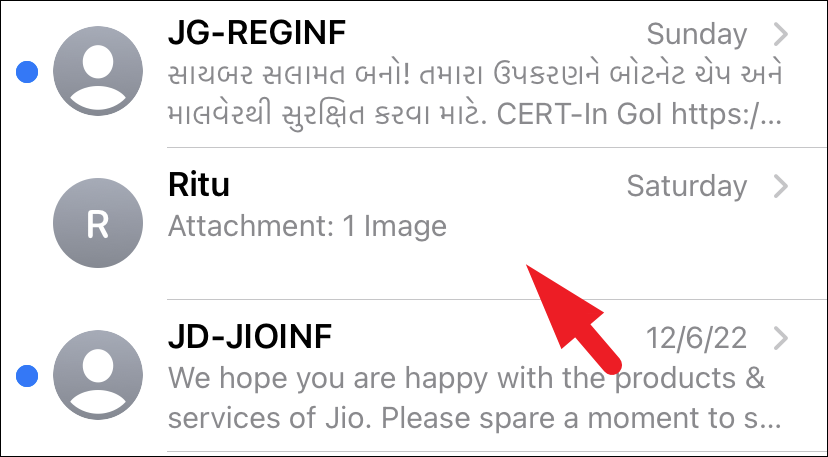
Then, navigate to the conversation for which you are not receiving the notifications.
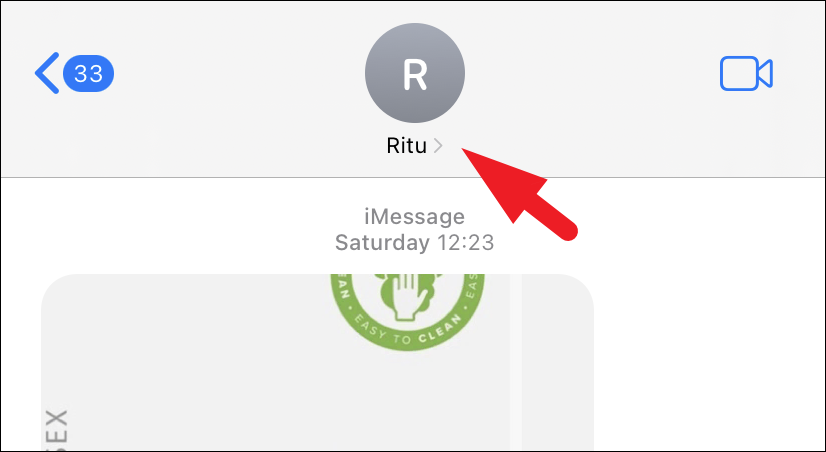
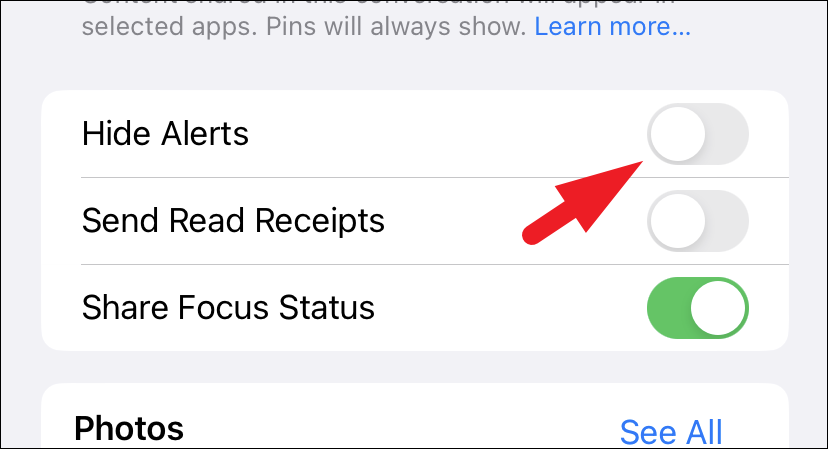
After that, tap on the contact icon at the top of the chat screen. Then, tap on the ‘info’ icon to proceed.
Finally, tap on the toggle switch following the ‘Hide Alerts’ option to bring it to the ‘Off’ position, if not already turned off.
You should now receive notifications from them.
That’s it, folks. Using these fixes, you will no longer miss out on essential conversations or messages on your iPhone because of misbehaving notifications.


