
Windows 11 sometimes displays text, icons and other UI elements larger than necessary, which can feel cluttered on smaller screens. Fortunately, there are several ways to make everything smaller and more compact in Windows 11. This guide will walk you through the most effective methods to reduce the size of UI elements and maximize screen space.
Adjust display scaling to make everything smaller
The most comprehensive way to reduce the size of all UI elements in Windows 11 is to adjust the display scaling settings:
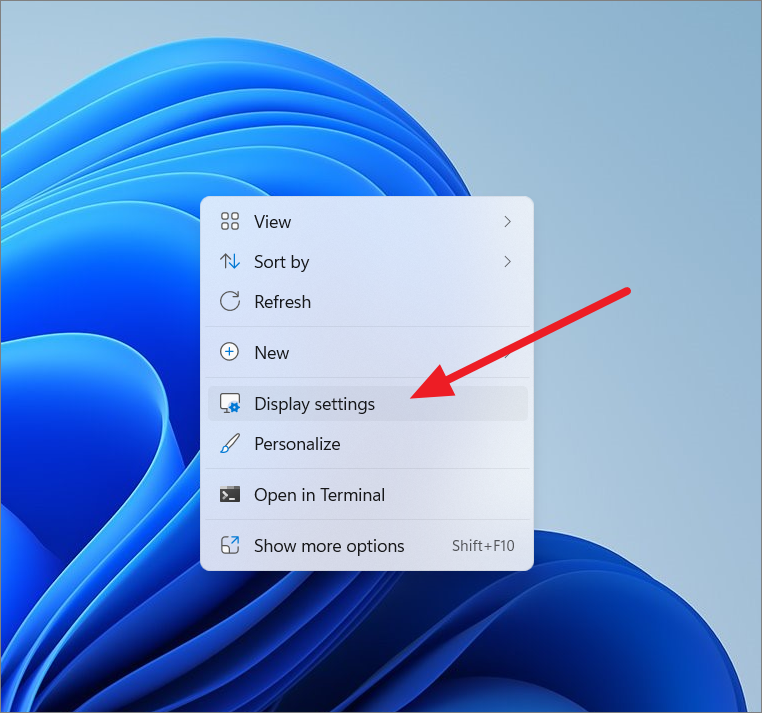
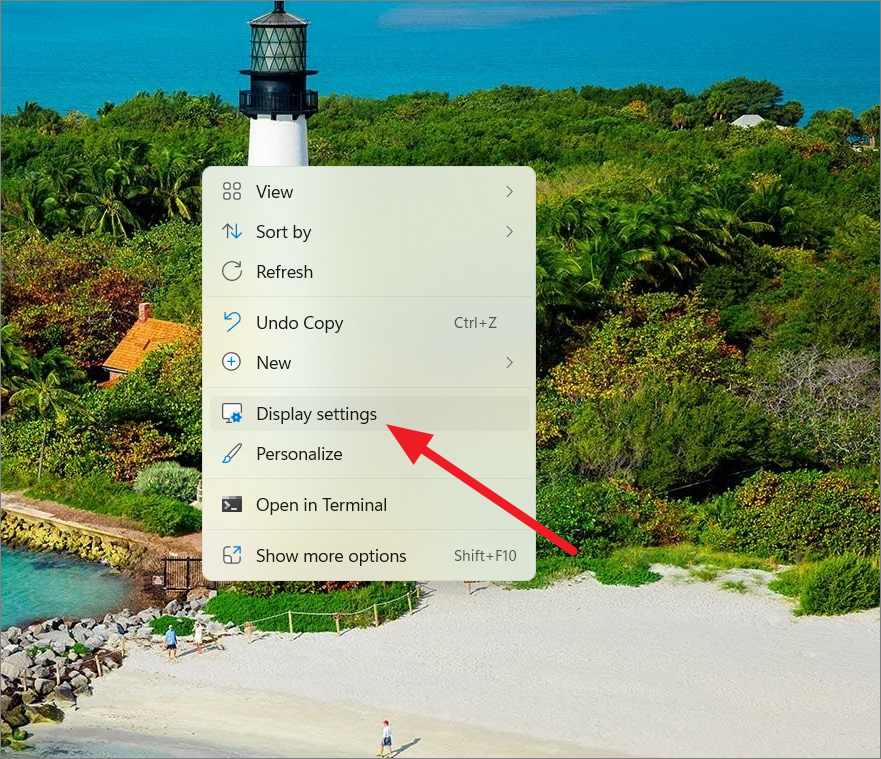
- Right-click on your desktop and select “Display settings”.
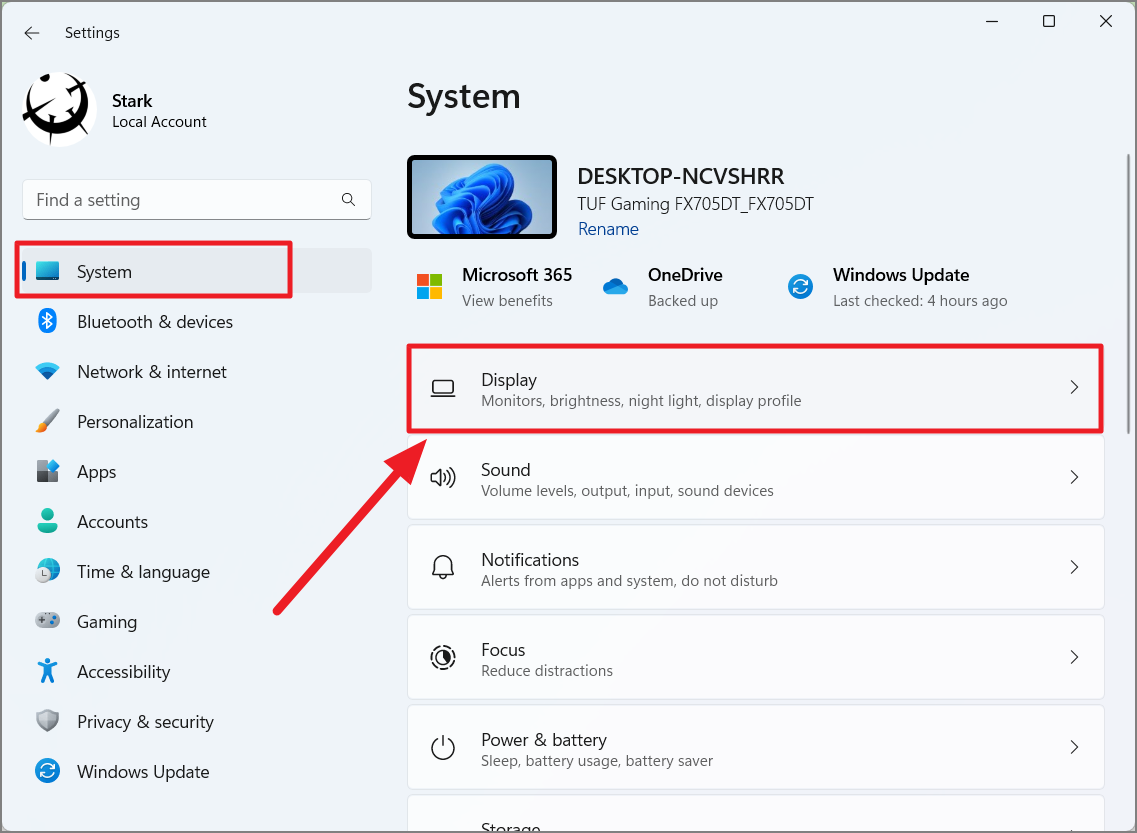
- Alternatively, open the Settings app using
Windows + Iand select “Display” under the System tab.
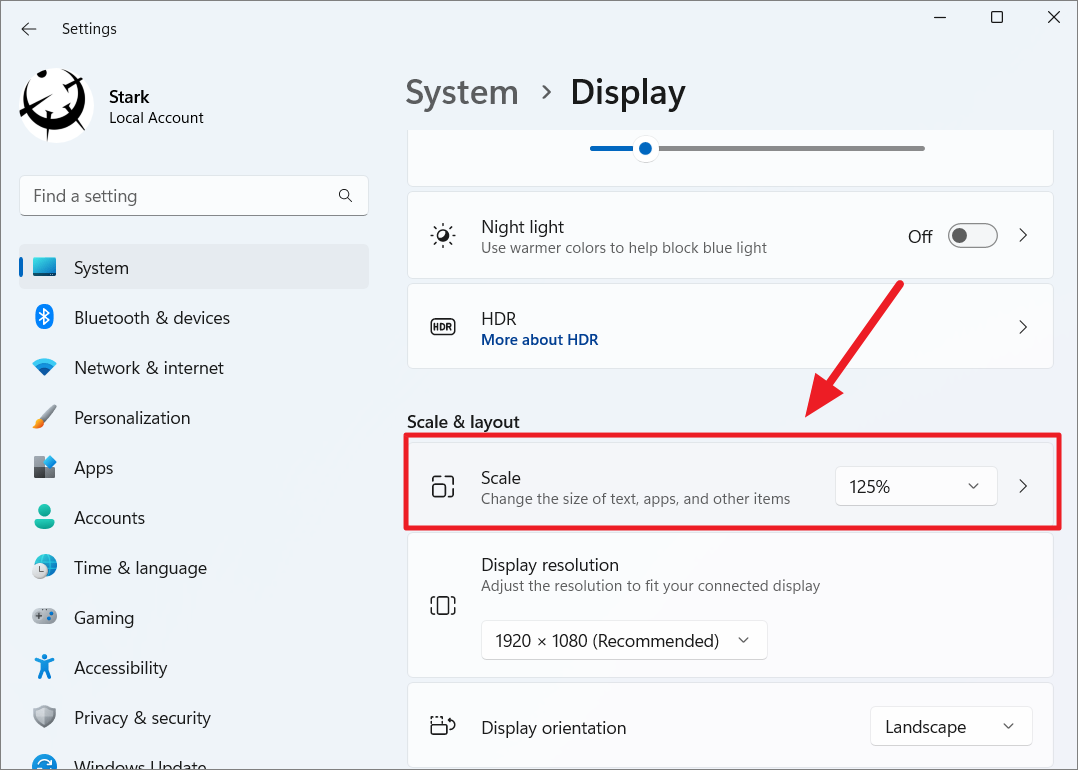
- Scroll down to the “Scale & layout” section and click on the dropdown menu next to “Scale”.
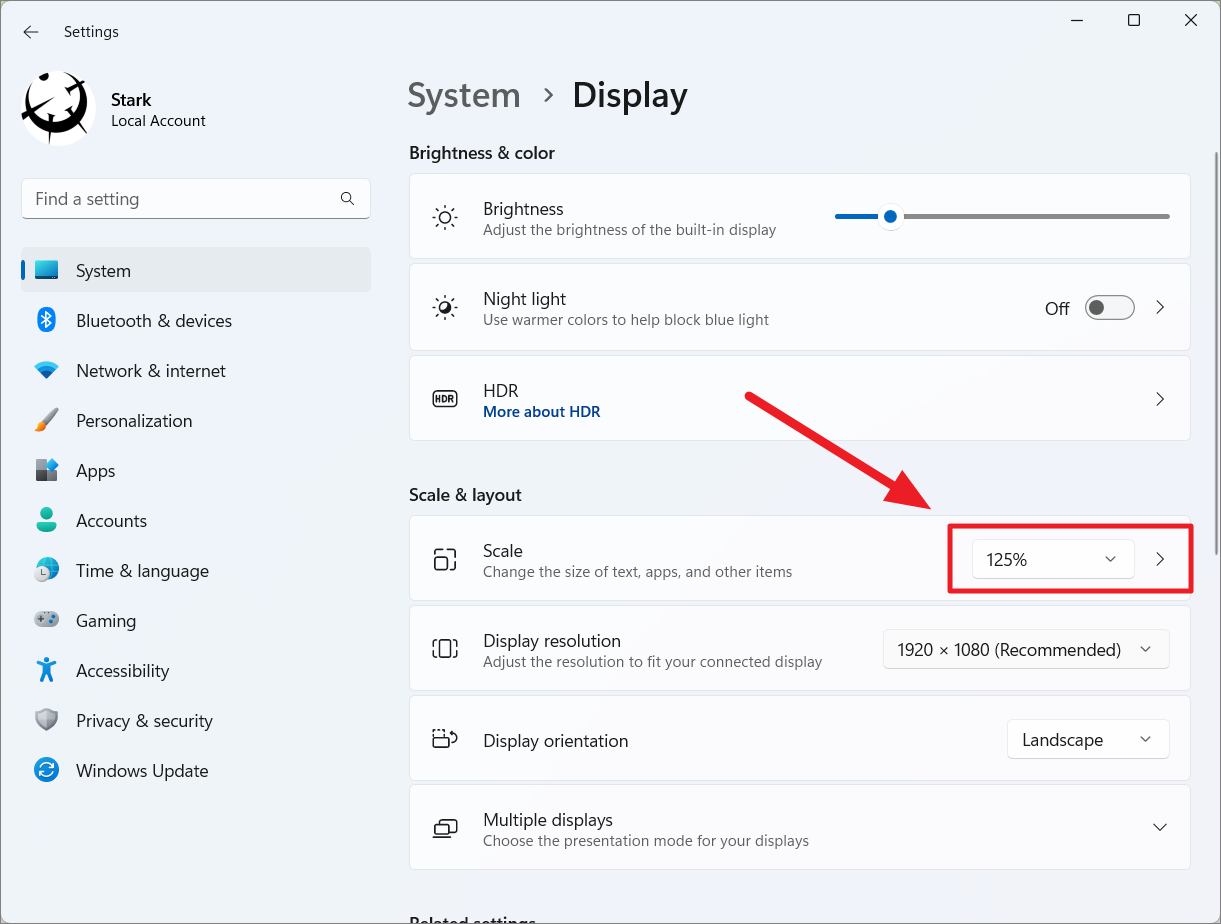
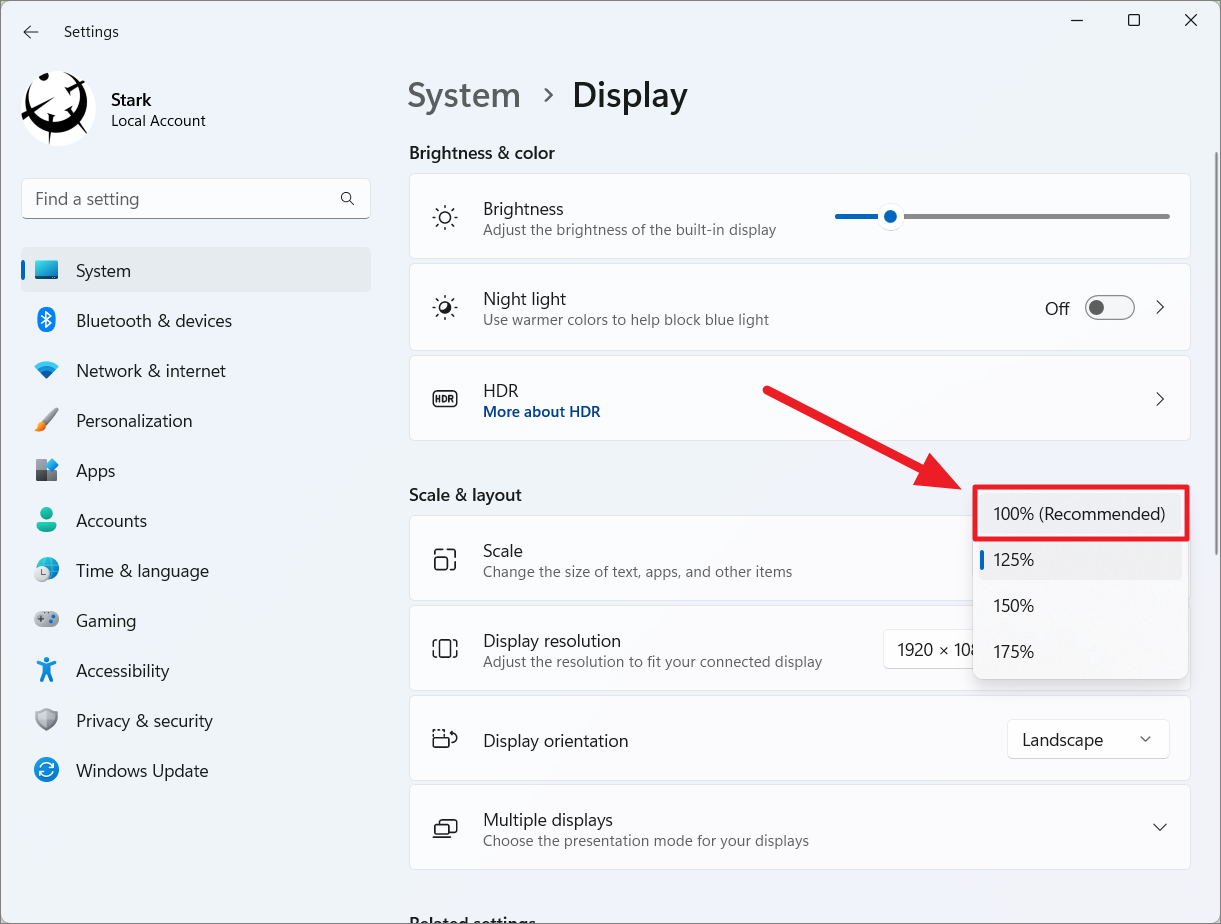
- Choose a lower percentage from the dropdown list, such as 125% or 100%.
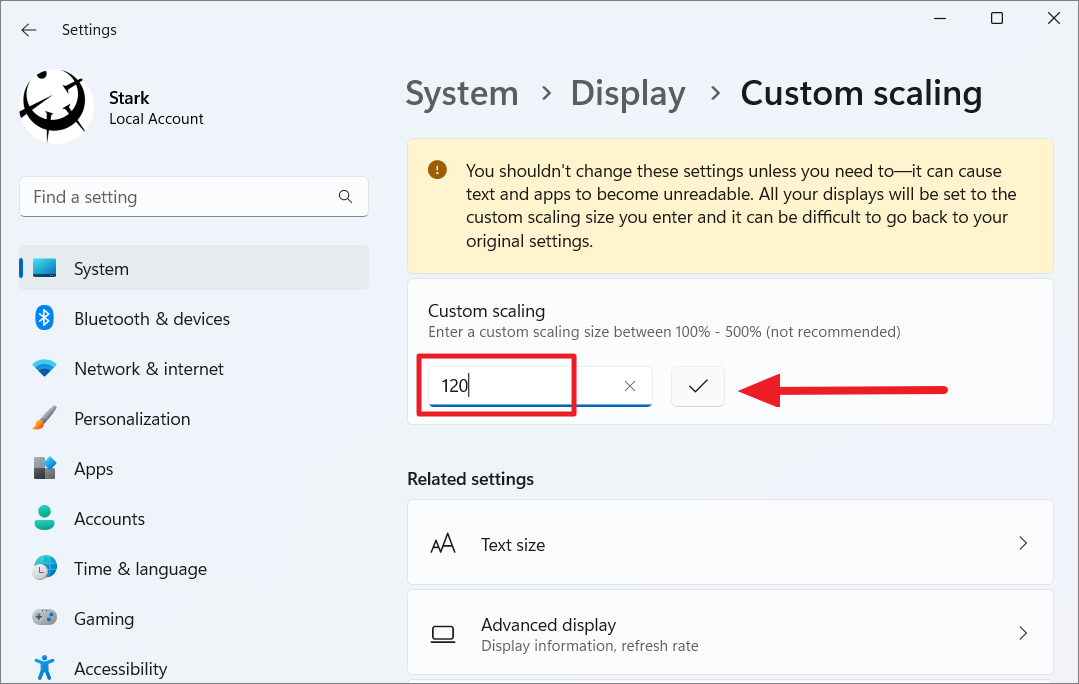
For more precise control, you can set a custom scaling value:
- Click on the “Scale” option itself instead of the dropdown menu.
- Enter a custom scaling value between 100% and 500% in the text field.
- Click the “Check” button to apply the change.
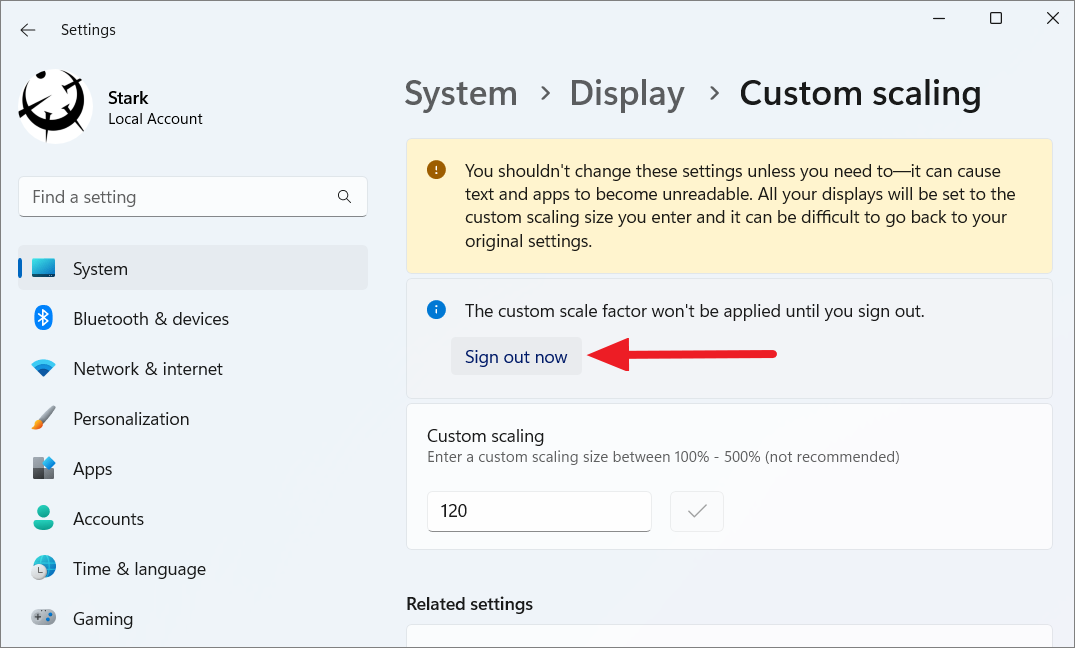
- Sign out of your PC to apply the new scaling level.
Reduce taskbar height and icon size
To specifically adjust the taskbar and its icons, you’ll need to modify the Windows Registry:
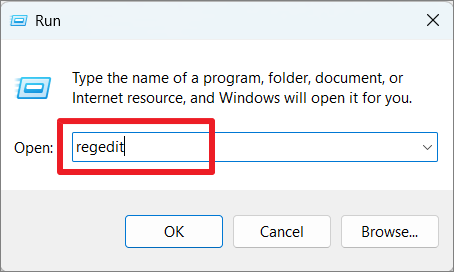
- Open the Registry Editor by pressing
Win + R, typing “regedit”, and clicking “OK”.
- Navigate to the following path:
HKEY_CURRENT_USER\Software\Microsoft\Windows\CurrentVersion\Explorer\Advanced
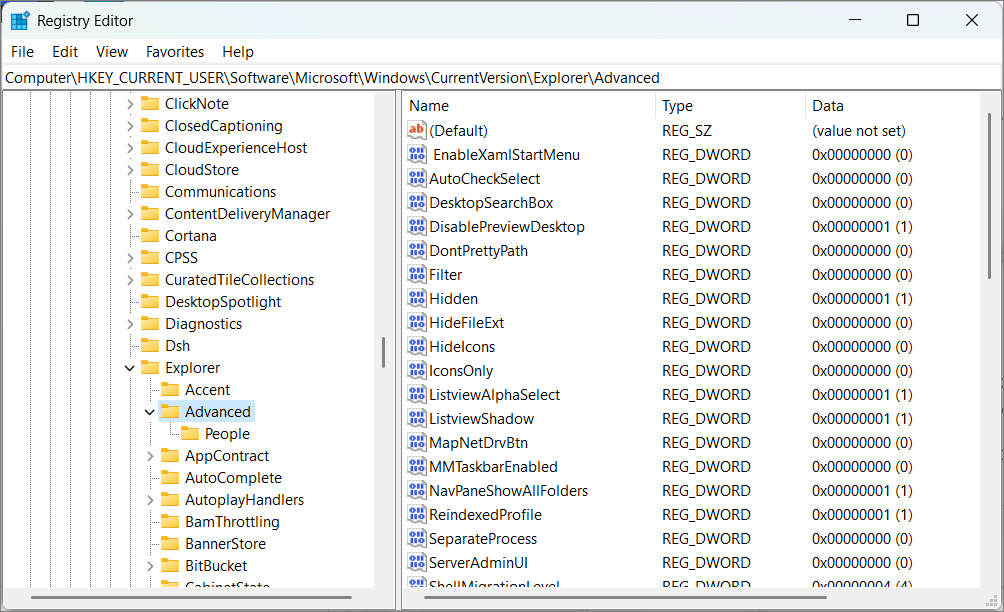
- Right-click in the right pane and select “New” > “DWORD (32-bit) Value”.
- Name the new entry “TaskbarSi”.
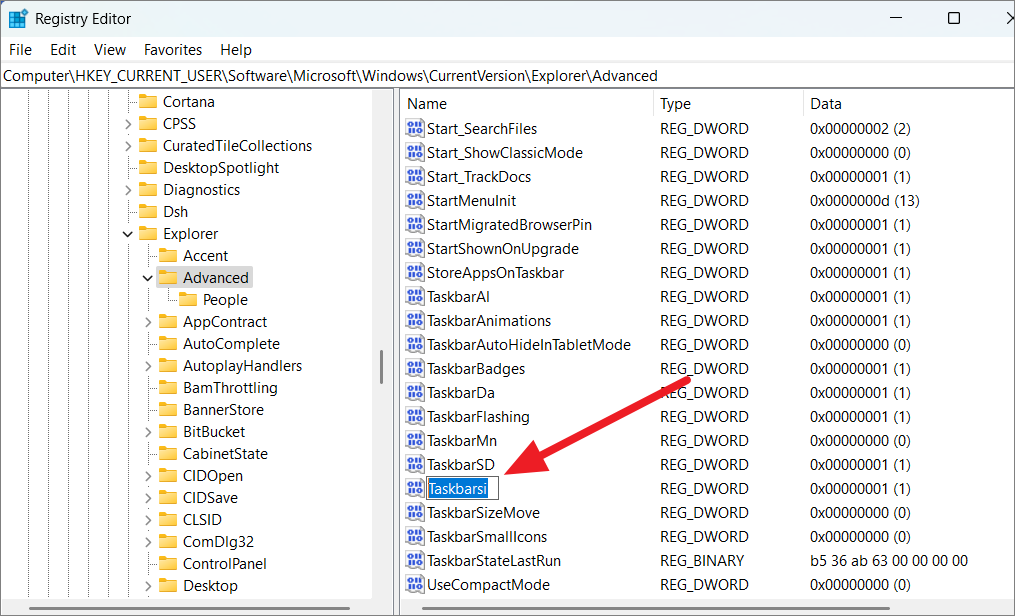
- Double-click “TaskbarSi” and set its value to:
0for small size1for medium size (default)2for large size

- Close the Registry Editor and restart your computer to apply the changes.
Before:
After:
Adjust icon sizes without changing scaling
Reduce desktop icon size
To make desktop icons smaller:
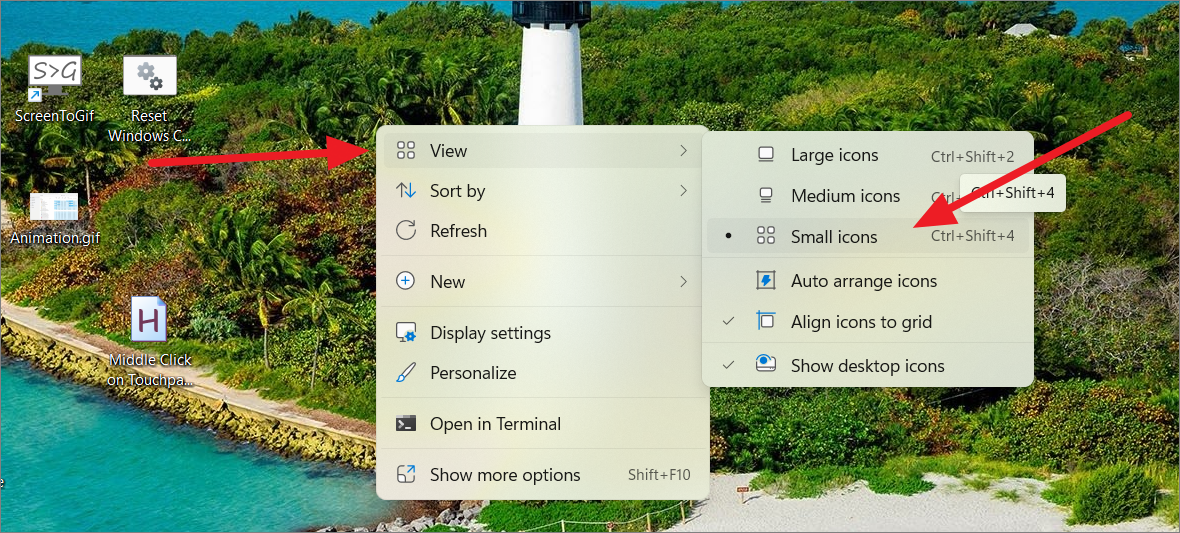
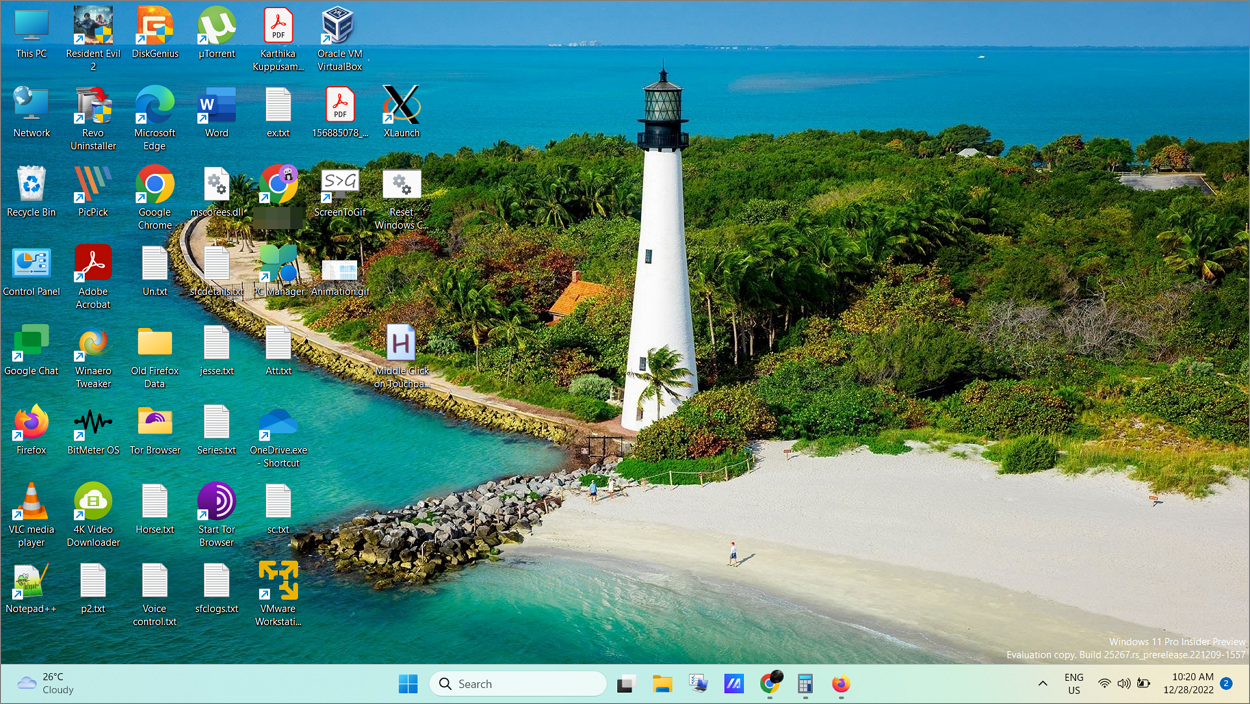
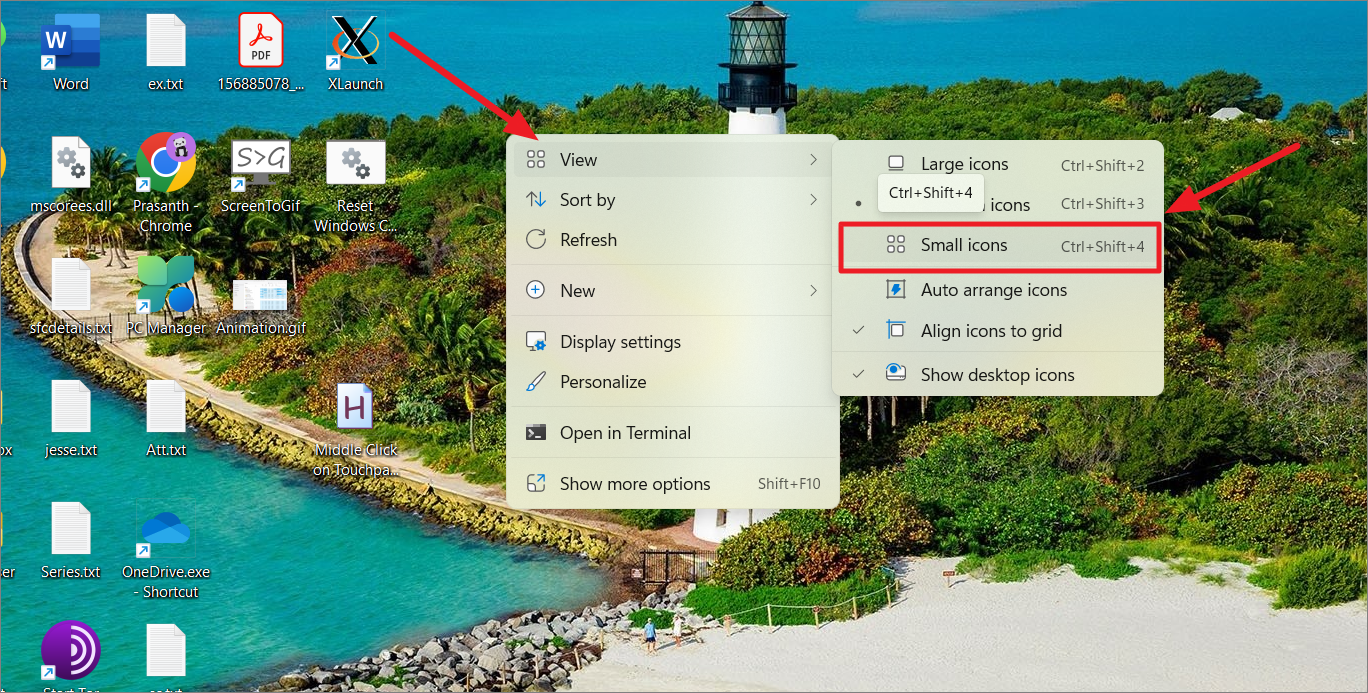
- Right-click on an empty space on the desktop.
- Select “View” > “Small icons”.
- Alternatively, hold
Ctrland scroll the mouse wheel down, or pressCtrl + Shift + 4.
Before:
After:

Reduce File Explorer icon size
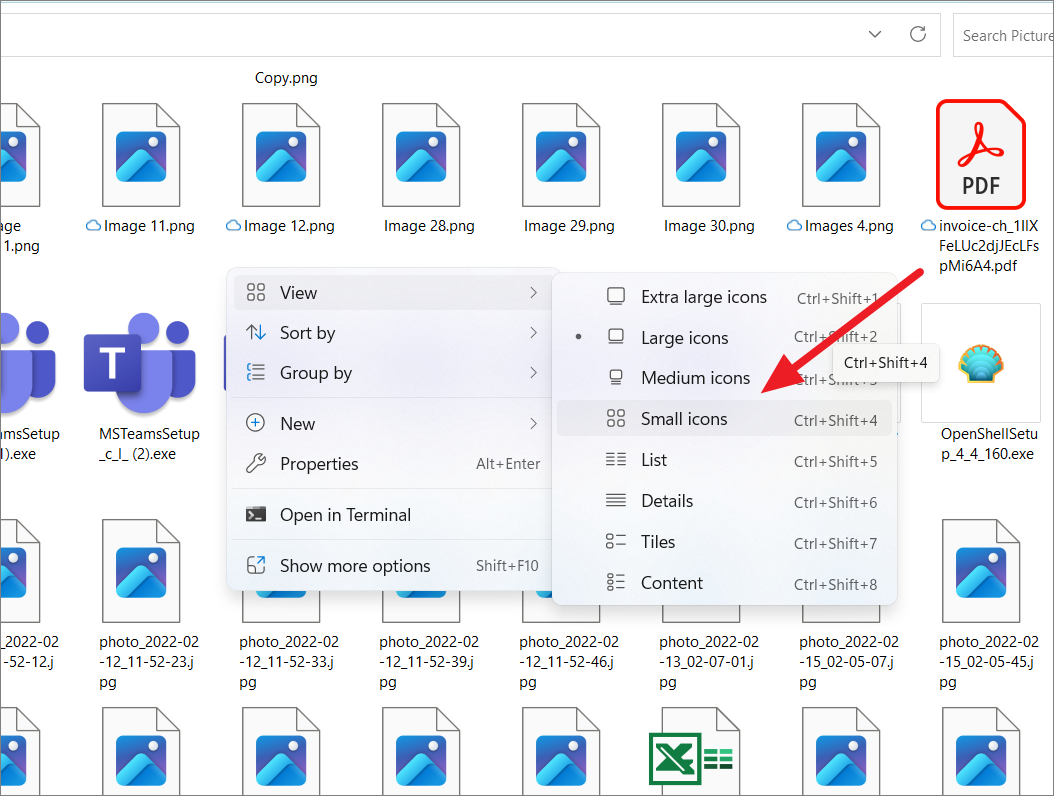
To make File Explorer icons smaller:
- Right-click on an empty space in File Explorer.
- Select “View” > “Small icons”.
Before:
After:
Reduce text size only
To make only the text smaller:
- Open Windows Settings (
Windows + I). - Navigate to “Accessibility” > “Text size”.

- Use the slider to decrease the text size.
- Click “Apply” to save the changes.

Increase screen resolution
Increasing screen resolution can make everything appear smaller:
- Right-click on the desktop and select “Display settings”.
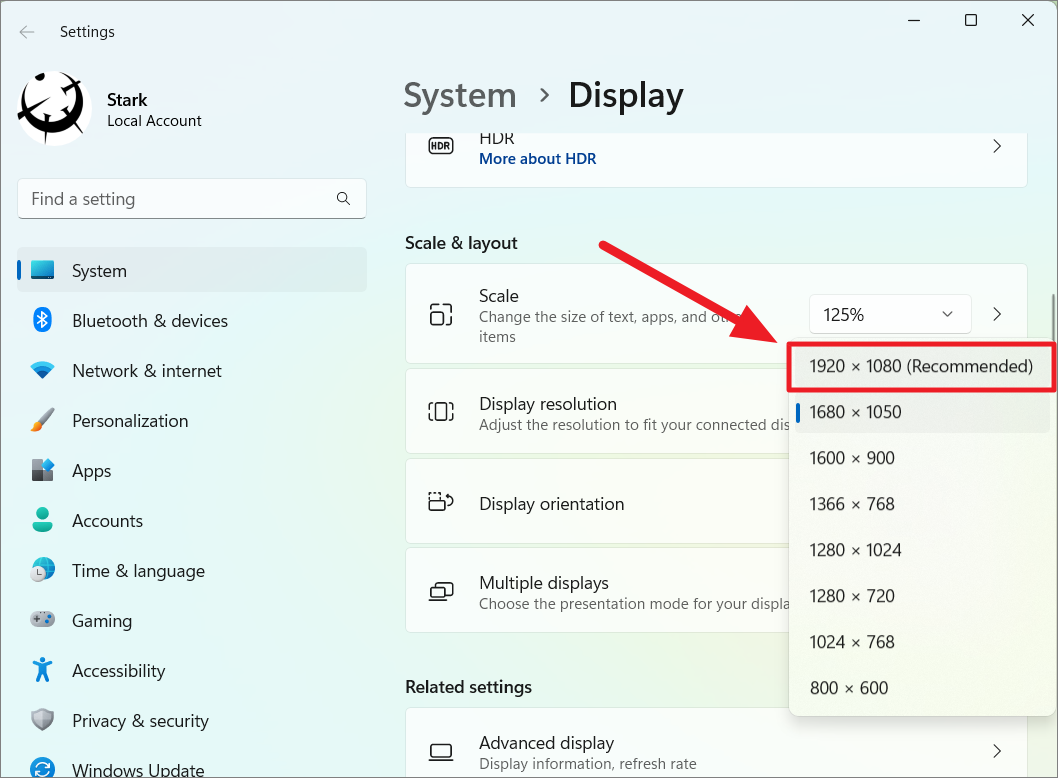
- Under “Scale & layout”, click the dropdown menu next to “Display resolution”.
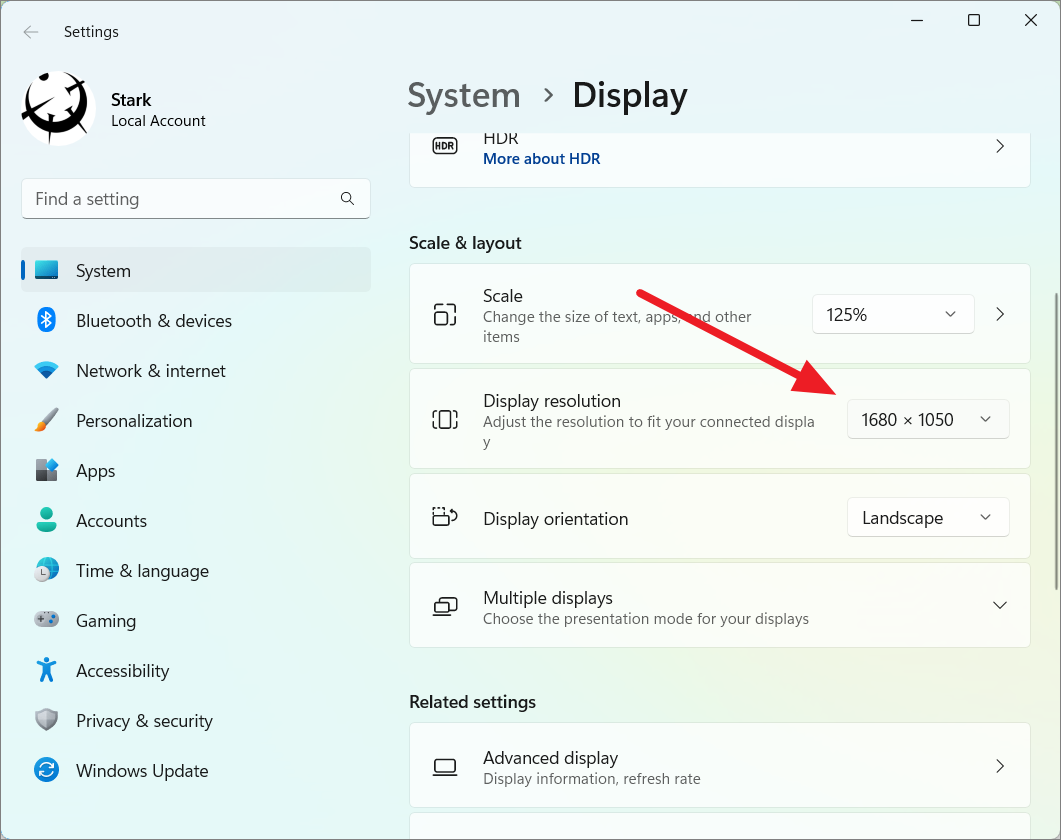
- Select the highest resolution supported by your monitor.
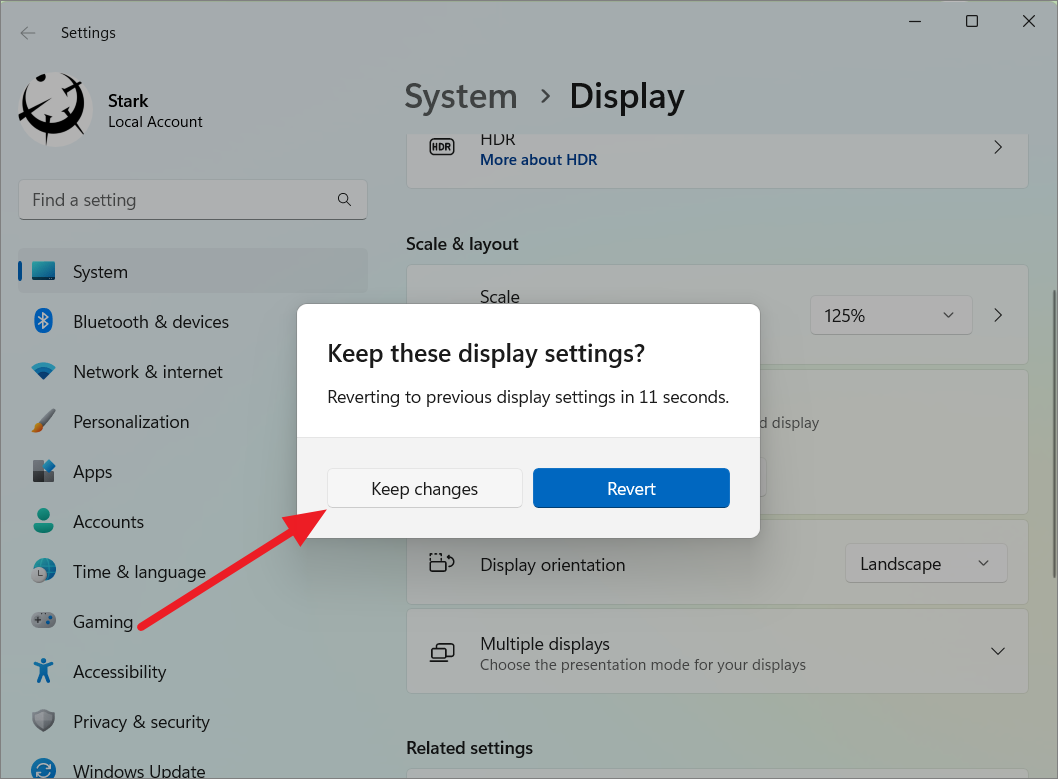
- Click “Keep changes” when prompted.
By applying these methods, you can effectively reduce the size of UI elements in Windows 11 to better suit your preferences and screen size.


