
Mapping a drive in Windows 11 provides quicker access to frequently used network shares or local folders by assigning them drive letters. Mapped drives appear in File Explorer as if they were local drives, allowing you to manage files more efficiently and streamline your workflow. Follow the detailed instructions below to map network and local folders as drives in Windows 11.
How to Map a Network Drive Using File Explorer
Step 1: Open File Explorer by clicking its icon on the taskbar or pressing Windows Key + E. Alternatively, right-click the Start button and select "File Explorer".
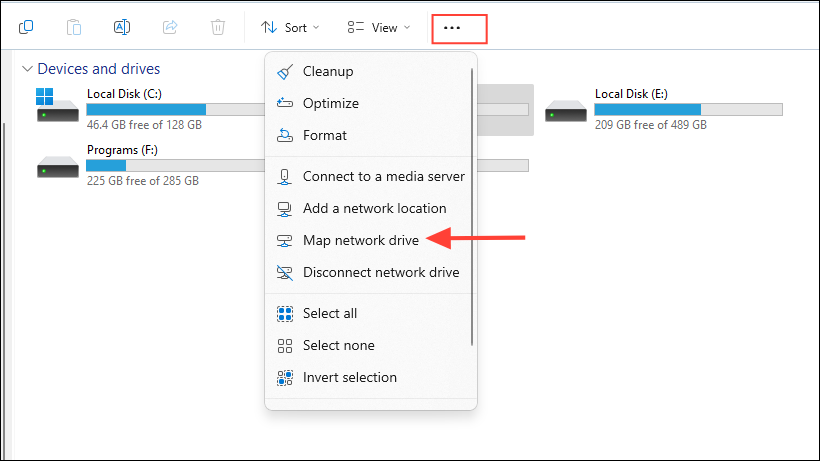
Step 2: In File Explorer, select "This PC" from the left sidebar. Click the ellipsis button (three dots) in the toolbar at the top, and then select "Map network drive" from the menu.
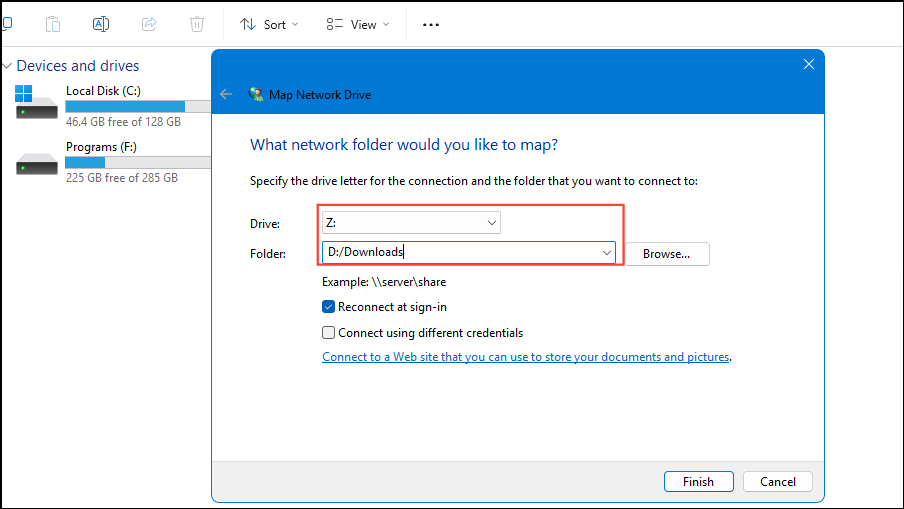
Step 3: In the "Map Network Drive" window, choose an available drive letter from the dropdown menu labeled "Drive". Pick any letter that's easy for you to remember.
Step 4: Enter the network path of the folder you want to map in the "Folder" field. If you're unsure of the exact path, click "Browse" to locate and select the shared folder on your network. After selecting the folder, click "OK."
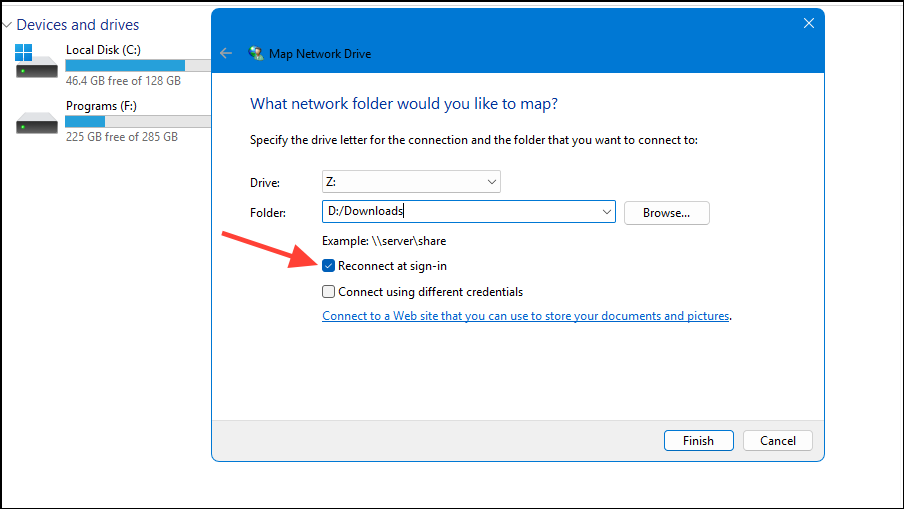
Step 5: To ensure the mapped drive reconnects automatically each time you sign into Windows, check the box labeled "Reconnect at sign-in". If you need to connect using different login credentials than your current Windows account, select "Connect using different credentials."
Step 6: Click "Finish" to create the mapped drive. If prompted, enter the username and password for the network location. You can also check "Remember my credentials" to avoid re-entering this information later.
Once completed, the mapped drive appears under "This PC" and in the File Explorer sidebar under "Network". You can now access it just as easily as your local drives. However, keep in mind that network drives might perform slower than local drives due to network speed limitations.
How to Map a Network Drive Using Command Prompt
If you prefer using Command Prompt, follow these steps:
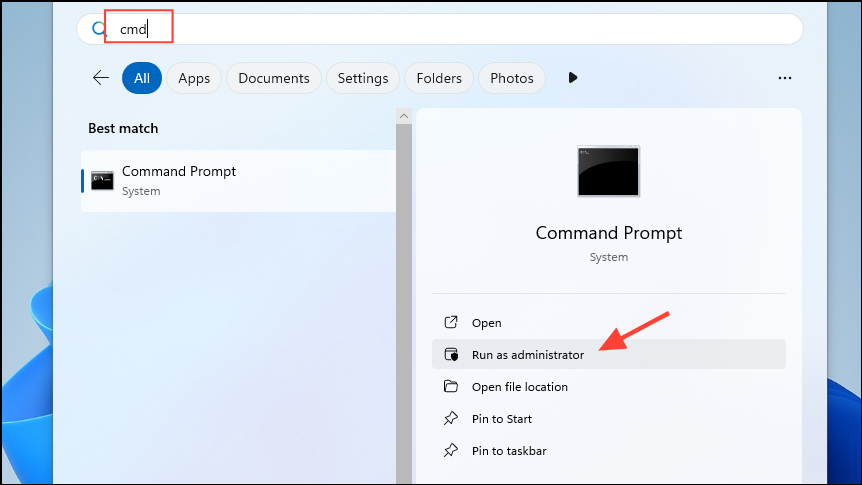
Step 1: Open Command Prompt as an administrator. Click the search icon on the taskbar, type "cmd", right-click "Command Prompt" from the search results, and select "Run as administrator".
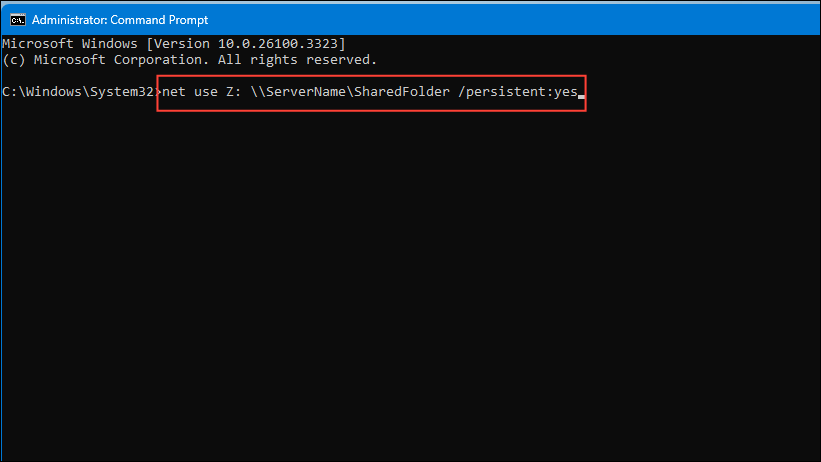
Step 2: In the Command Prompt window, type the following command and press Enter:
net use Z: \\ServerName\SharedFolder /persistent:yesReplace Z: with your desired drive letter and \\ServerName\SharedFolder with your actual network path.
After executing this command, the mapped drive will appear in File Explorer and reconnect automatically at each login.
How to Map a Network Drive Using PowerShell
PowerShell provides another efficient method to map network drives:
Step 1: Open PowerShell by pressing Windows Key + S, typing "PowerShell", and pressing Enter.
Step 2: Run the following command, replacing the drive letter and network path with your details:
New-PSDrive -Name "Y" -PSProvider FileSystem -Root "\\ServerName\SharedFolder" -Persist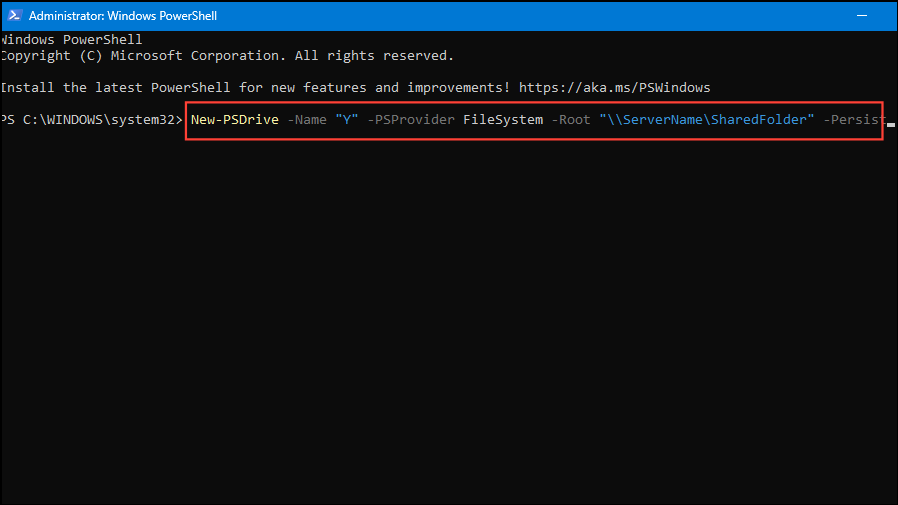
This command maps the specified network folder to the drive letter you provided. The mapped drive will persist across system restarts.
How to Map a Local Folder as a Drive in Windows 11
Windows 11 also allows mapping local folders as drives using the subst command. Follow these steps to set it up:
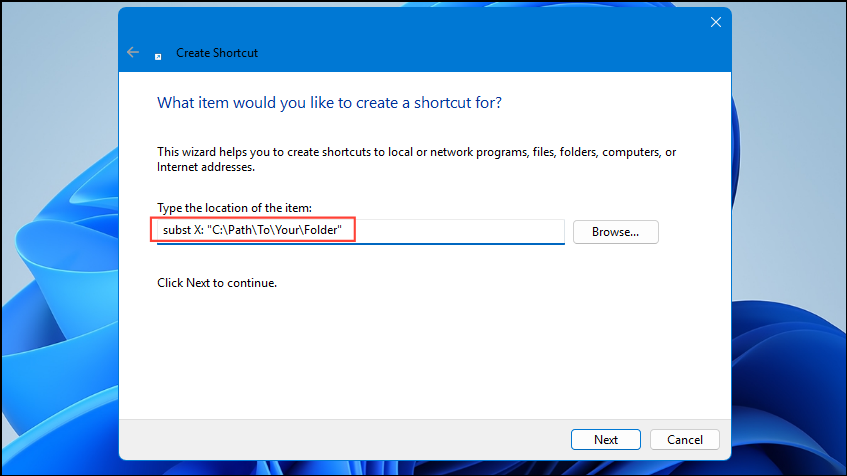
Step 1: Right-click on your desktop and select "New" > "Shortcut". In the location field, enter the following command format:
subst X: "C:\Path\To\Your\Folder"Replace X: with the drive letter you want and "C:\Path\To\Your\Folder" with the actual path of the folder you want to map.
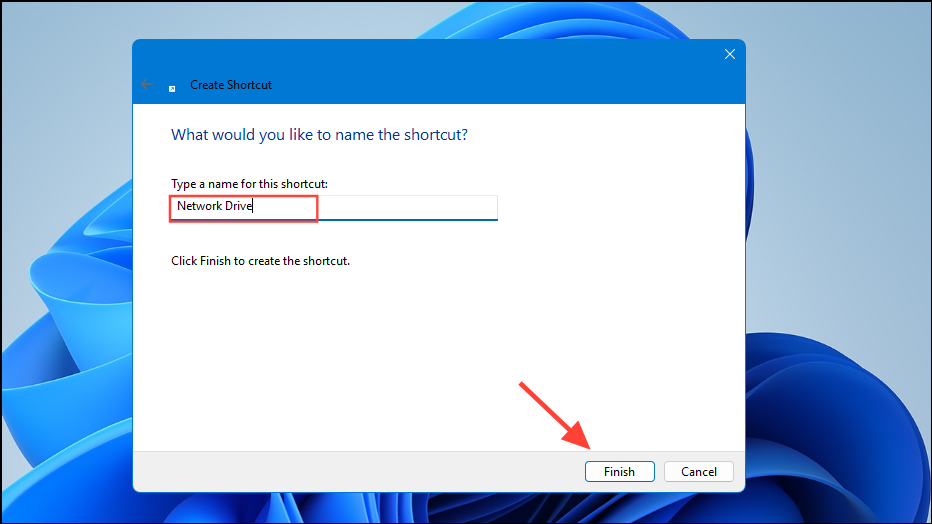
Step 2: Click "Next", provide a name for your shortcut, and click "Finish".
Step 3: Double-click the shortcut you just created. Your local folder will now appear as a mapped drive in File Explorer. However, this mapping is temporary and will disappear after a restart.
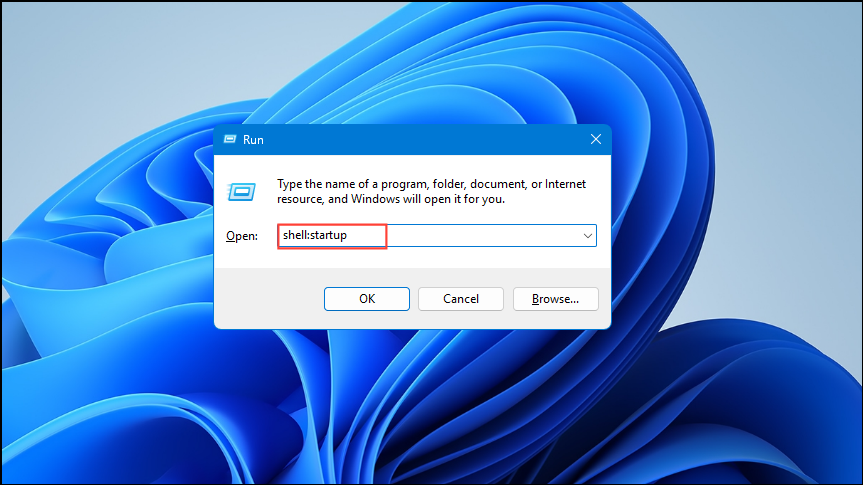
Step 4: To automatically map this local folder drive each time you sign in, copy the shortcut you created, press Windows Key + R, type shell:startup, and press Enter. Paste the shortcut into the Startup folder. Now, the local folder will automatically map as a drive each time you log into Windows 11.
Mapping drives in Windows 11 simplifies file access and management, saving you time and effort. Whether you're connecting to network shares or organizing local folders, these methods provide quick and convenient access to your important files.