Canva is a design haven, especially for people who are not well-versed with the art of graphic designing. Even someone who hasn’t designed a day before in their life can churn out decent designs from the very start.
But even with all the features that Canva has to make designing easy, there’s still a lot of room for improvement. Canva has a reputation for not offering the basic and simple features one would expect it to have. Outlining Text is just another member of that hall of fame.
But that doesn’t mean that you can’t outline text in Canva. There are a couple of workarounds that’ll help you get the design of your dreams.
Use the Splicing Effect
Canva introduced some effects for your text, and while it doesn’t have an outline effect, there is an effect that’ll outline your text in a couple of clicks.
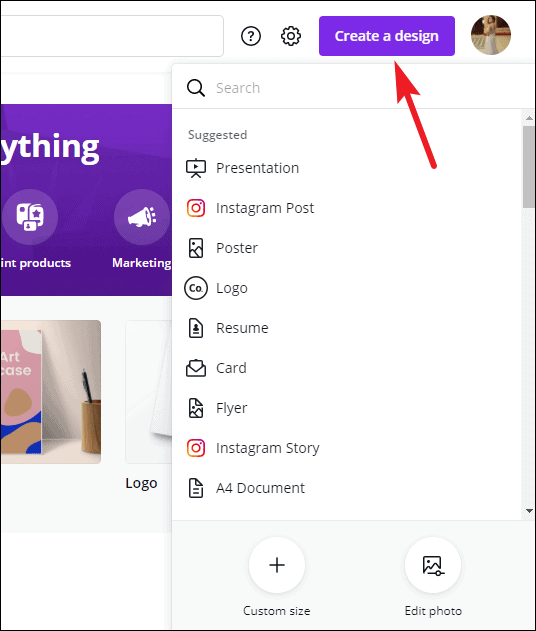
The trick works with all post sizes, so you can use it with any design type. To get started, go to canva.com on your desktop and click ‘Create a Design’. Select the type of design you want to create. You can also create a custom size.
Now, use the ‘Text’ element or press the ‘T’ key from your keyboard to create a text box. Type the text you want to outline.
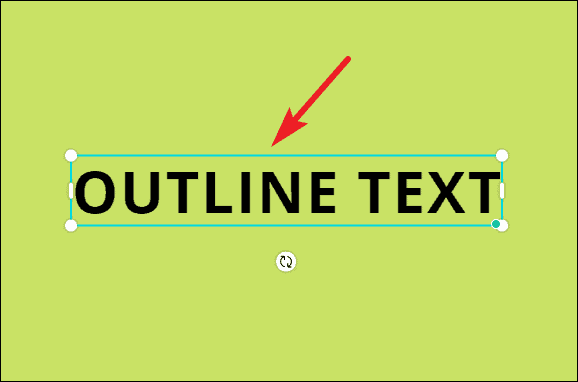
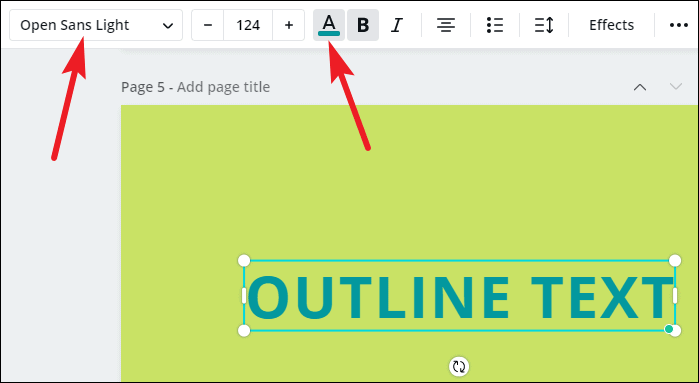
Before outlining, change the font of your text to what you’d like it to be as changing it afterward will just increase a step for you later on. While you’re at it, also change the color of the text to what you’d like the color of the outline to be.
To change the font or color, click the text element to select it. A toolbar will appear on the top that has the options to edit the text element. Click the ‘Font’ or ‘Color’ button to change these.
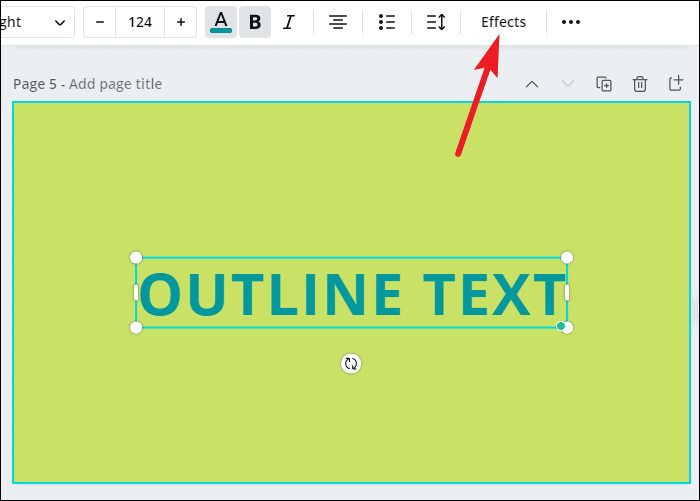
Now, from the same toolbar, go to the ‘Effects’ option.
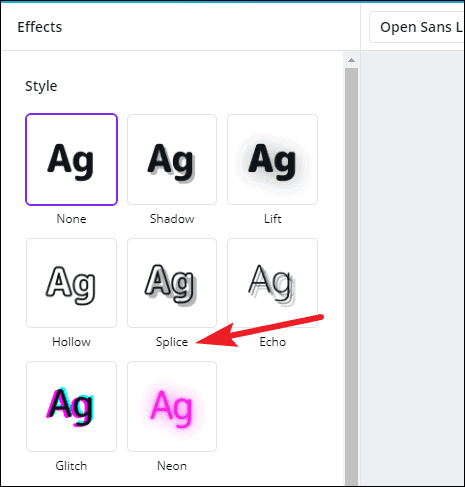
The Effects panel will appear on the left. Click ‘Splice’ from the options.
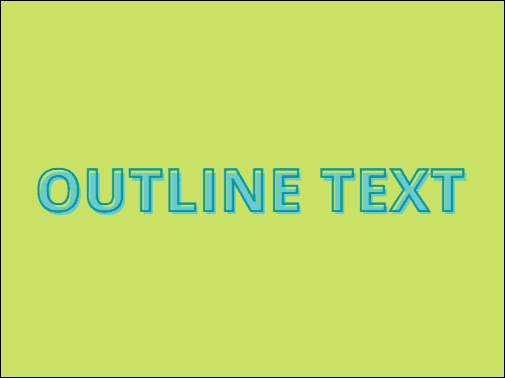
Once you apply the splicing effect, your text will have a sort of an outline but it won’t be perfect.
Options specific to splice will appear underneath it. Set the slider for ‘Offset’ to zero.
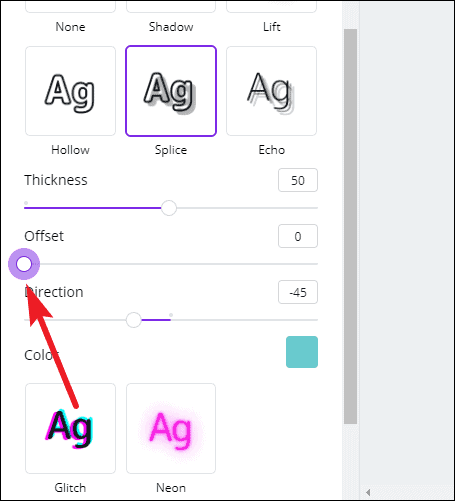
Then, set the slider for ‘Thickness’ to your desired value depending on how the outline looks.

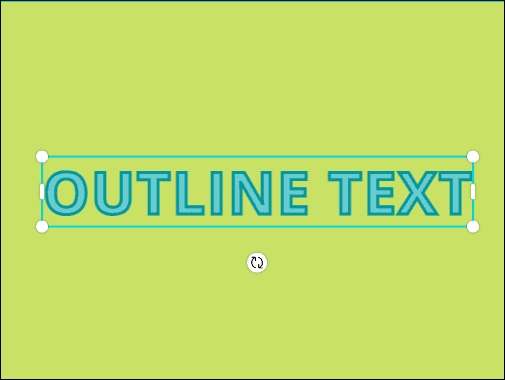
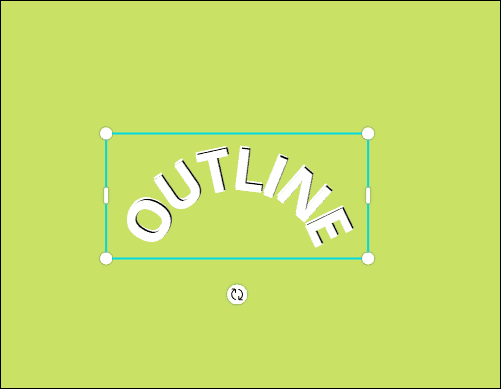
Your text will have the outline.
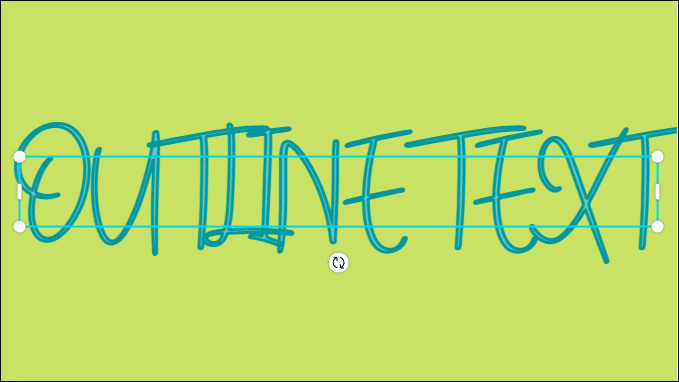
Now, if you want to change the font, you can. But you’ll see that, most likely, you’ll have to adjust the thickness again. So, if you change the font beforehand, it saves you a step.
Onto the matter of color. You’ll see that the color of the outline depends on the color of the text. It’ll be a few shades darker than the color of the text. One of the options underneath the splice is ‘Color’.
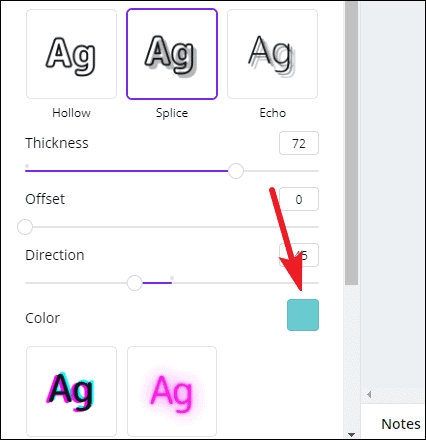
You can change the color of the text using this option, but the color of the outline will remain the same.
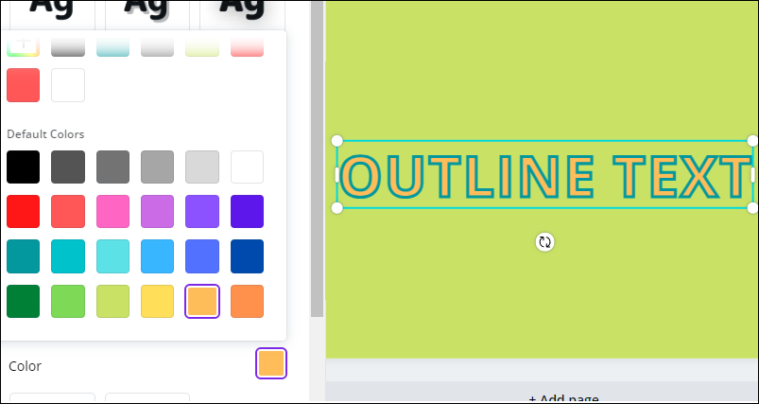
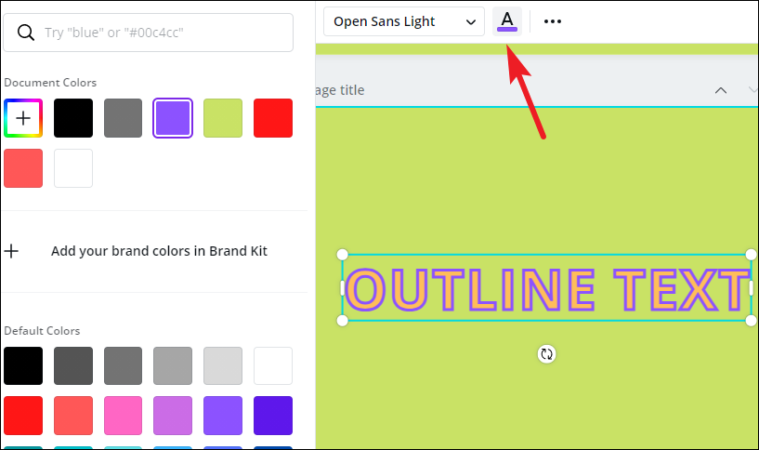
If you want to change the color of the outline, close the effects panel and click ‘Text color’ from the toolbar again. Now, when you change the color, it’ll only change the color of the outline and not the text.
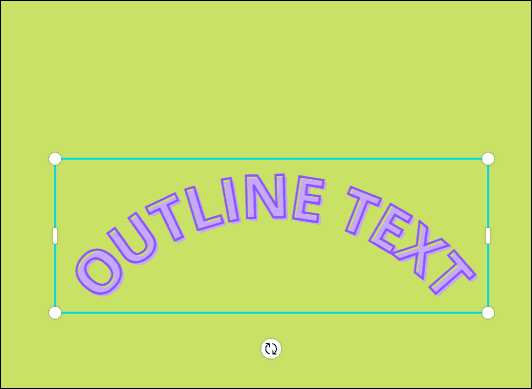
You can also combine this effect with ‘Curved’ effect, but not any other effect.
Use the Manual Method
You can also create an outline for your text manually. Now, you might be wondering why would you need to do that when the above method is more than sufficient. Yes, the splicing method works rather quickly and gives a perfect outline in no time. But it has its limits. You cannot use it in combination with any other effect.
Say, if you want to outline text with neon or glitch effects, there goes splicing out the window. You’d have to choose between the two effects. But if you’re willing to input a few minutes, you don’t have to. With the manual method, you can apply any effect you want.
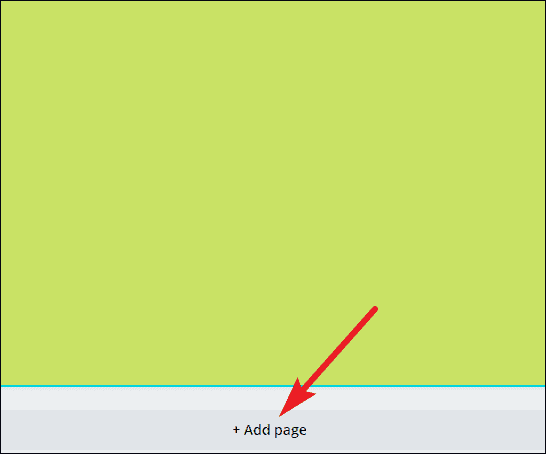
Open your design and start with a blank page. Click the ‘Add Page’ option to add a new page. Don’t worry; you can just copy your text later on to the design page and delete the extra page.
Now, use the ‘Text’ element or ‘T’ key to create a text box. Type the text you want to outline. Then, change the font or color if you want to.
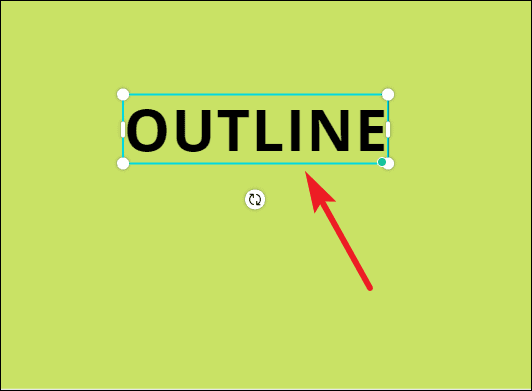
Select the element. The toolbar will appear on the top. Click the ‘Font’ and ‘Text Color’ buttons to change these.

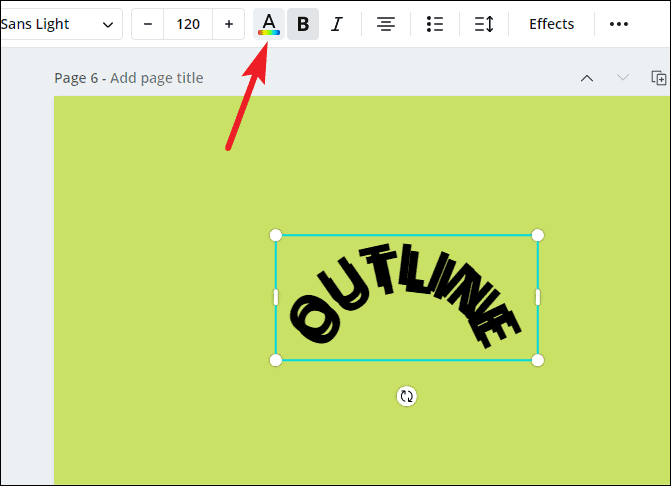
Let’s curve the text so we can try this method for curved text. Go to effects from the toolbar. And from the Effects panel, click the ‘Curve’ button. You can also set the curve value and direction.

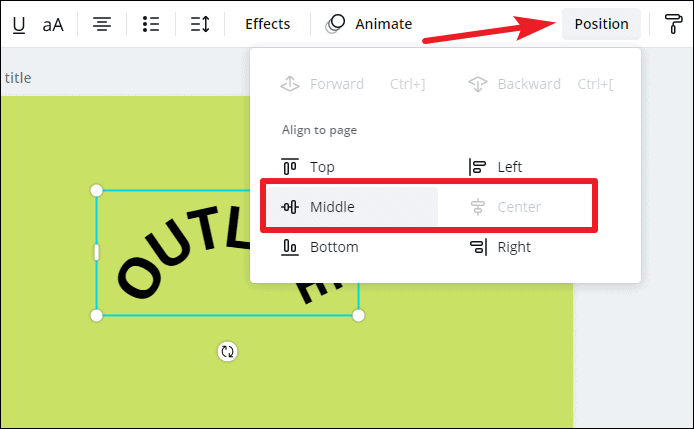
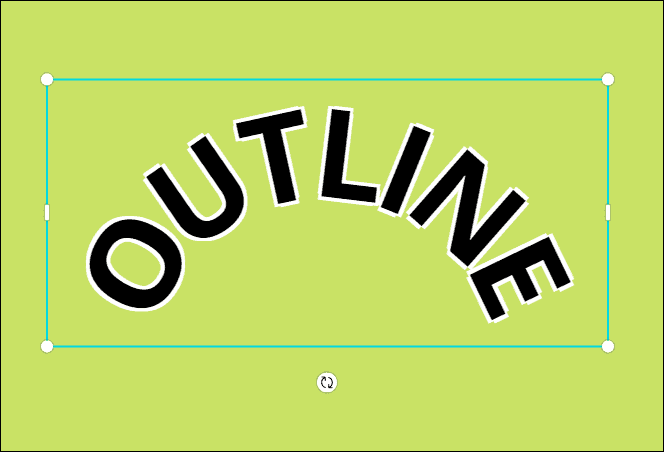
Now, it’s time to get to the outline part. Select the text element, and go to ‘Position’ from the toolbar. Then, click ‘Middle’ and ‘Center’ to align the text to the middle of the page. If the ‘Center’ option is not clickable after selecting ‘Middle’, no worries, that just means your text is already aligned to the exact center.
Now, copy the text and paste it. Use ‘Ctrl + C’ to copy, and ‘Ctrl + V’ to paste the element. First, change the color of this copy to the color you want your outline to be. While this element is still selected, go to ‘Text Color’ from the toolbar and change the color.
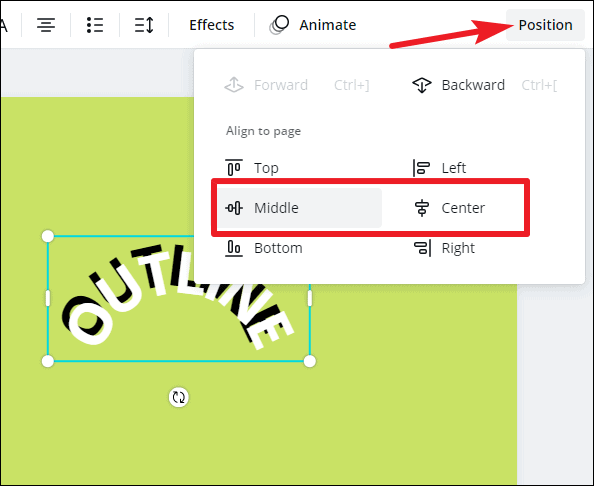
Then, go to ‘Position’ and click ‘Middle’ and ‘Center’ to align the copy above the original text.
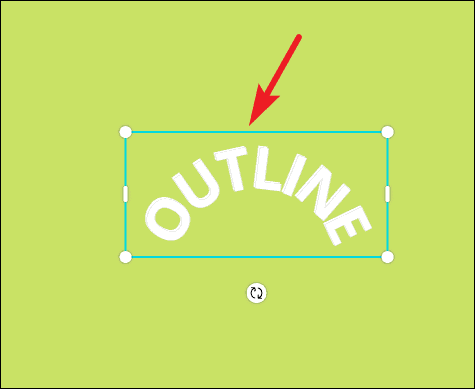
The copy will completely hide the original text.

Now, press your left arrow key 4 times, followed by the up arrow key 4 times. The original text will start showing a little.

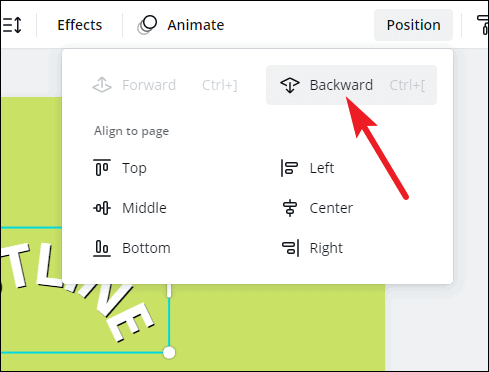
Go to the ‘Position’ option again and select ‘Backward’ to send the copy to the back.
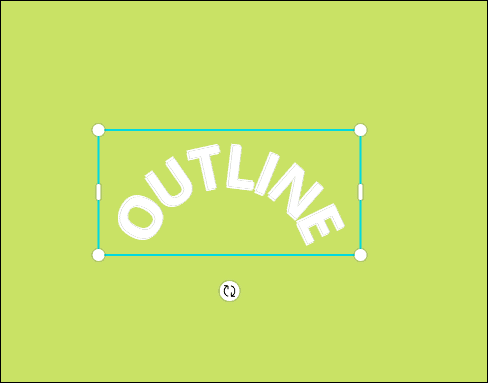
Press ‘Ctrl + V’ to paste the element again. Change the color to the same color you changed it before for the outline text. Then, set its position to ‘Middle’ and ‘Center’ again.
Now, press the left arrow key 4 times, followed by the down arrow key 4 times.
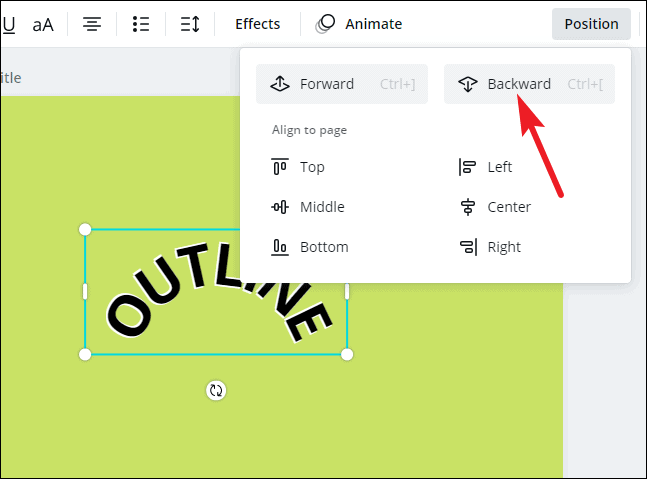
Then, go to ‘Position’ and click the ‘Backward’ option twice to send this copy all the way back. We’ll be sending every new copy we make all the way back. As there were two elements before this – the original and the first copy – you need to click ‘Backward’ twice.
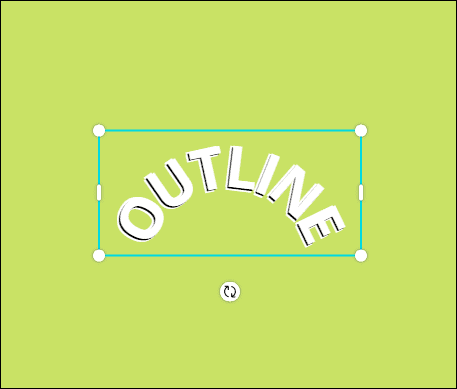
Paste the element again, and repeat the steps. Change the color and set the position to the middle.
Then, press the up arrow key 4 times, followed by the right arrow key 4 times.
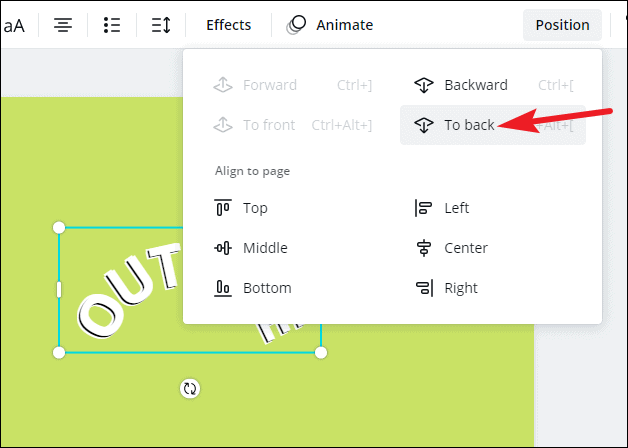
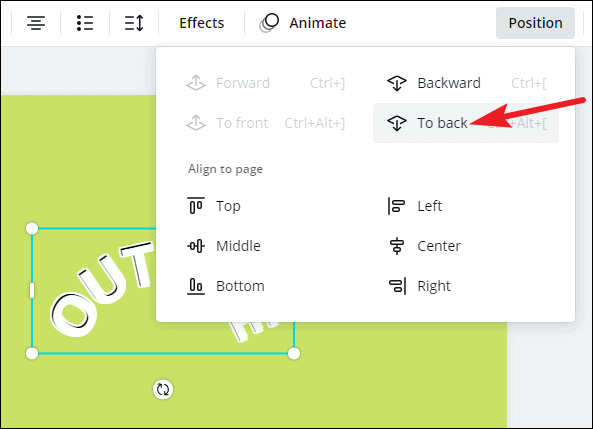
Go to ‘Position’ and click ‘To back’. This will send this copy all the way back in just one click.
Paste the element one last time, change the color and set its position to the middle. Now, press the down key 4 times, followed by the right key 4 times.
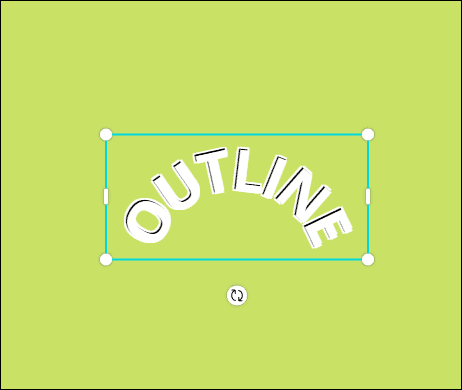
Go to the ‘Position’ option and click ‘To back’ to send the copy all the way to the back.
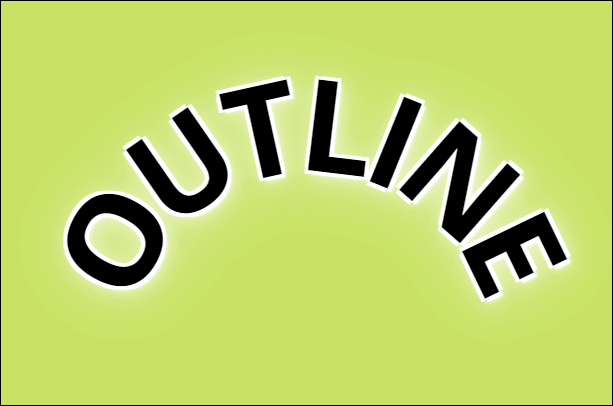
And voila! Your text now has an outline. Now granted, it might not be completely perfect if you zoom in too much, but it’s going to be close.
Also, it might look like it’s going to take too long to get an outline this way. But honestly, because of the repetitiveness of the process, it’s actually much faster.
Here’s a cheat sheet for you for the key strokes:
1st copy – up 4x & left 4x
2nd copy – down 4x & left 4x
3rd copy – up 4x & right 4x
4th copy – down 4x & right 4x
You can also apply any effect like Neon or Glitch to your text after outlining it.
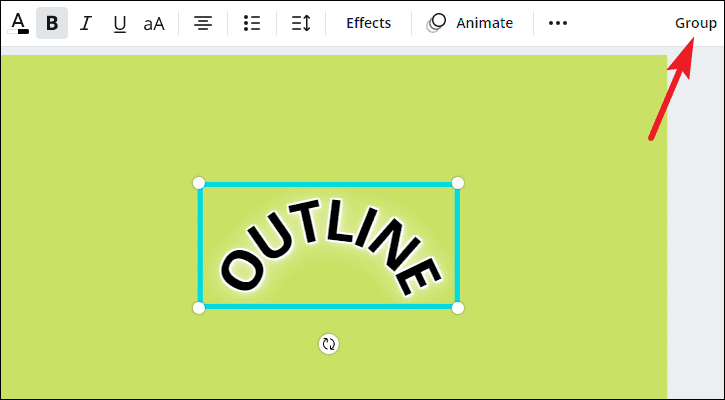
Once the outline is done, select all the elements by dragging your cursor across it. Then, click the ‘Group’ button. Grouping it will ensure when you move the text, it moves as a single entity. You can now copy it to your design.
There you go! Using these methods, you can curve your text easily. Chances are you might not be needing any of these workarounds in the future, as Canva might be working on bringing the functionality to the platform. But currently, these are your only options.