The Start Menu in Windows 11 has been redesigned to enhance both its appearance and functionality. By pinning your most-used files, folders, and drives to the Start Menu, you can access them quickly without having to navigate through multiple folders. This guide will show you how to pin items to the Start Menu, organize them for easy access, and personalize your Start Menu settings.
Pinning Files, Folders, and Drives to the Start Menu
Windows 11 allows you to pin various items to the Start Menu, but it’s best to pin only those you frequently use to keep the menu organized.
Note: Only executable files (.exe) or shortcuts to them can be pinned in the Start Menu’s ‘Pinned’ section for files.
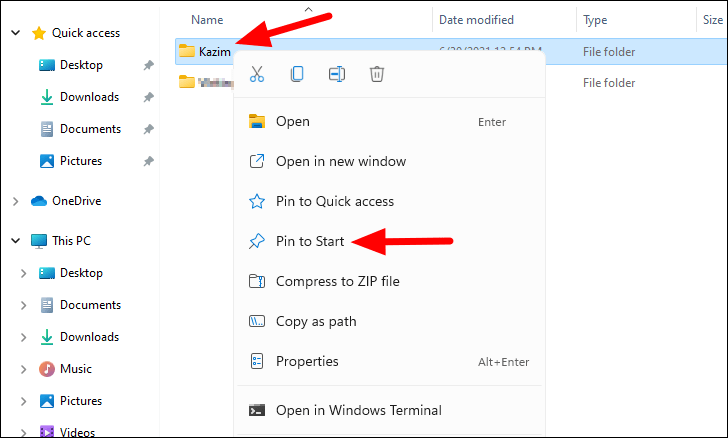
To pin a folder to the Start Menu:
- Open File Explorer and navigate to the folder you want to pin.
- Right-click on the folder.
- Select ‘Pin to Start’ from the context menu.
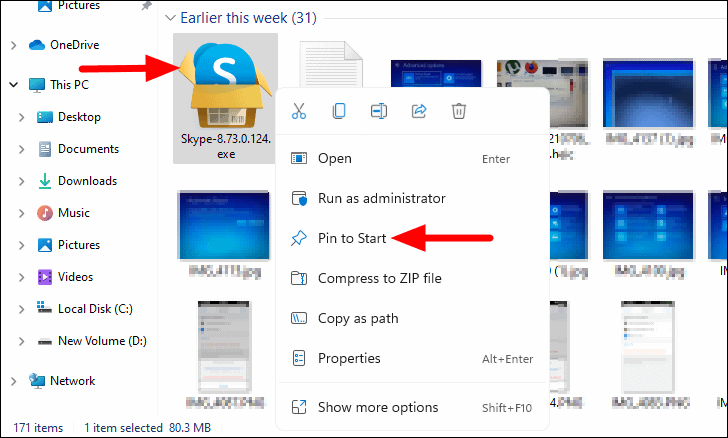
To pin an executable file or its shortcut:
- Locate the executable file or its shortcut in File Explorer.
- Right-click on the file.
- Select ‘Pin to Start’ from the context menu.
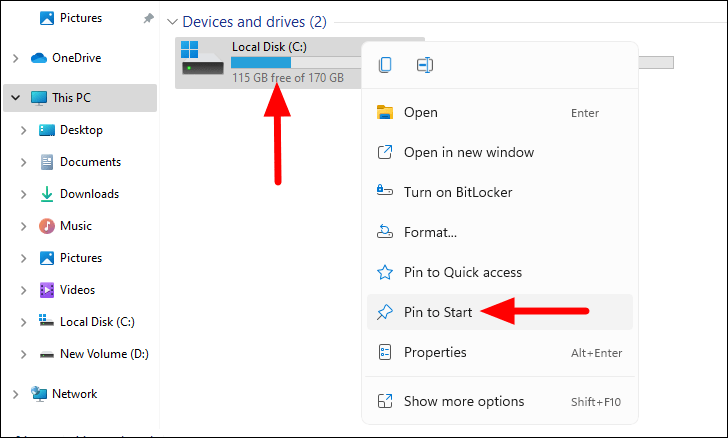
To pin a drive to the Start Menu:
- Open File Explorer and go to ‘This PC’.
- Right-click on the drive you want to pin.
- Select ‘Pin to Start’ from the context menu.
Accessing Pinned Items in the Start Menu
After pinning items, you can access them directly from the Start Menu:
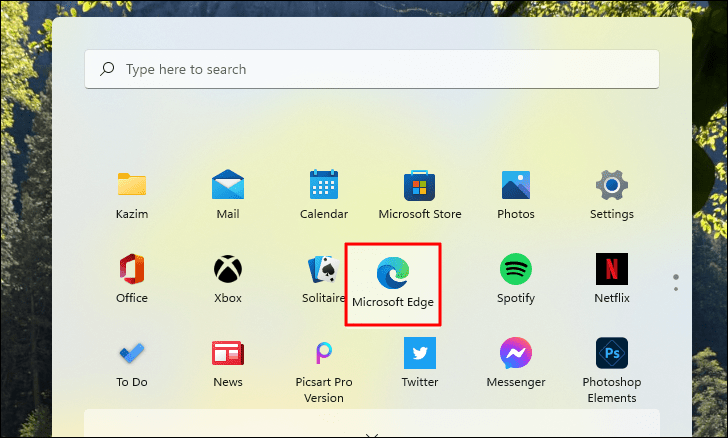
- Click the Start icon on the Taskbar or press the Windows key to open the Start Menu.
- Find your items in the ‘Pinned’ section.
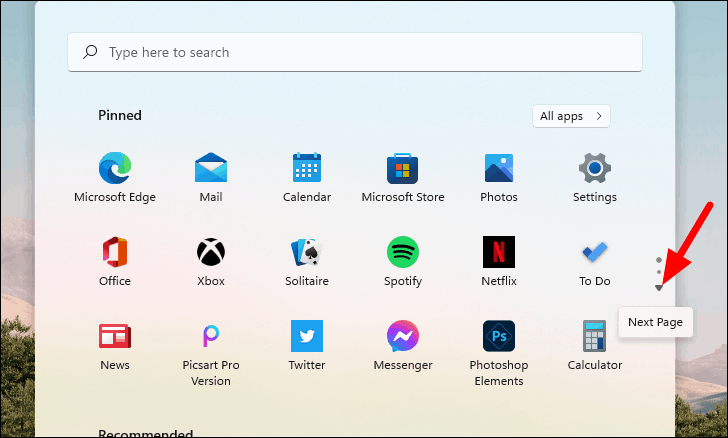
- If you have more than 18 pinned items, navigate between pages:
- Hover over the dots on the right side of the Start Menu to reveal navigation arrows.
- Click the downward arrow to move to the next page of pinned items.
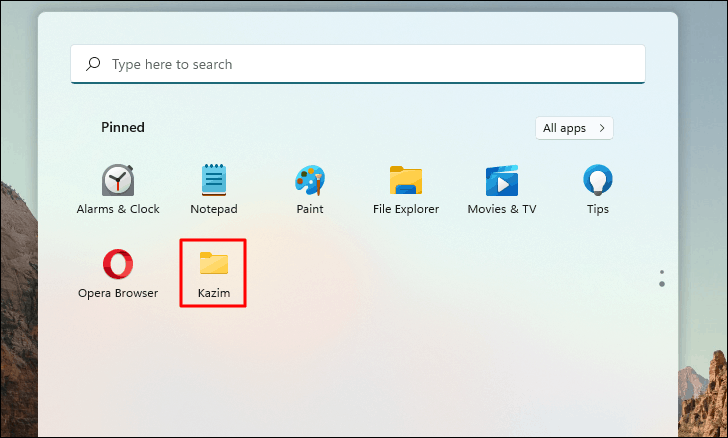
Newly pinned items appear at the bottom of the ‘Pinned’ section:
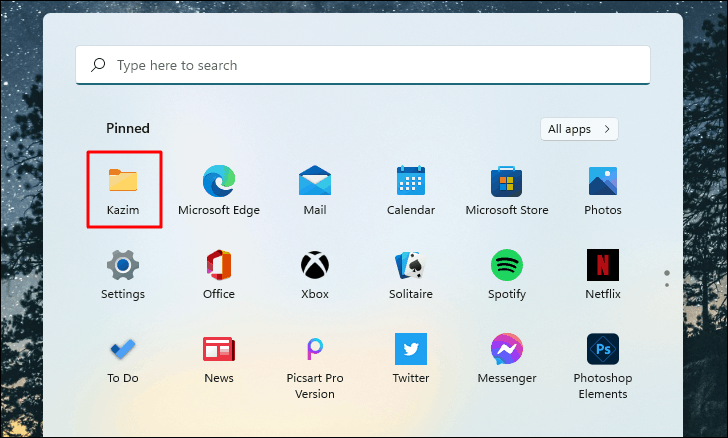
To move an important pinned item to the top for quicker access:
- Right-click on the pinned item in the Start Menu.
- Select ‘Move to top’ from the context menu.

The item will now appear at the top of the ‘Pinned’ section:
Rearranging Pinned Items in the Start Menu
To organize your pinned items in a specific order:
- Click and hold the pinned item you want to move.
- Drag it to the desired position within the ‘Pinned’ section.
- Release the mouse button to place it.
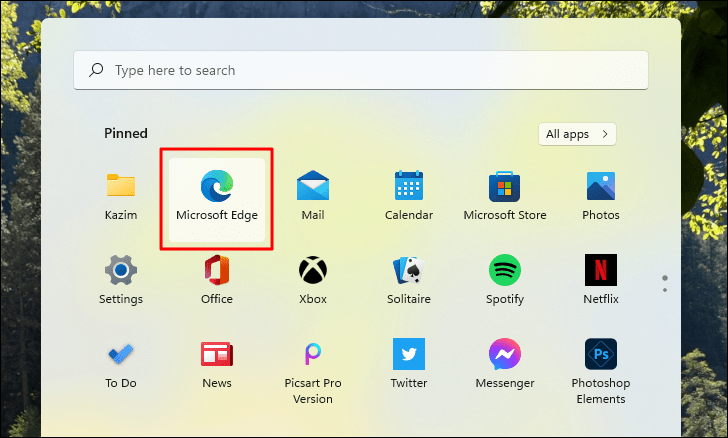
After repositioning, the Start Menu will reflect the new arrangement:
To move a pinned item to a different page:
- Drag the item to the edge of the ‘Pinned’ section (top or bottom).
- The Start Menu will scroll to the next or previous page.
- Place the item in the desired spot and release the mouse button.
Removing Pinned Items from the Start Menu
To keep your Start Menu tidy by removing items you no longer need:
- Open the Start Menu.
- Locate the pinned item you want to remove.
- Right-click on the item.
- Select ‘Unpin from Start’ from the context menu.
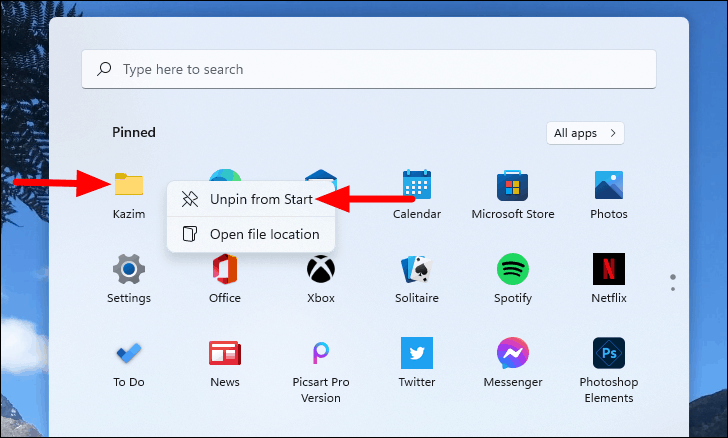
The item will be removed from the ‘Pinned’ section.
Personalizing the Start Menu
You can customize the Start Menu to better fit your needs by adjusting its settings:
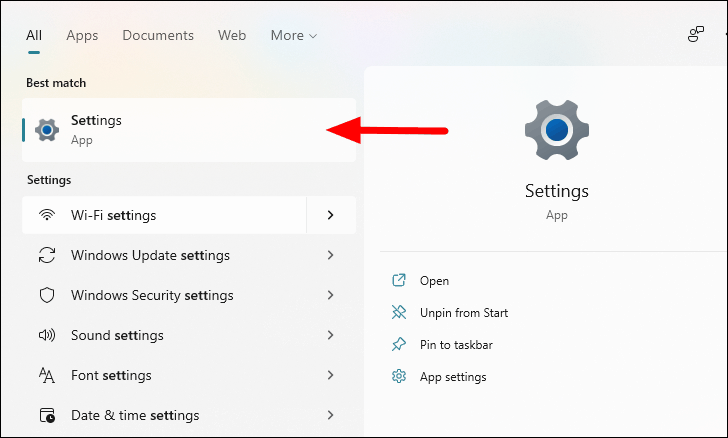
- Open the Settings app by clicking the Start icon and selecting ‘Settings’, or press Windows + I.
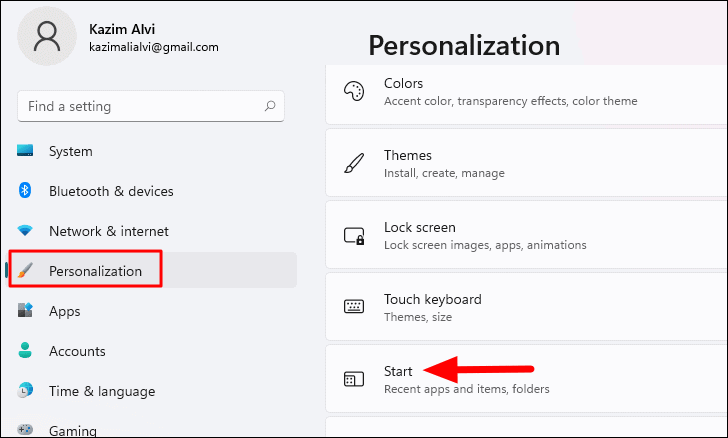
- In Settings, click on ‘Personalization’ in the left pane.
- Scroll down and select ‘Start’ to access Start Menu settings.
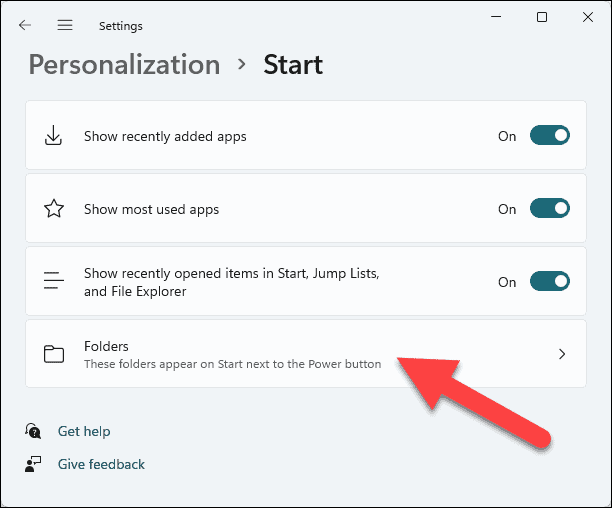
In the Start Menu settings, you can toggle the following options:
- Show recently added apps: Displays apps you recently installed.
- Show most used apps: Highlights apps you frequently use.
- Show recently opened items in Start, Jump Lists, and File Explorer: Shows files and folders you’ve recently accessed.
- Folders: Allows you to add shortcuts to specific folders next to the power button in the Start Menu.
To add folders next to the power button:
- Under the Start settings, click on ‘Folders’.
- Toggle on the folders you want to appear in the Start Menu.
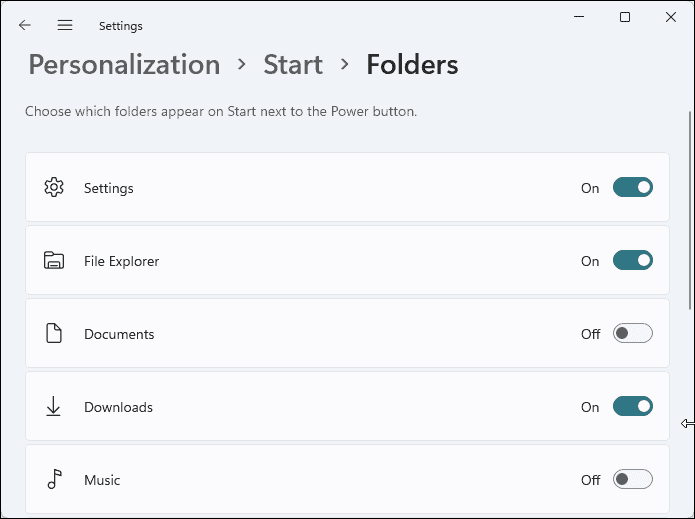
These folders will now appear next to the power button in the Start Menu:
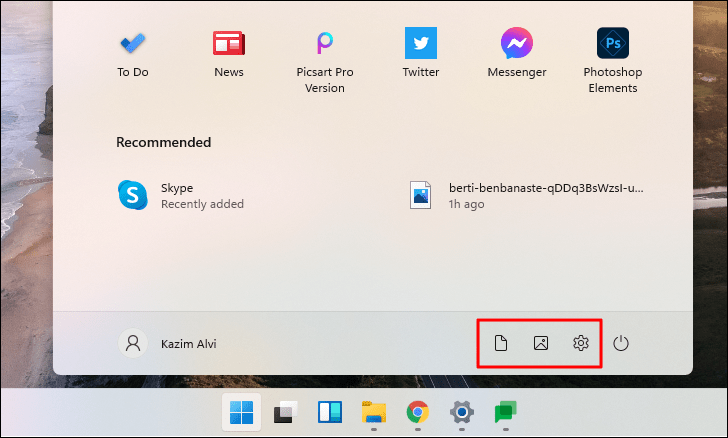
To remove these folders, simply toggle them off in the Settings.
By pinning and organizing your most-used files, folders, and drives, you can make the Start Menu a powerful tool for quick access. Personalizing the Start Menu settings further tailors your Windows 11 experience to your needs.


