
Windows 11 has introduced many improvements and features, but like any operating system, it can encounter issues. One common problem users face is when the Search function stops working correctly. This can be frustrating, as Search is a crucial tool for navigating your system and finding files quickly. Fortunately, there are several methods you can try to resolve this issue. Let’s explore some effective solutions to get your Windows 11 Search back on track.
Restart Windows Search service
One of the quickest and most effective ways to address Search problems is by restarting the Windows Search service. Here’s how to do it:
- Press
Windows + Rto open the Run dialog. - Type
services.mscand press Enter to open the Services window. - Scroll down to find “Windows Search” in the list of services.
- Right-click on “Windows Search” and select “Restart” from the context menu.
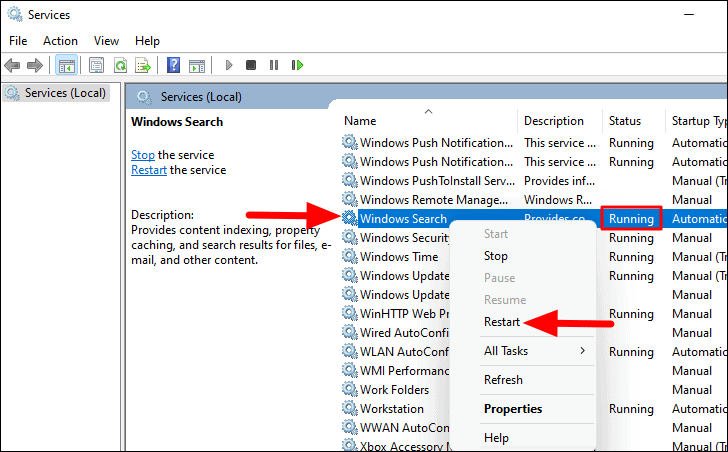
If the service is not running, right-click and choose “Start” instead. This simple restart can often resolve search-related issues.
Check for Windows updates
Keeping your system up-to-date is crucial for maintaining functionality and fixing known bugs. To check for updates:
- Open the Settings app by pressing
Windows + I. - Navigate to the “Windows Update” section.
- Click on “Check for updates”.
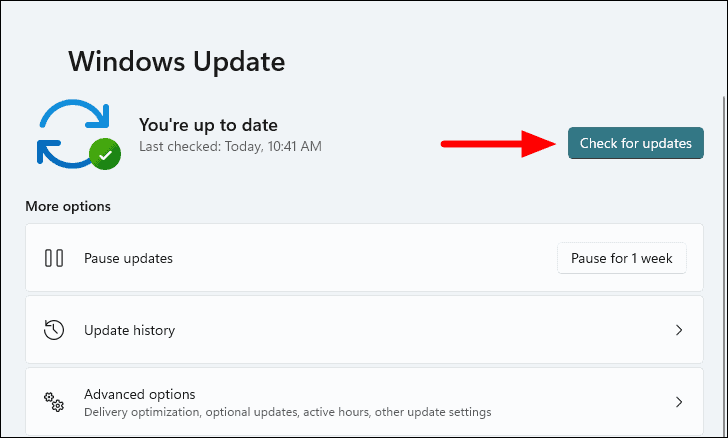
Install any available updates and restart your computer if prompted. This can potentially resolve search issues by applying the latest fixes from Microsoft.
Run the Search and Indexing troubleshooter
Windows 11 comes with built-in troubleshooters that can automatically detect and fix common problems. To run the Search troubleshooter:
- Open Settings and go to “System” > “Troubleshoot” > “Other troubleshooters”.
- Scroll down to find “Search and Indexing” and click “Run” next to it.

- Follow the on-screen instructions, selecting the issues you’re experiencing.
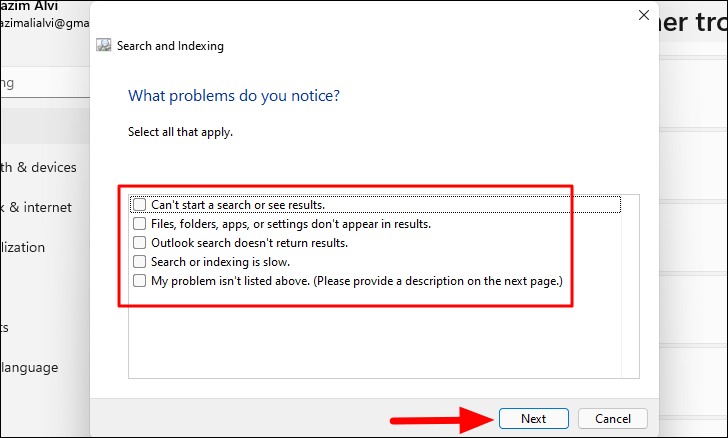
The troubleshooter will attempt to identify and resolve any search-related problems automatically.
Rebuild the search index
If search results are incomplete or inaccurate, rebuilding the search index might help:
- Type “Indexing Options” in the Start menu and open the corresponding app.
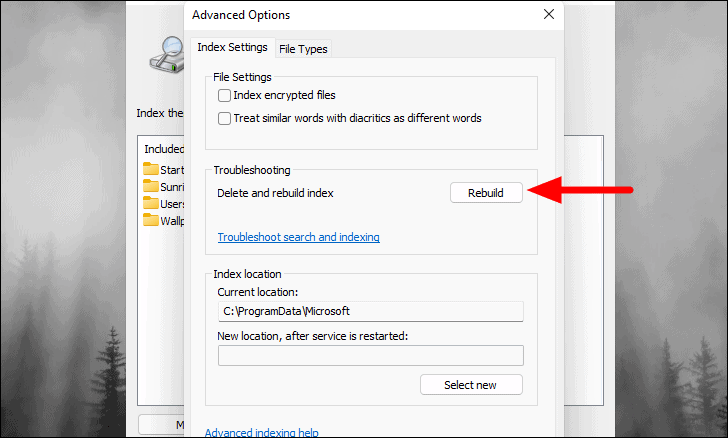
- Click on “Advanced” in the Indexing Options window.
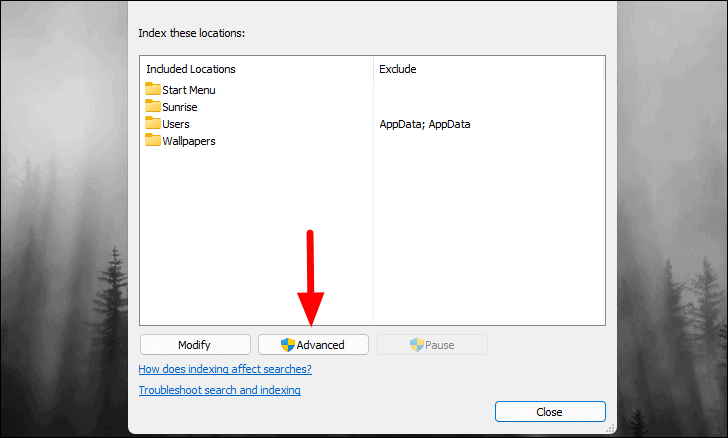
- In the Advanced Options, click on “Rebuild” under the Troubleshooting section.
- Confirm the action when prompted.
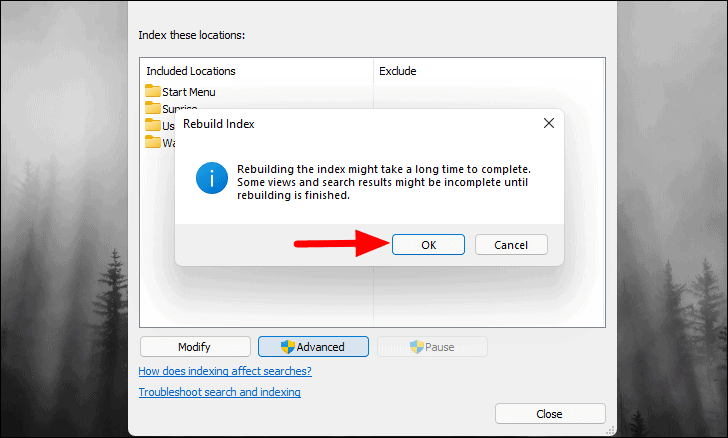
Be patient, as rebuilding the index can take some time depending on the amount of data on your system.
Reset Windows Search
For more persistent issues, you might need to reset Windows Search entirely. This can be done using a PowerShell script:
- Download the ResetWindowsSearchBox.ps1 script from Microsoft’s official source.
- Right-click the downloaded file and select “Run with PowerShell”.
- If prompted, allow the script to make changes to your device.
This script will reset the Windows Search feature to its default state, which can often resolve complex search issues.
Regenerate the Search AppData folder
As a last resort, you can try regenerating the Search AppData folder:
- Sign out of your current user account and sign in with a different administrator account.
- Delete the folder:
%USERPROFILE%\AppData\Local\Packages\Microsoft.Windows.Search_cw5n1h2txyewy - Open Registry Editor and navigate to
HKEY_CURRENT_USER\SOFTWARE\Microsoft\Windows\CurrentVersion\Search - Delete the “Search” registry key.
- Open an elevated PowerShell window and run:
Add-AppxPackage -Path "C:\Windows\SystemApps\Microsoft.Windows.Search_cw5n1h2txyewy\Appxmanifest.xml" -DisableDevelopmentMode -Register - Restart your computer.
This process will force Windows to recreate the necessary Search files and registry entries, potentially fixing any corruption issues.
By following these methods, you should be able to resolve most Search-related problems in Windows 11. Remember to try these solutions in order, starting with the simplest ones, as they often can fix the issue without resorting to more complex procedures.


